
Leaky fork seals may be seem like minor problem, but it can lead to further damage of your fork internals, and even handling and braking safety. In this guide, we go through each step you need to know to replace oil and dust seals in your bike.

Whether you’re out with friends or at the track on race day, leaky seals can ruin any day of riding, especially if that blown seal is on the brake side. When your forks seals are just leaking or won’t hold hardly any oil at all, your forks won’t dampen or rebound the way they’re intended to. The oil helps create bottoming resistance, allowing the fork to stay up in the stroke where it is intended to perform.
Most current generation forks contain a closed cartridge, which houses the damping and rebound valving as well as oil. The outer chamber houses the fork spring plus additional oil. When the forks main seals blow, it’s the oil in the outer chamber that leaks out.
As oil seeps out through the seal and down the lower fork leg, dirt and debris can stick to the tube. The initial size of the tear in the seal may be small and somewhat unnoticeable, but after dirt makes its way past the dust wiper, it damages the seal itself, causing oil to leak out more rapidly.
Unaddressed leaking fork seals can lead to dirt working its way through the fork internals, likely leading to more damage and potentially costly repairs.
Replacing fork seals is something that can generally be done in a well-equipped garage with the help of some standard tools and supplies, plus a couple specialty tools that are readily available.
It’s important to note that different suspension manufacturers have different methods of disassembly and reassembly, so always be sure to reference your owner’s manual for guidance specific to your application. This guide is intended to be a general how-to and not all steps will be the same across all applications.
In this step-by-step guide, we replaced the fork seals on a set of used Showa closed cartridge forks off a 2007 Honda CRF 450R. For the purpose of this guide, we will focus on a simple seal replacement to get you back on the track or trail rather than a full cleaning of the outer chamber and seal replacement.
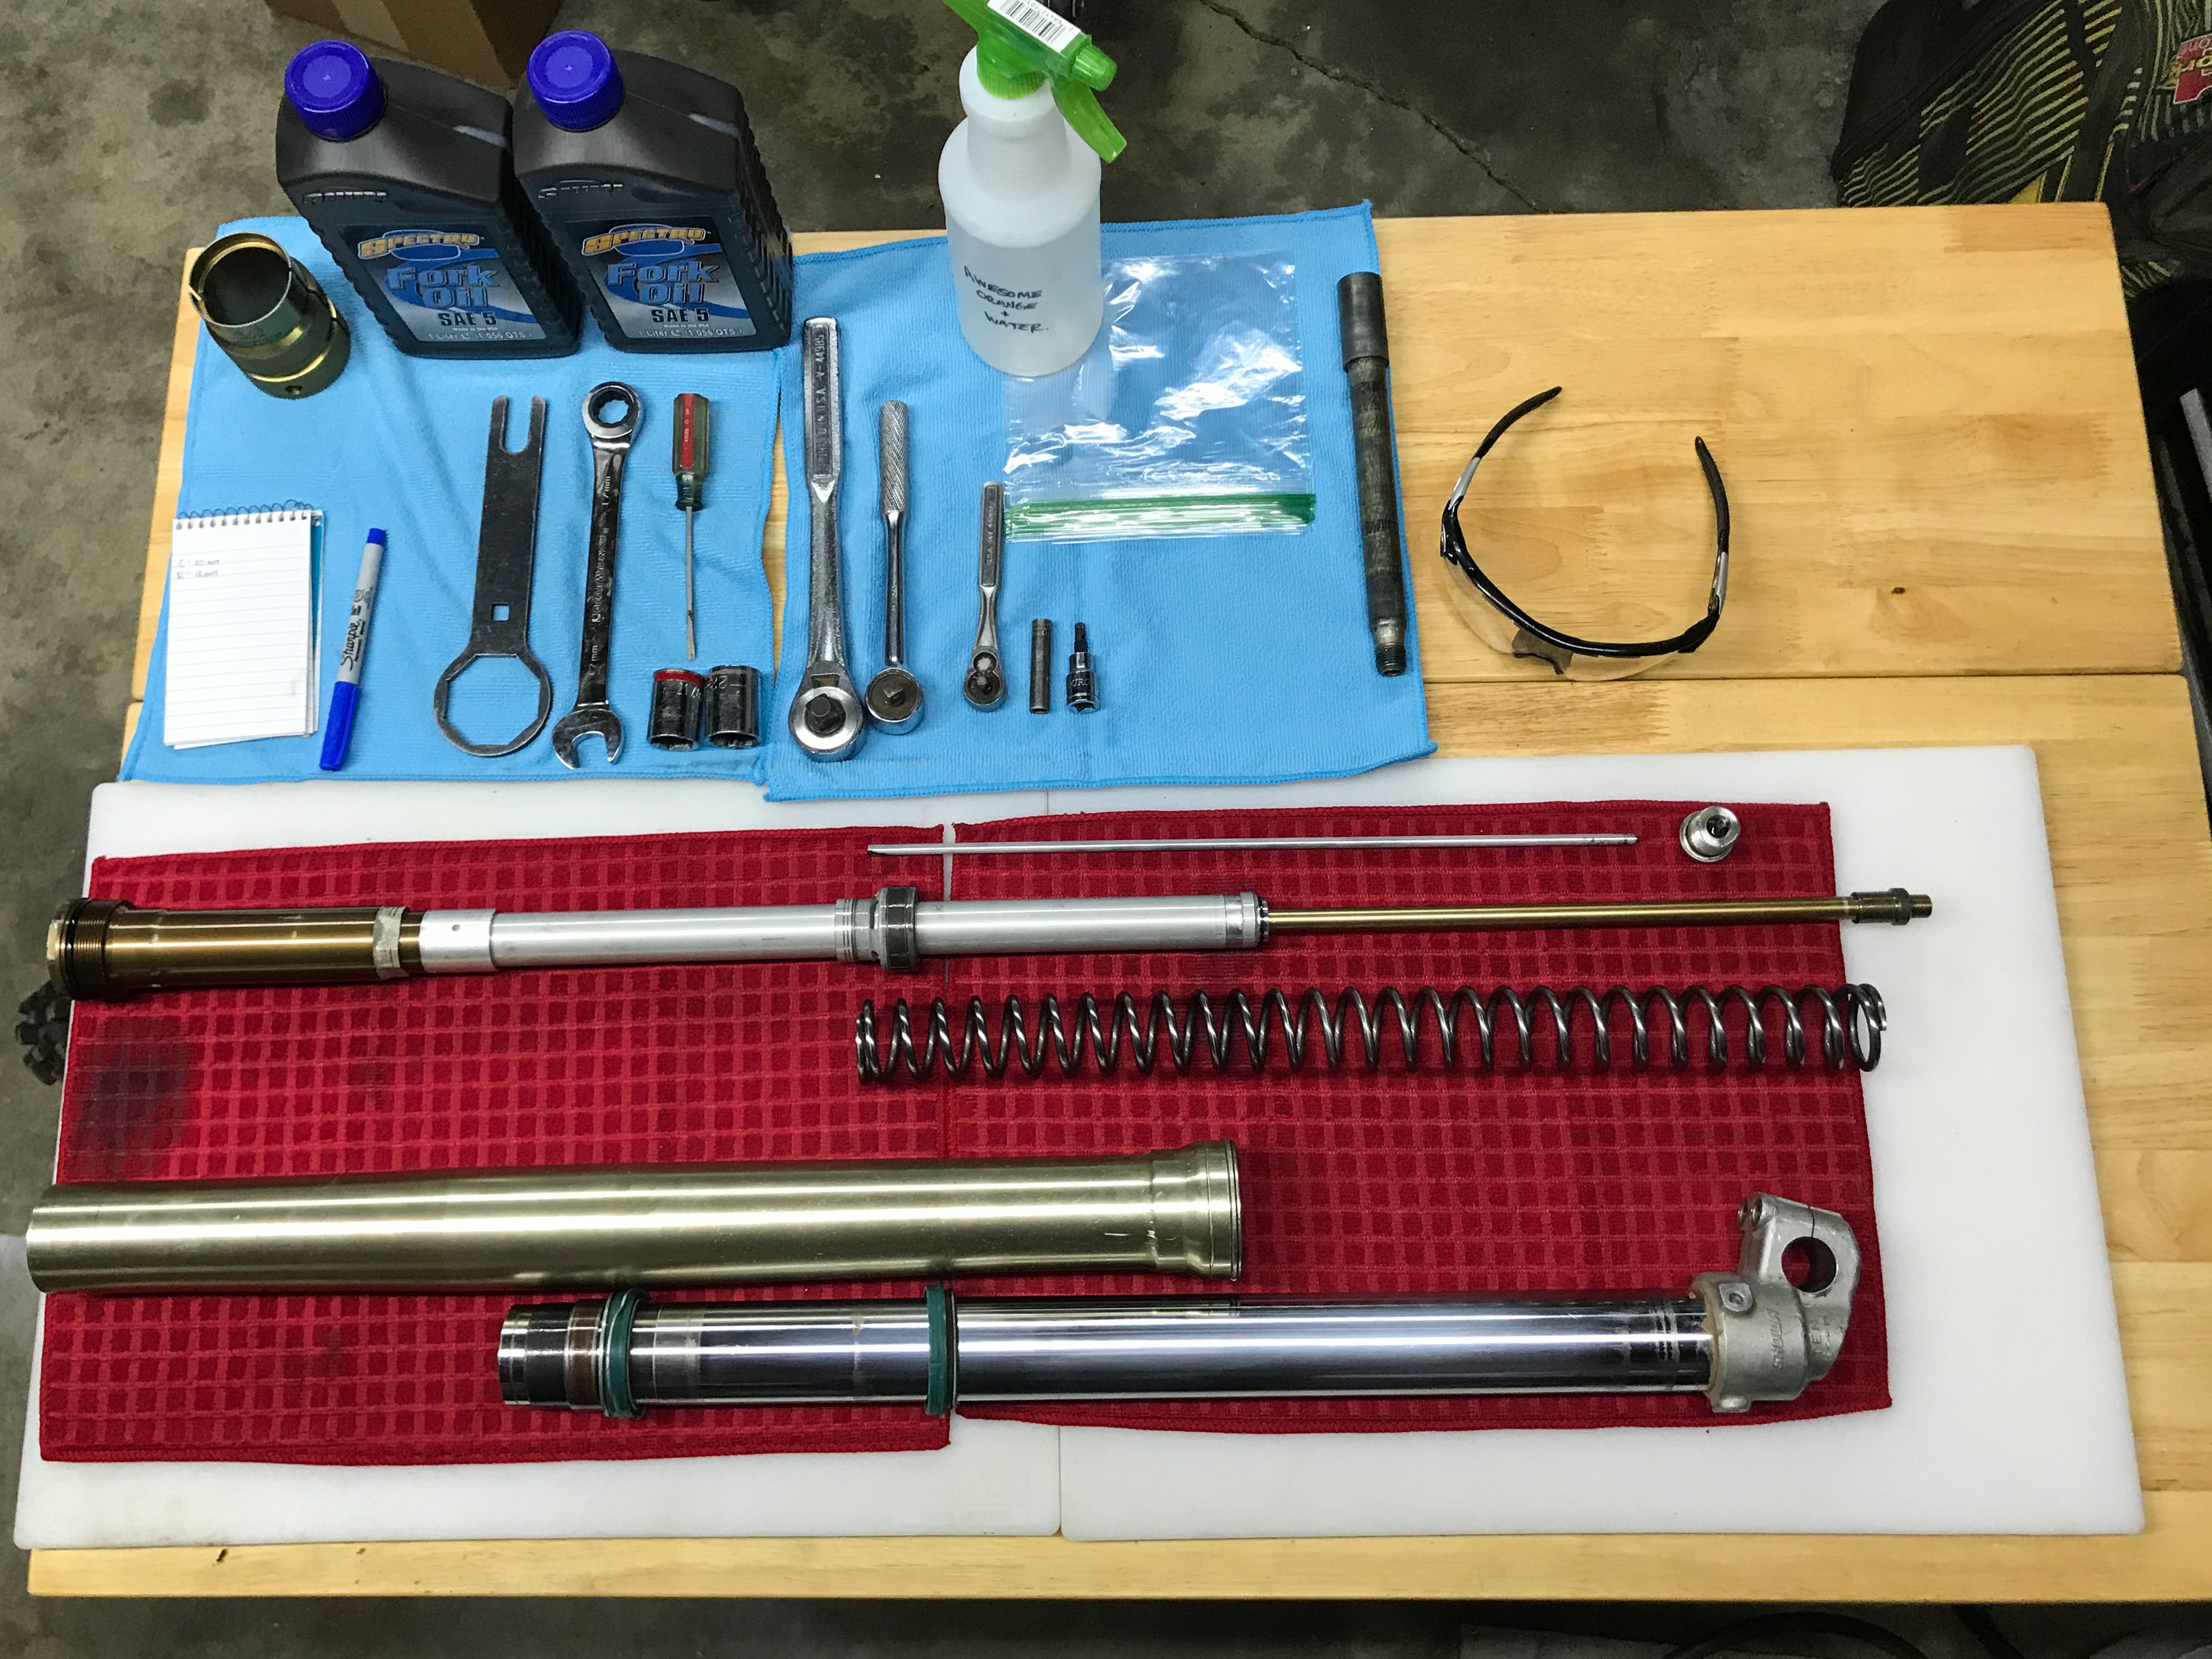
The first step before you begin your repair is ensuring you have the correct tools in your arsenal, and a set of new seals to install. Trying to “MacGyver” things with the incorrect tools can easily result in more repairs and more cost to you. Below is a list of tools we used for this project:

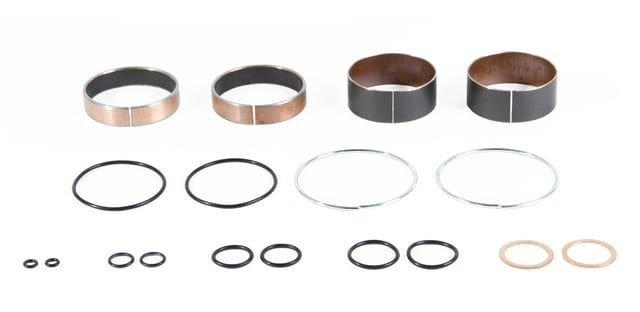
- 47mm ProX fork seal kit
- Torque wrench (recommended from a reputable company for accuracy)
- Socket wrench (3/8 drive)
- 8mm socket or 8mm T-handle wrench
- 10mm socket or 10mm T-handle wrench
- 17mm, 19mm, 21mm sockets
- 17mm open end wrench
- 5mm Allen wrench
- Fork cap wrench
- #2 flat head screw driver
- 47mm fork seal bullet
- 48mm fork seal driver
- Seal and O-ring grease
- 5W fork fluid (or whatever is recommended in your manual)
- Pen and paper
- 600 grit wet/dry sand paper
- Work bench vise with rubber padded jaws
- Oil drain pan
- Suspension-specific cleaning chemical (ex: Maxima Suspension Clean)
- Awesome Orange (diluted with water 50/50 mixture)
- Microfiber towels
**NOTE: Tool sizes may vary depending on the suspension’s manufacture.
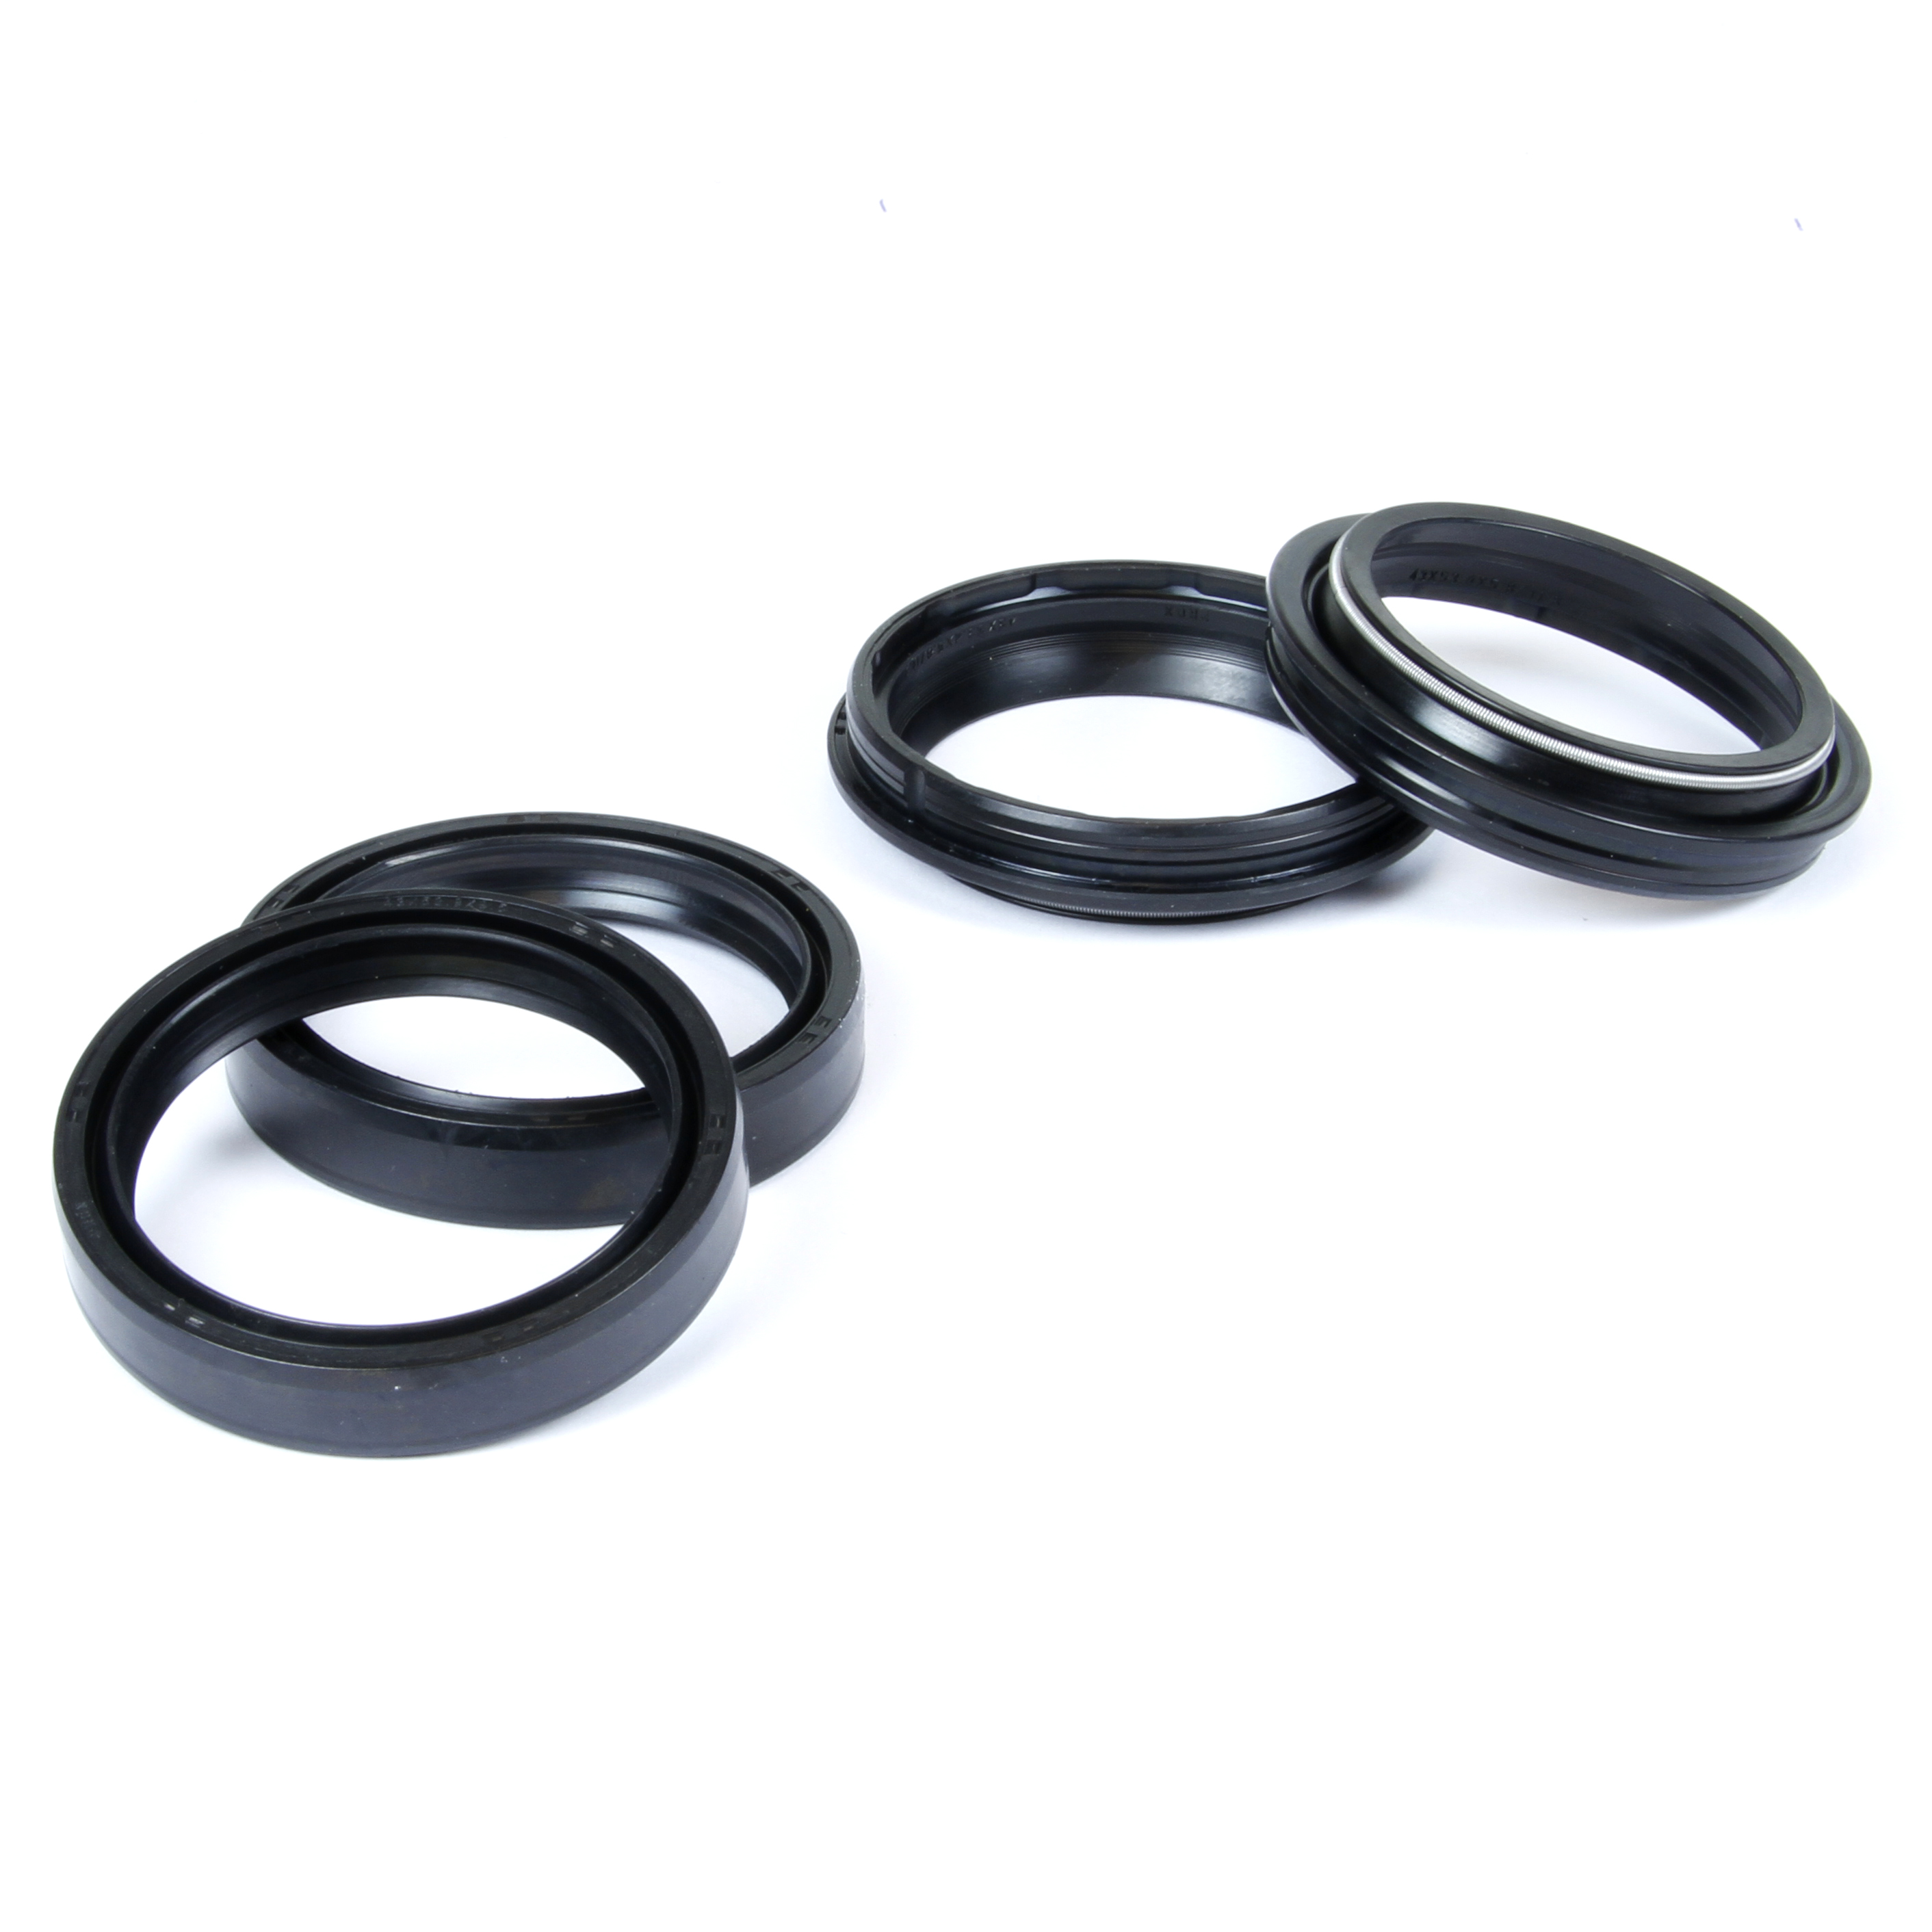
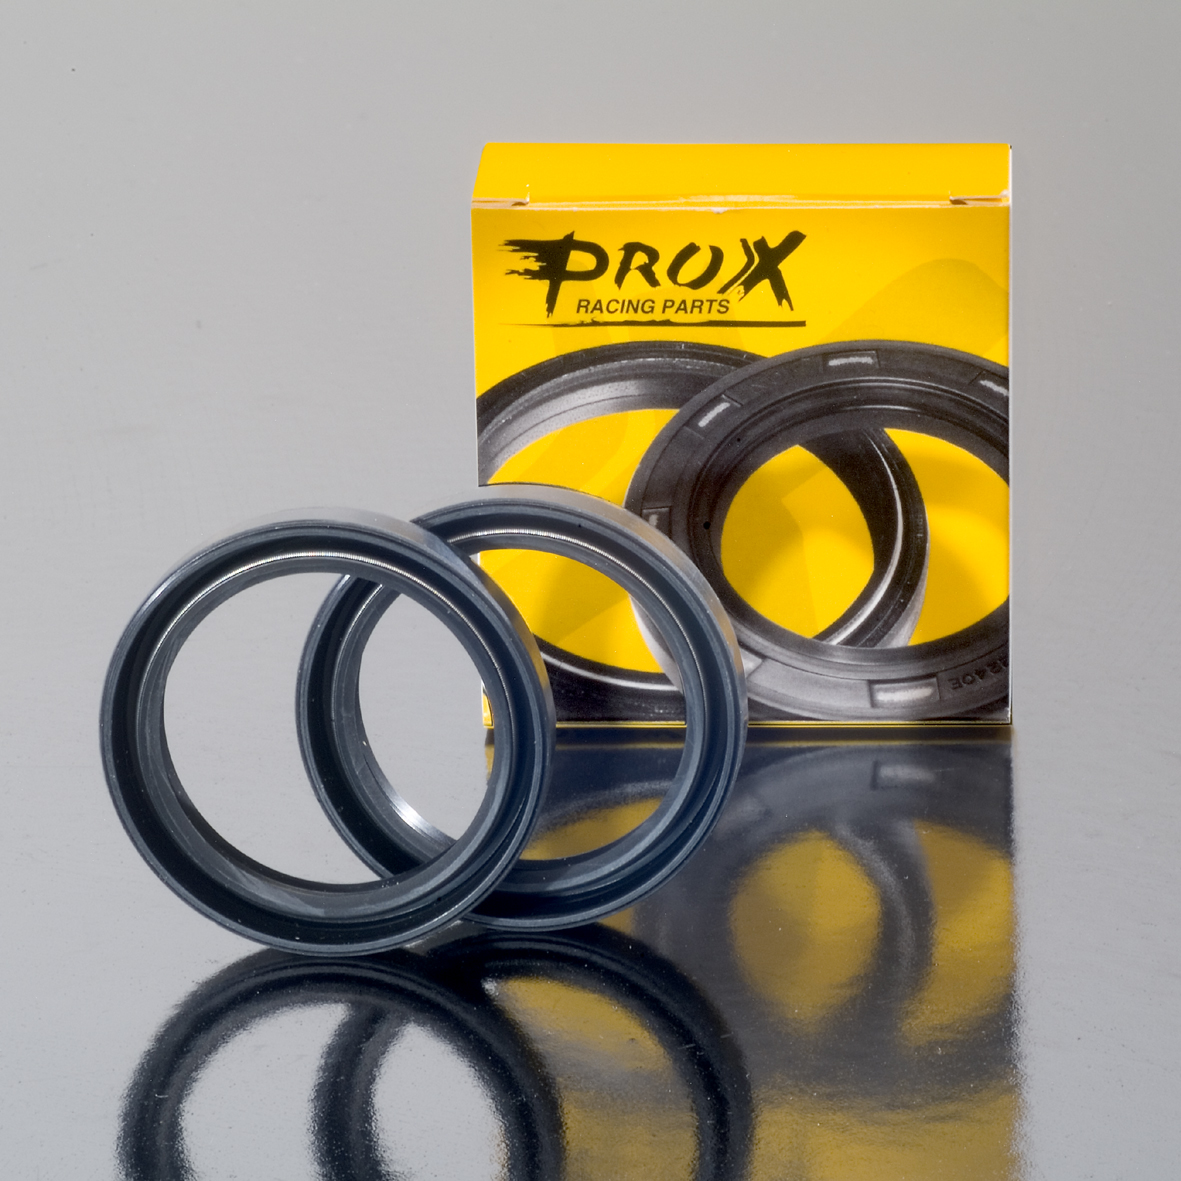
There are many choices when sourcing new seals. OEMs are great, but can be overpriced. ProX oil seals and dust seals are made by the same OE suppliers in Japan to meet OEM quality without the price tag. They are available both individually and as sets.
To start, it is always a good idea to have all your tools laid out on a clean work bench or table. Start by placing your bike on a stand and removing your front wheel, then your forks. Be sure to remove the fork guards and brake caliper (when applicable) before loosening the triple clamps and removing the forks completely.


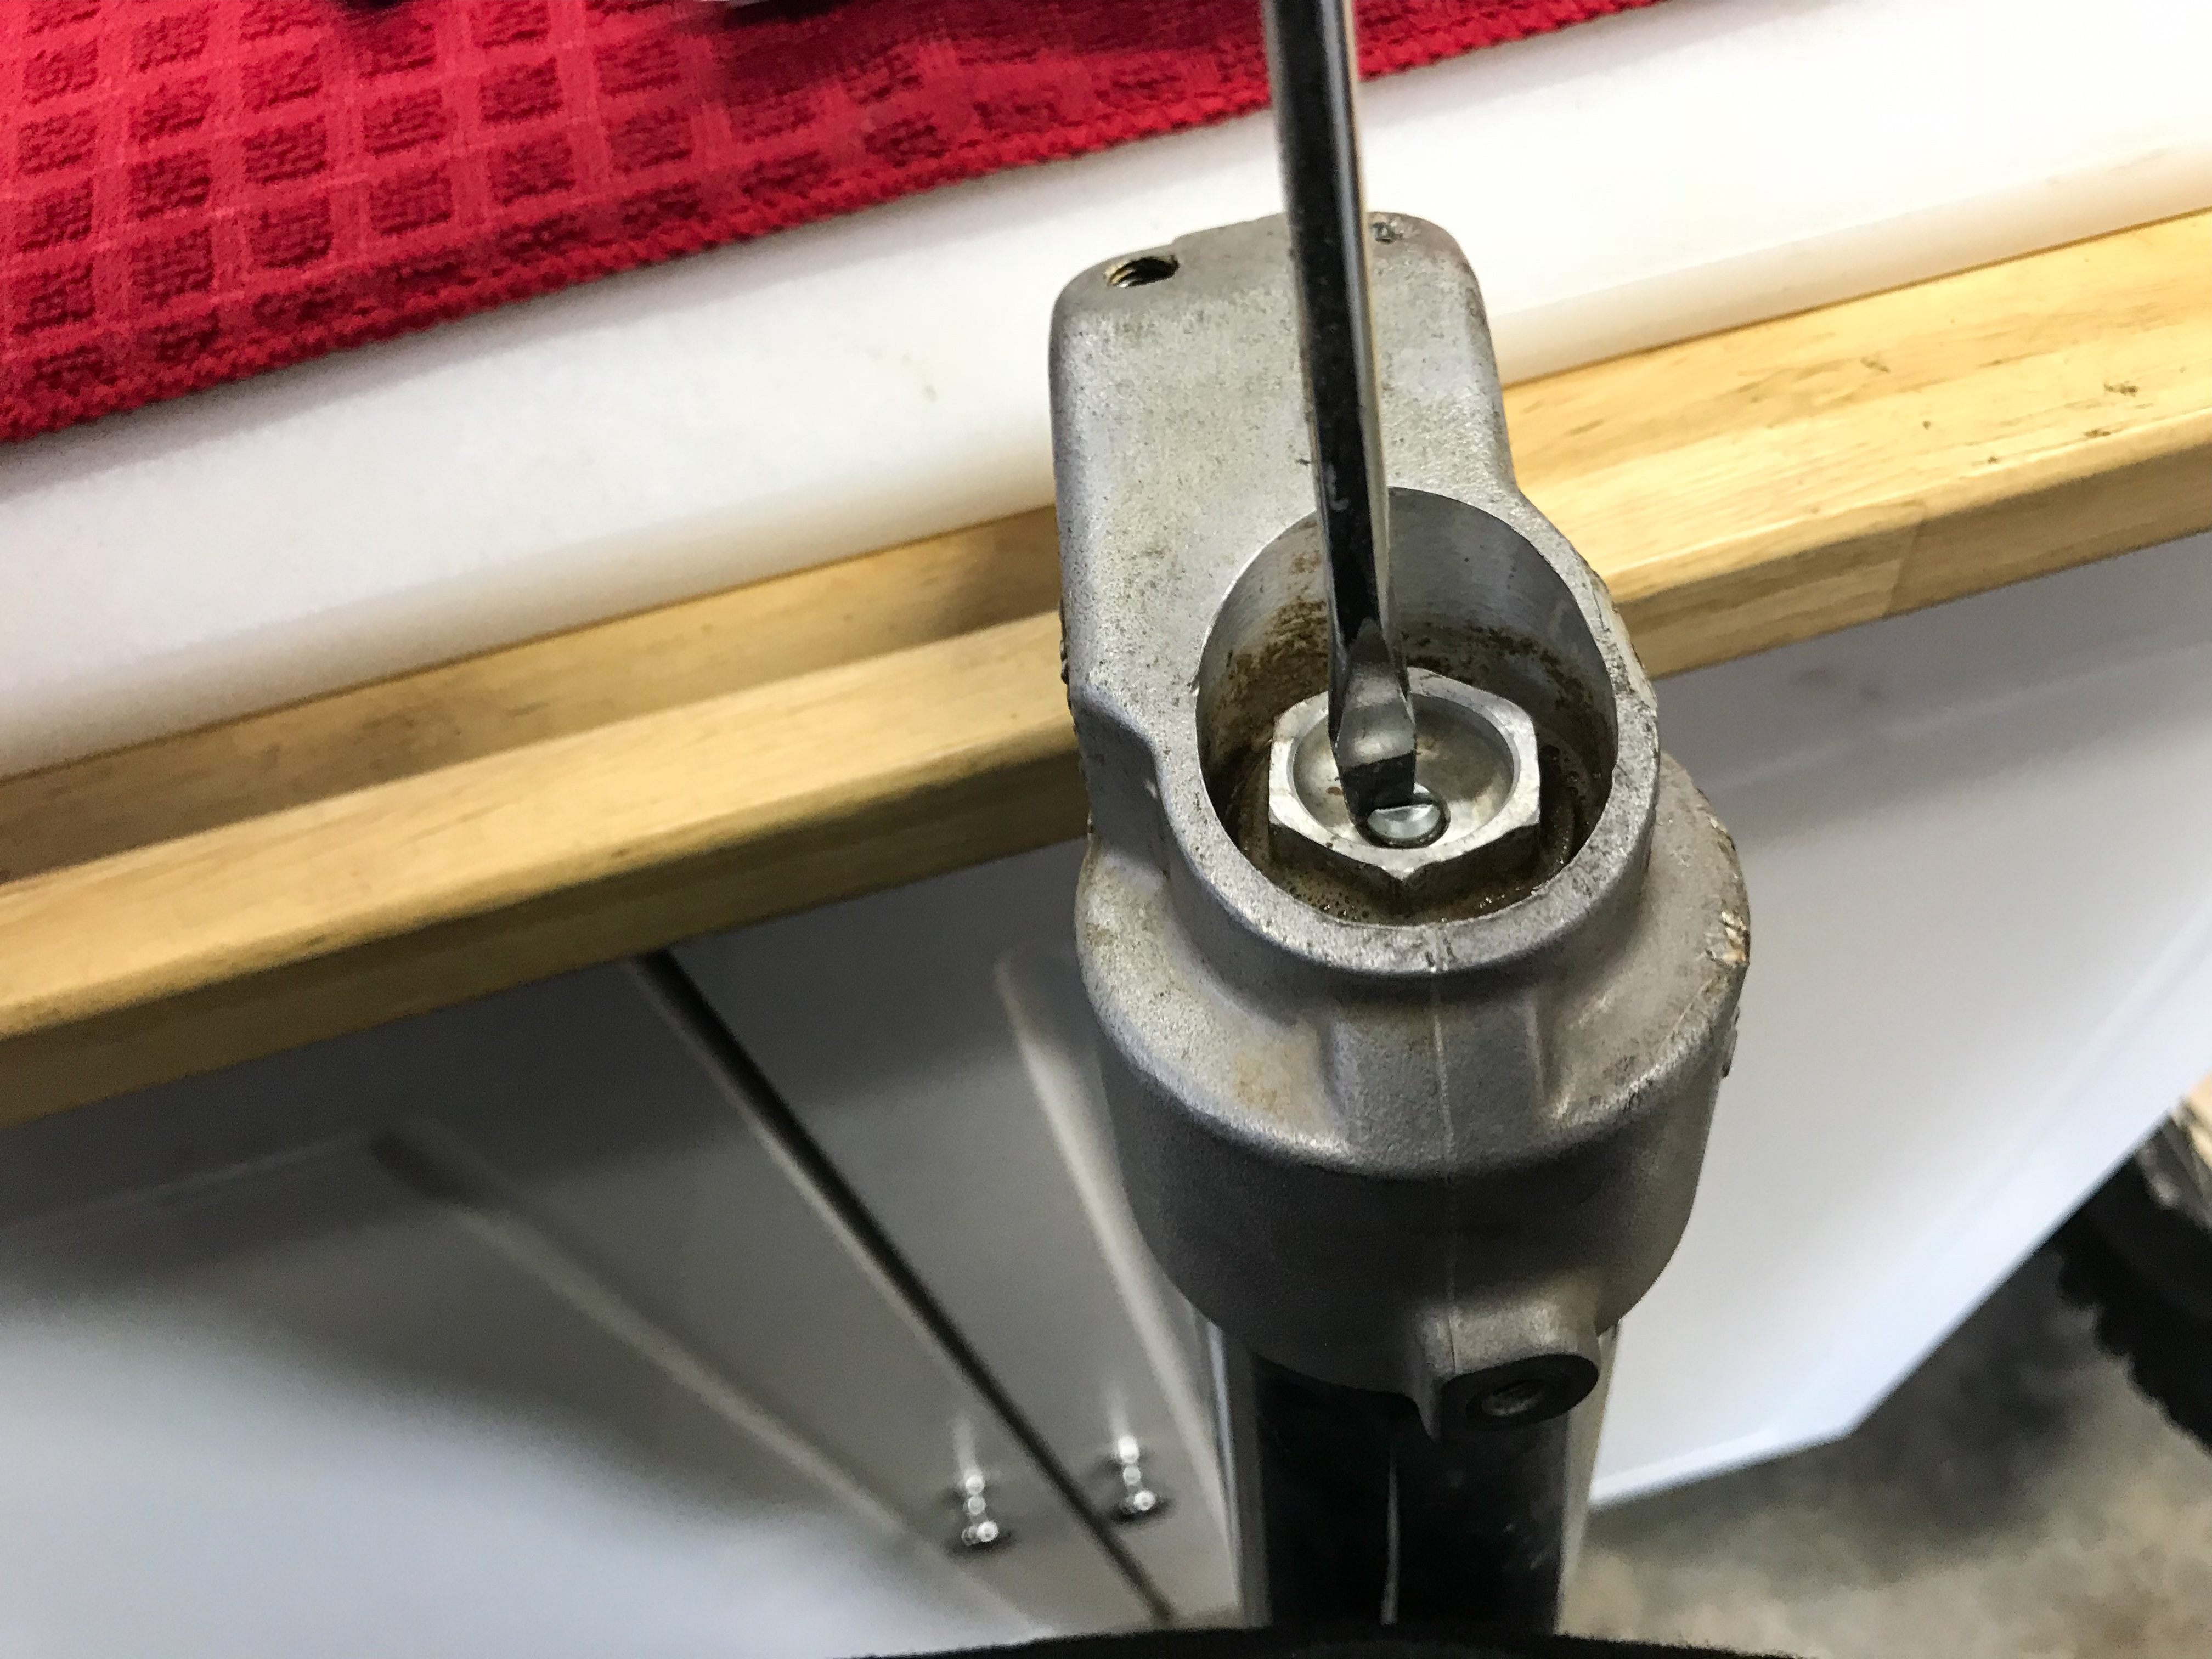
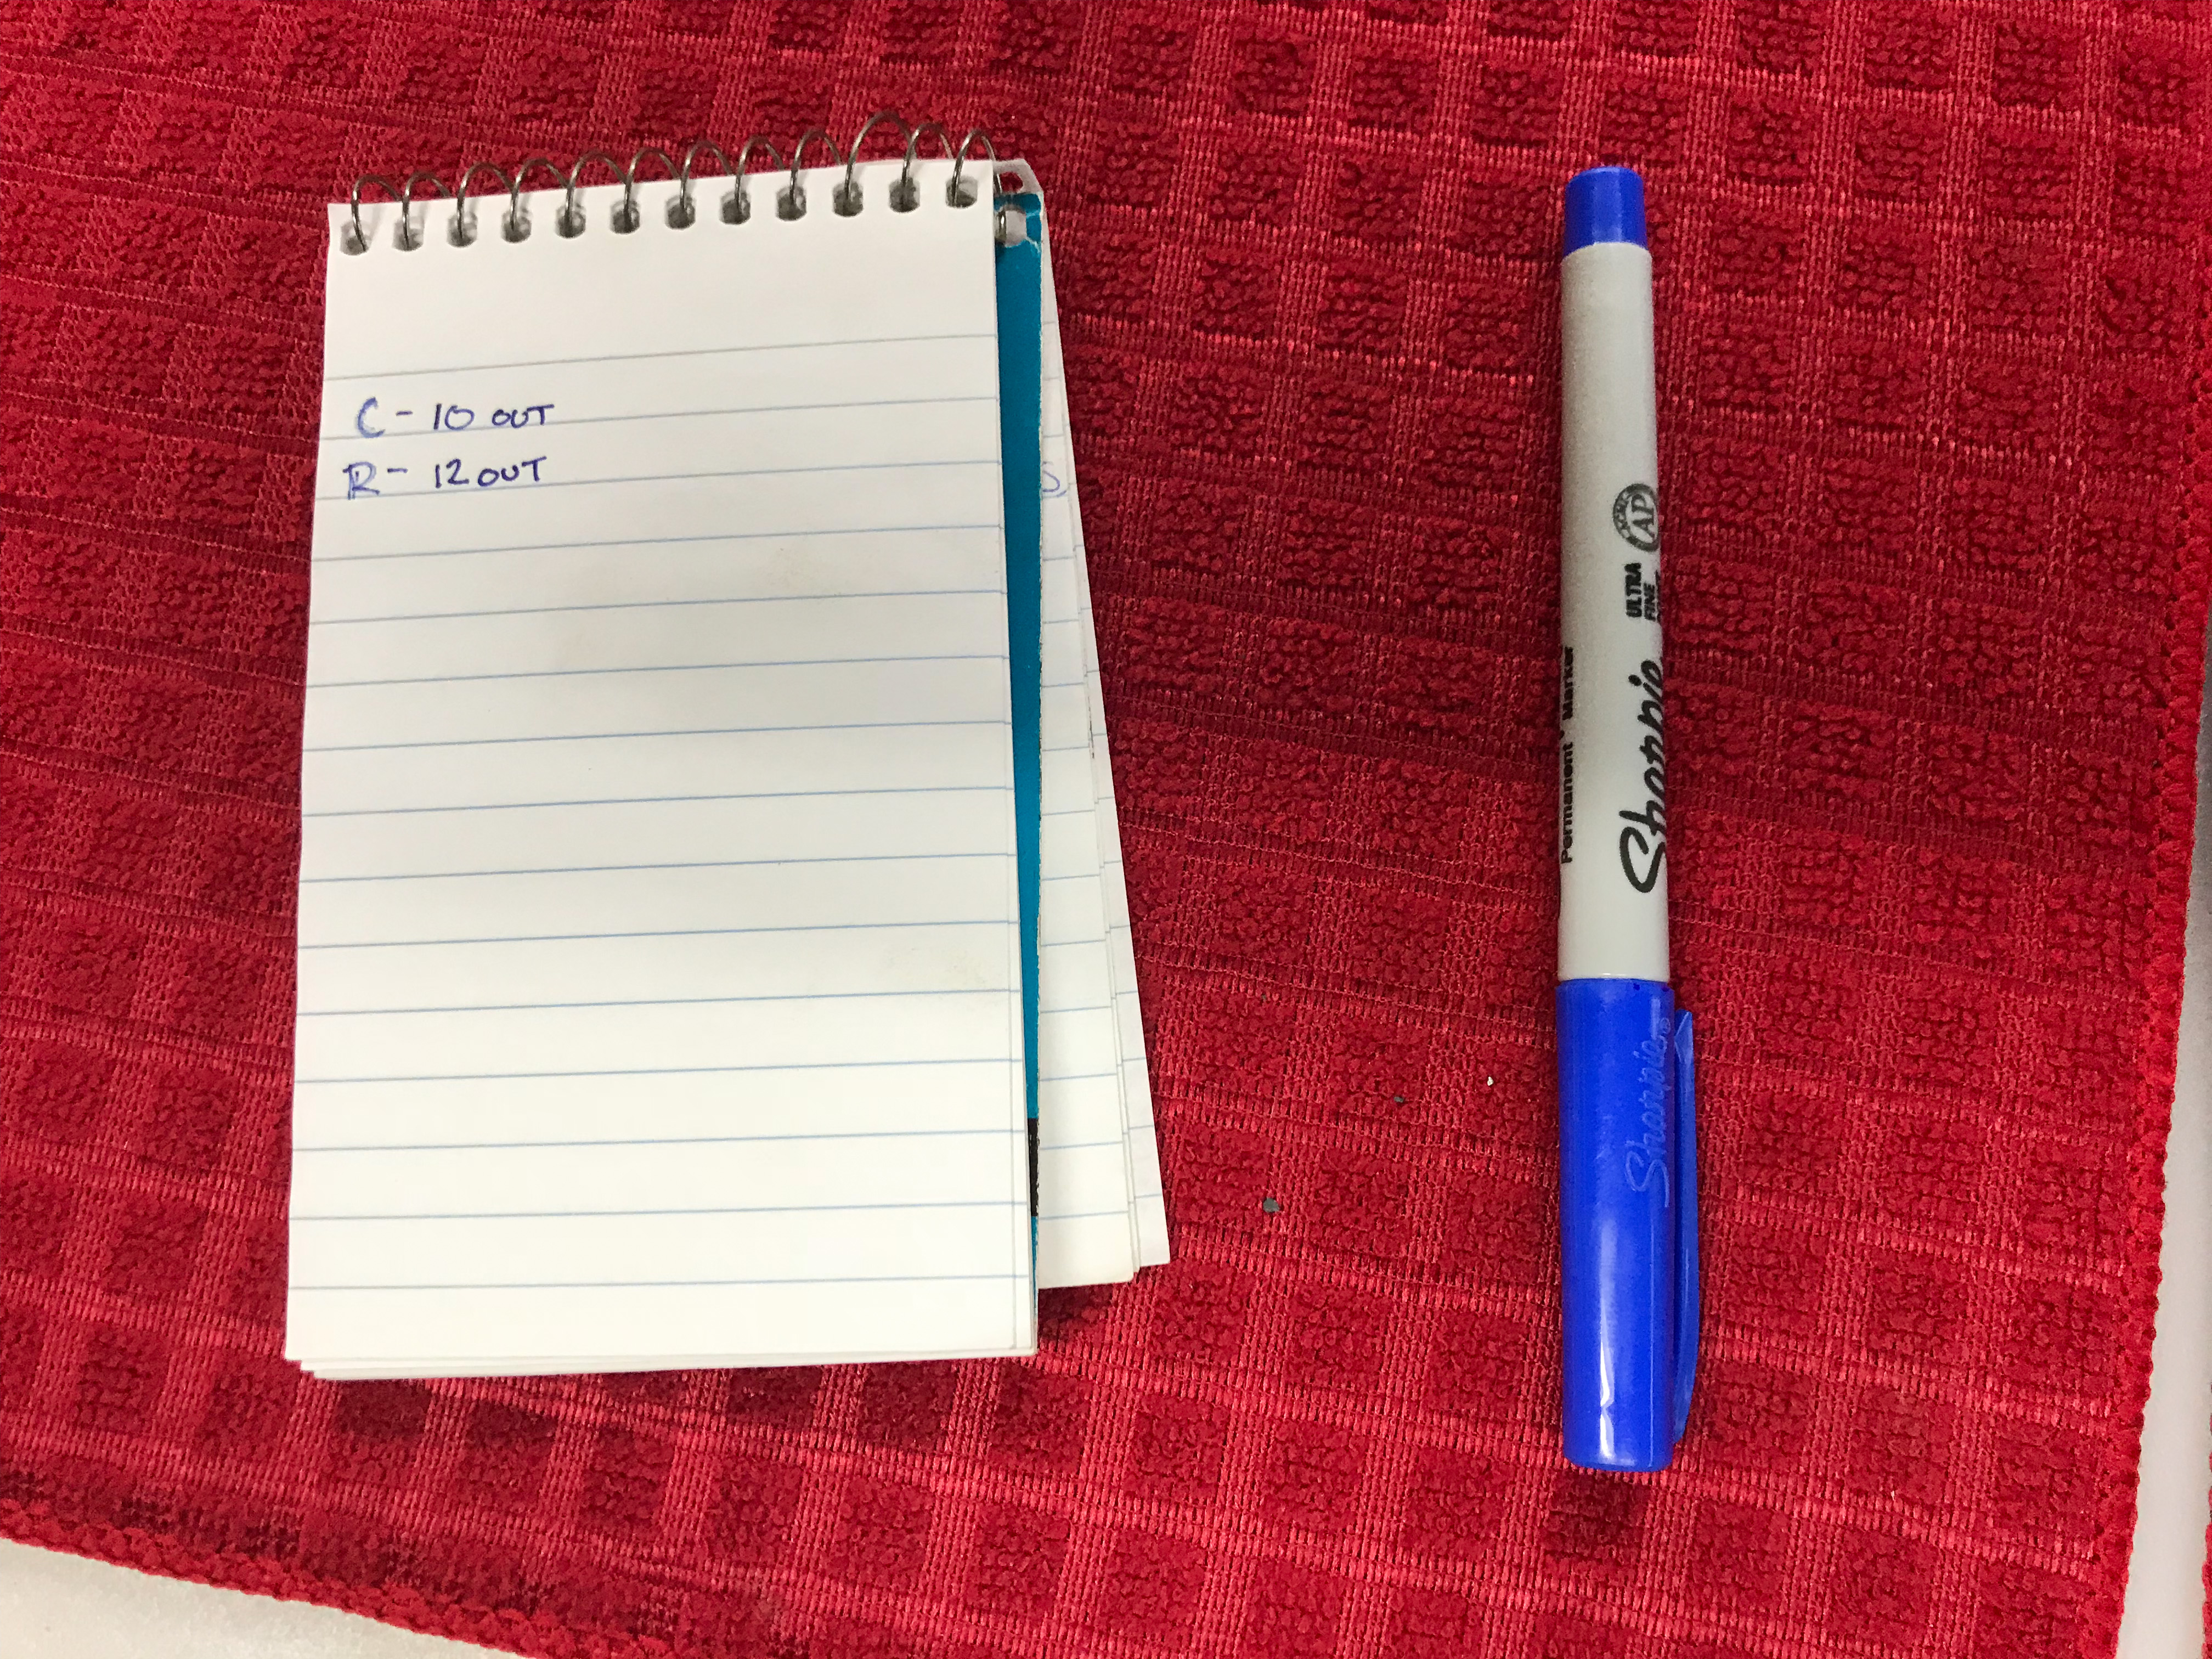
Check your rebound clicker settings using a flat head screwdriver and write them down. To do this, turn the clicker clockwise, counting each notch you feel until it stops. Once it stops, do not force it. The number of clicks is your setting. You will need to reset to this after reassembling your fork.
Now, with the clicker settings recorded and the fork(s) completely removed from the bike, we can begin the seal replacement process.
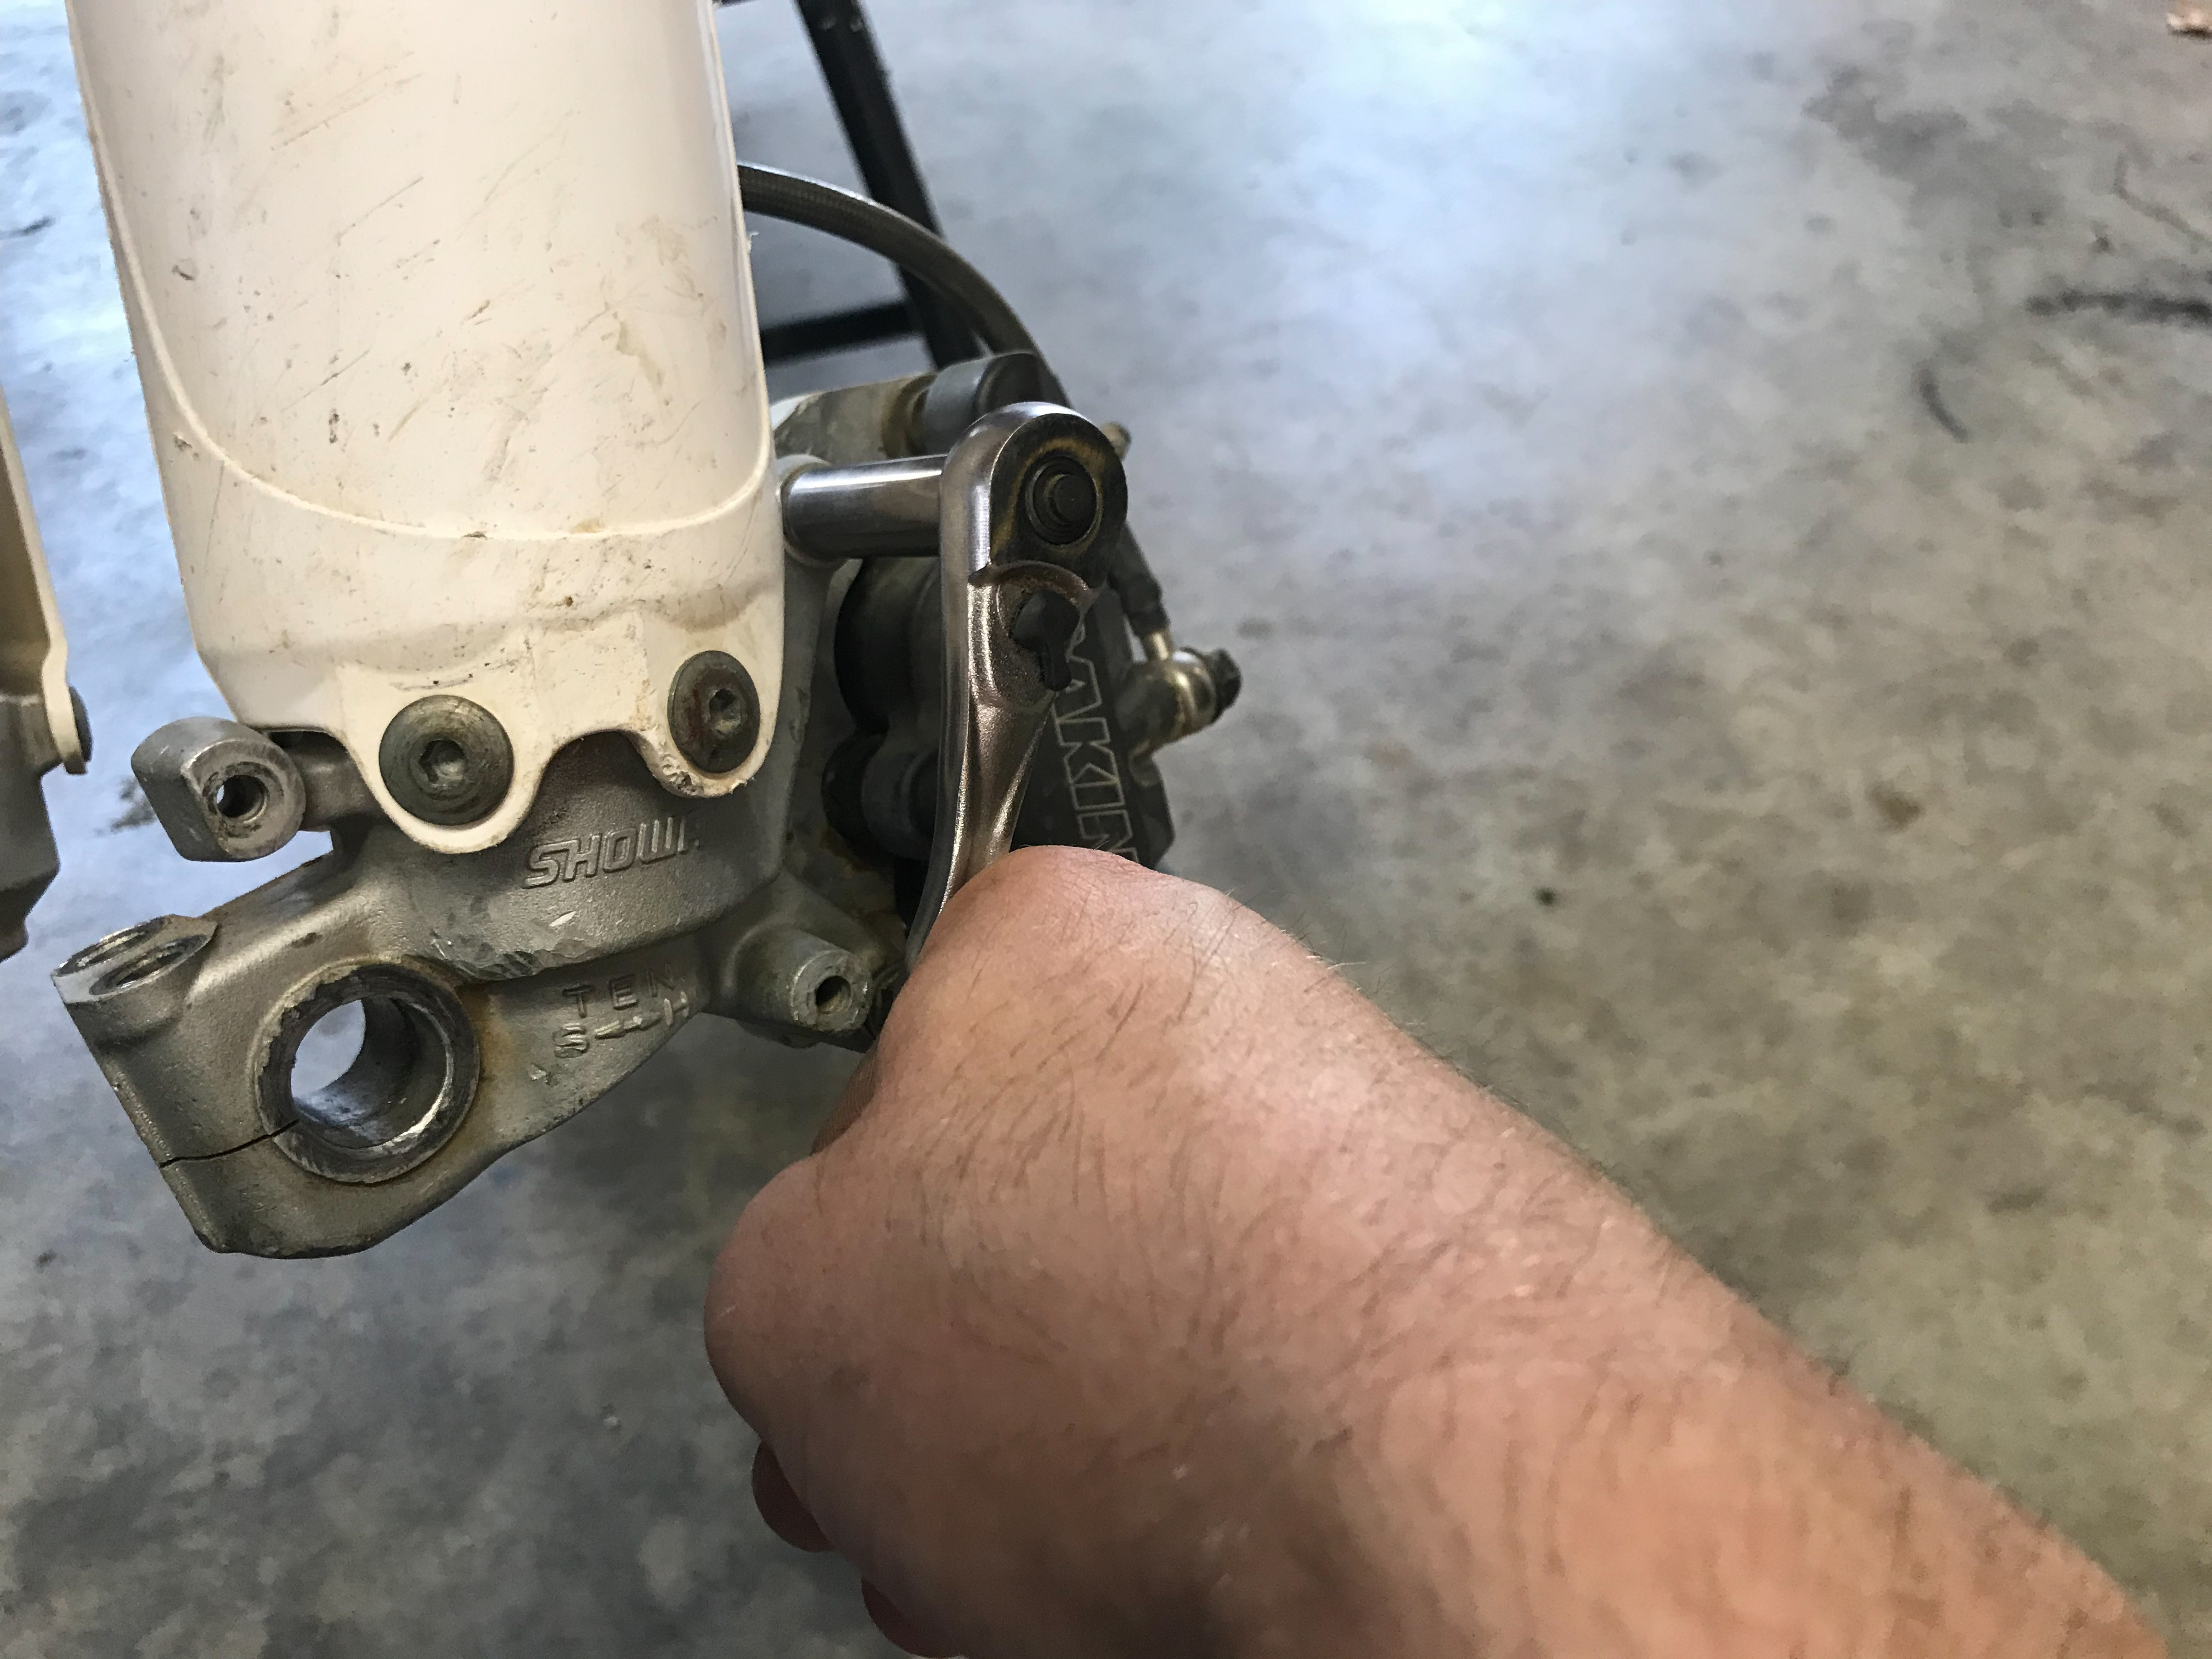
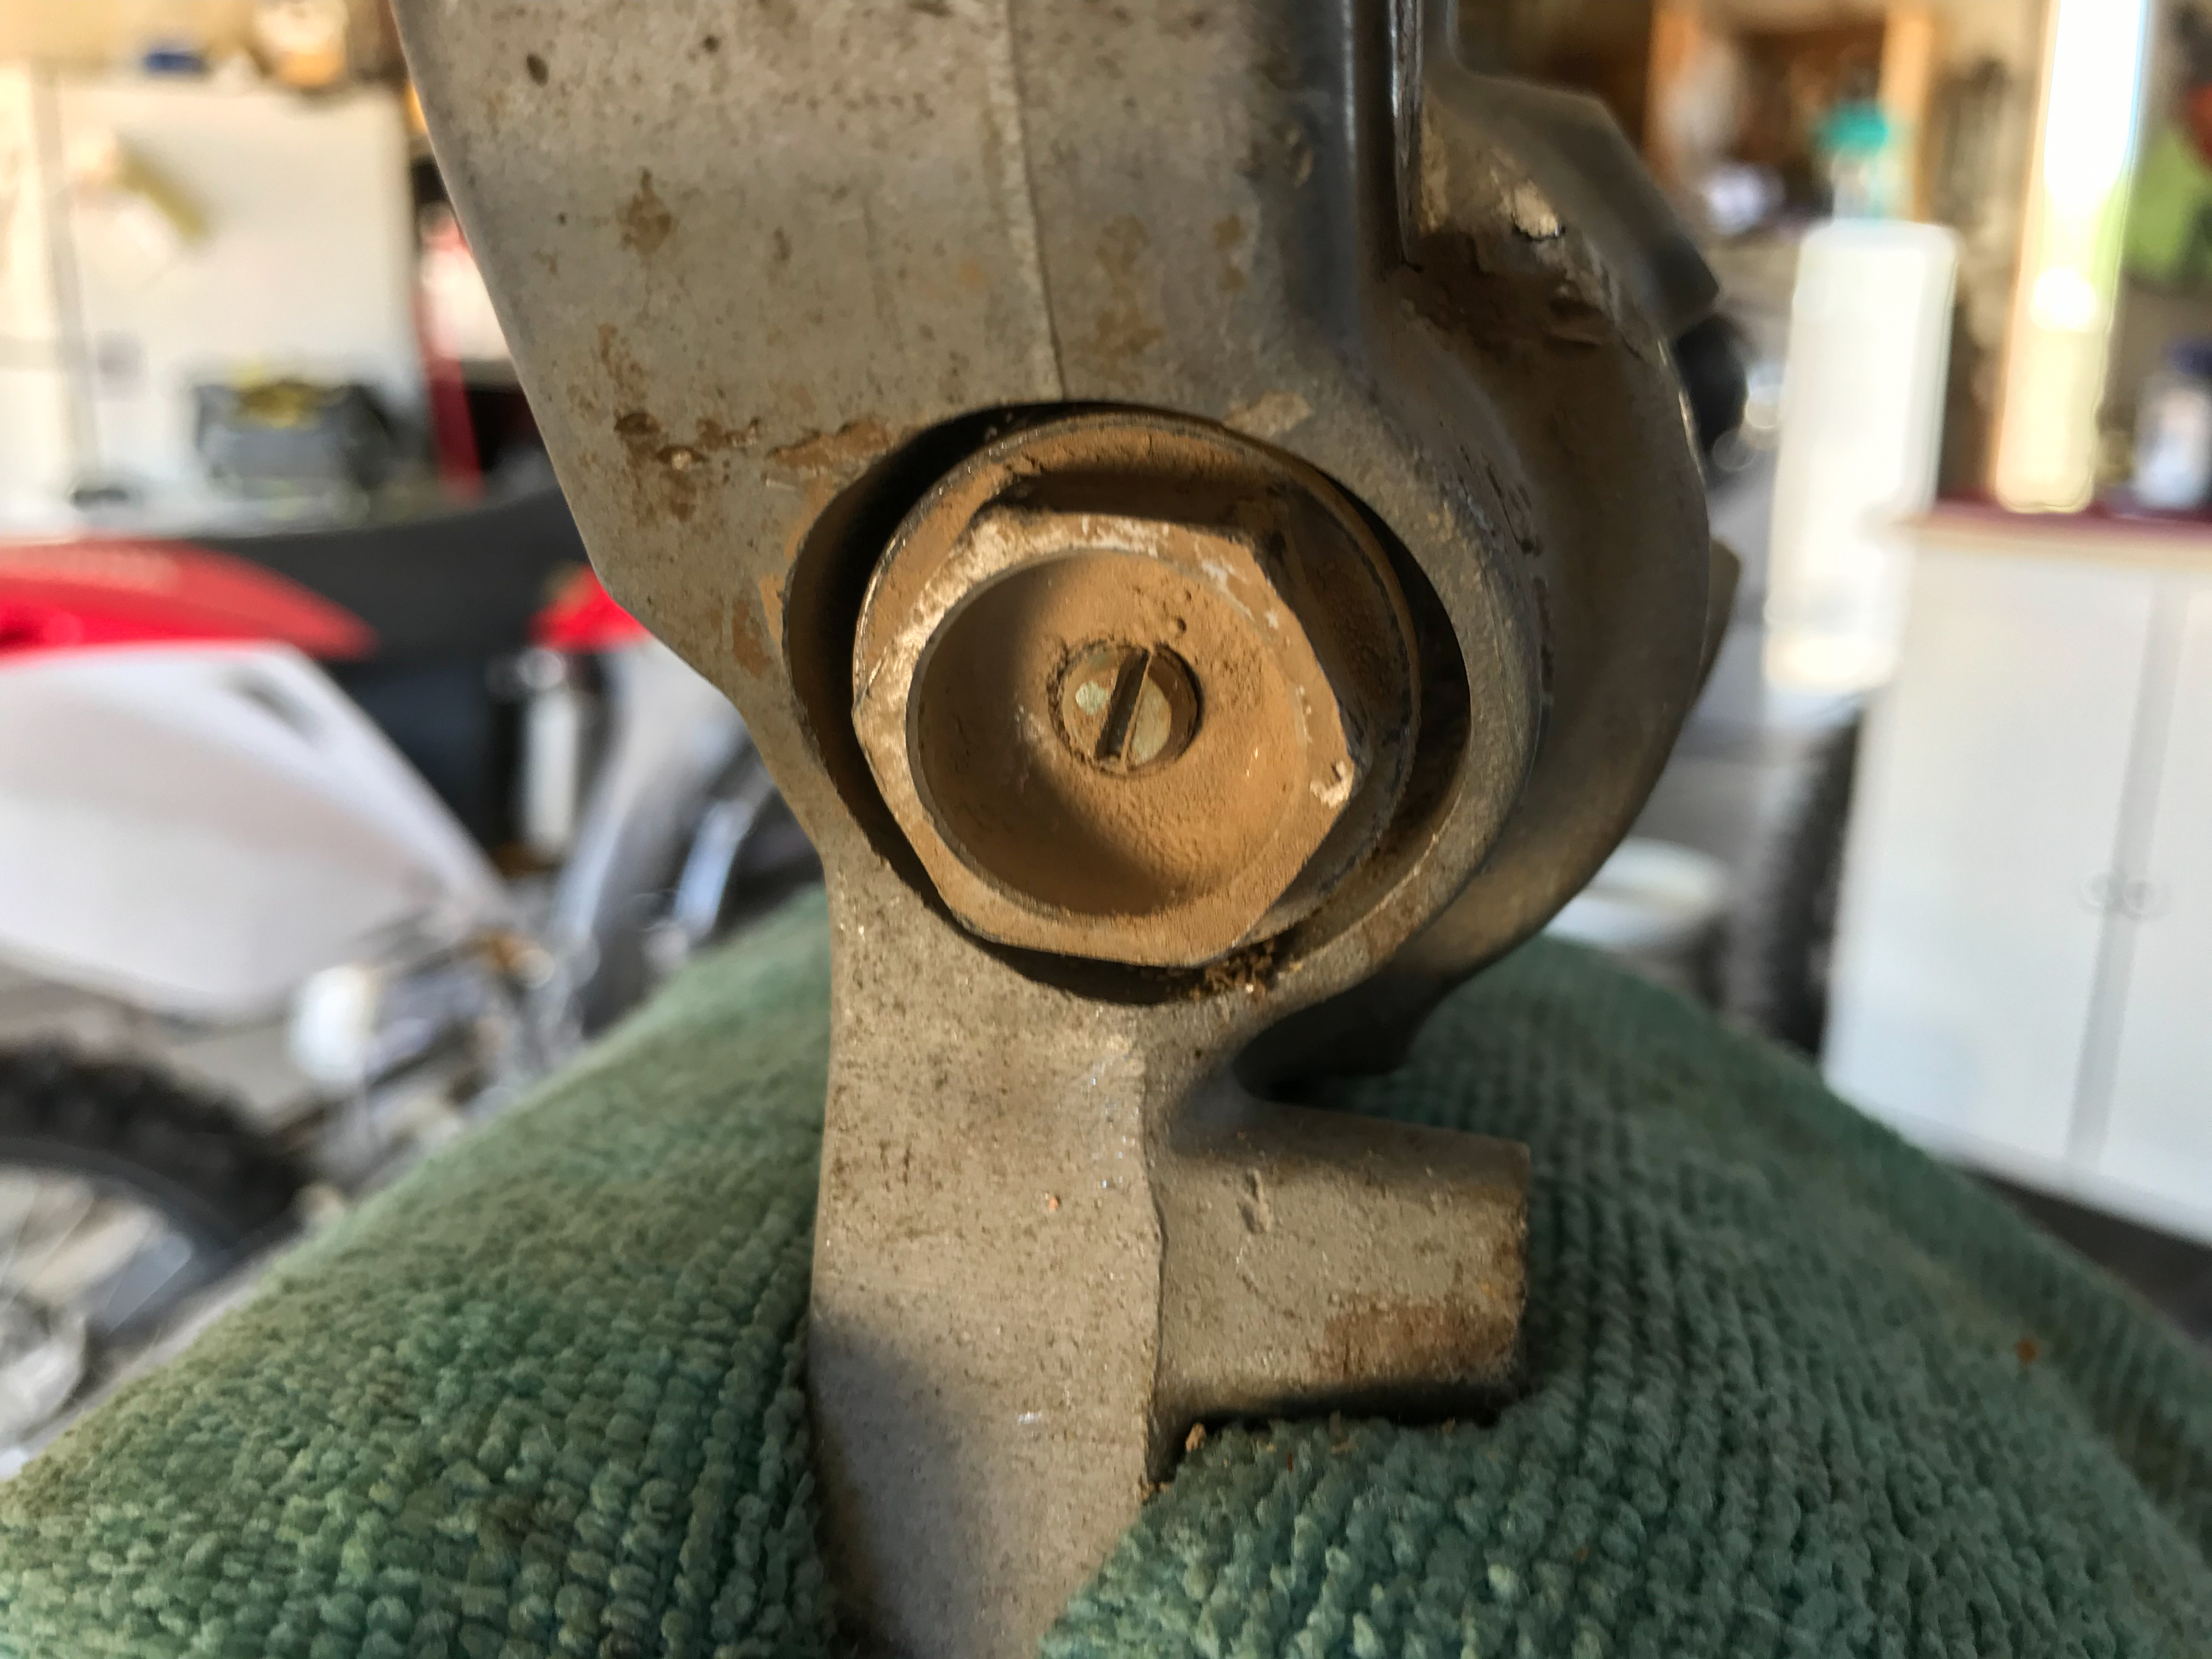
- Place the fork in the vise by clamping it by the axle lug.
- Using a socket/wrench, fully loosen the bottom bolt underneath the axle lug.


- Be careful with this step, it can be a bit tricky. Once the bottom bolt is loose, you will need to compress the fork by pulling the top of the fork toward the axle lug.
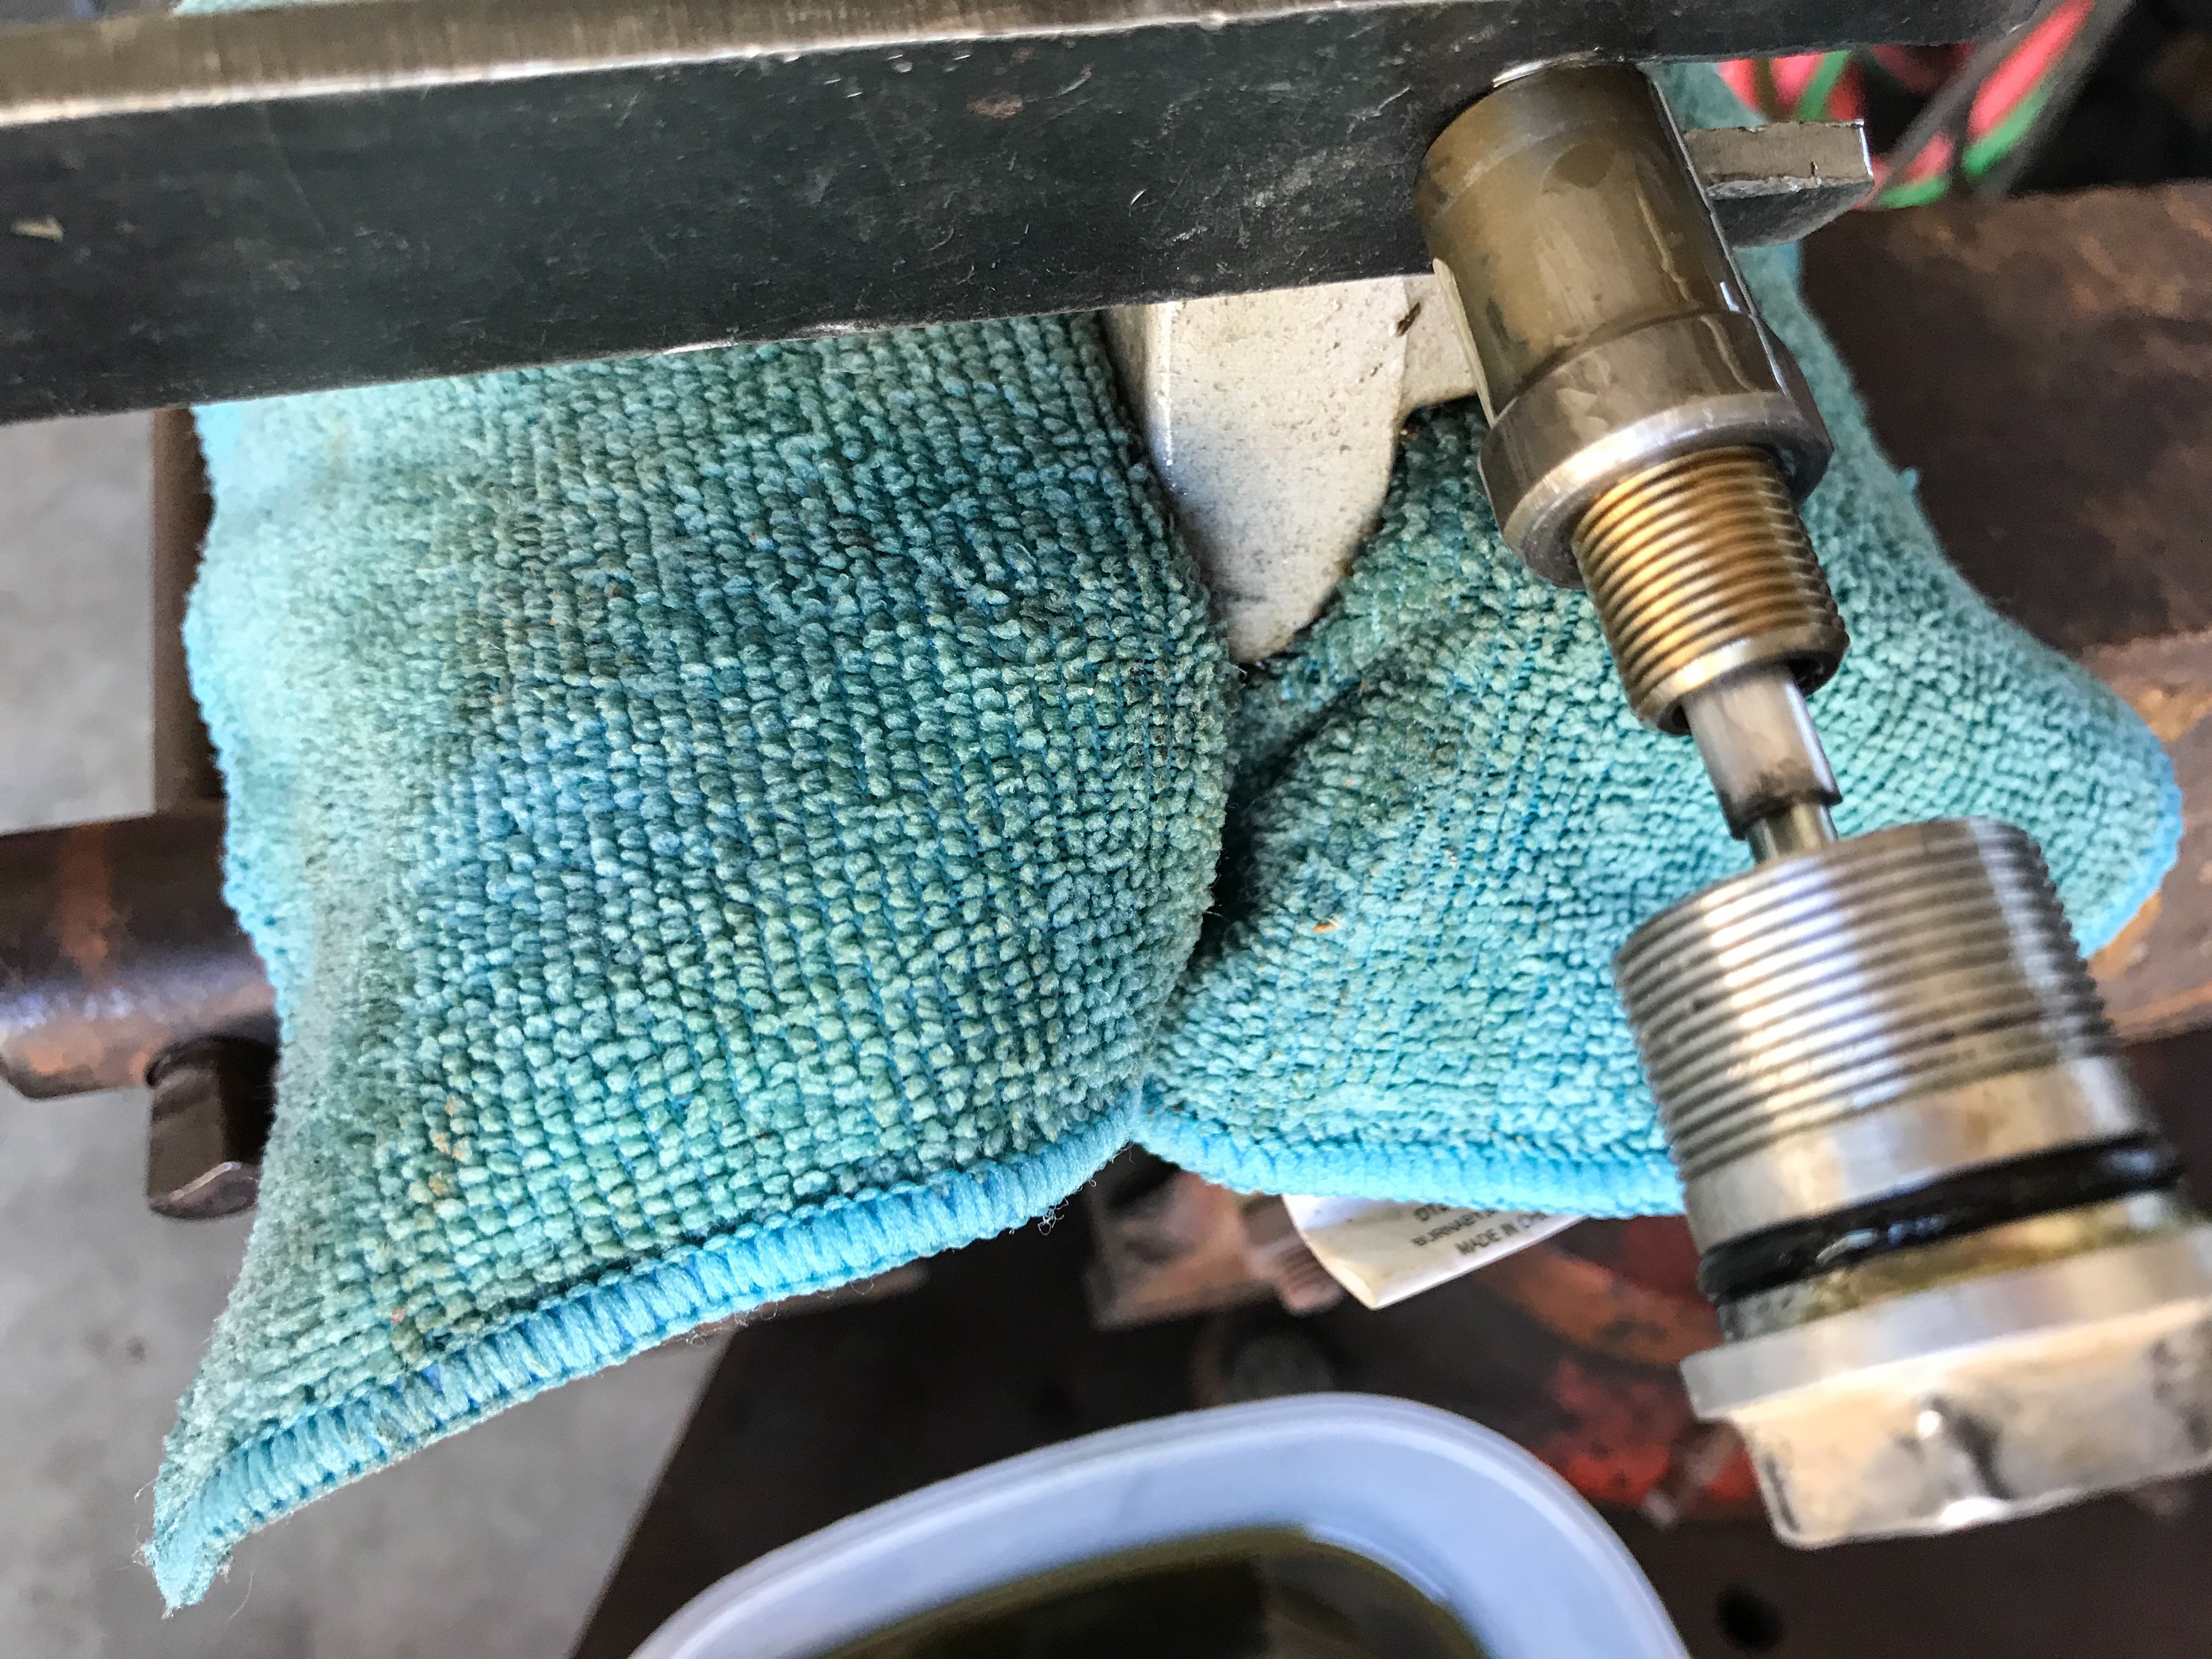
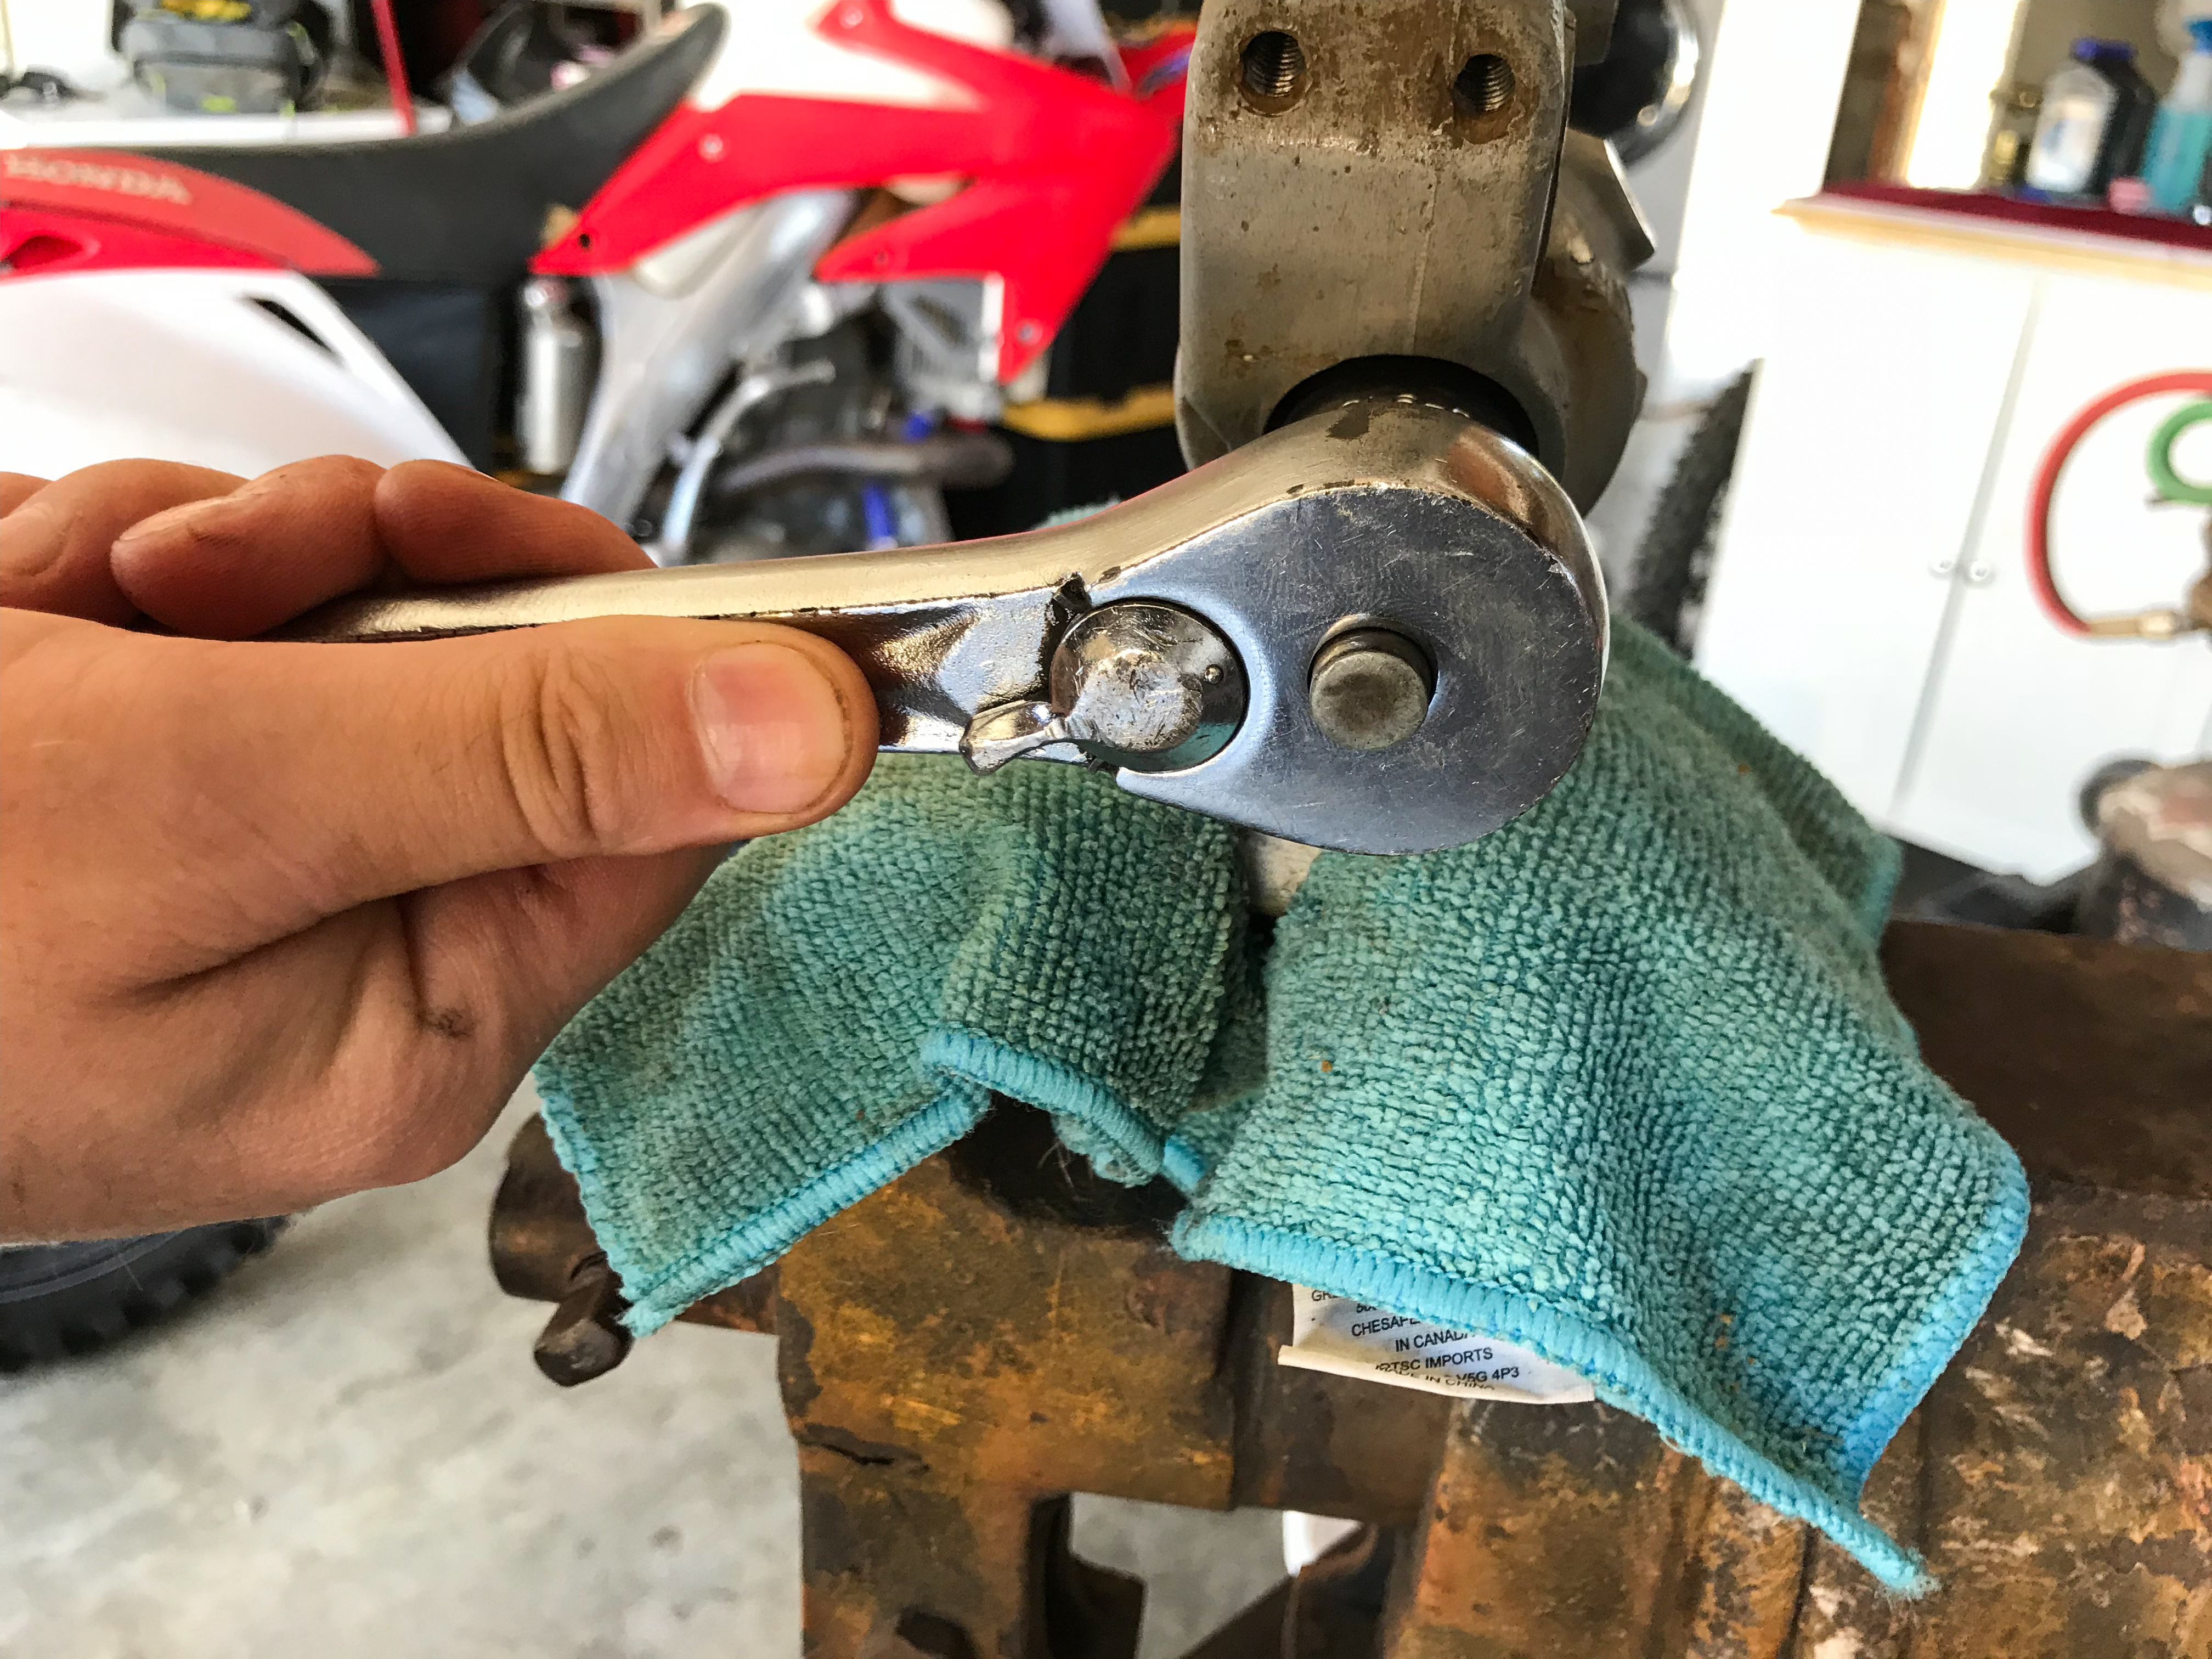
- With the fork compressed and the damping rod exposed, using the fork end of the fork cap wrench, slide the damping into the middle of the “U” shaped prongs behind the jam nut and slowly let the fork rebound to lock the tool against the axle lug.
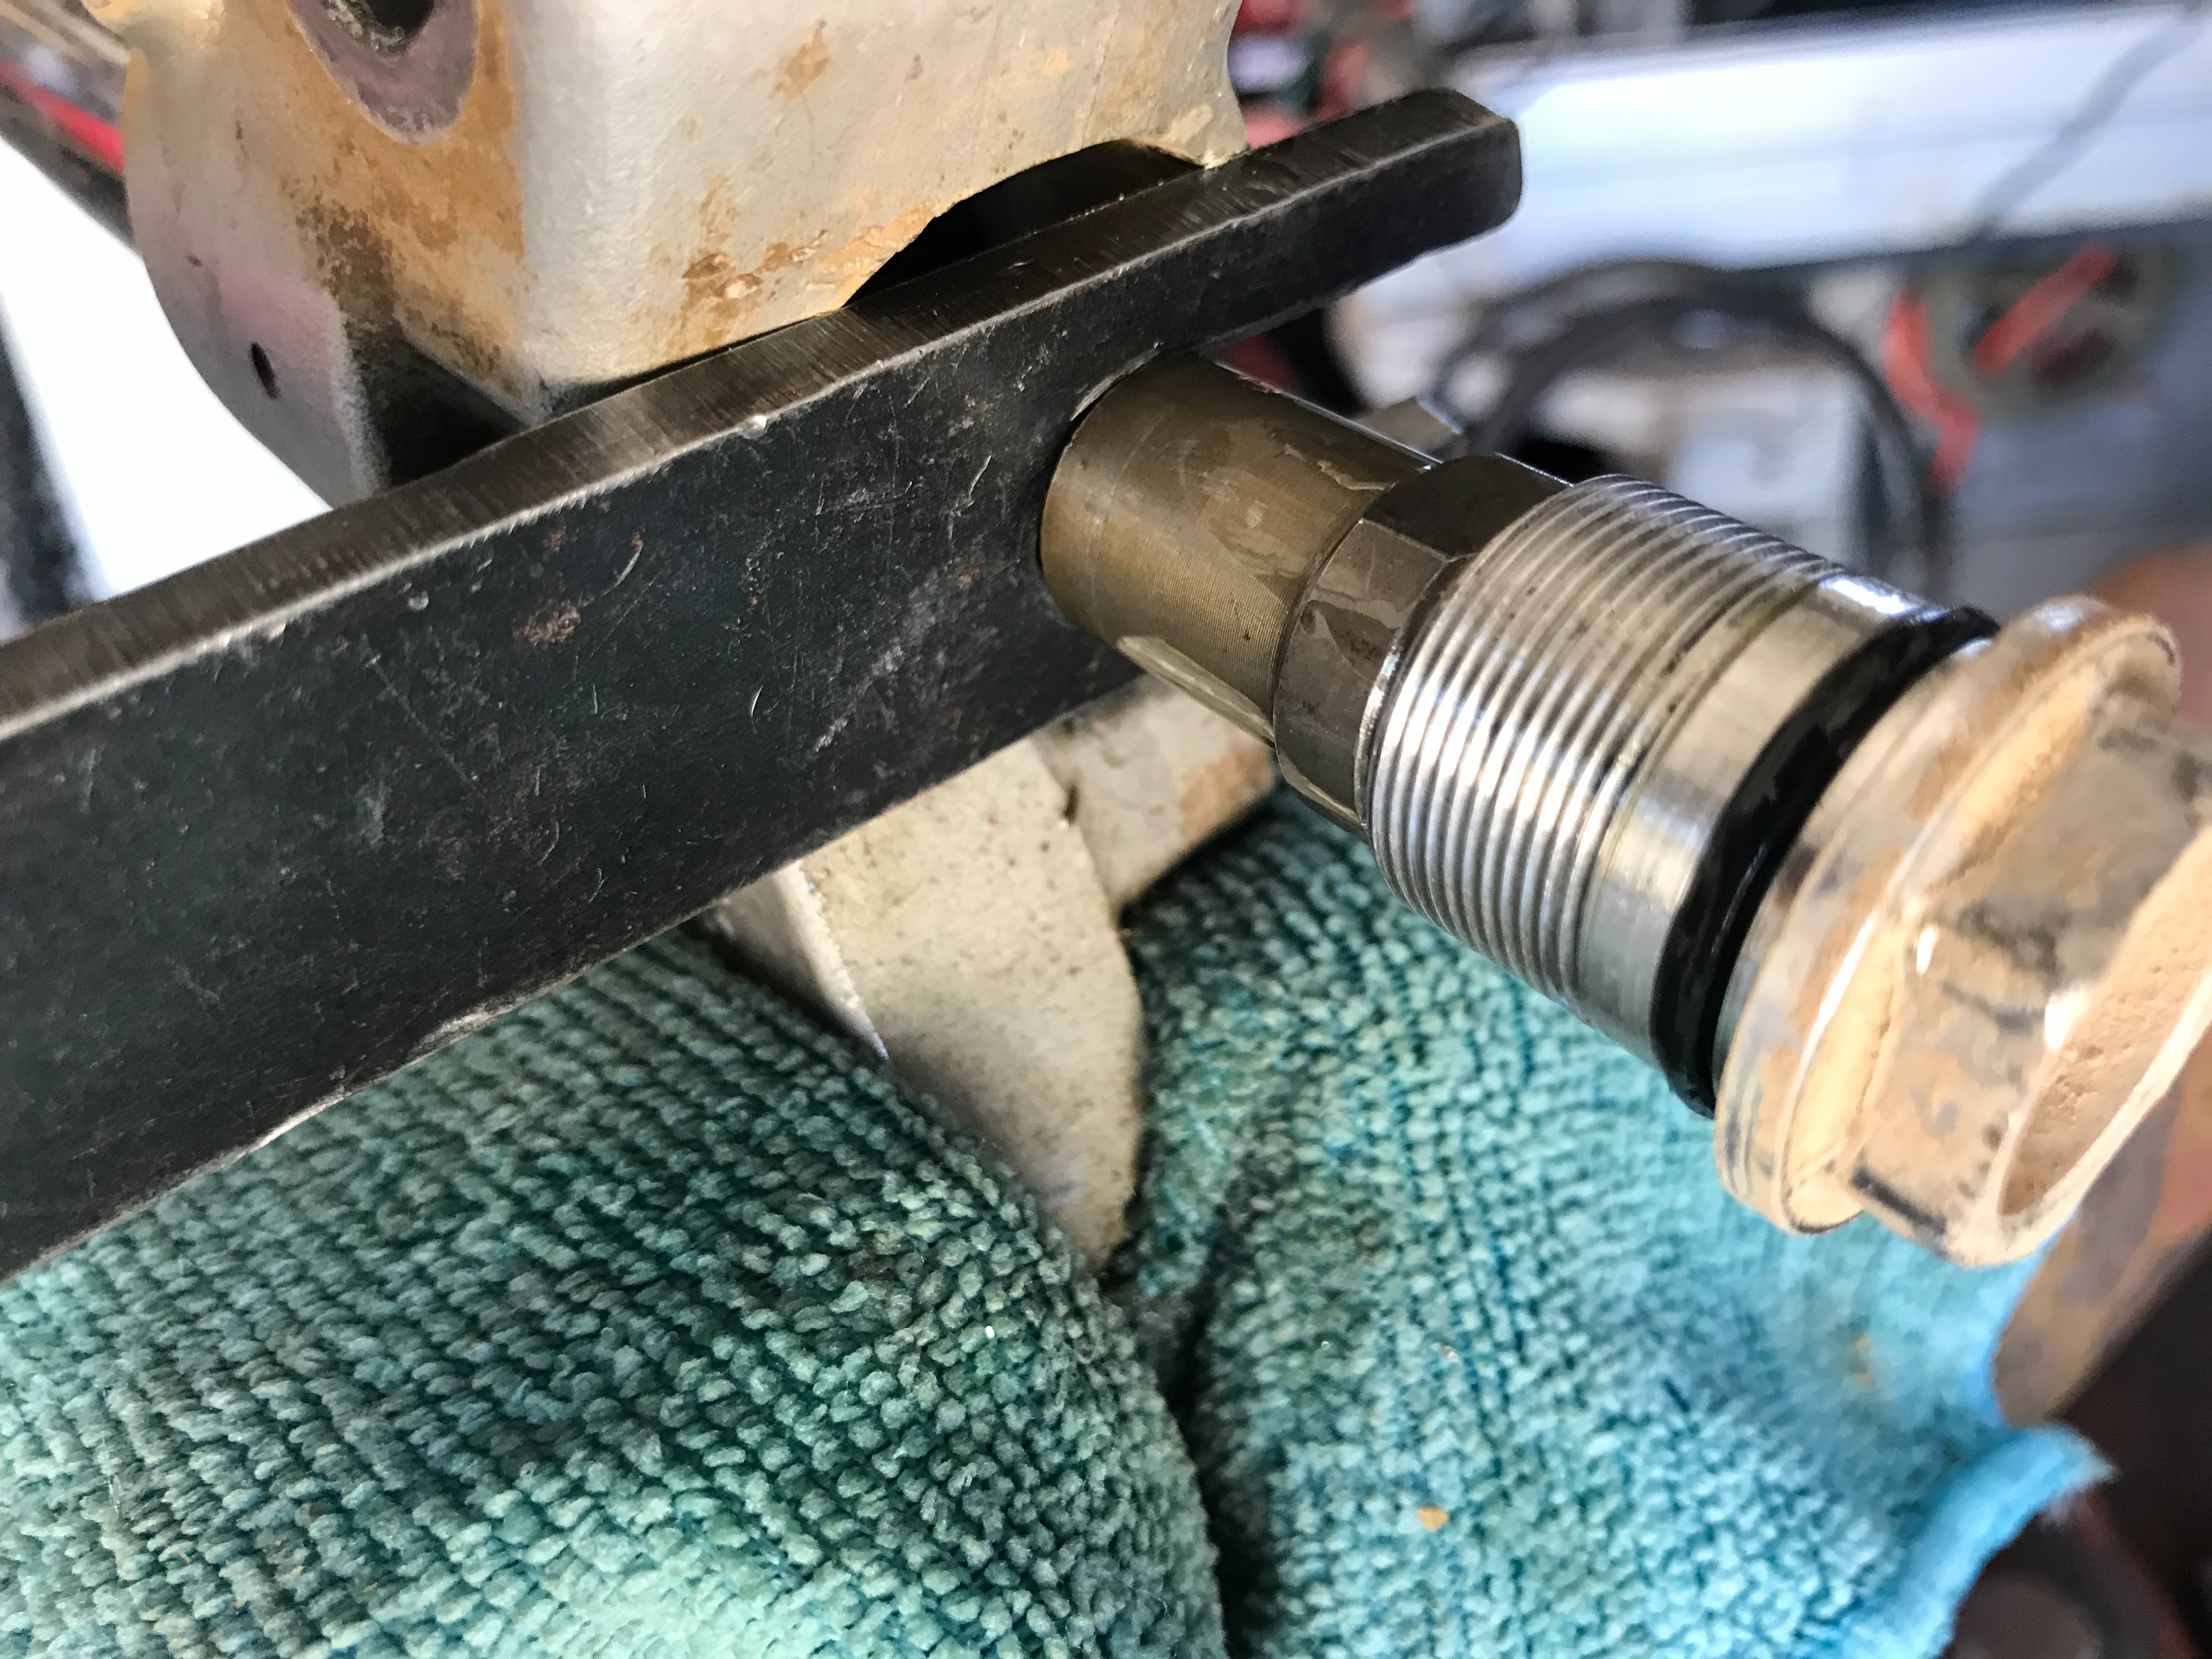
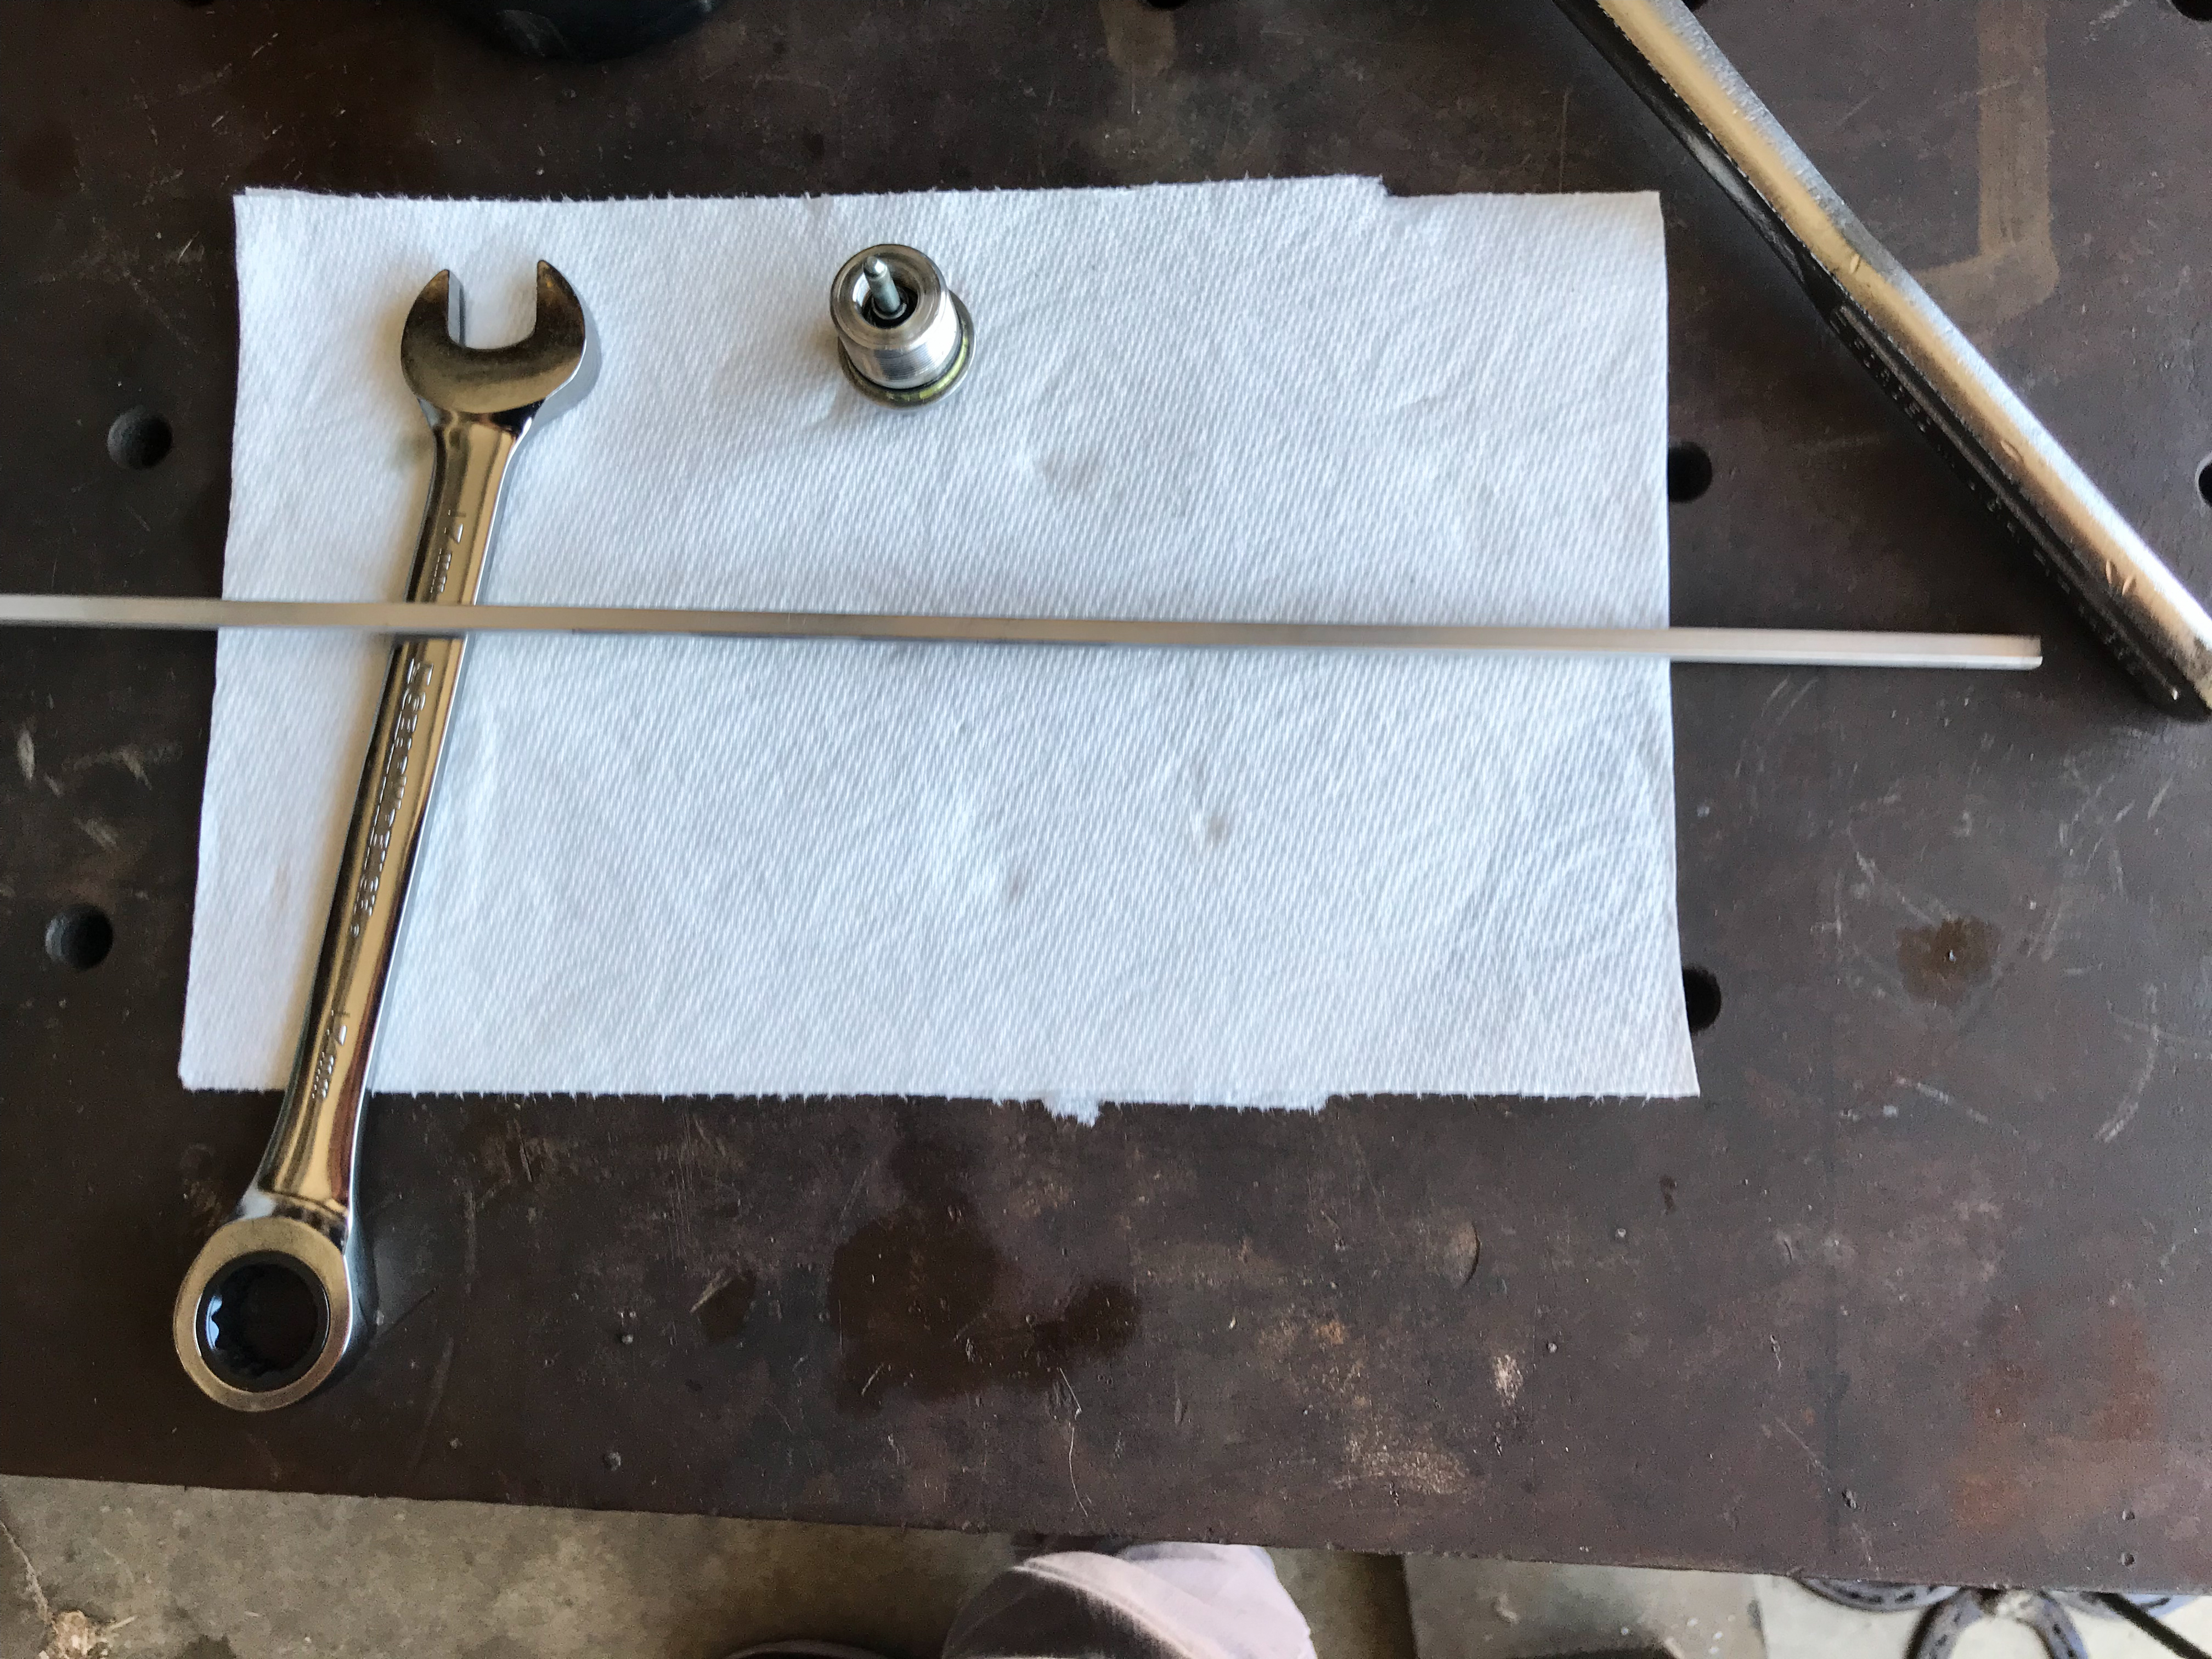
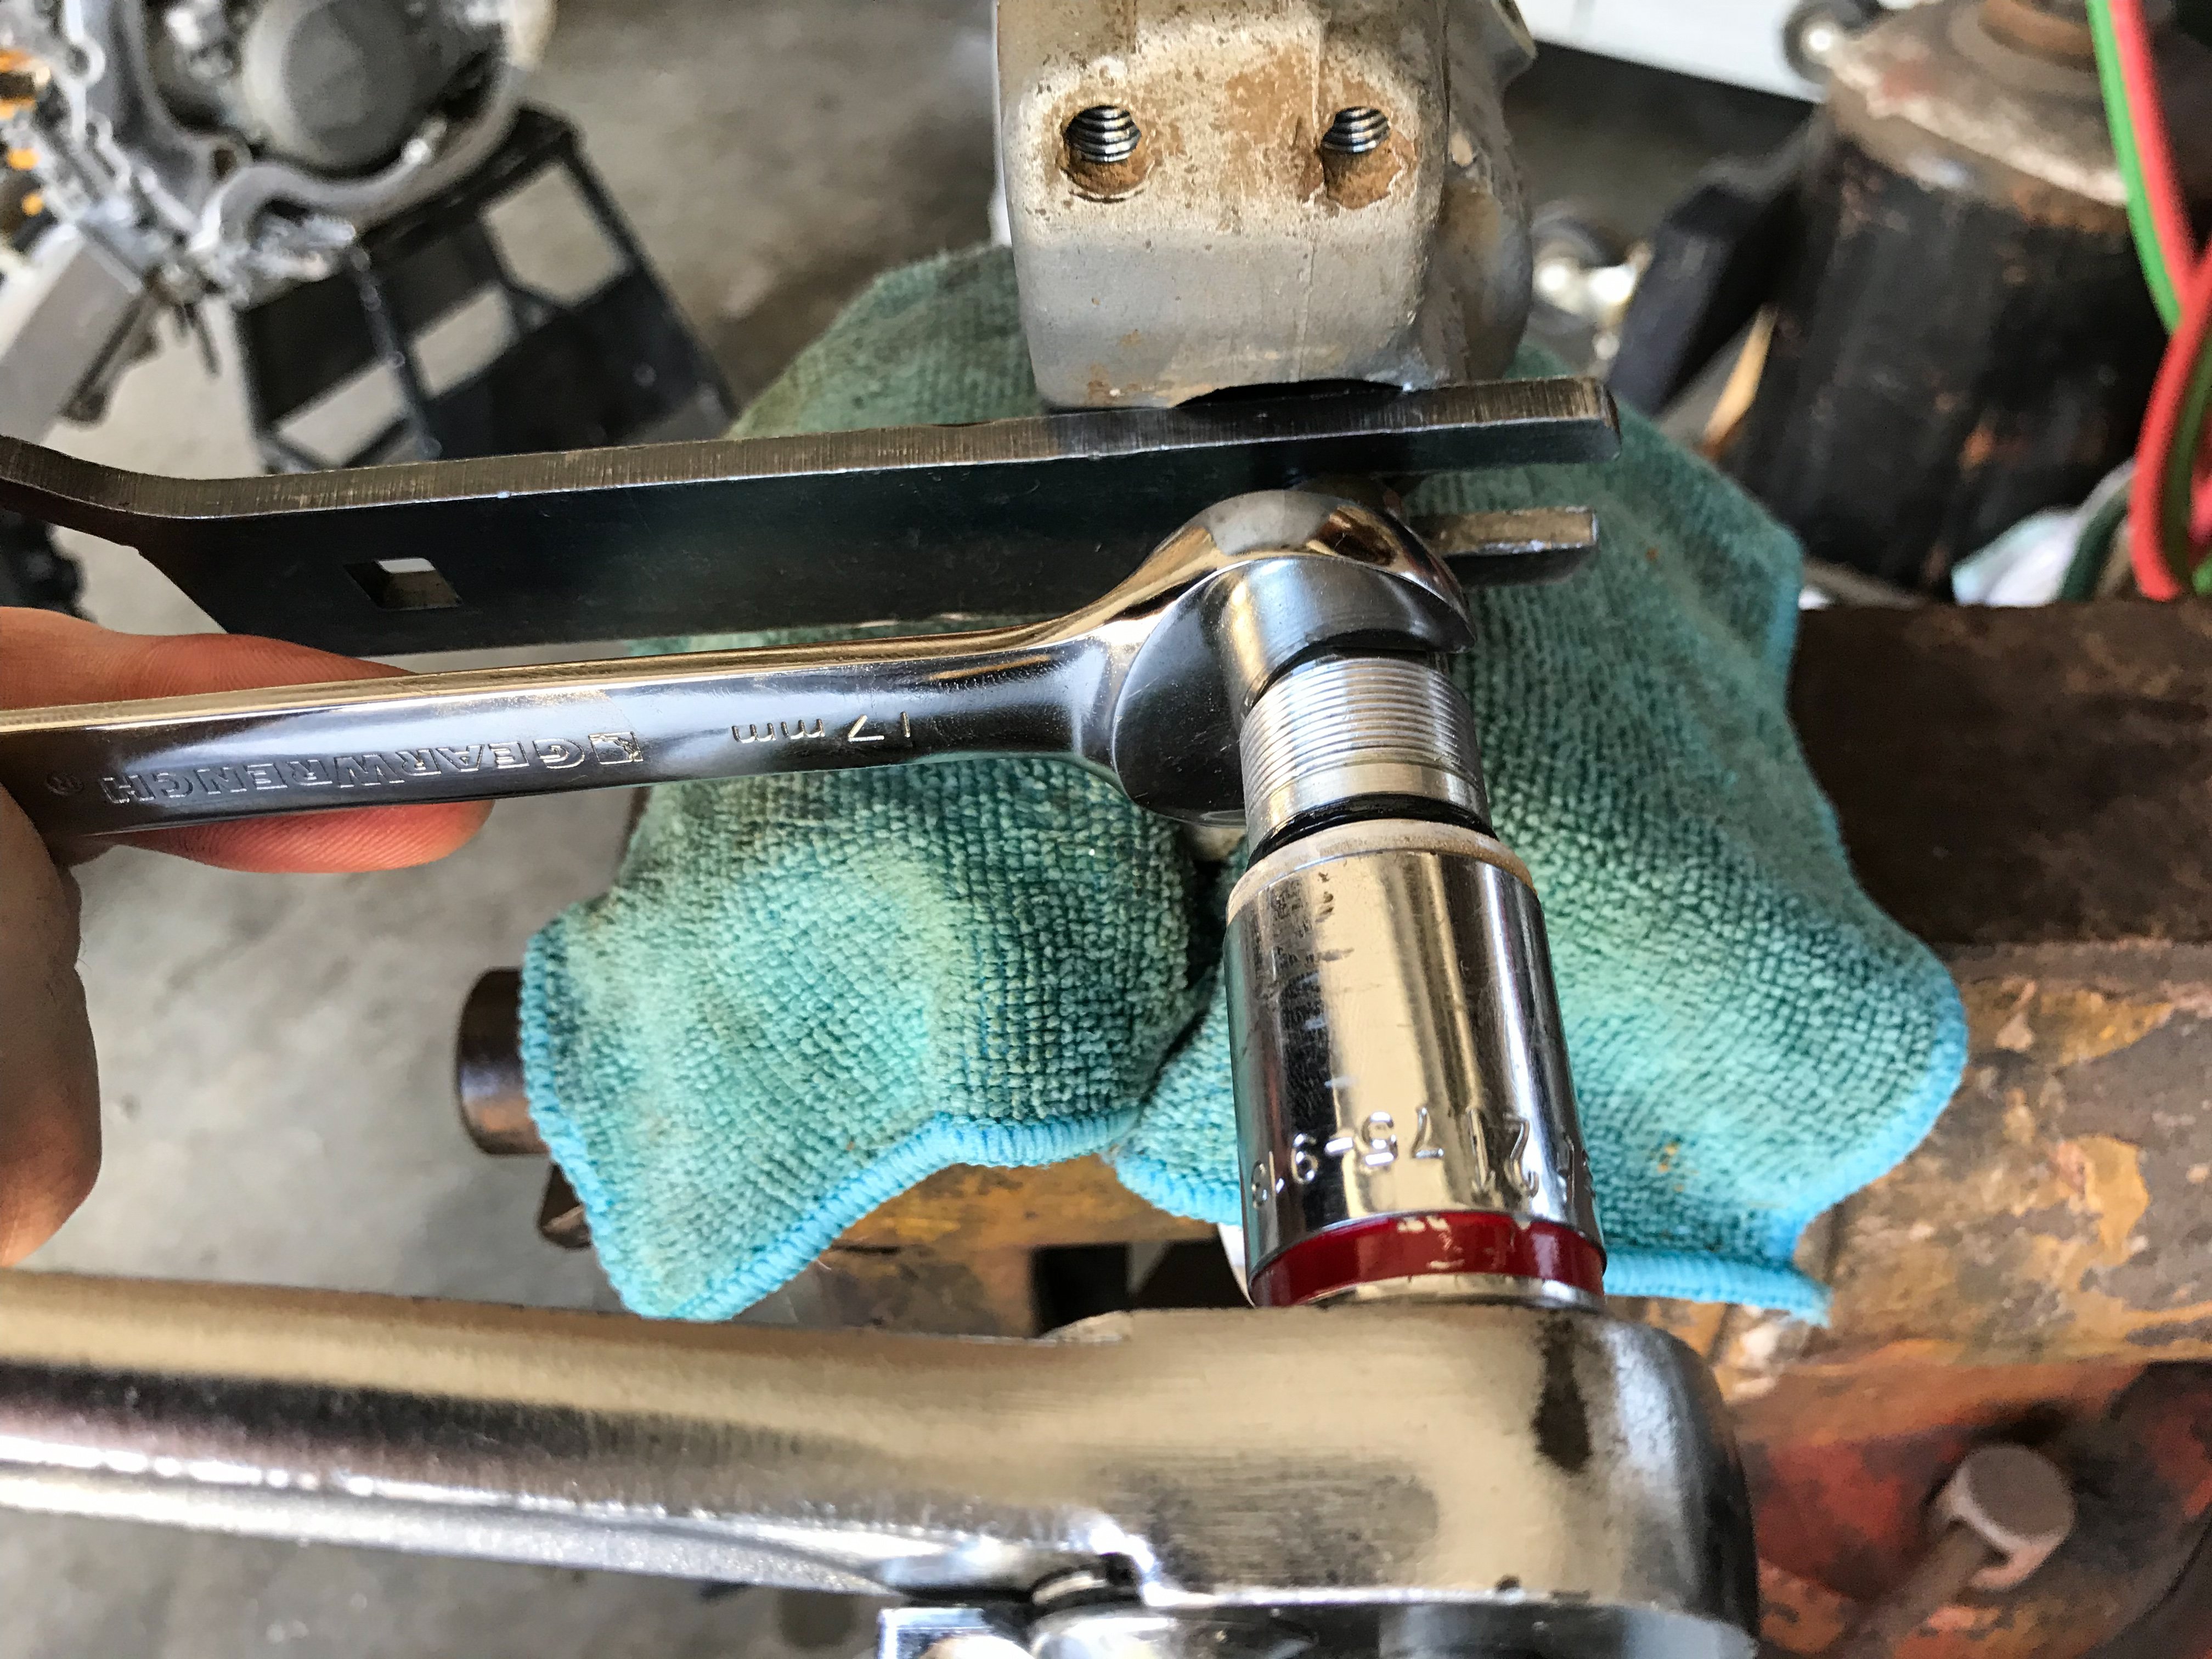
- You’ll need an open-ended wrench, a socket/wrench, and two hands for this step. Place the open-ended wrench on the jam nut and the socket/wrench on the rebound bolt and loosen the rebound bolt. Remove the rebound bolt from the damping rod along with the internal adjusting rod.


- Compress the upper tube toward the lower tube to remove the fork cap wrench from the damping rod jam nut and release the tension on the spring.
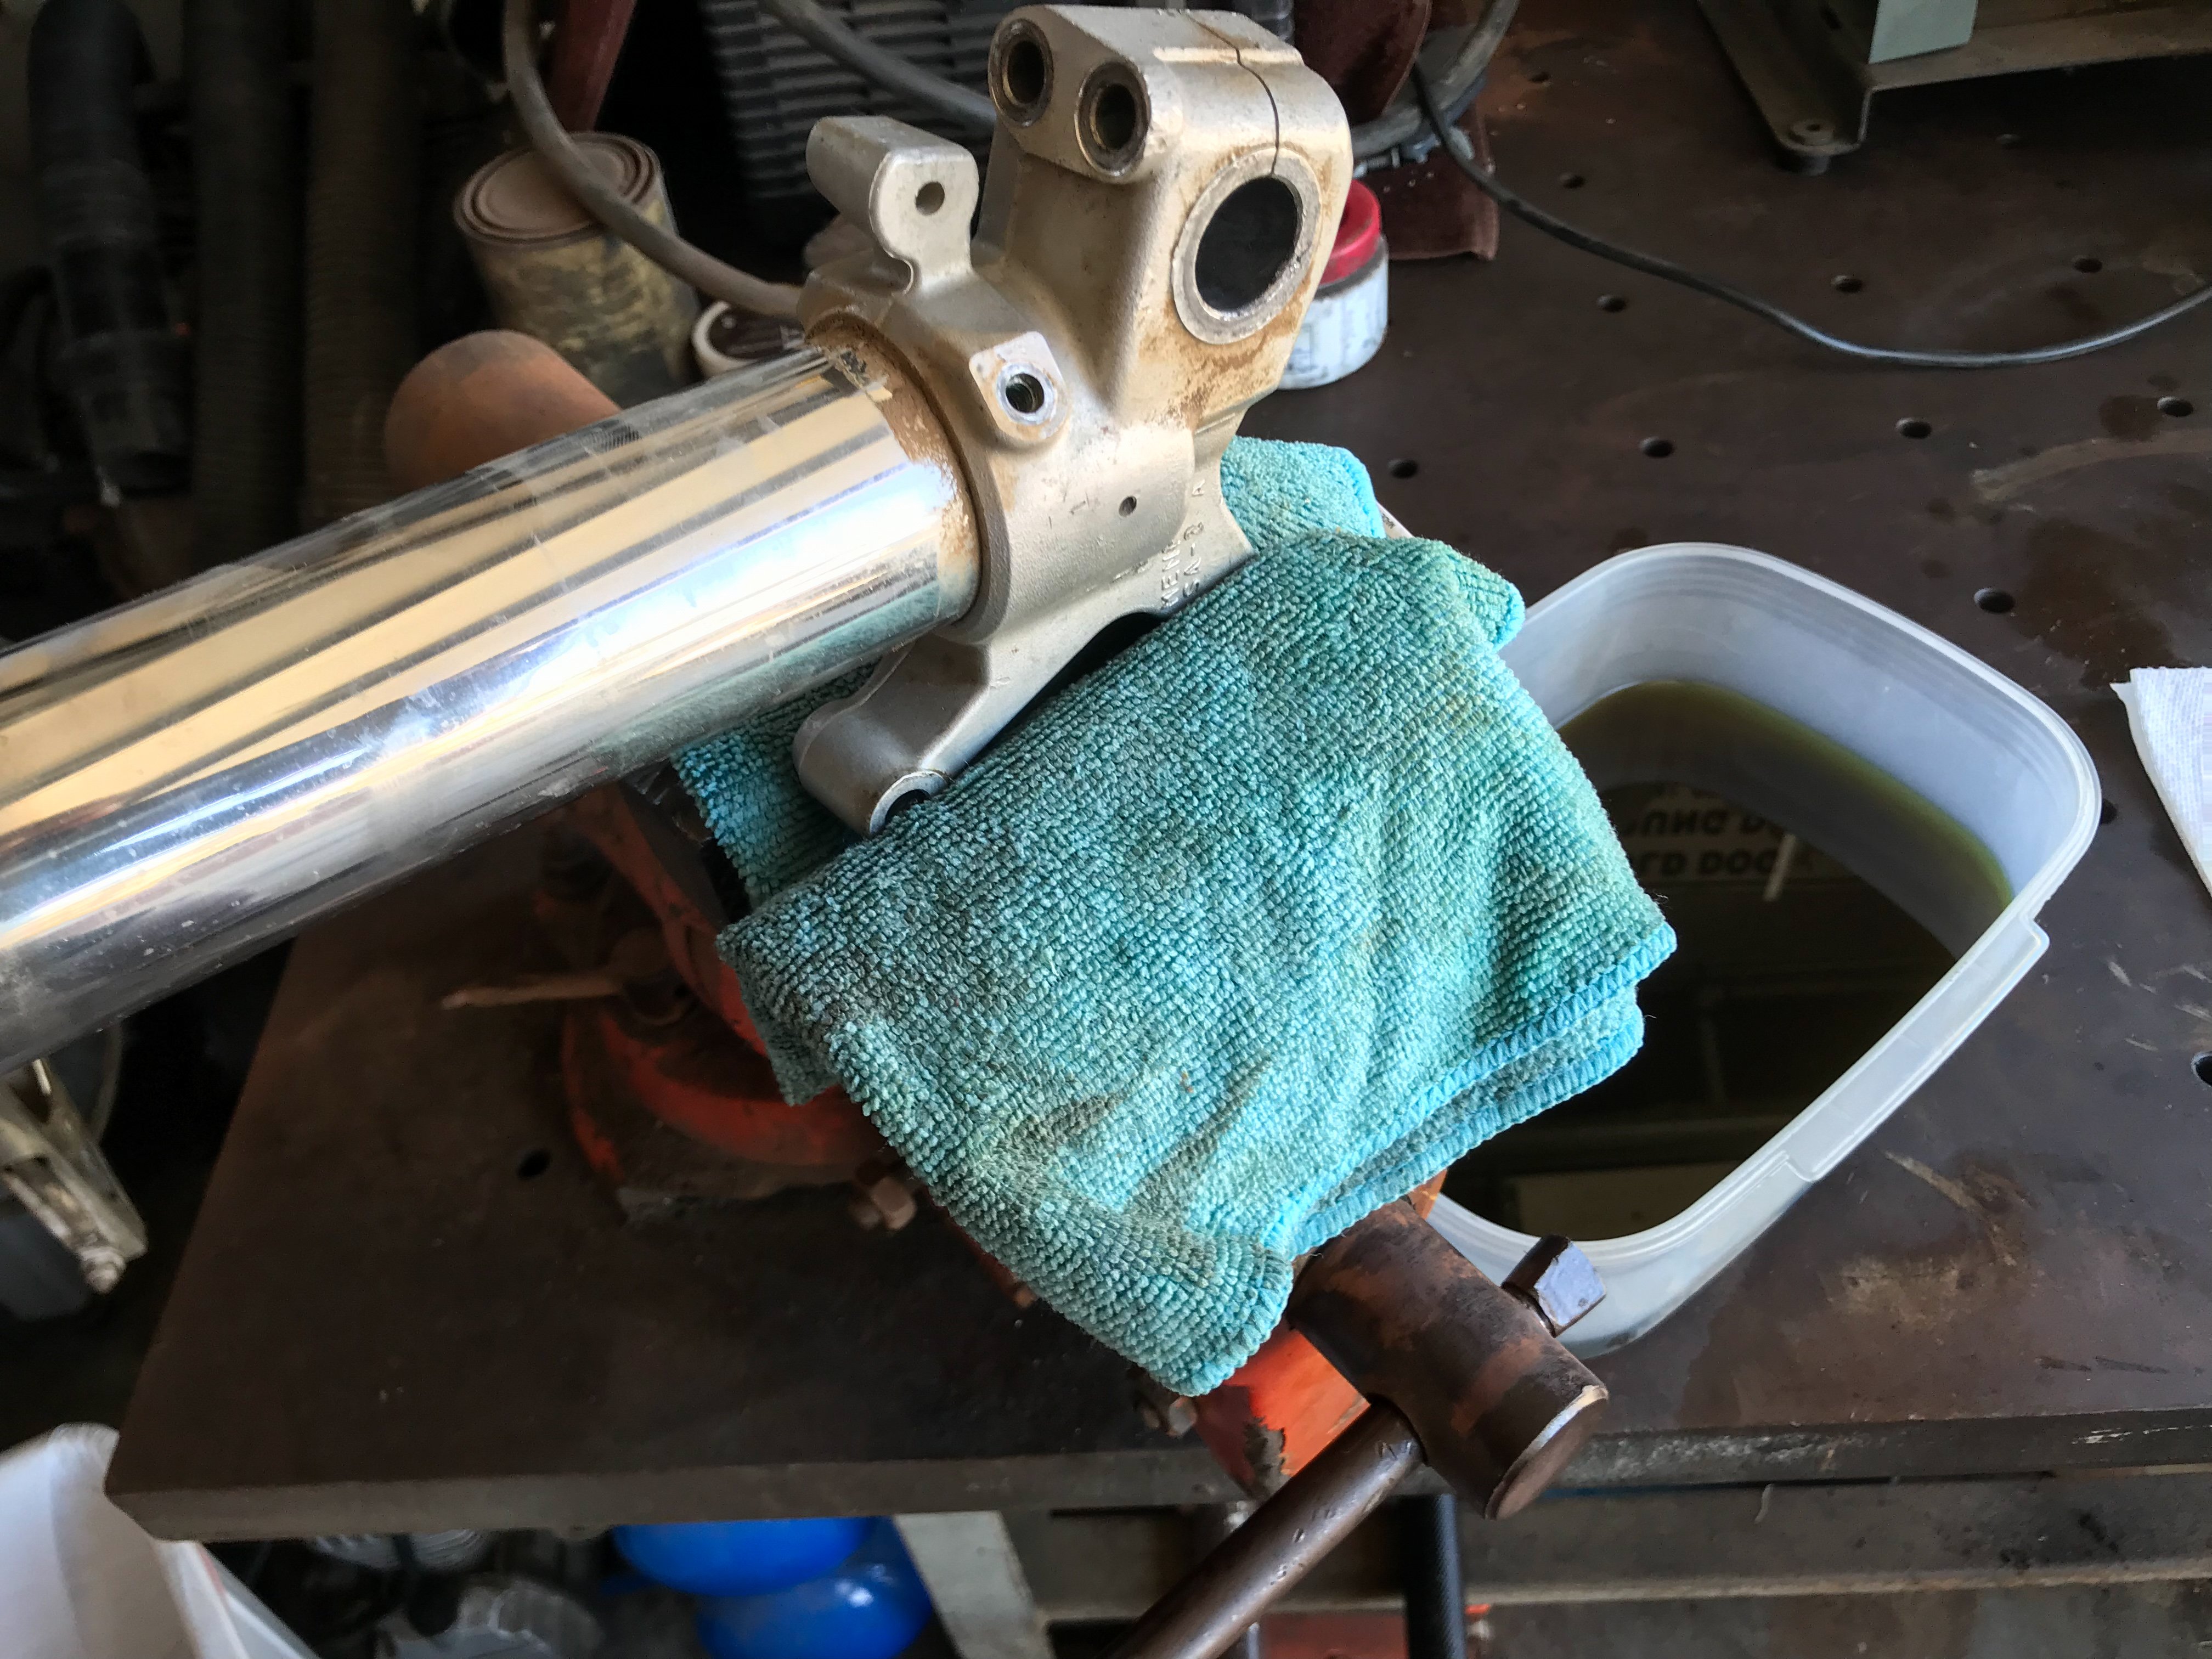
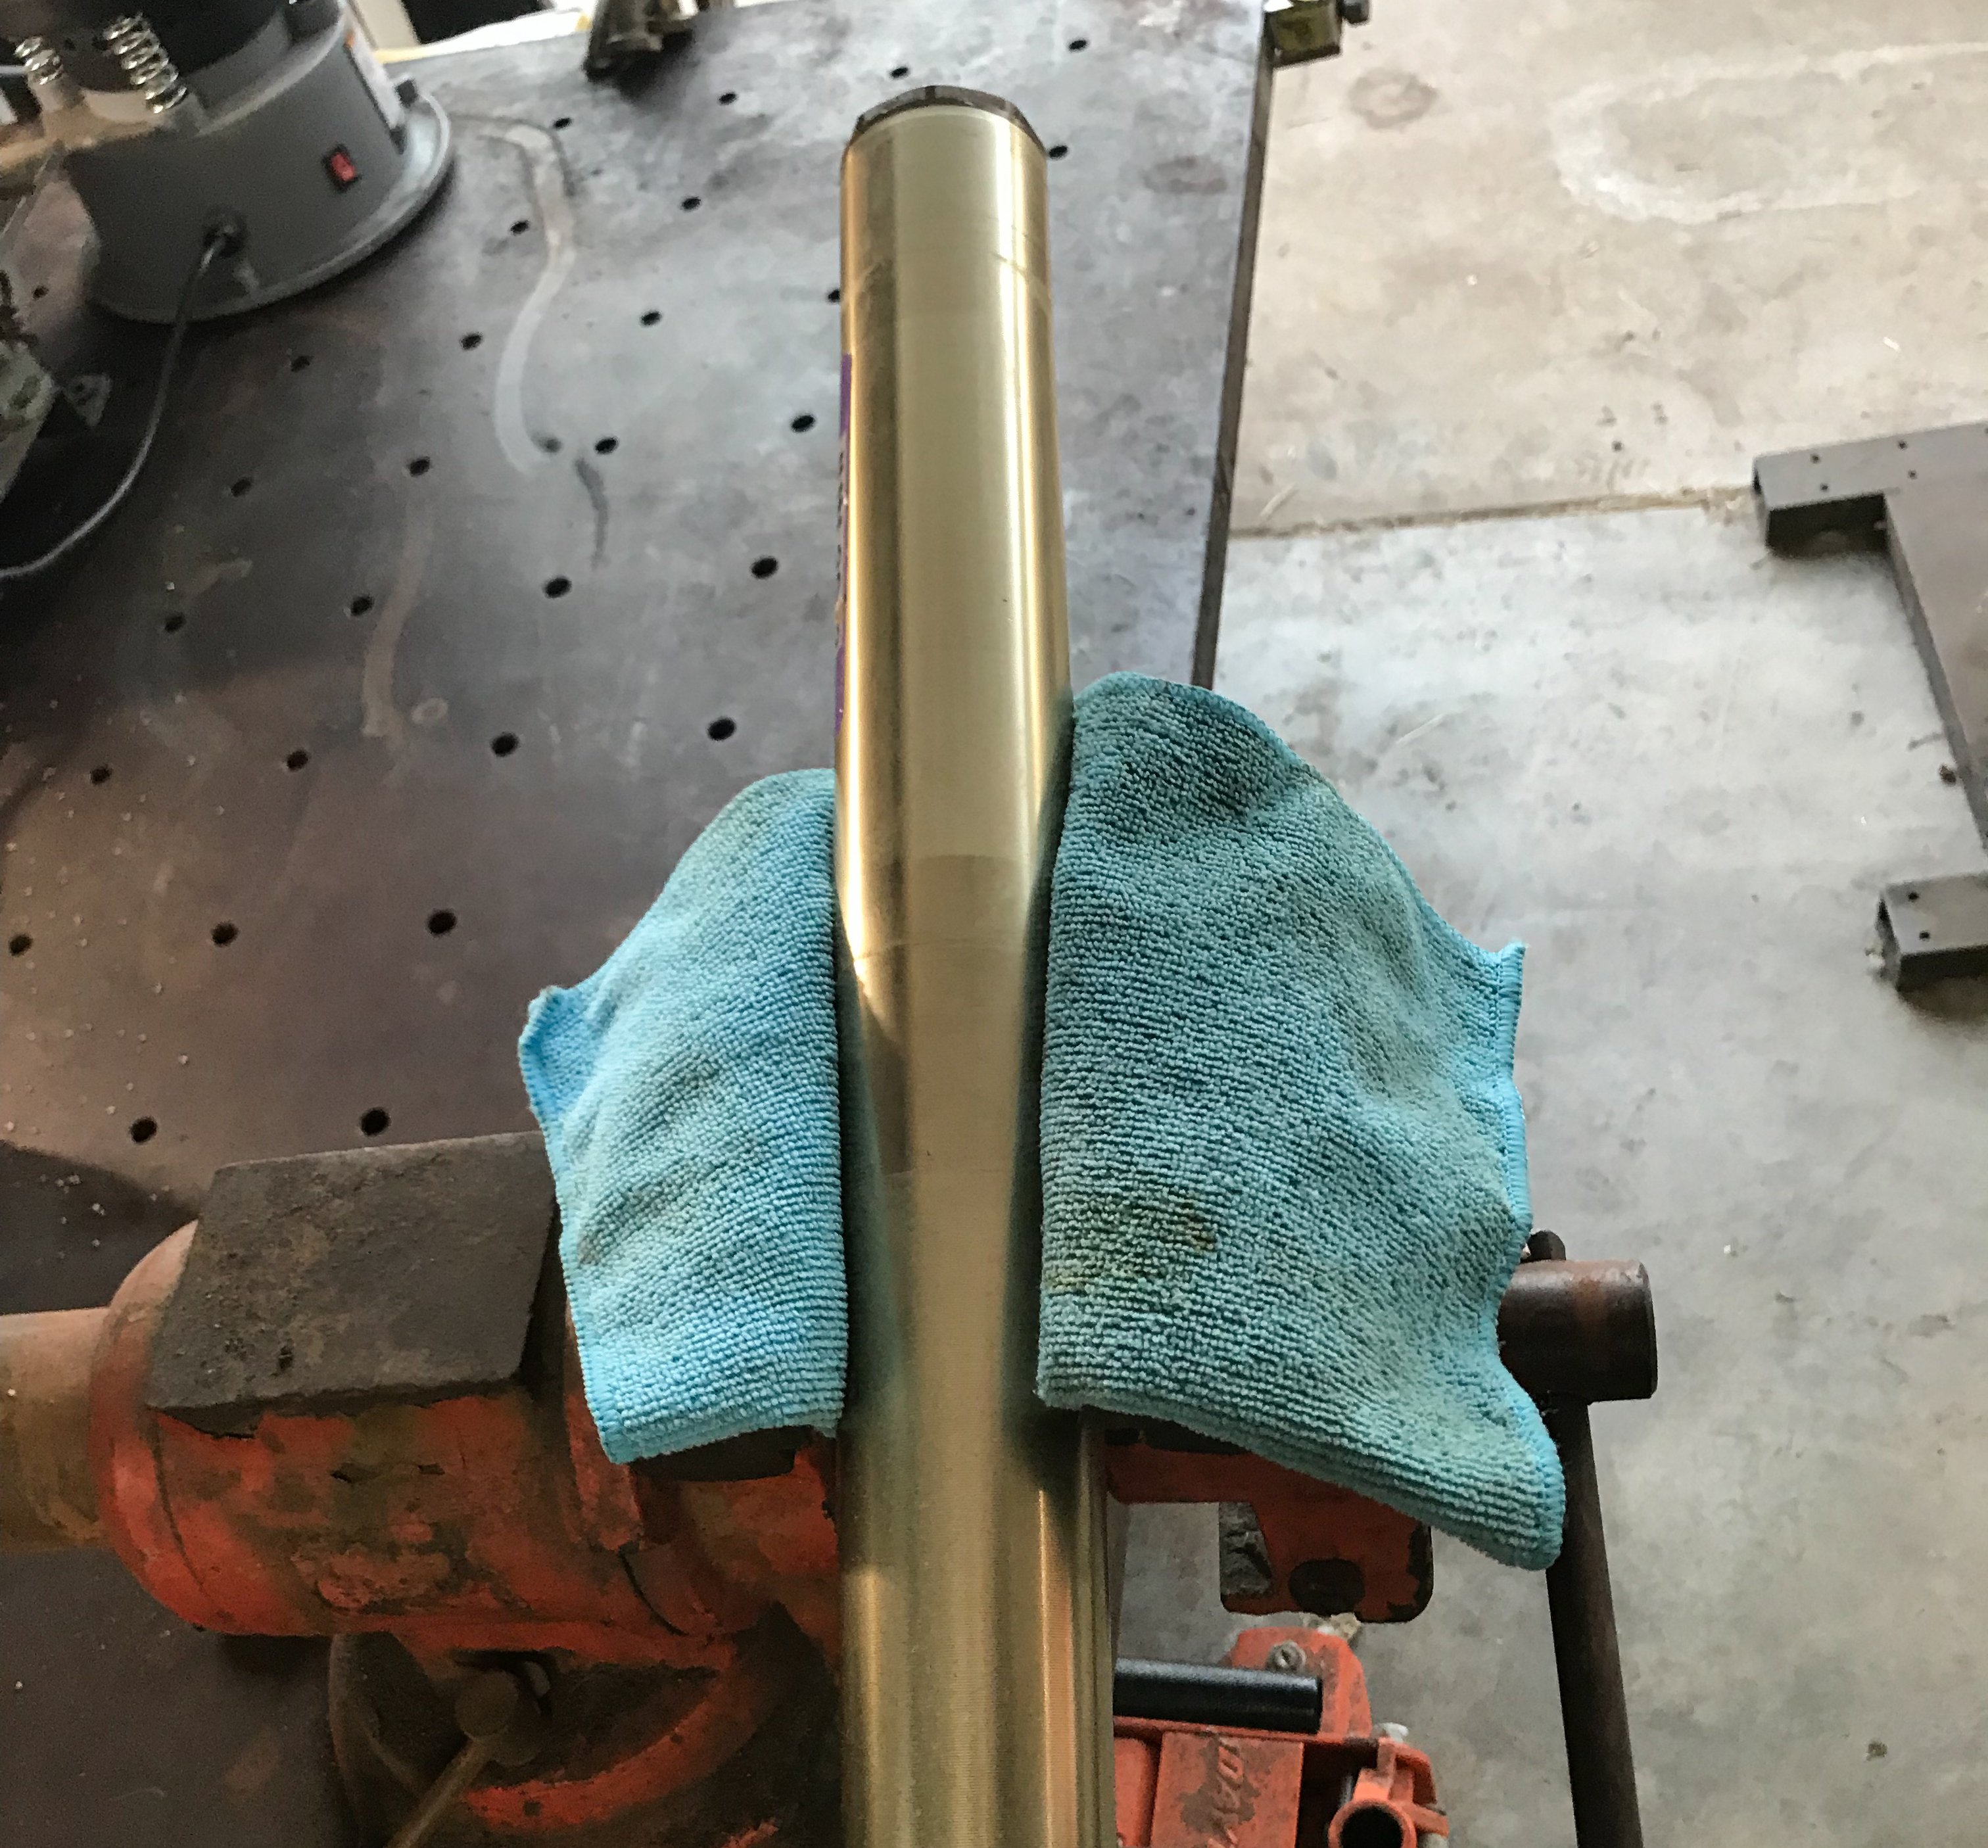
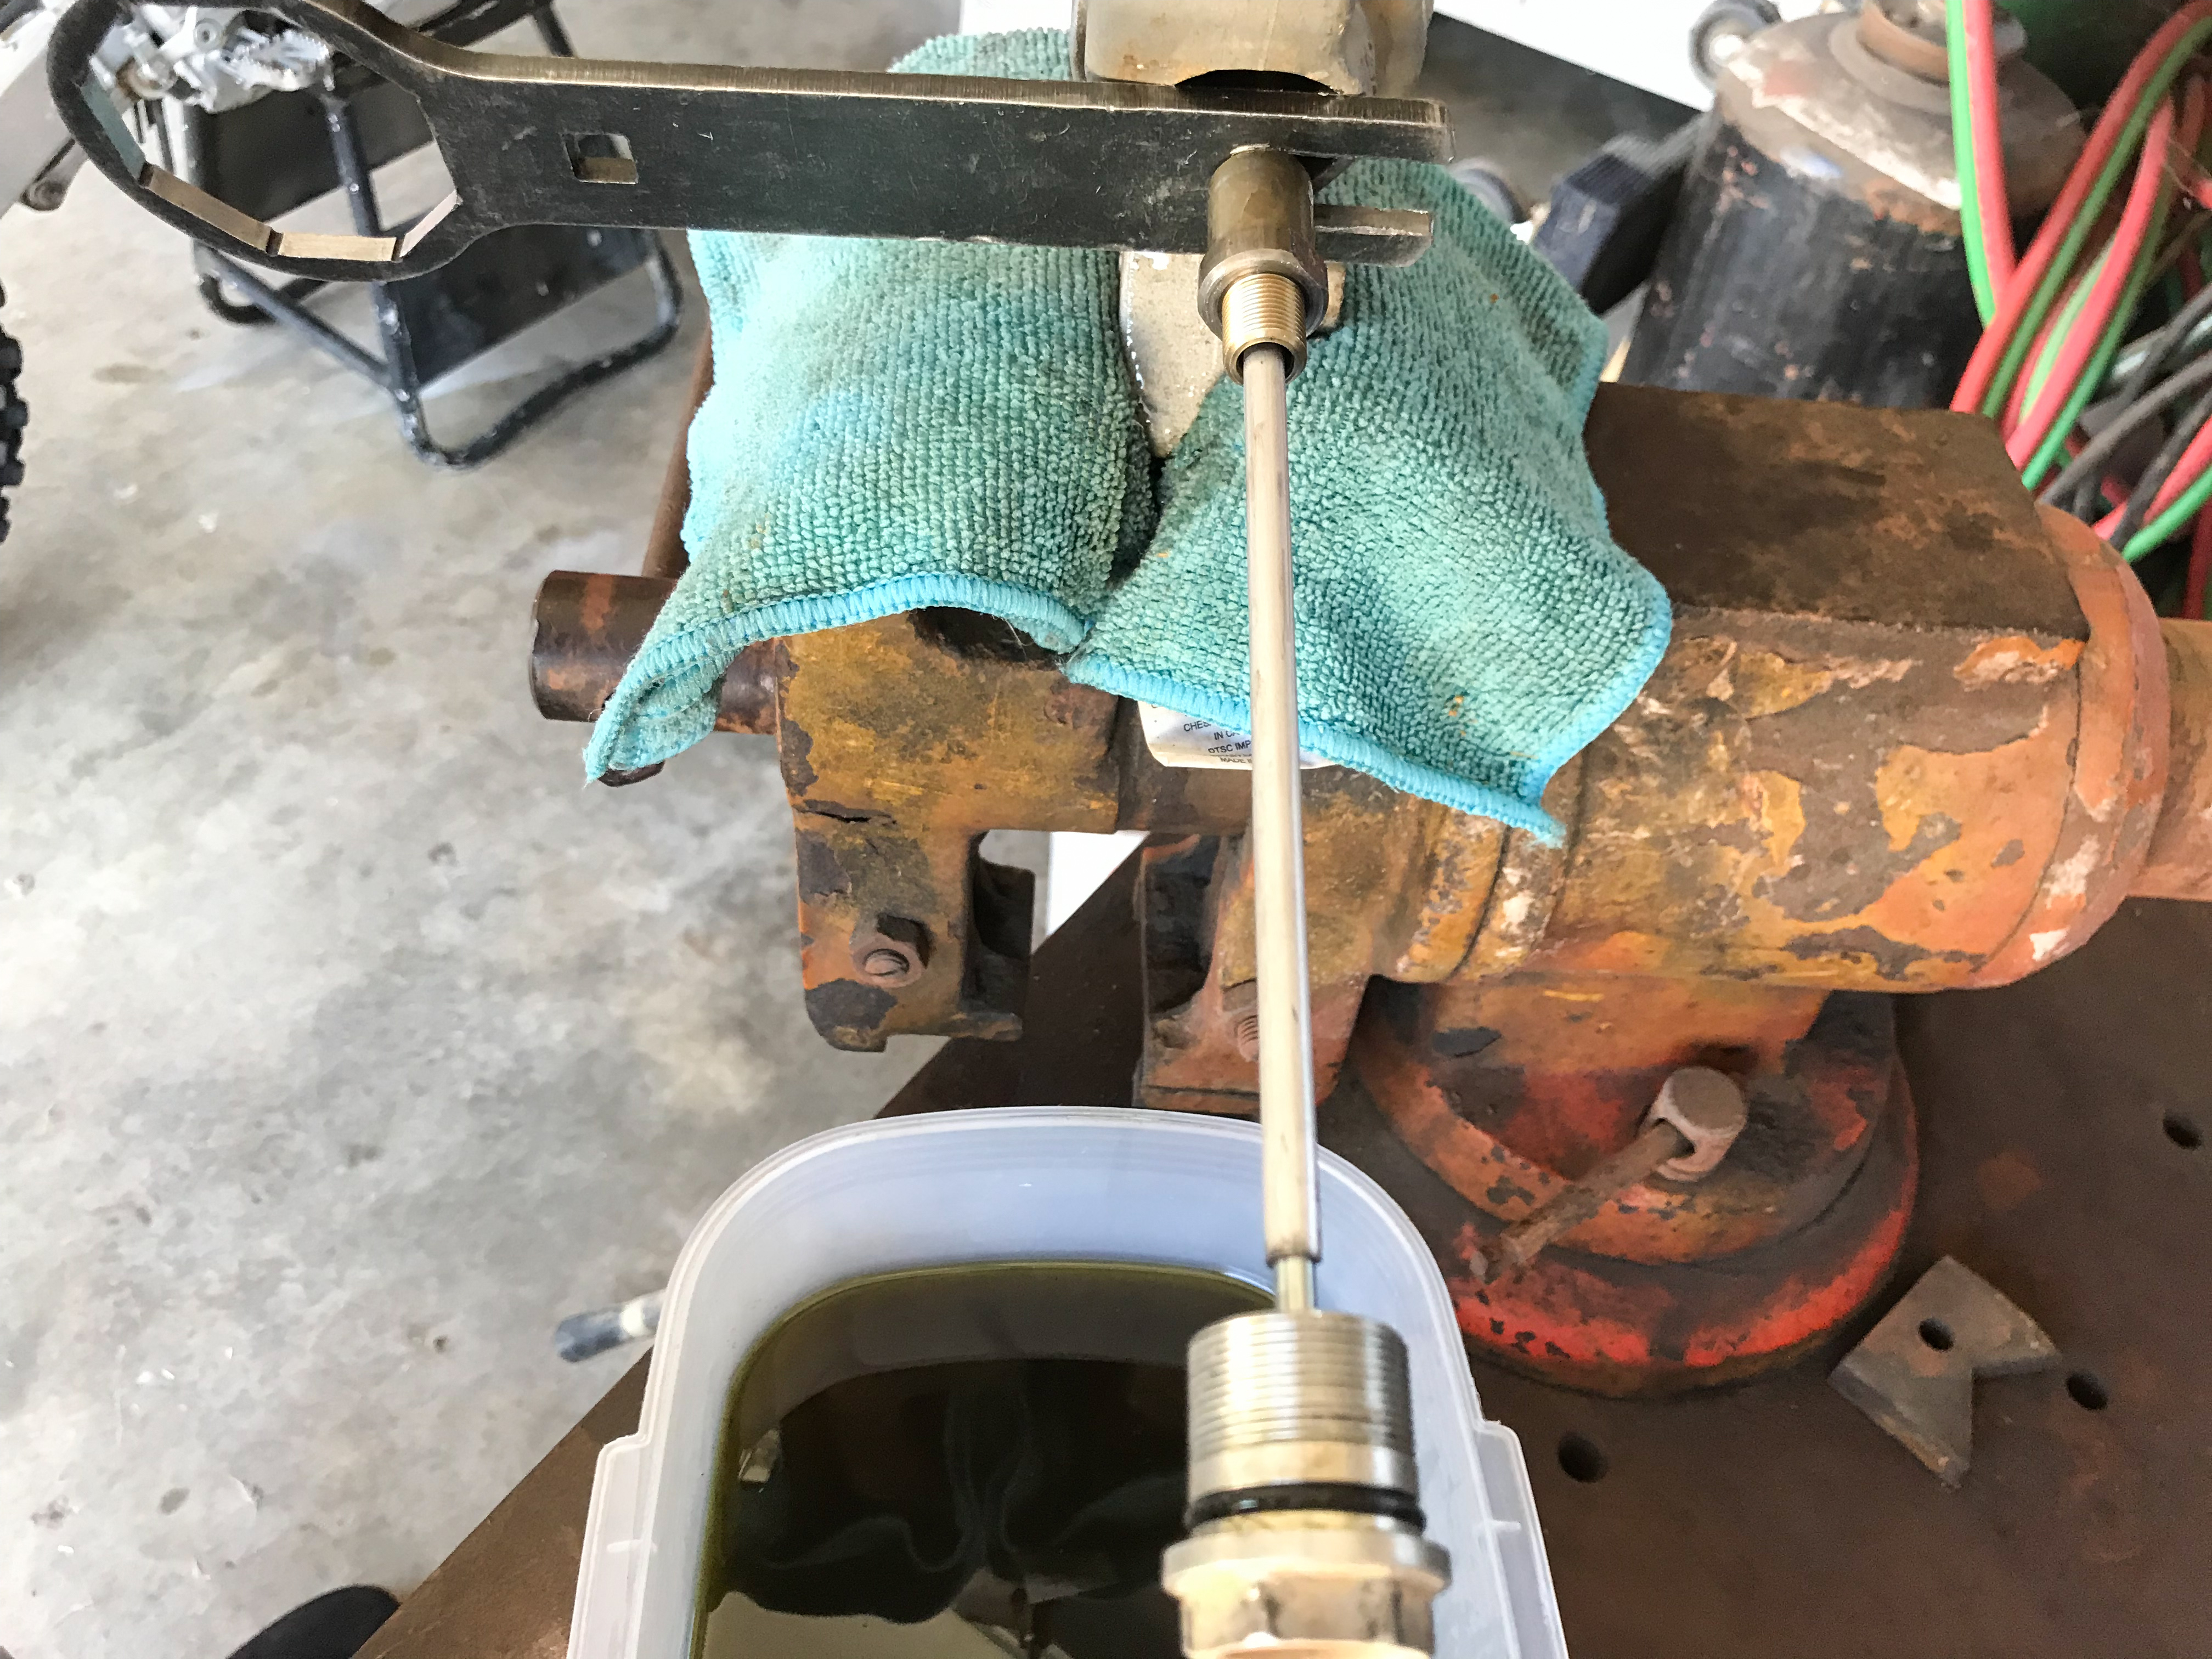
- Remove the fork from the vise, being careful not to spill any oil, and reposition the fork in the vise so the upper fork tube is clamped moderately tight with the top of the fork angled down. It is important to clamp in the middle of the tube where it is the most round with no taper. This is where the bottom triple clamp holds the fork.
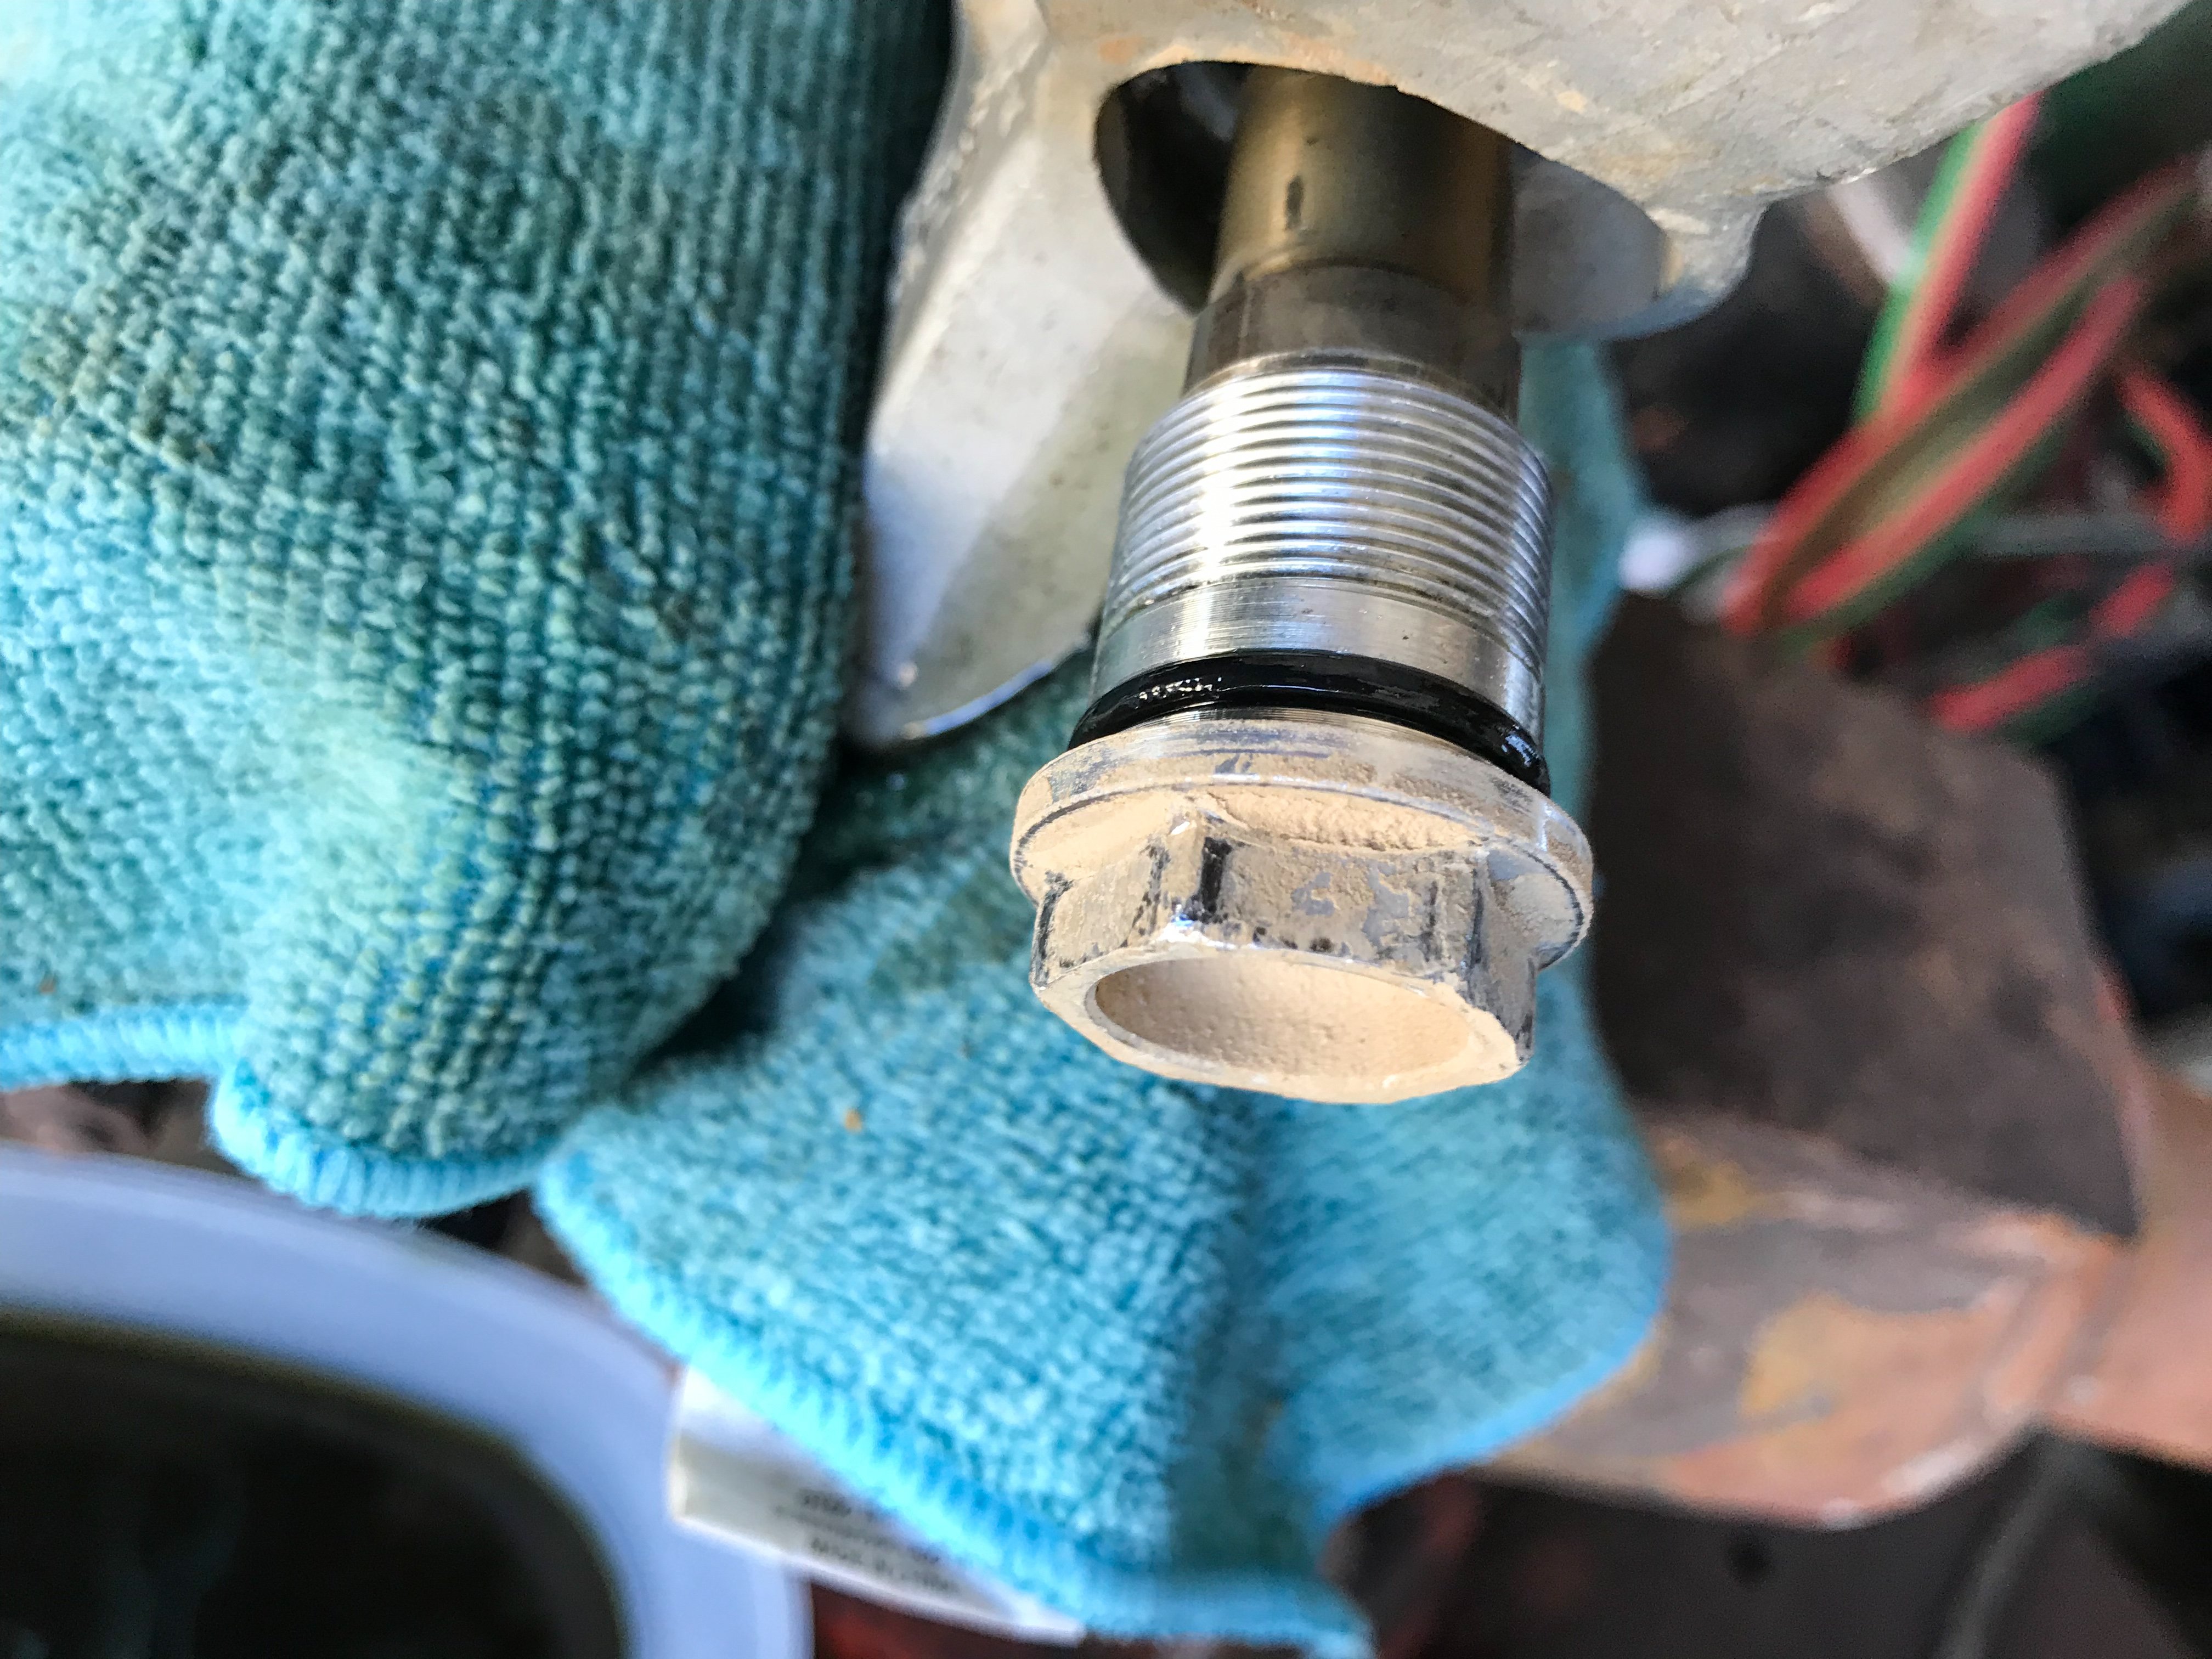
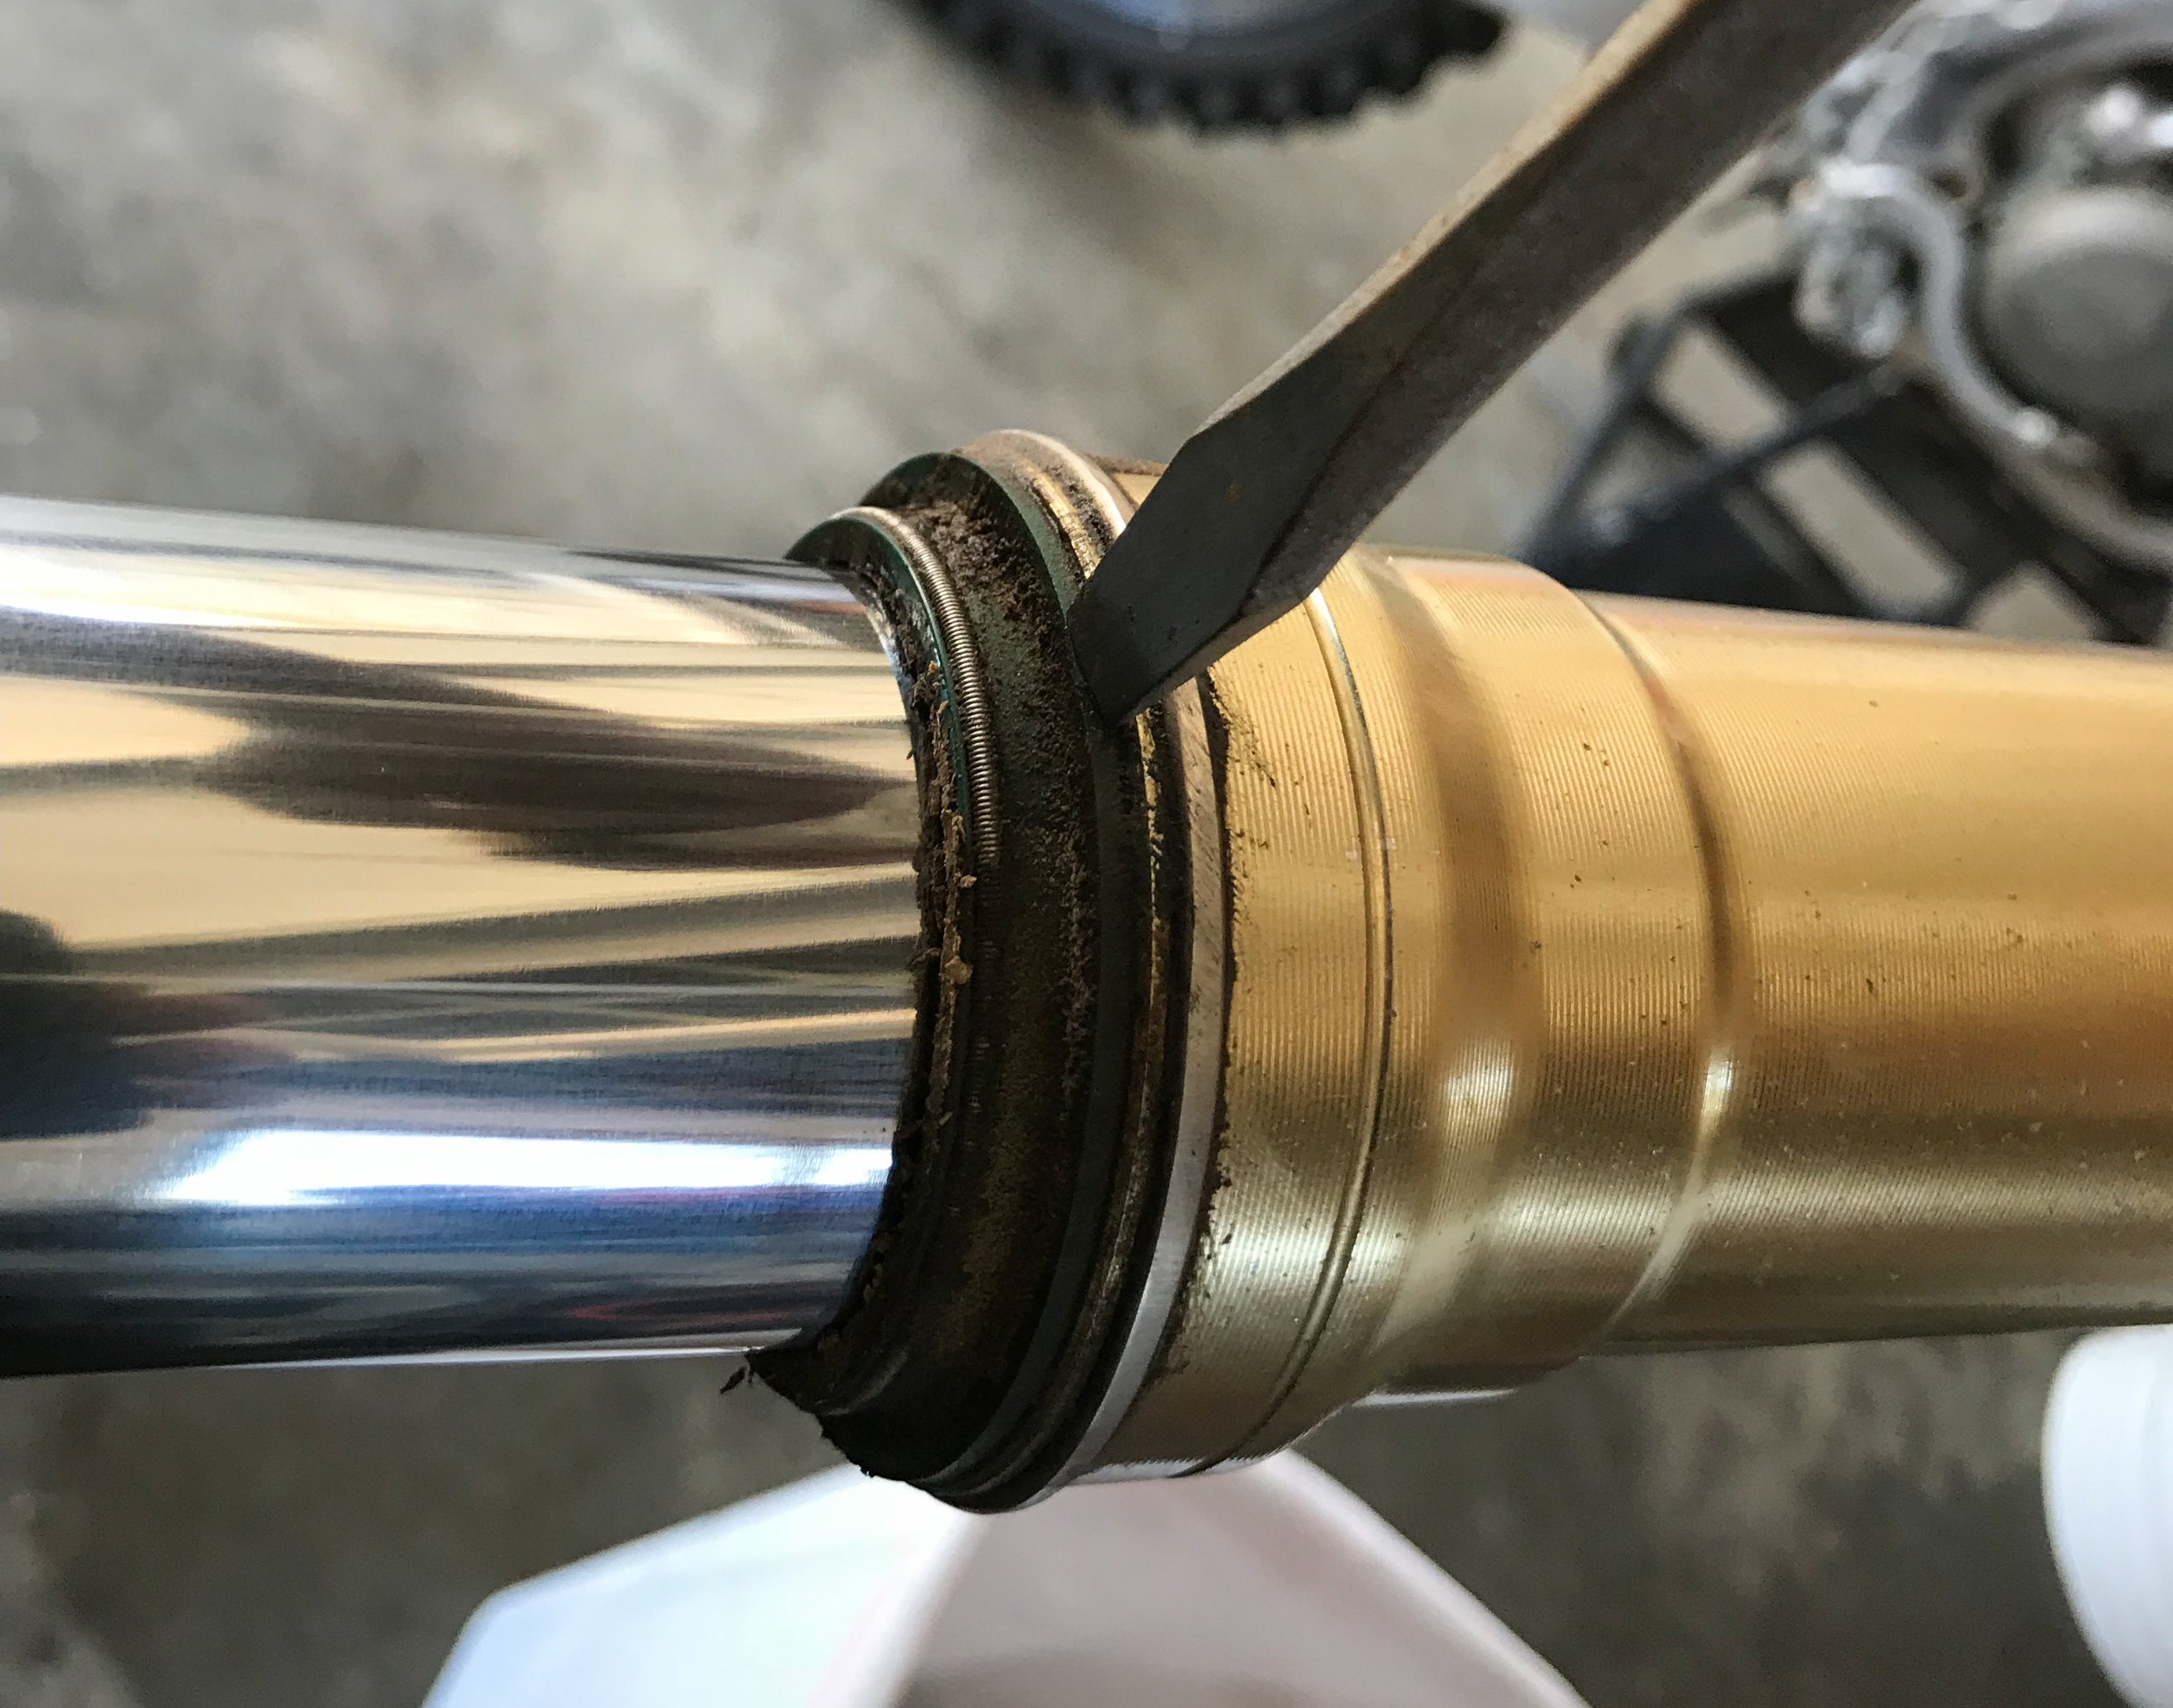
- Using your flat head screw driver, separate the dust seal from the upper tube. Then, remove the internal seal clip from the groove inside the upper fork using the flat head as well.

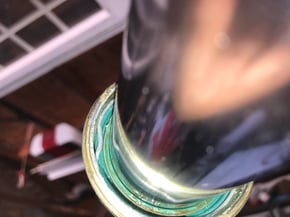
Use the flat head to separate the dust seal from the upper tube and to remove the seal clip (second photo). - With these parts cleared from the tube, grip the lower tube with one hand and the upper tube with the other. Slide the lower tube into the upper tube, then quickly pull the lower tube away from the upper tube with enough force to separate the two tubes with the oil and dust seal remaining on the lower tube.
- Remove the slide bushing, guide bushing, base washer, oil seal, seal clip and dust seal from the top of the lower tube, making sure to place them on the work bench in the order they came off. It is also very important to note how the oil seal was positioned. Incorrect positioning will not seal oil.
- Using a clean microfiber, clean your lower tube and inspect the tube for dings and sharp burrs that may have caused the seal to leak. If nicks and burs are found, use the 600-grit wet/dry sand paper lubricated with the suspension clean to remove any sharp edges. Wipe the tube down with a clean micro fiber rag to remove contaminants from sanding and place the tube on your work bench.
**NOTE: ONLY use the sand paper WET and ONLY to remove specific burs. Do not rub the entire tube as you will scuff the friction-reducing coating on the tube and cause pre-mature bushing wear. - Inspect your guide and slide bushings, washers, snap rings, and O-rings. If any of them show damage or excessive wear, you may want to consider replacing them. If they look okay, a good cleaning should be sufficient. If they need to be replaced, fork bushing kits can also be sourced from ProX with same OEM quality and affordability of the fork seals.
Inspect and clean your bushings, washers, clips, and O-rings. Should anything be damaged, replaced or excessively worn, consider replacing with a new bushing kit. Click here to check out ProX bushing kits. - After cleaning the bushings, apply seal and O-ring grease to the Teflon coating of the bushings as well as the inside of the oil seal and dust seal for lubrication.
- Place your seal bullet over the fork tube far enough to cover the side bushing journal. In this order, slide the dust seal on the tube, then the seal clip, oil seal, base washer and guide bushing. Remove the seal bullet and place the slide bushing back in the journal.
- Gently place the lower tube back over the damping rod and into the upper tube far enough to allow the slide bushing to hold the tube in place. Slide the guide bushing and base washer into the upper fork tube. Using your seal driver, drive the base washer down and into the tube opening. Repeat this process with the oil seal, making sure to drive the seal far enough to expose the grove for the seal clip to fit in. Place the seal clip in the tube, making sure the clip fits in the grove 360 degrees around. Lastly, use the seal driver to drive the dust seal into place at the bottom of the upper tube.
**NOTE: It is extremely important to make sure the seal clip is secured in the groove. This clip holds the seal in place and keeps the lower fork tube from separating from the upper tube. - Un-clamp the upper fork tube from the vise being careful not to tilt the fork down and lose oil. Reposition the fork in the vise and clamp it by the axle lug with the fork cap angled down.
- Carefully compress the upper tube to expose the damping rod through the bottom of the axle lug and place the forked end of the fork cap wrench behind the jam nut. Slowly release the tension allowing the tool to settle on the bottom of the axle lug.
- Re-install the adjuster rod and rebound bolt onto the damping rod. Using the open-ended wrench and socket/wrench, tighten the rebound bolt until it bottoms out against the jam nut.

- Compress the upper fork tube towards the axle lug to remove the holding tool. Thread the rebound bolt into the axle lug and torque to the specification in your owner’s manual.
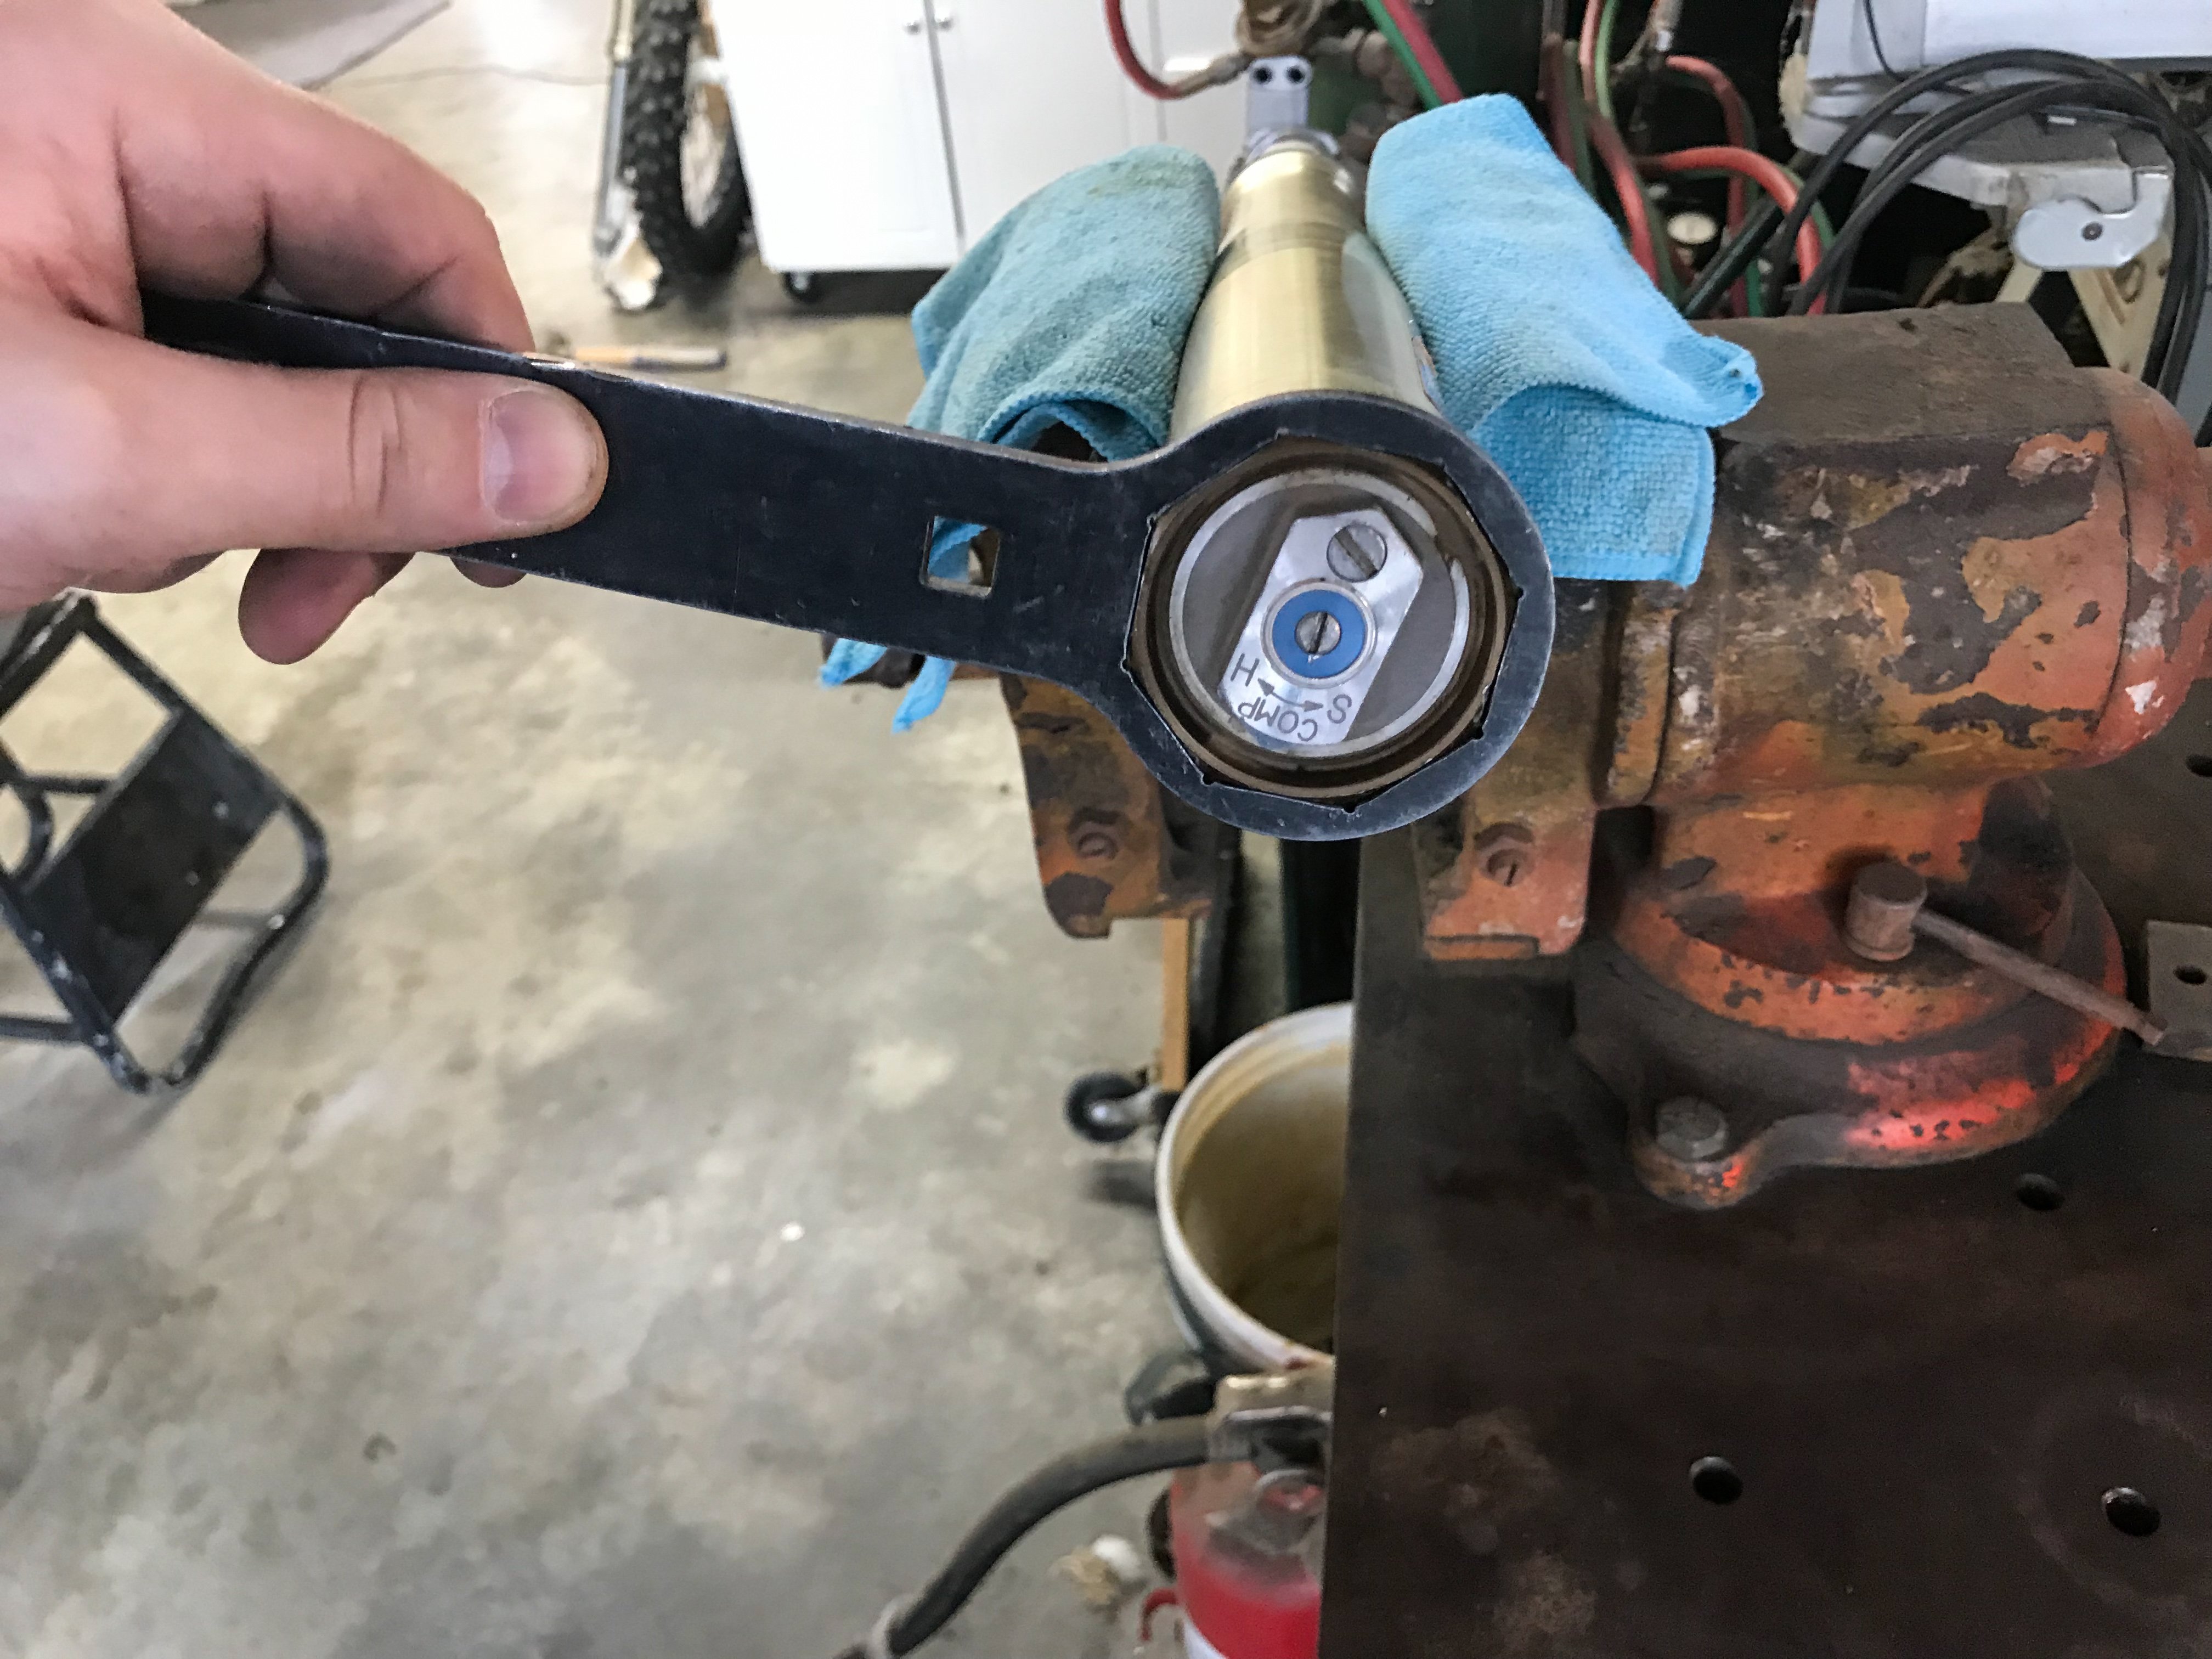
- Reset the rebound clicker to your desired settings.
- Reposition the fork in the vise again with the fork cap angled up, clamped moderately tight. Using your fork cap wrench, loosen the fork cap from the upper tube. Do not fully remove the cap from the tube.
- Remove the fork from the vise and place upright on the floor. Fully unthread the fork cap from the upper tube and slide the outer tube down.
- Now, add a measured amount of oil to the fork. This will be an estimated amount of oil depending on how much oil you have lost due to the leaky seal. In most cases, 10-20cc’s of oil will be adequate, however, it’s important to make sure you have your manual’s recommended amount of oil in your fork.
- Slide the outer tube back up to the fork cap and thread the cap into the tube. Using your fork cap wrench in one hand and holding the fork tube in the other, jerk the cap tightly onto the fork to seal the cap to the tube.


If replacing seals in both forks, repeat this process for the remaining fork.
Re-install the fork(s) on the bike as well as the fork guard(s), brake caliper (if applicable), and front wheel. It is important to consult your service manual for all torque specs when tightening bolts.
