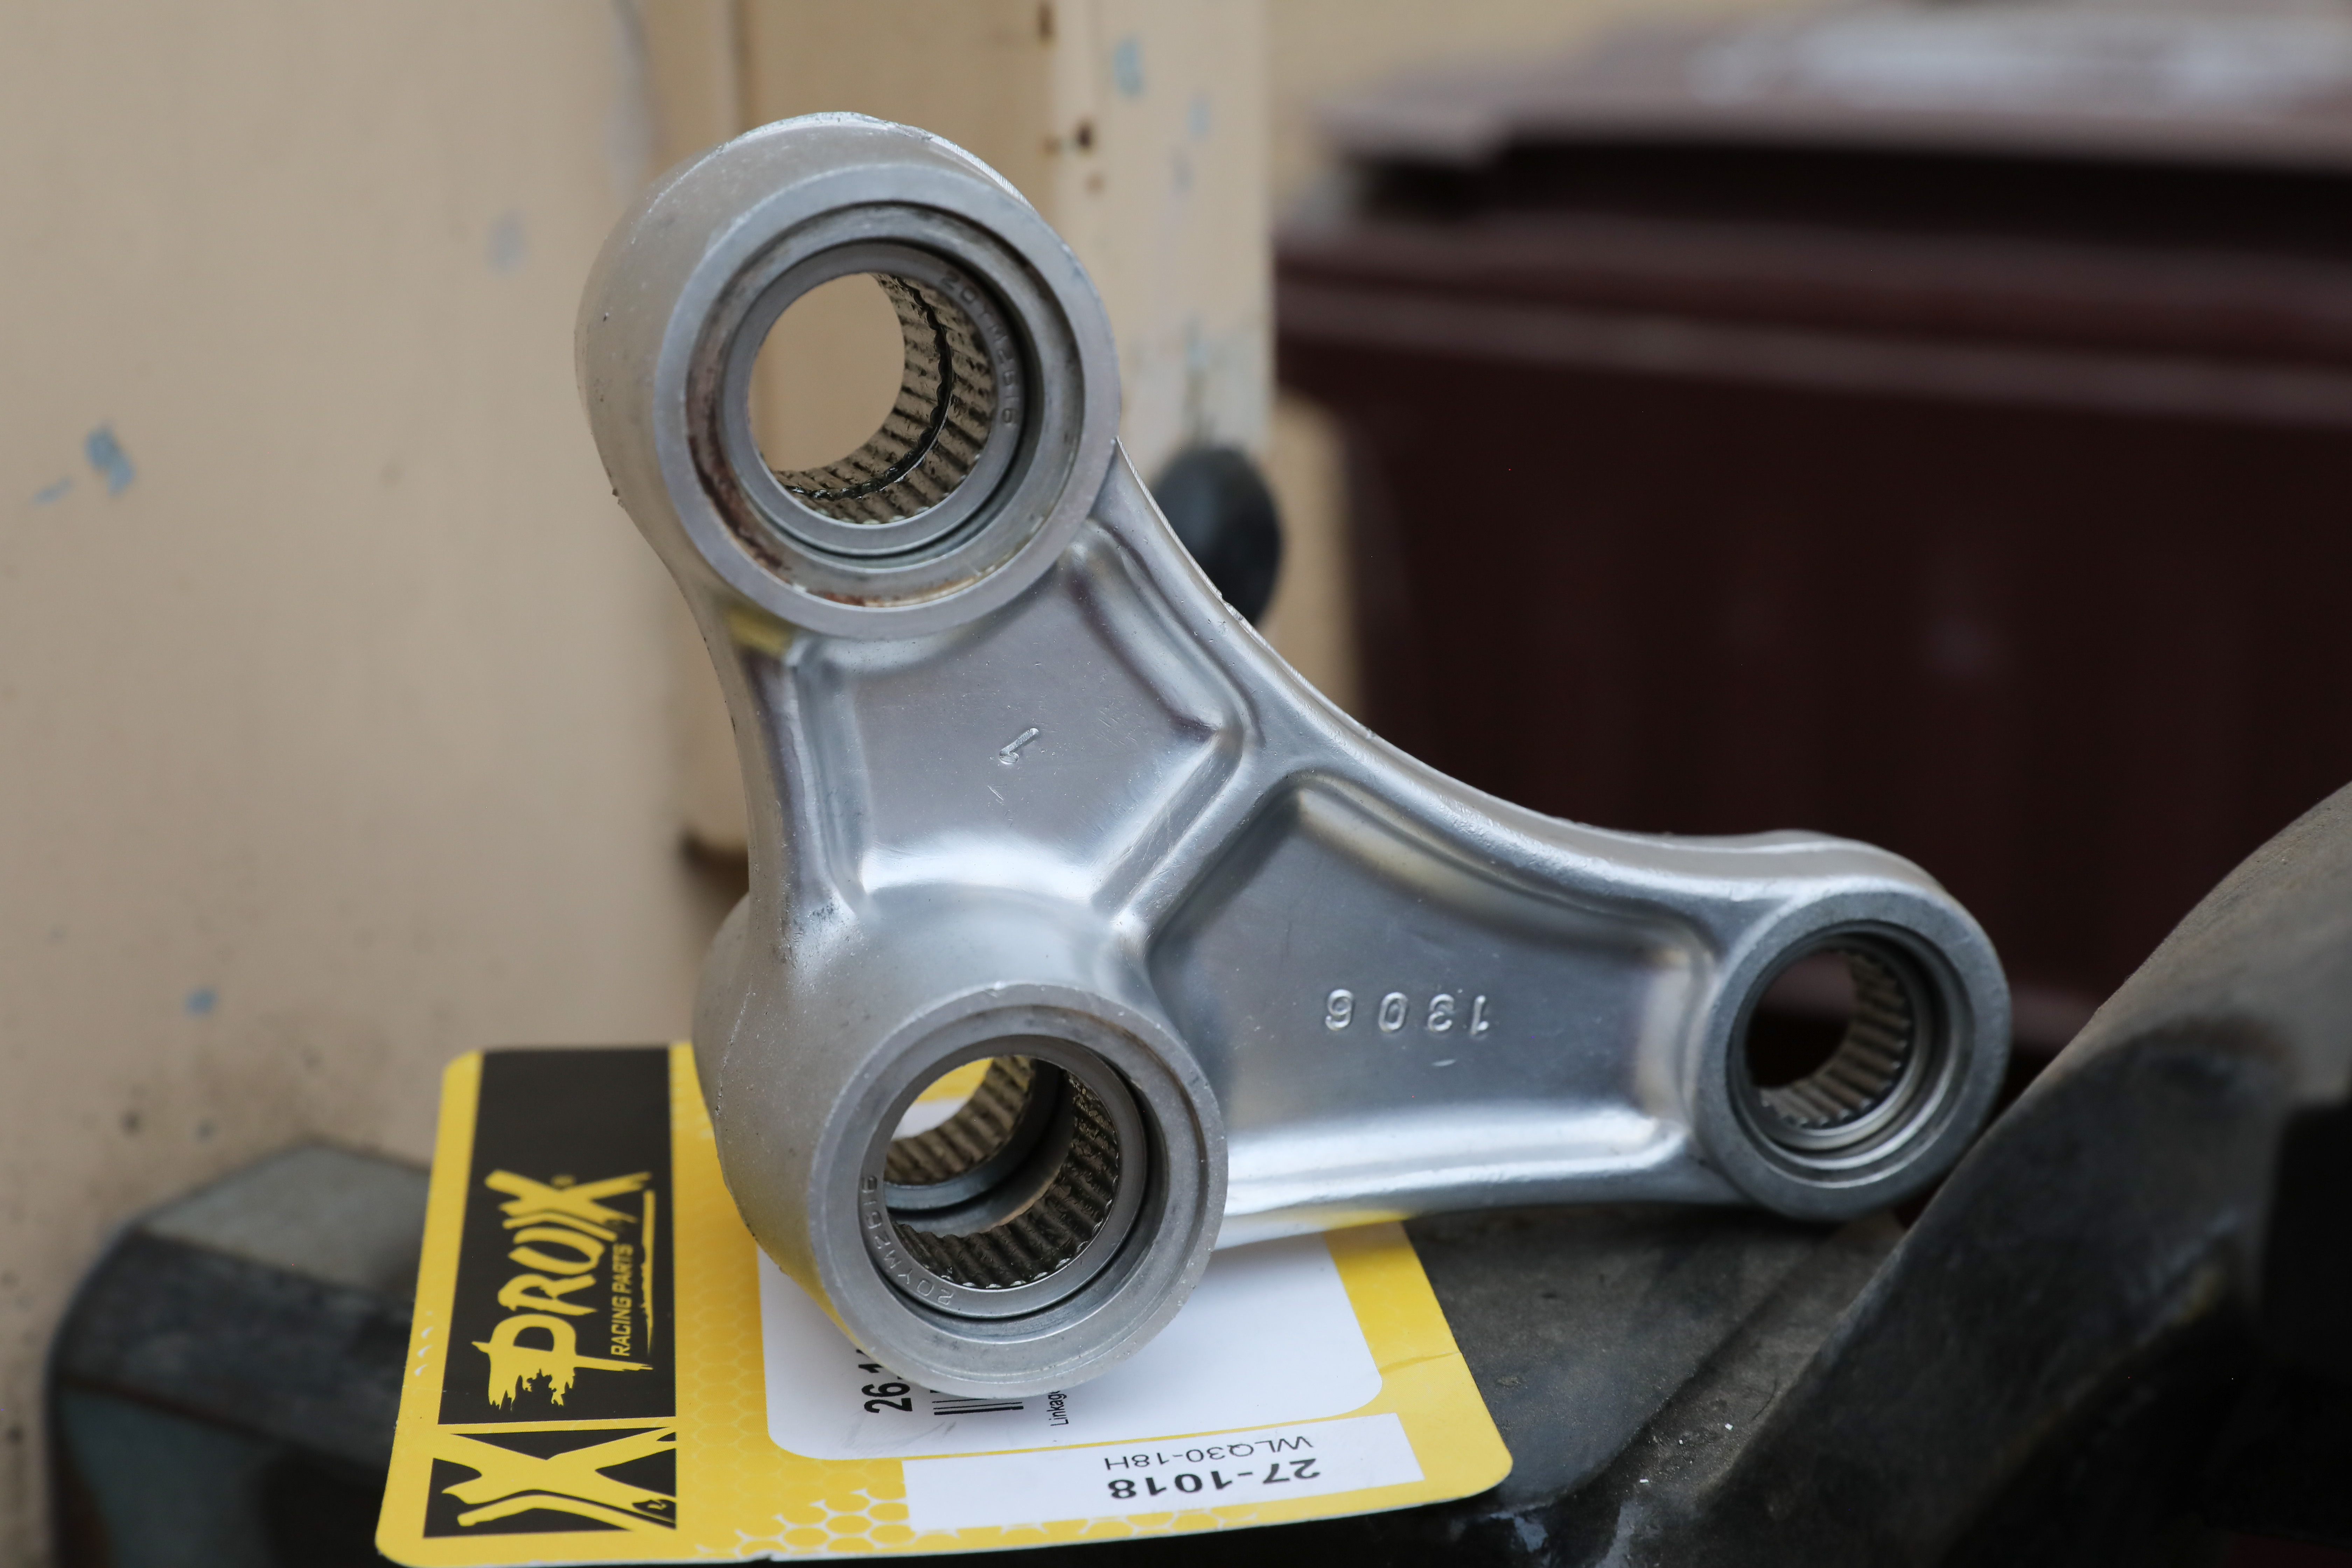
We walk you through replacing bearings in a motorcycle shock linkage.
Change the oil, clean the air filter, lube the chain – these are general maintenance items for dirt bikes and ATVs. But how many other maintenance items should you be keeping an eye on? Unfortunately, there are many more items that need attention that owners are unaware of, and that’s proven in the 300+ page ProX dirt catalog containing thousands of performance replacement part numbers.
Ensuring the bearings on your bike or ATV that come in contact with dirt and dust (which is all of them outside the engine) are properly lubed and maintained is an essential part of off-road maintenance. It’s important to ensure your wheel, steering stem, swingarm, and linkage bearings all get the attention they deserve, and we’re here to help with some tips on getting this done properly. It’s easiest to take things one step at a time, so let’s begin with linkage bearings.
The first question you may ask is, “how do I know how often to inspect and service these bearings?” The owner’s manual supplied with your bike is the first place you should reference followed by your bike’s factory service manual. Most service manuals specify similar inspection and service intervals. As an example, the table below shows a commonly referenced interval for linkage bearings:
|
Component |
Service/Inspection Interval |
|
Shock Linkage |
Inspect and lubricate 3 races or 7.5hrs |
What may come as a surprise is how often these bearings are supposed to be getting inspected. The good news is these inspections – and even the parts replacements – are fairly easy to do. For the purposes of this article, we’ll dive straight into assuming you’re ready to replace linkage bearings and show you how you can accomplish this with basic tools in your own garage. If you’re not sure if they need to be replaced, scroll to the bottom of this article for our inspection tips below.
Replacing Dirt Bike Linkage Bearings
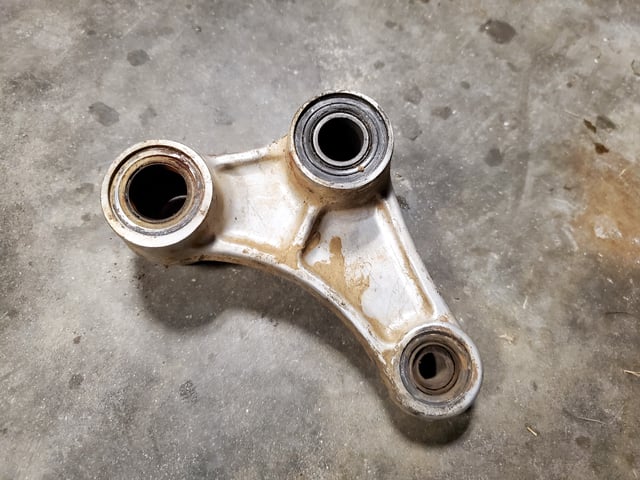
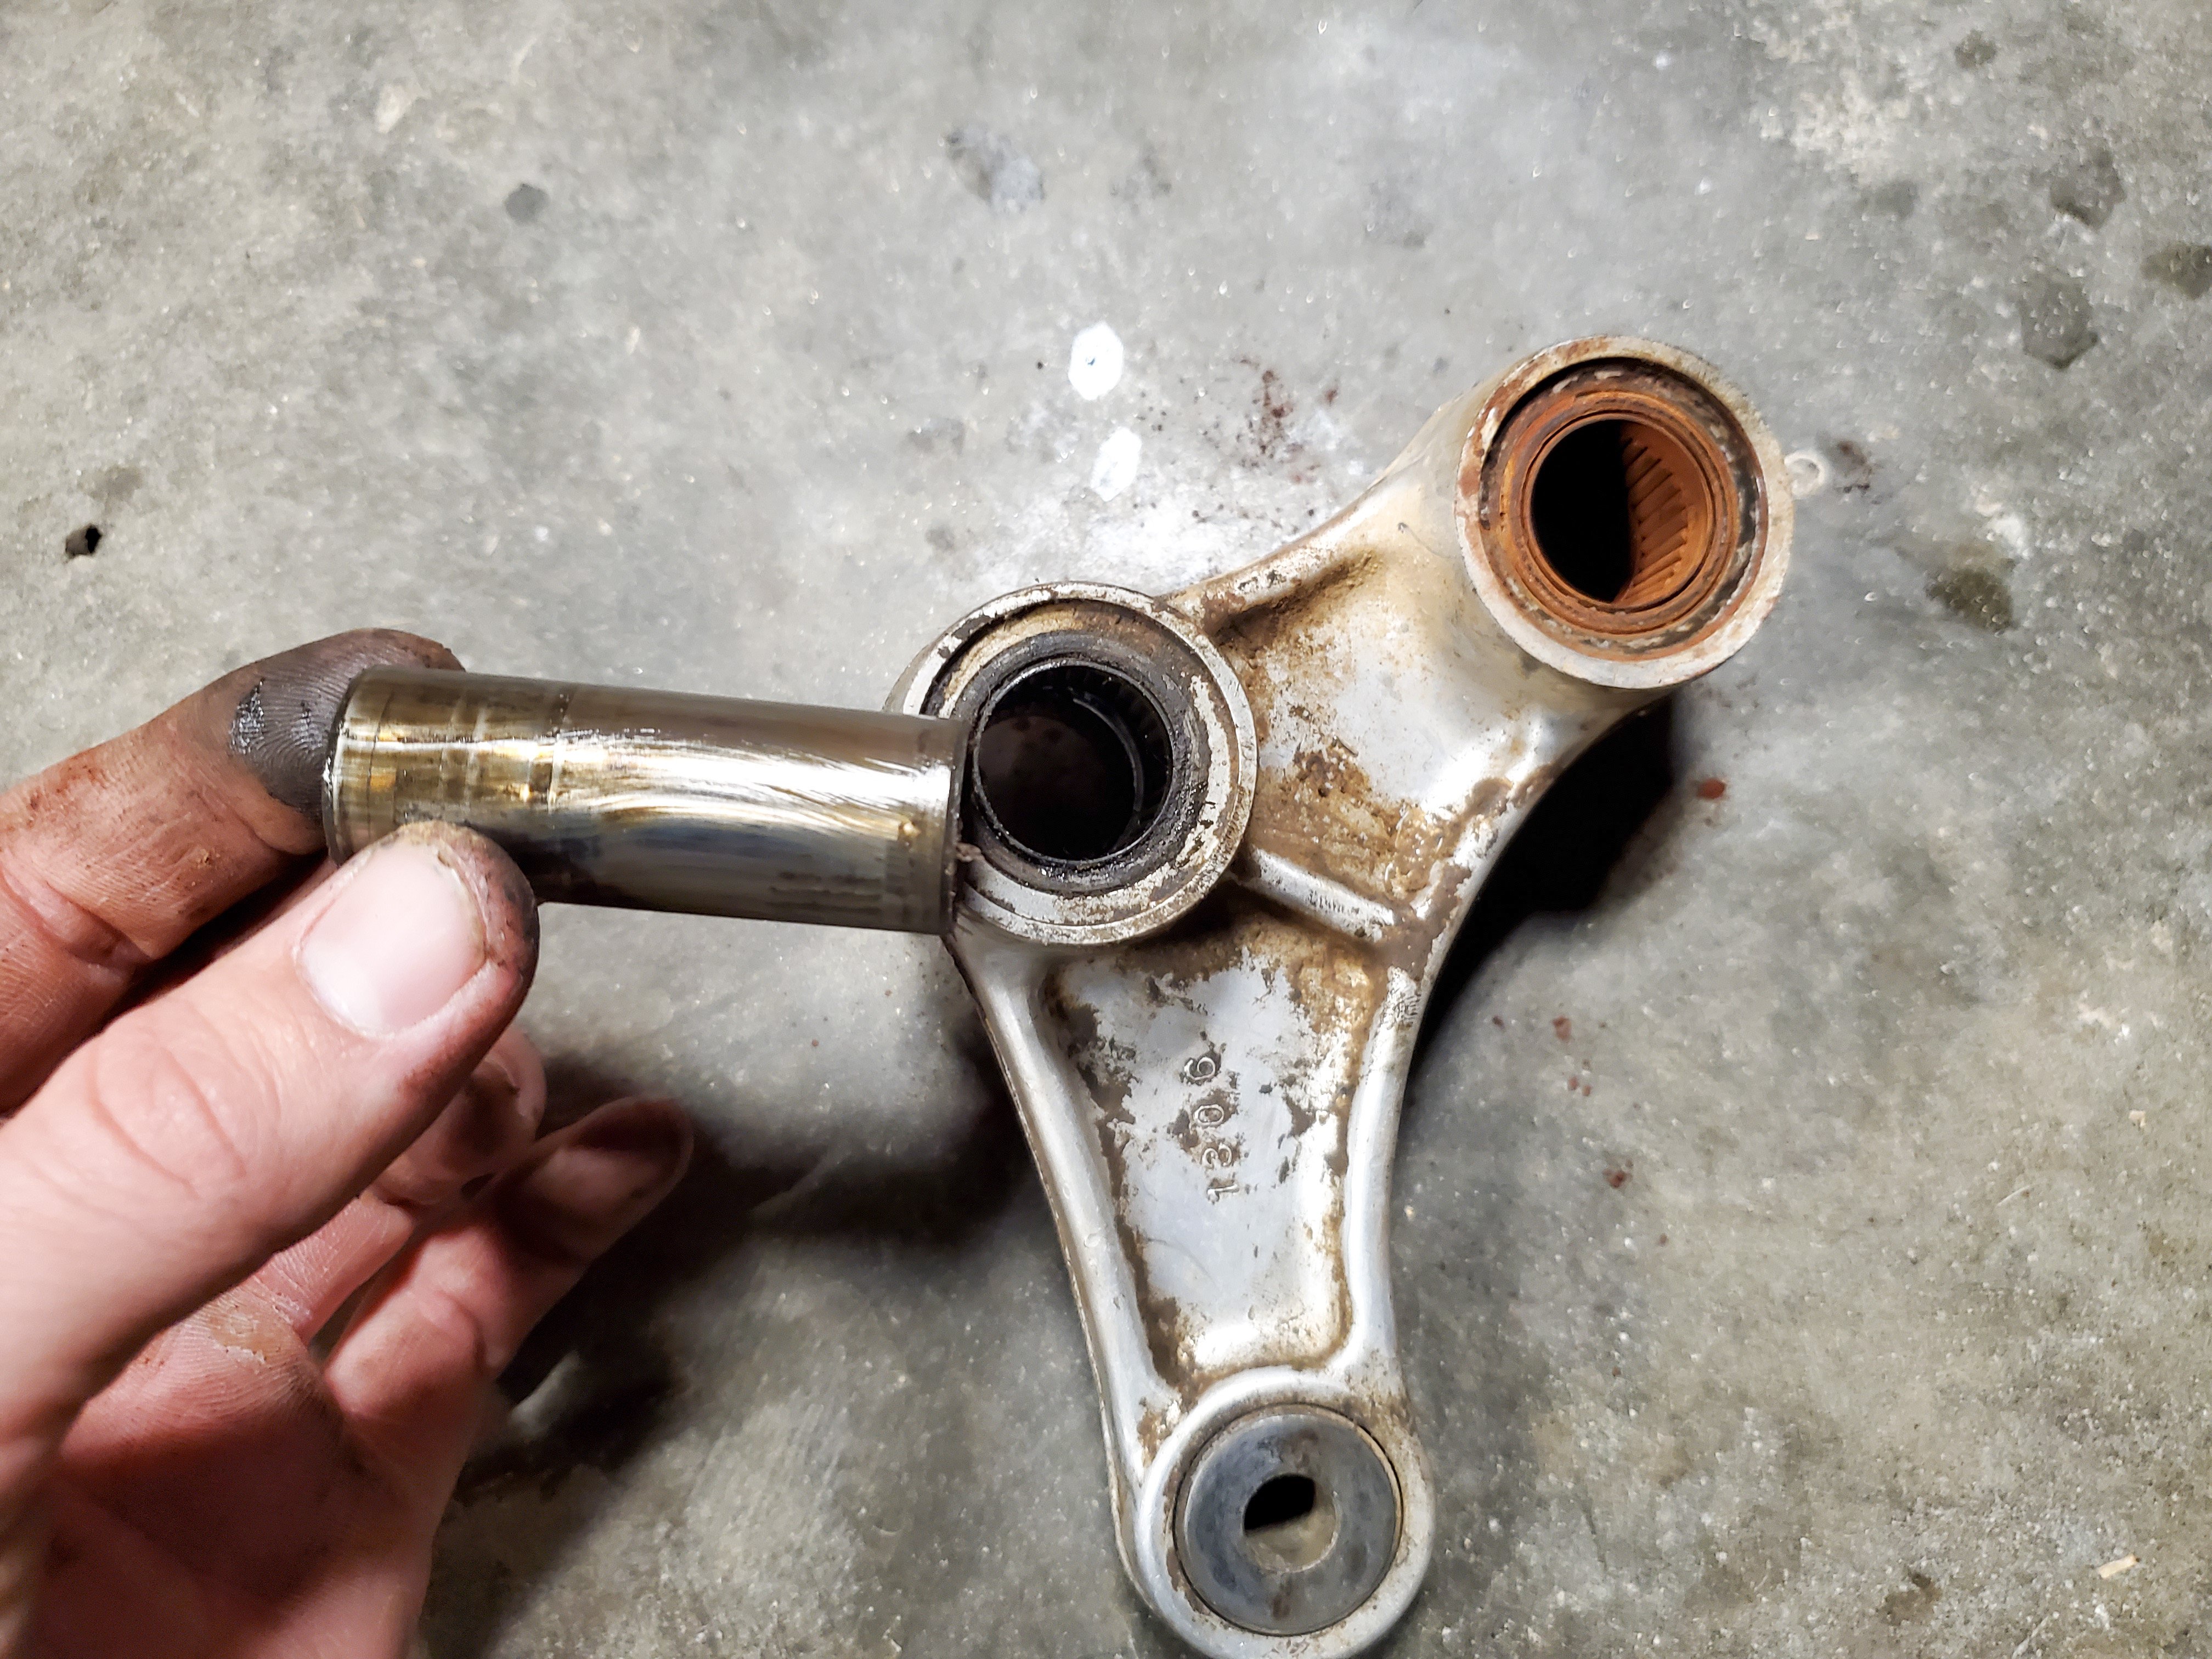
The linkage we’re working with here is from a 2003 Kawasaki KX250. This bike overall, let alone the linkage bearings, had excessive neglect in maintenance and the bearings were extremely overdue to for lubing and needed to be replaced completely. This is more common than you might think. Along with a constant feed of dirt and grime (the linkage is essentially under constant roost spray from the front wheel), water from the pressure washer can get past the seals and sit in the bearings for an extended period of time, leaving the needles rusted and ultimately damaged through extended use.
Removing the Old Bearings
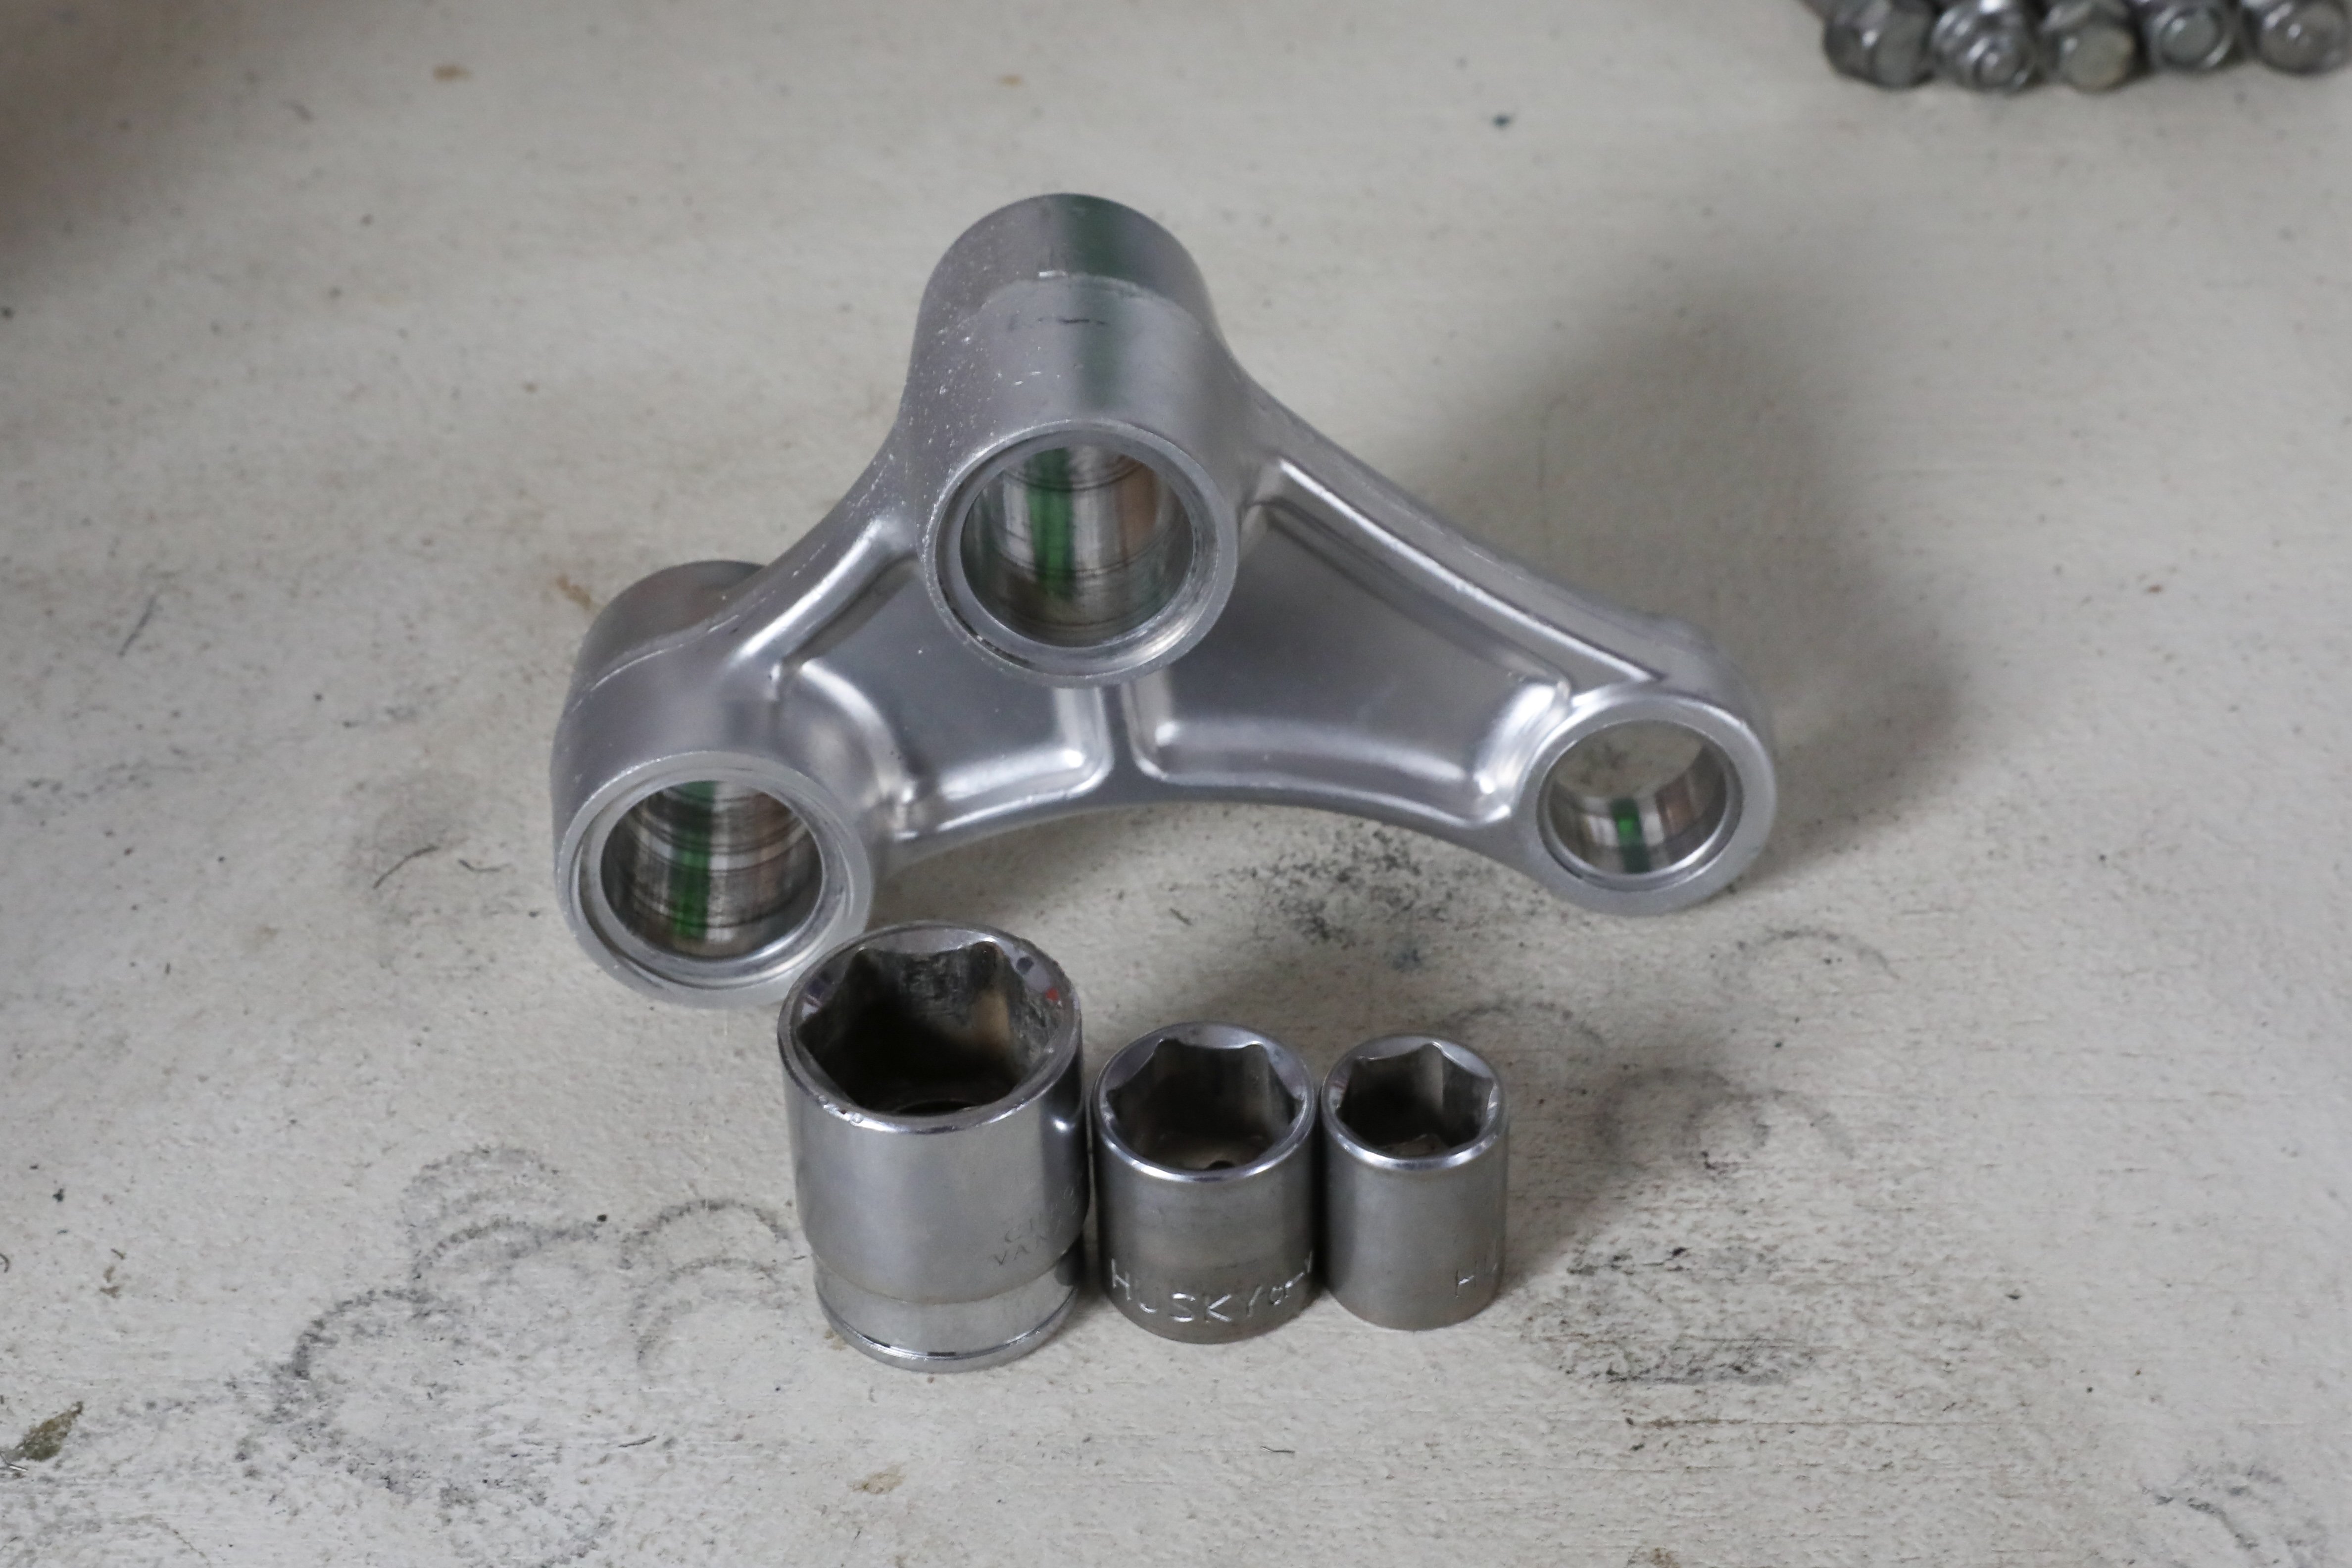
The most ideal tool to press bearings in and out is a hydraulic press, but we realize not everyone has one of these in their garage and they may not want to go out and buy one. Therefore, we’re running through this process by simply using a bench vise and various-sized sockets.
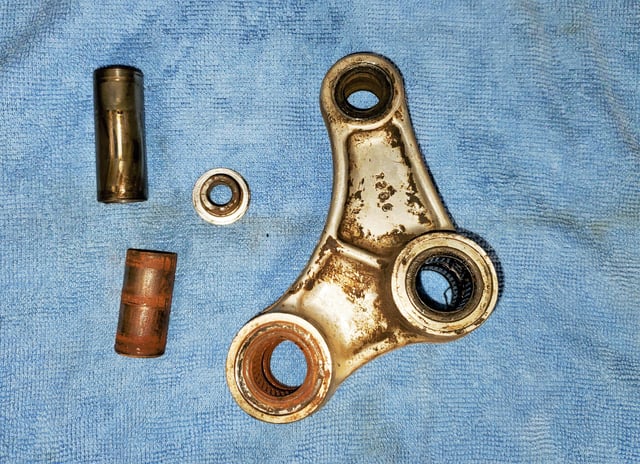
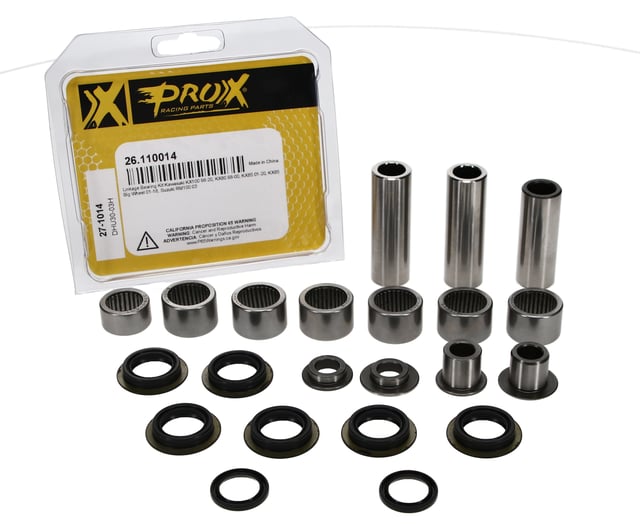
There are five bearings in a typical dirt bike linkage knuckle - two in each larger opening and one in the smaller end. Depending on the model, your bike may also have a linkage arm that contains one or two bearings as well. The process outlined below applies to each of these components. The bearings themselves consist of an alloy shell/housing that houses the needle bearings, a rubber seal for each side of the linkage openings, and a sleeve or pin that inserts into the bearing and rides on the needles.
Before pressing out the old bearings, remove the sleeves and the seals. These should come out fairly easily by hand, but if any are extremely rusted-in, it might require some additional force.
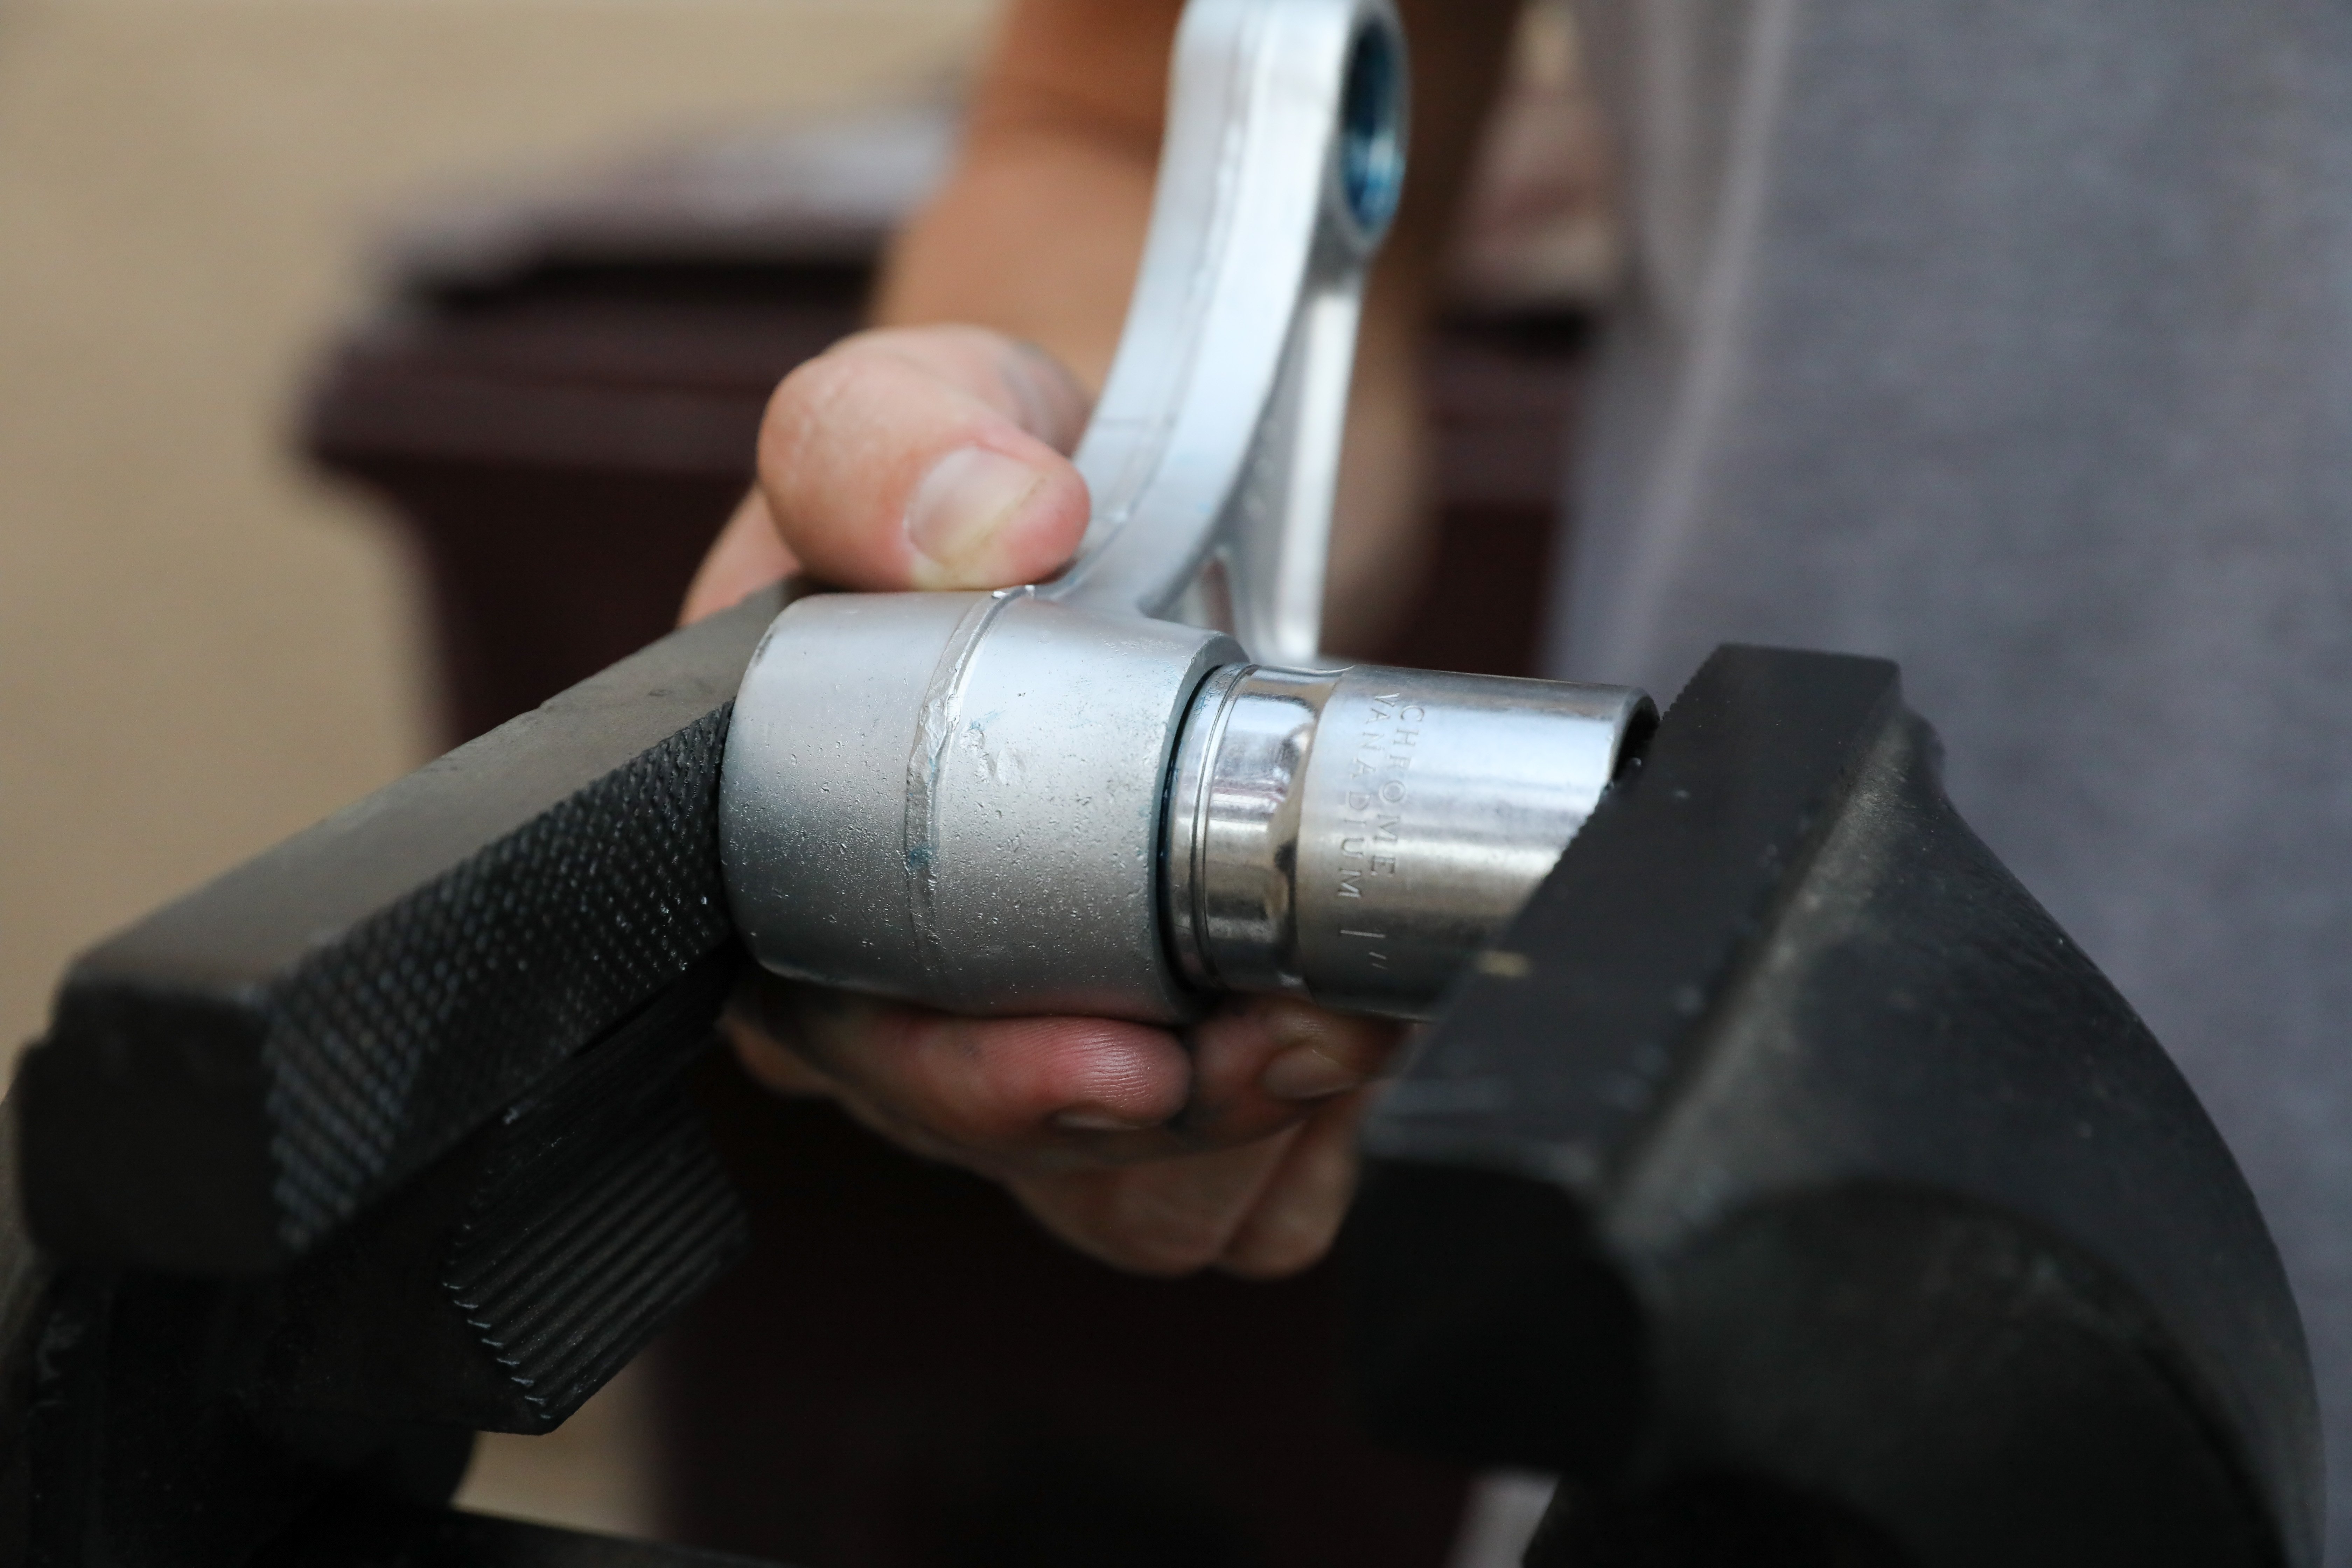
Once these components are removed, we’re ready to press out the bearings. What you’ll need is two sockets, spacers, or something similar that’s cylindrical and hollow. The smaller socket should be almost the exact size of the bearing’s outer housing, so it just fits inside the opening of the linkage and rests firmly on the bearing housing. The other socket should be big enough to rest completely around the opposite of the linkage opening, inside this socket is where the old bearing will fall once pressed completely out.
Choosing the proper sizes for this is critical, so take your time and carefully inspect where the socket will be putting pressure. If you choose incorrectly sized sockets, you risk marring the machined lips where the bearing seal lies.
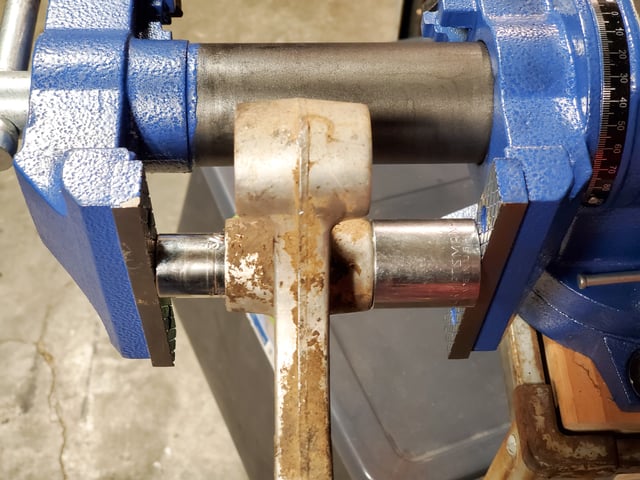
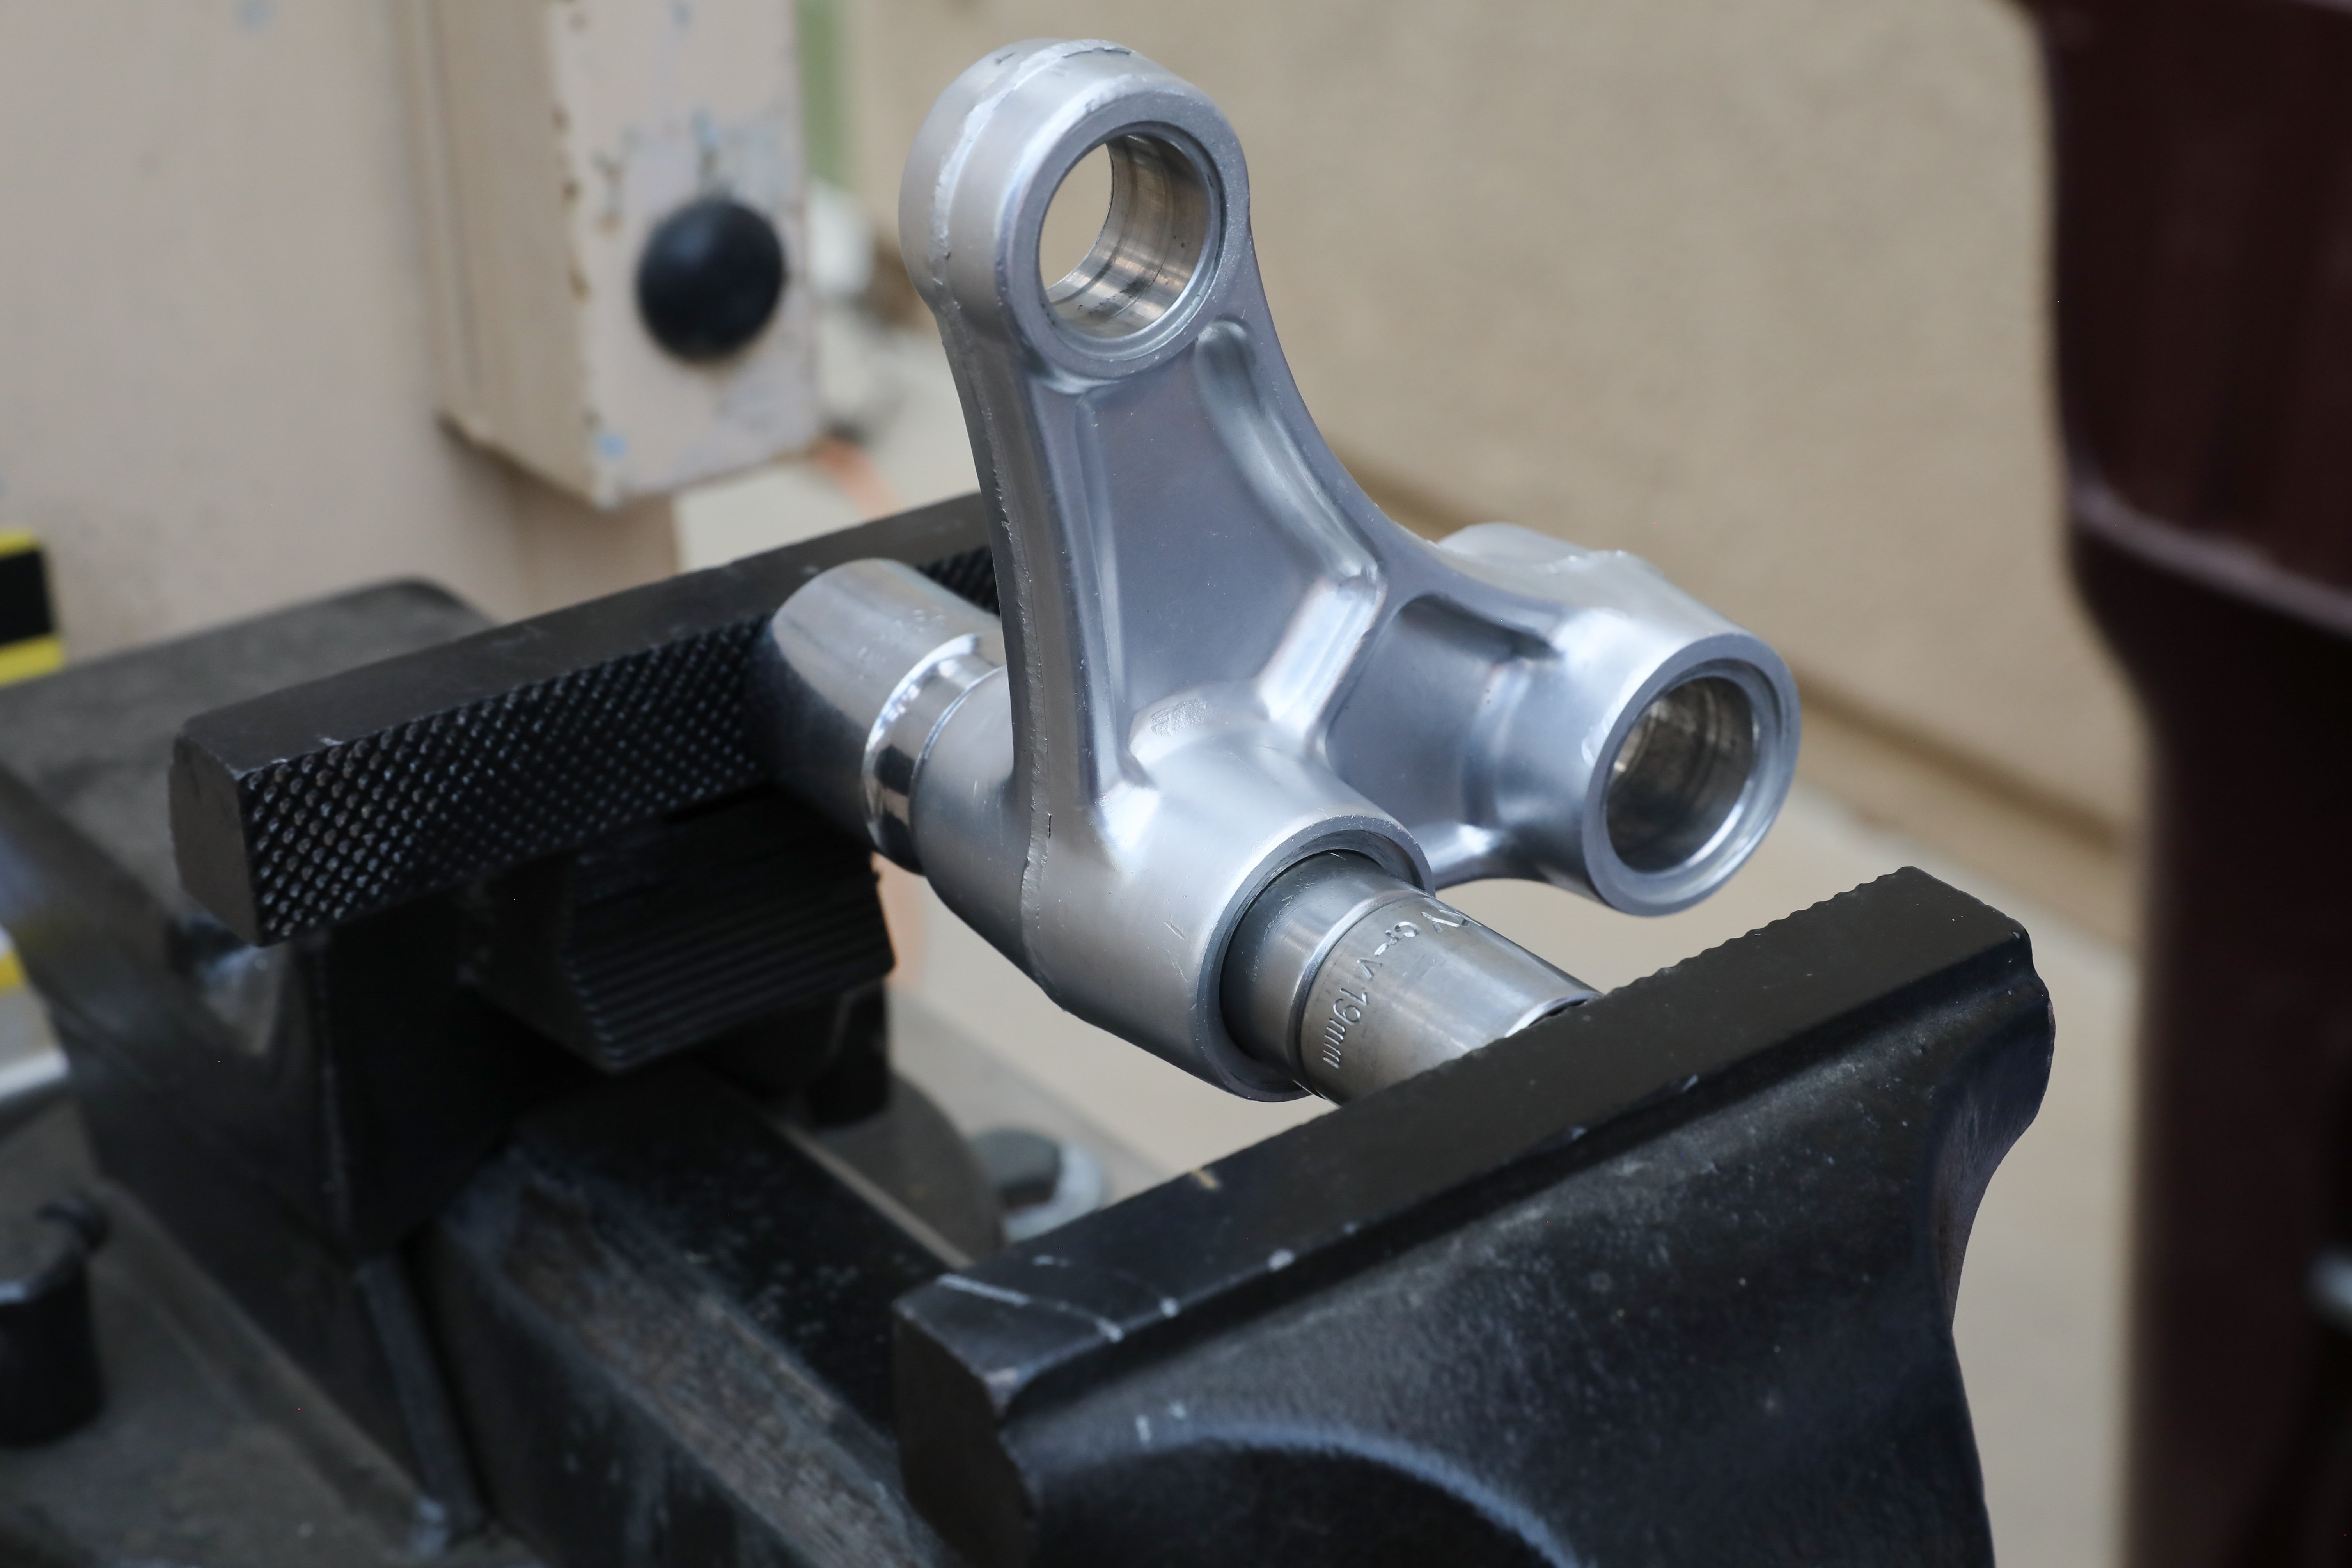
Once you have your sockets chosen, place the small socket against the housing of the old bearing and the big one against the opposite end, and line up the entire thing between the vise jaws with the small end against the sliding jaw and the big end against the static jaw, just as pictured below.
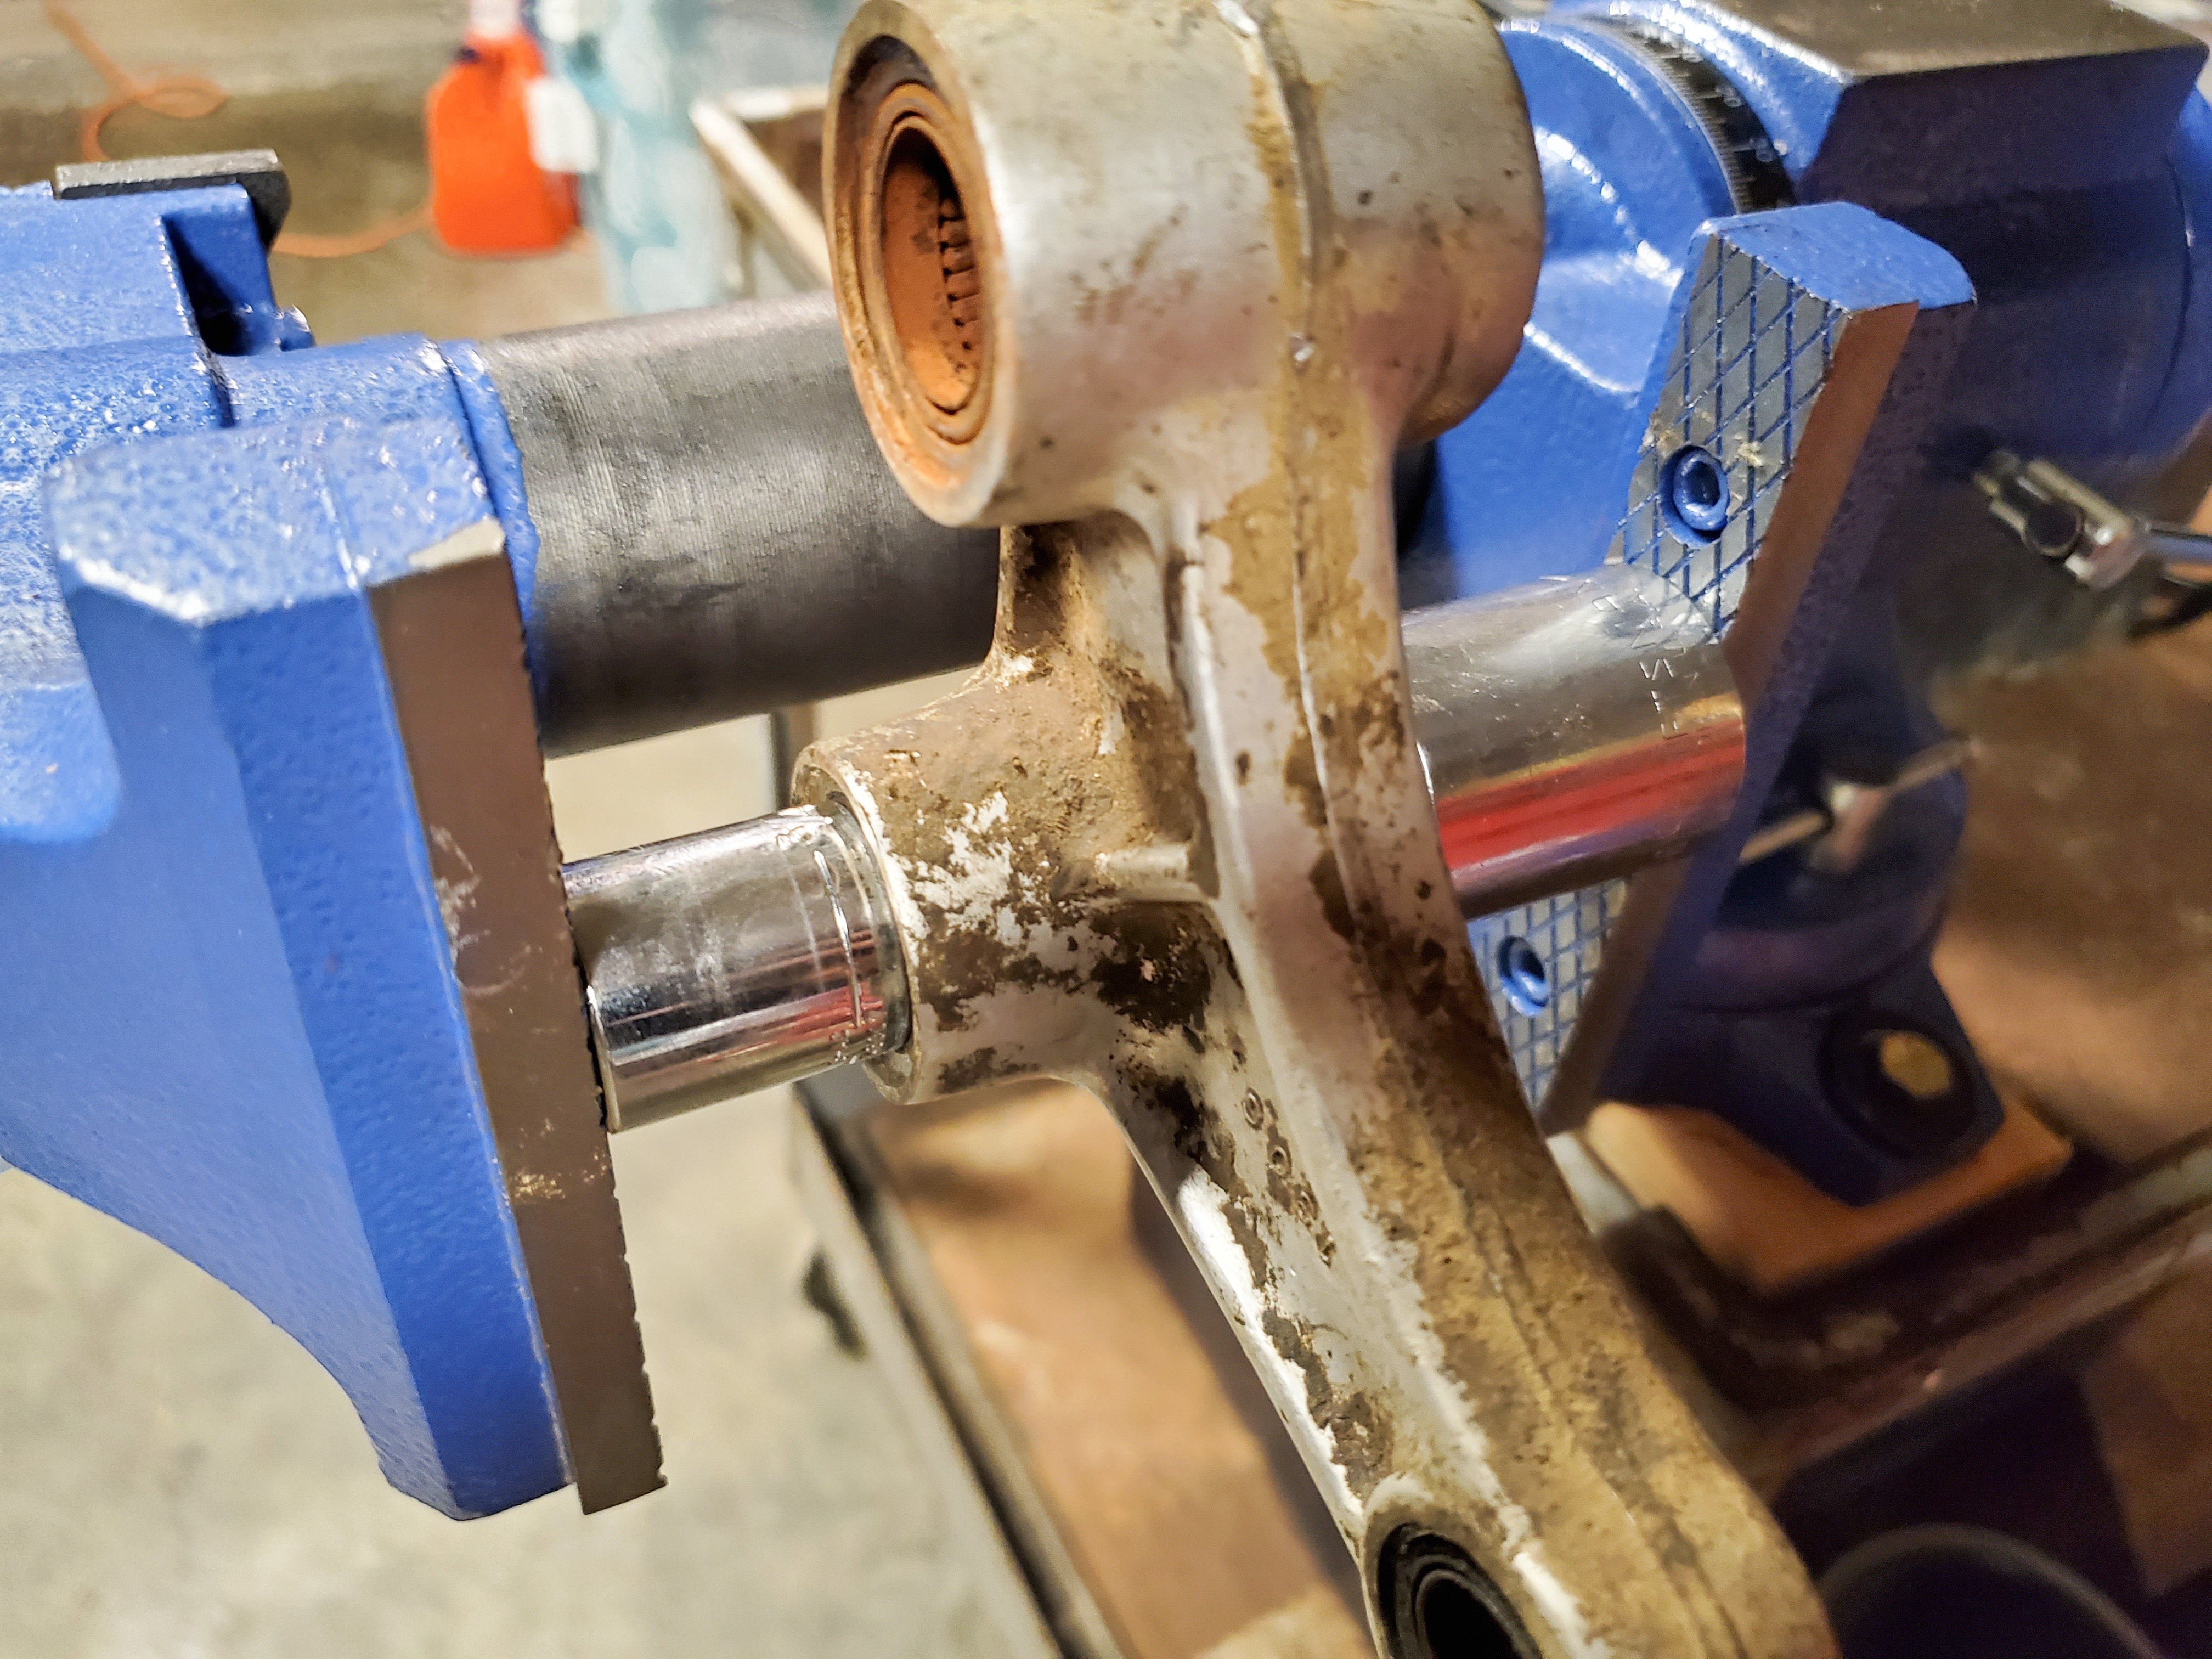
Now, take your time and slowly clamp the vise in small turns, continuously ensuring your small socket is entering the linkage opening straight and not jamming sideways. If it ends up crooked, back it out, reposition, and start again. Patience is key here, damaging the inner wall of the linkage opening could mean buying an entirely new linkage knuckle. Linkage bearings are an interference fit, so a modest amount of force will be required. If it seems you’re having to apply excessive force for very little movement, you can try heating up the outside of the linkage knuckle with a torch or heat gun. However, be careful not to apply too much heat so you don’t cause permanent damage to the alloy, and always use extreme caution.
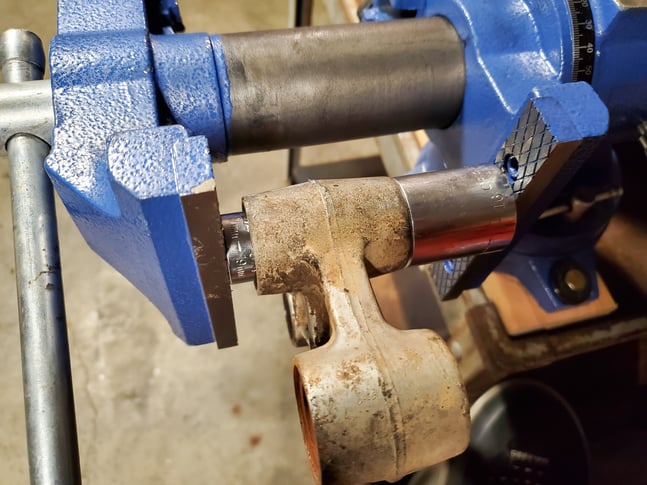
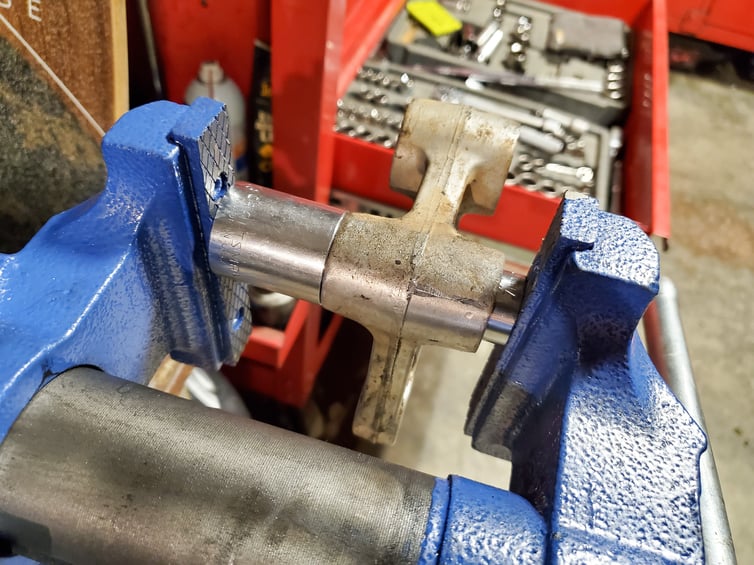
The old bearing should push out the other side into the big socket, and voila, you’re ready to move to the next bearing. Repeat these steps for each of the other bearings in the linkage knuckle but be sure to choose the proper size sockets for each one, as the bearing sizes will vary.
Installing New Bearings
After the linkage is free of old bearings, clean everything up and make sure it’s free of dirt and debris before installing your new bearings.

New linkage bearing kits can be sourced from ProX for a long a list of bikes and come complete with new needle bearing assemblies, seals, and inner sleeves. Pressing in the new bearings involves essentially the same process and equipment as pressing the old ones out.
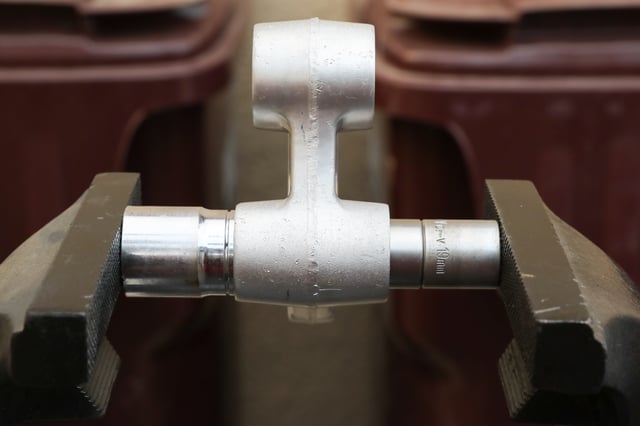
Be sure to take your time and make sure you’re pressing the bearing in straight and not applying uneven stress that could break the new bearing or damage your linkage. Cooling the new bearings down in the freezer before installing is an easy way to help the alloy contract slightly, allowing them to press in without much trouble. Using this method should eliminate any need for heat unless you’re working in excessively cold temperatures.
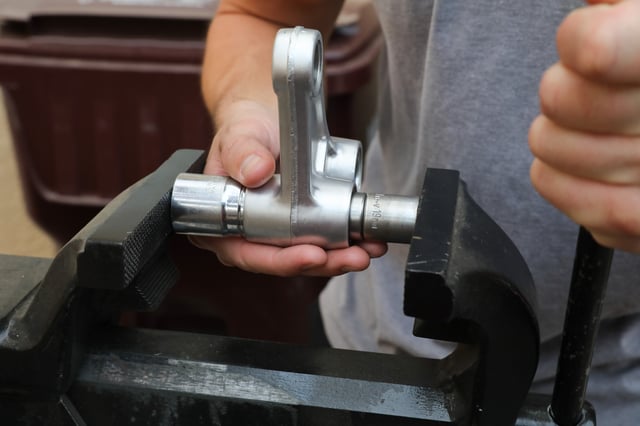
When pressing each new bearing in, reference your factory service manual to see if there is a specific depth they should be seated, otherwise you can make note of the old ones’ position before removing and match it.
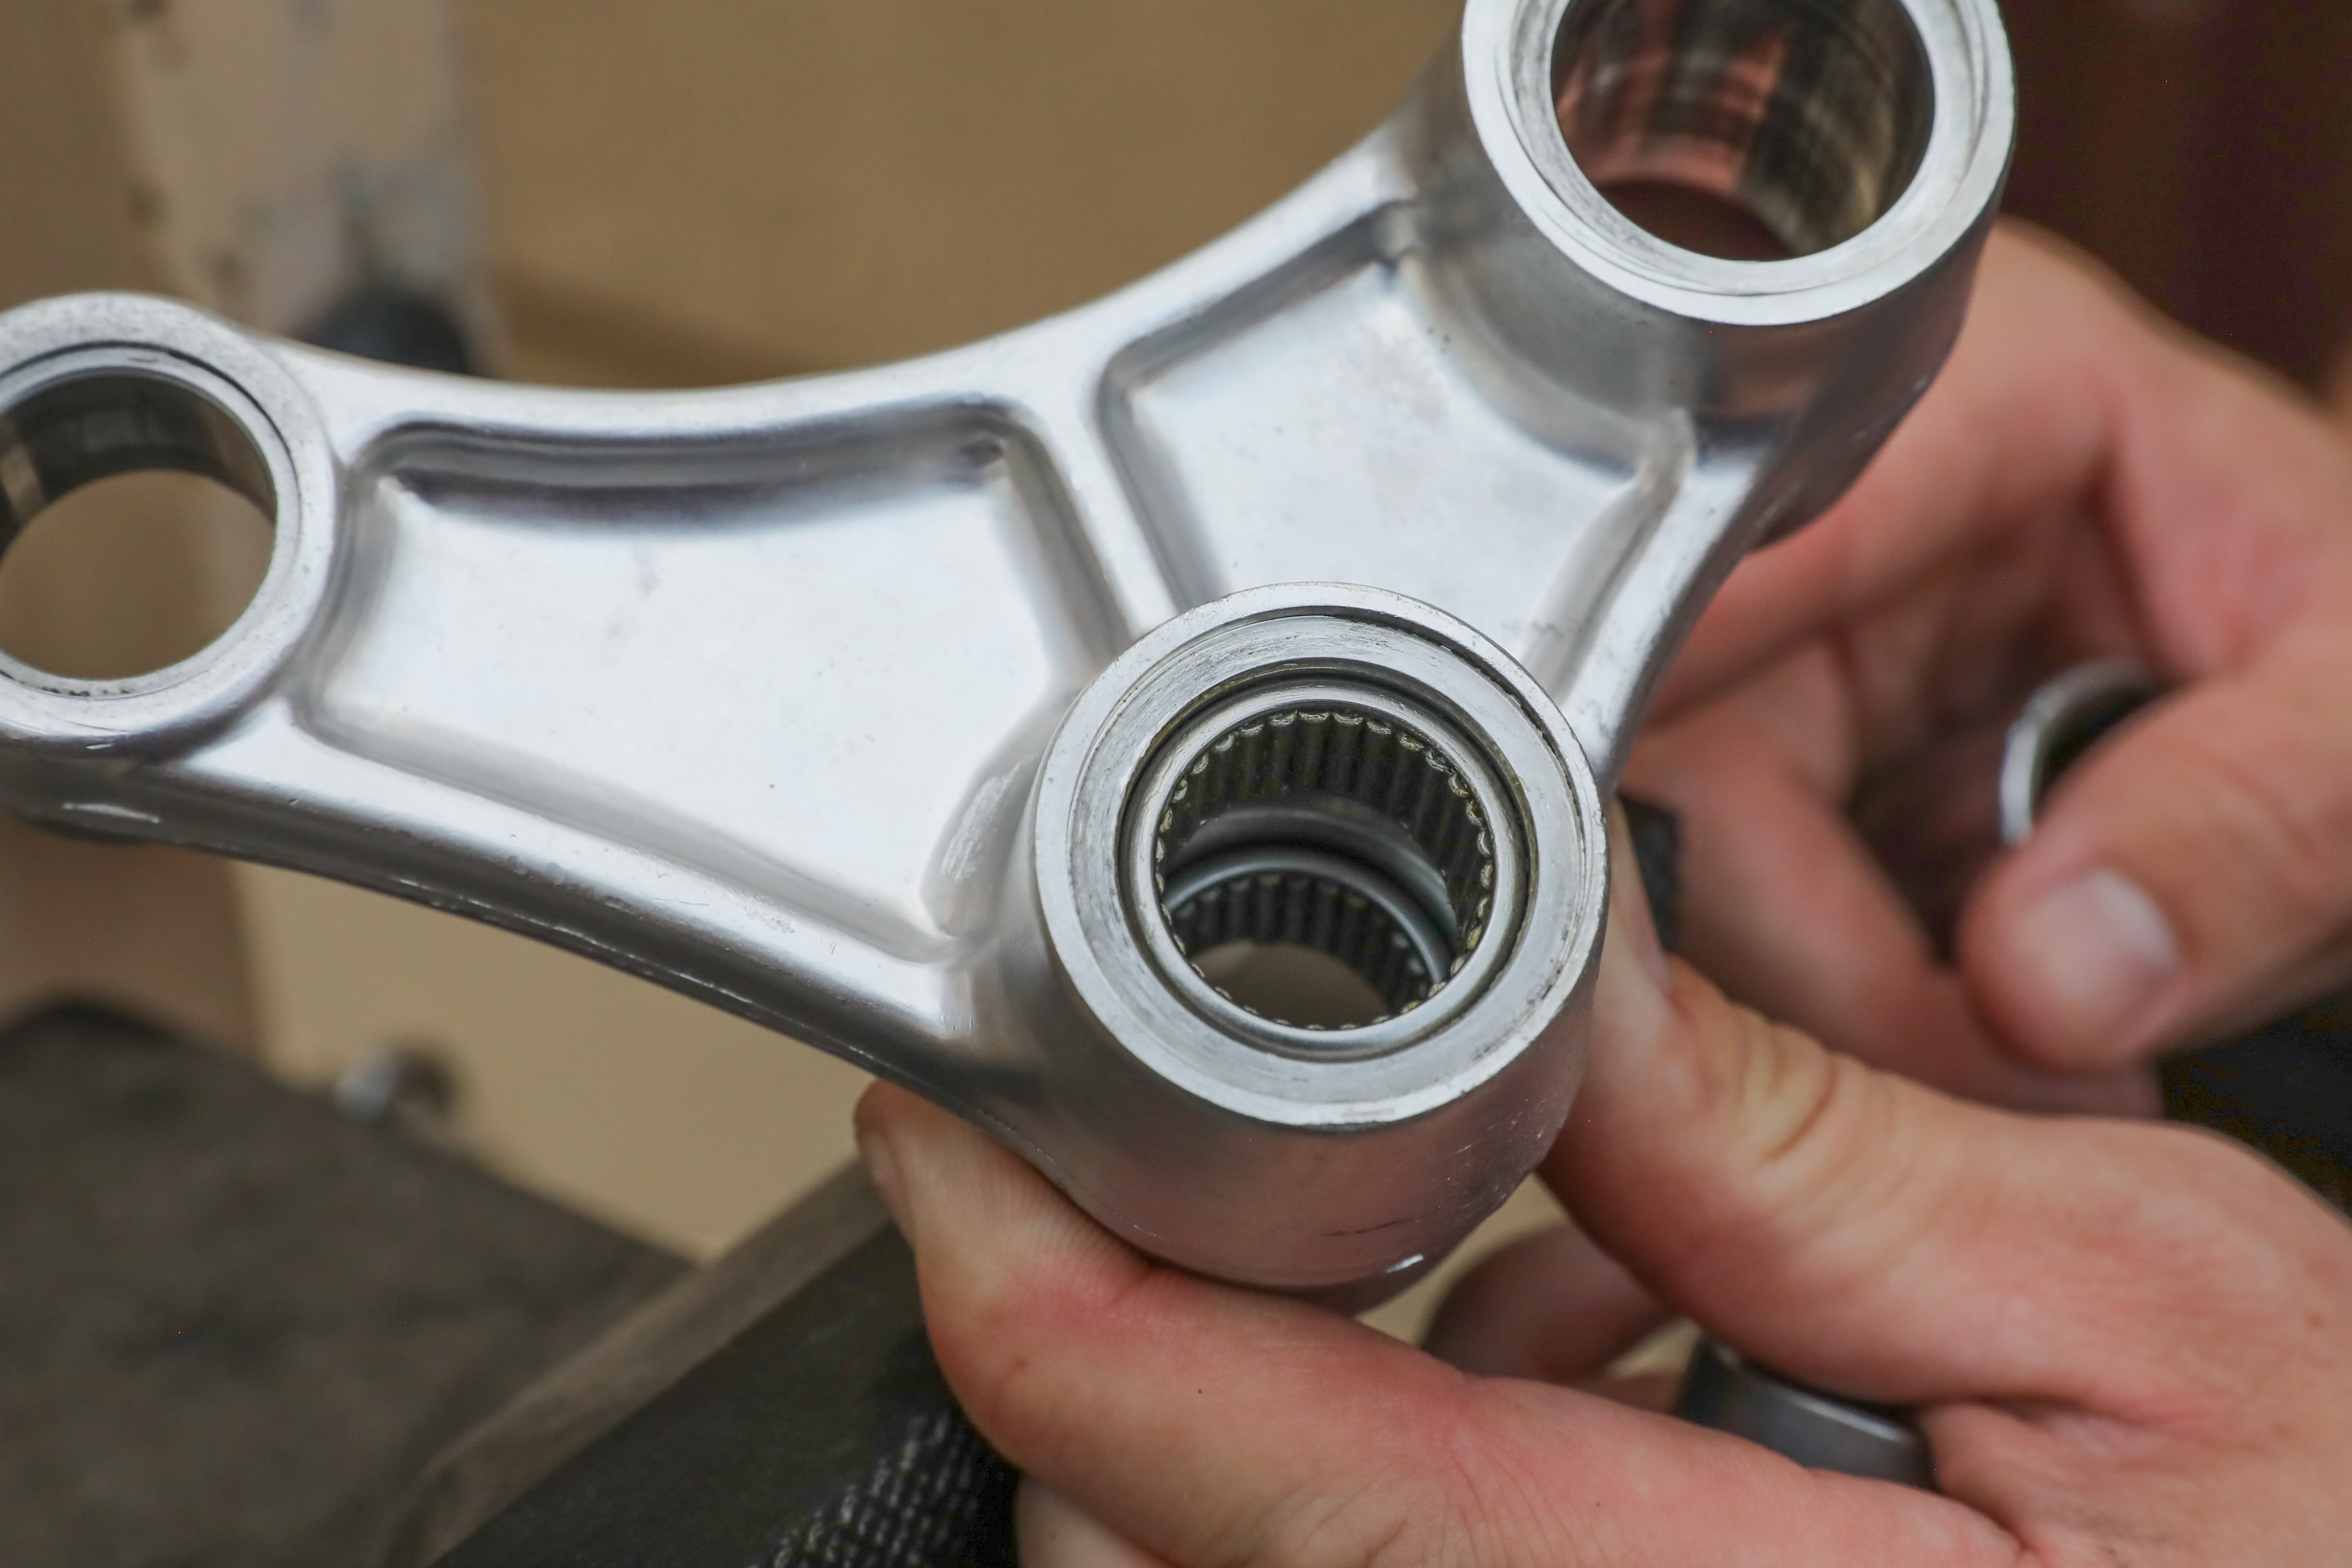
Once your new bearings are pressed-in properly, the next step is grease. Yes, they’re new, but that doesn’t mean they don’t need additional grease. Don’t go overboard and pack the whole opening with grease, but do make sure there’s a nice layer of waterproof grease worked into the bearing housings for the needles to settle into. Be careful during this process not to accidentally remove any needles from their housing, they are not fixed in place.
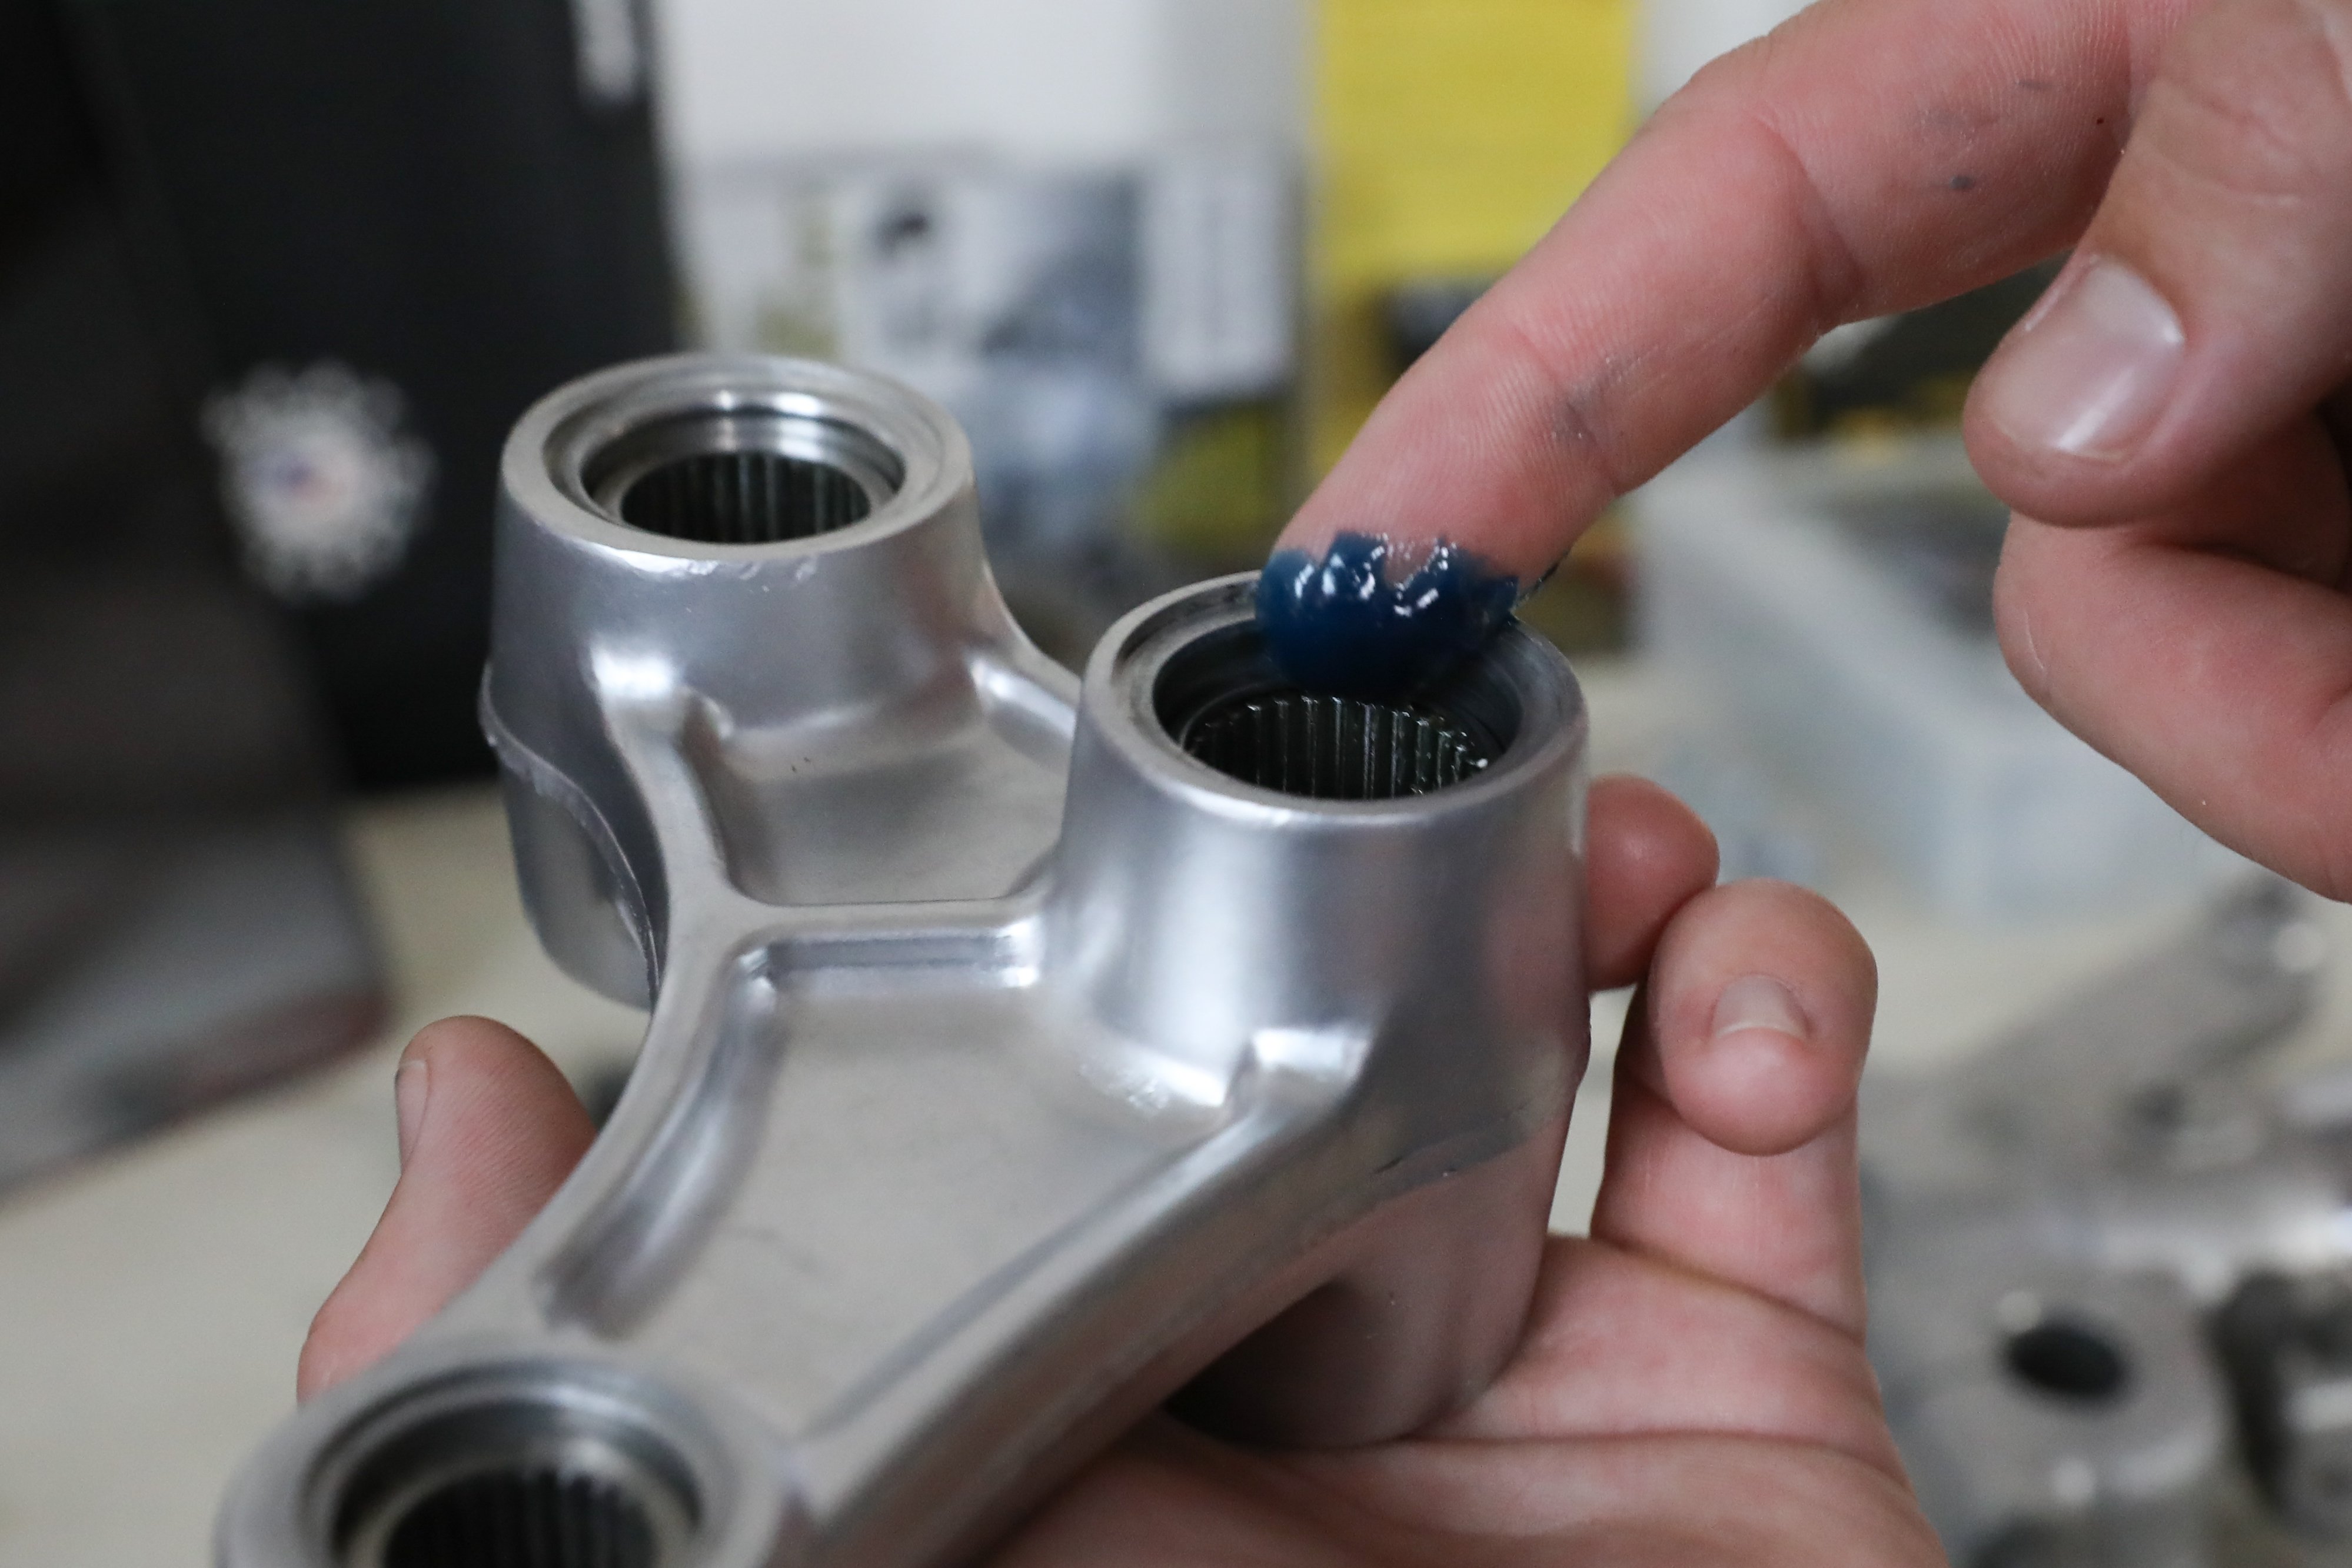
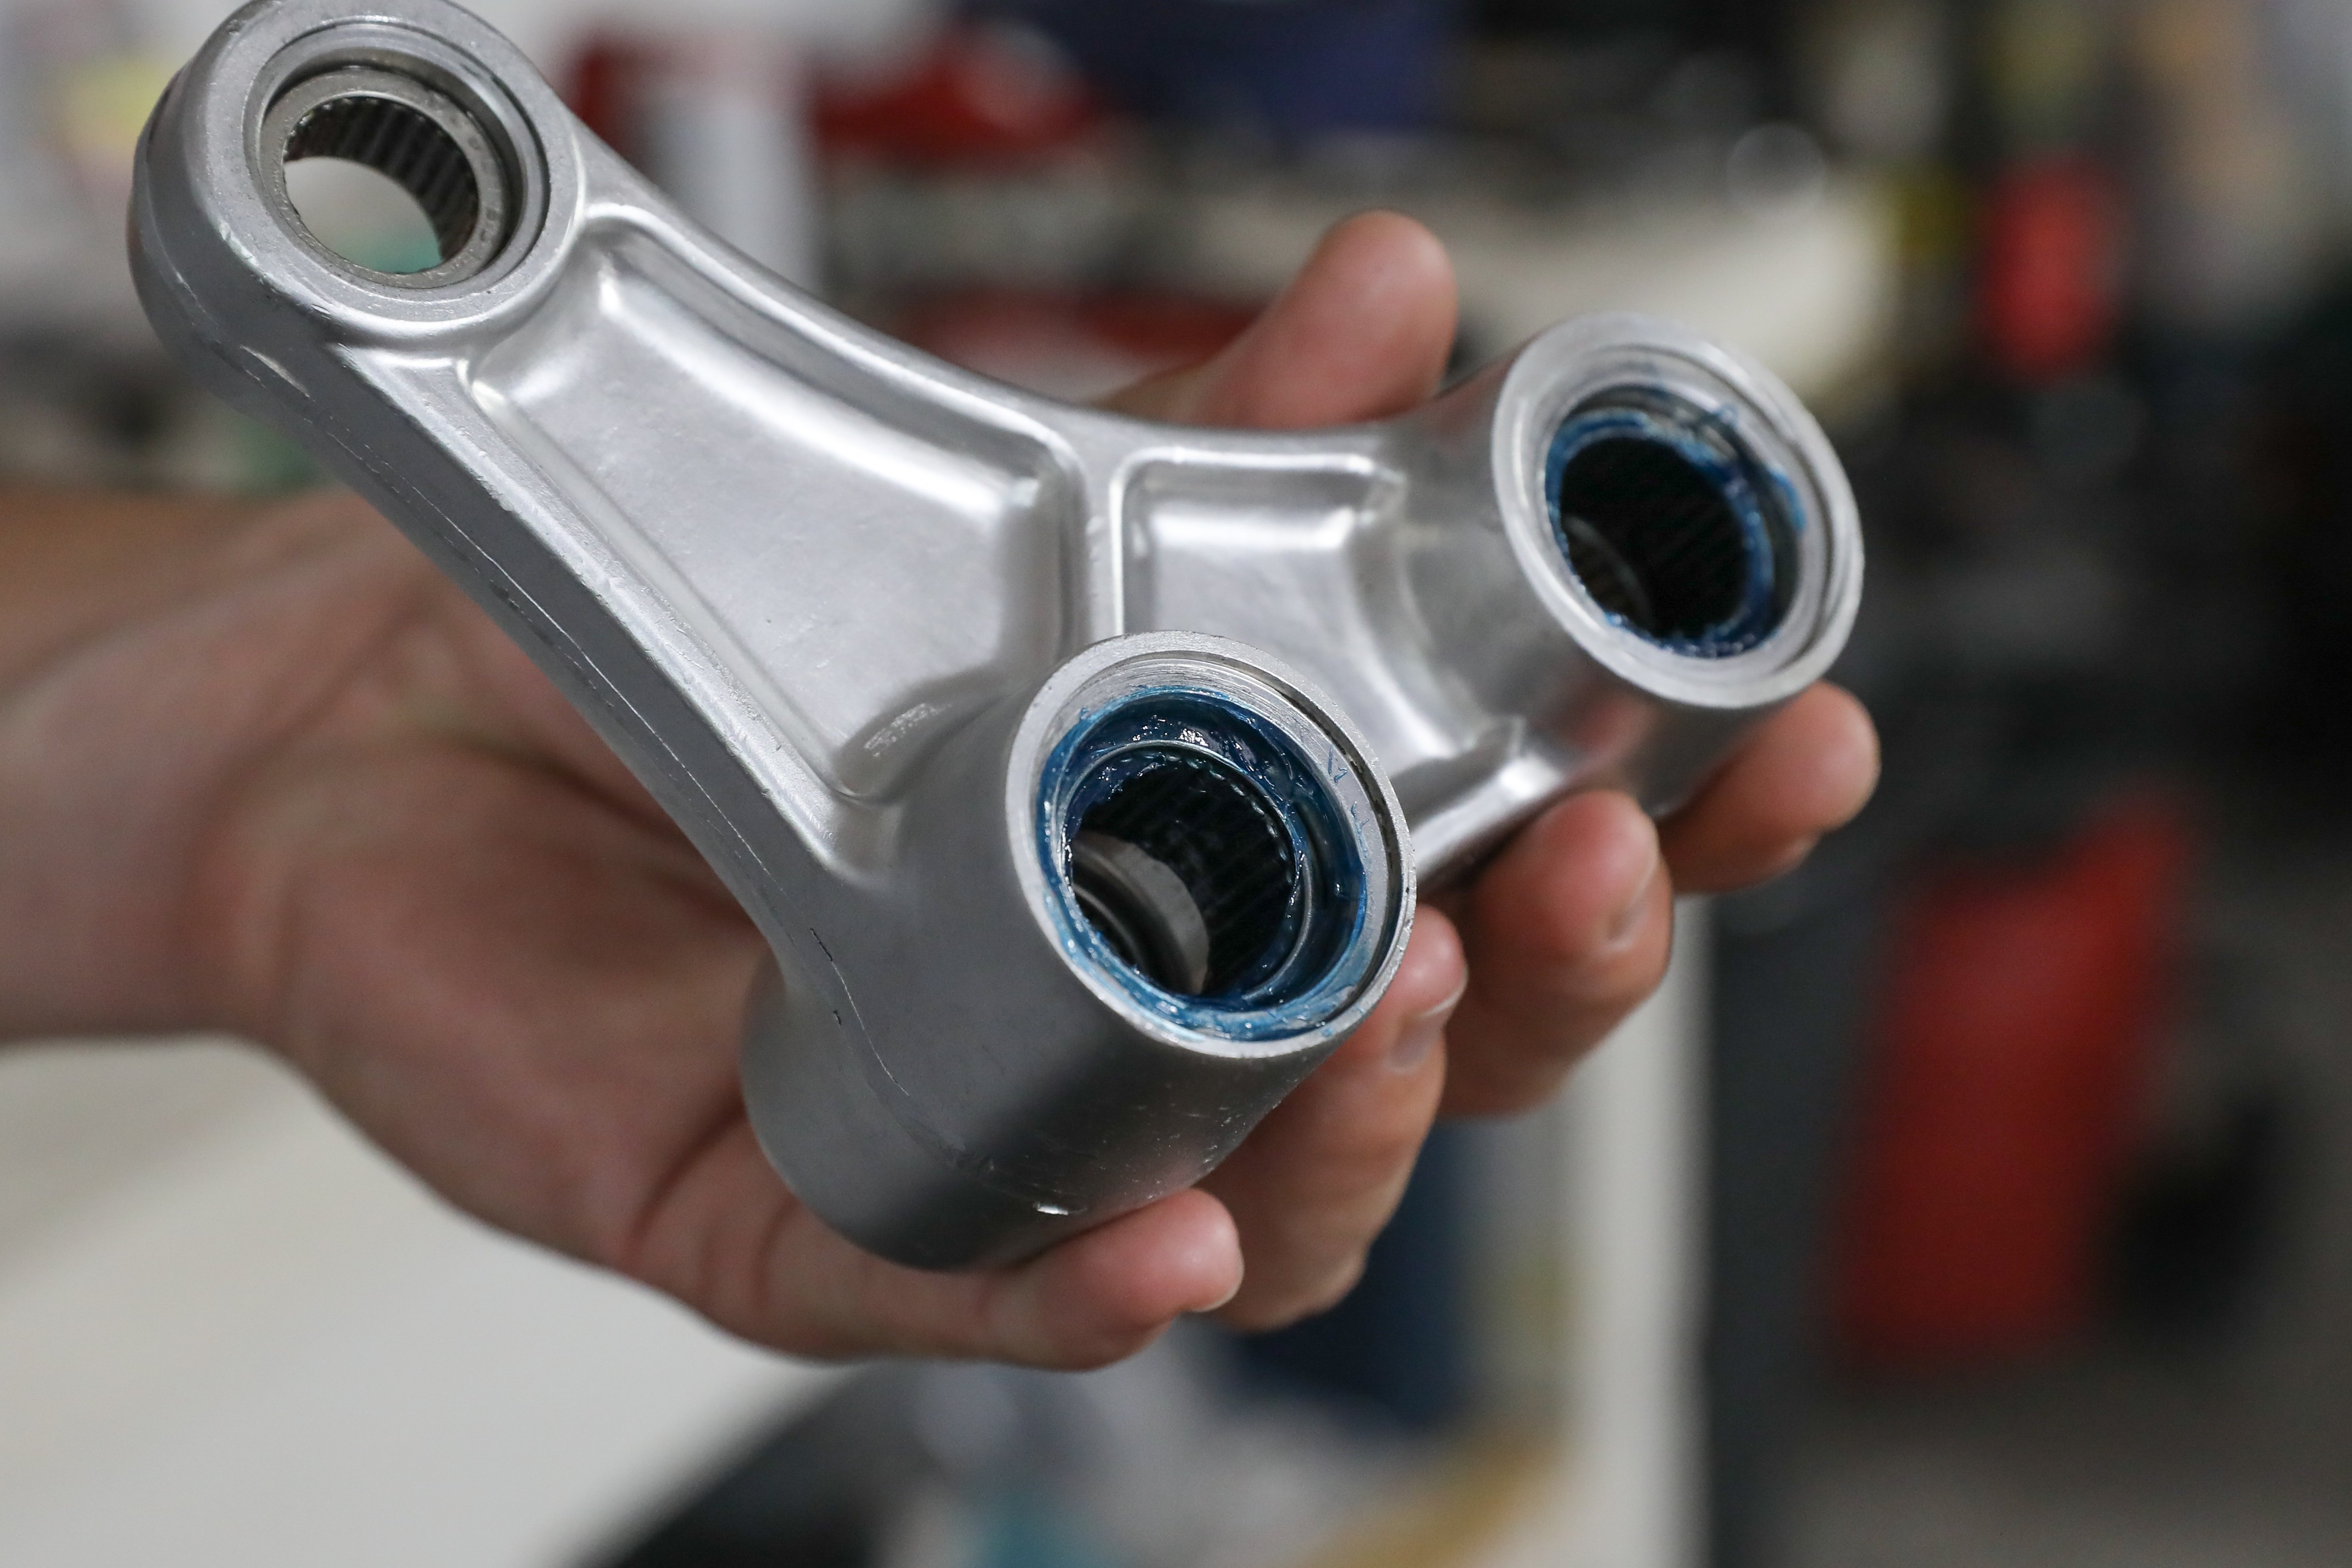
Once the bearings are prepped, add a little bit of grease to each new seal and set them in place. Sometimes the smaller seals can be pressed in place by hand, but they'll typically need some gentle motivation to seat all the way in. If you don't have a seal driver set, the socket and vice method works for seals as well. However, take extra care not to damage the seal, they are easily bent or broken when applying force. Use the appropriately sized socket, line up the seal and socket evenly in the vice jaws, and press very slowly until the seal is completely and evenly seated. Seals will not require nearly as much force!
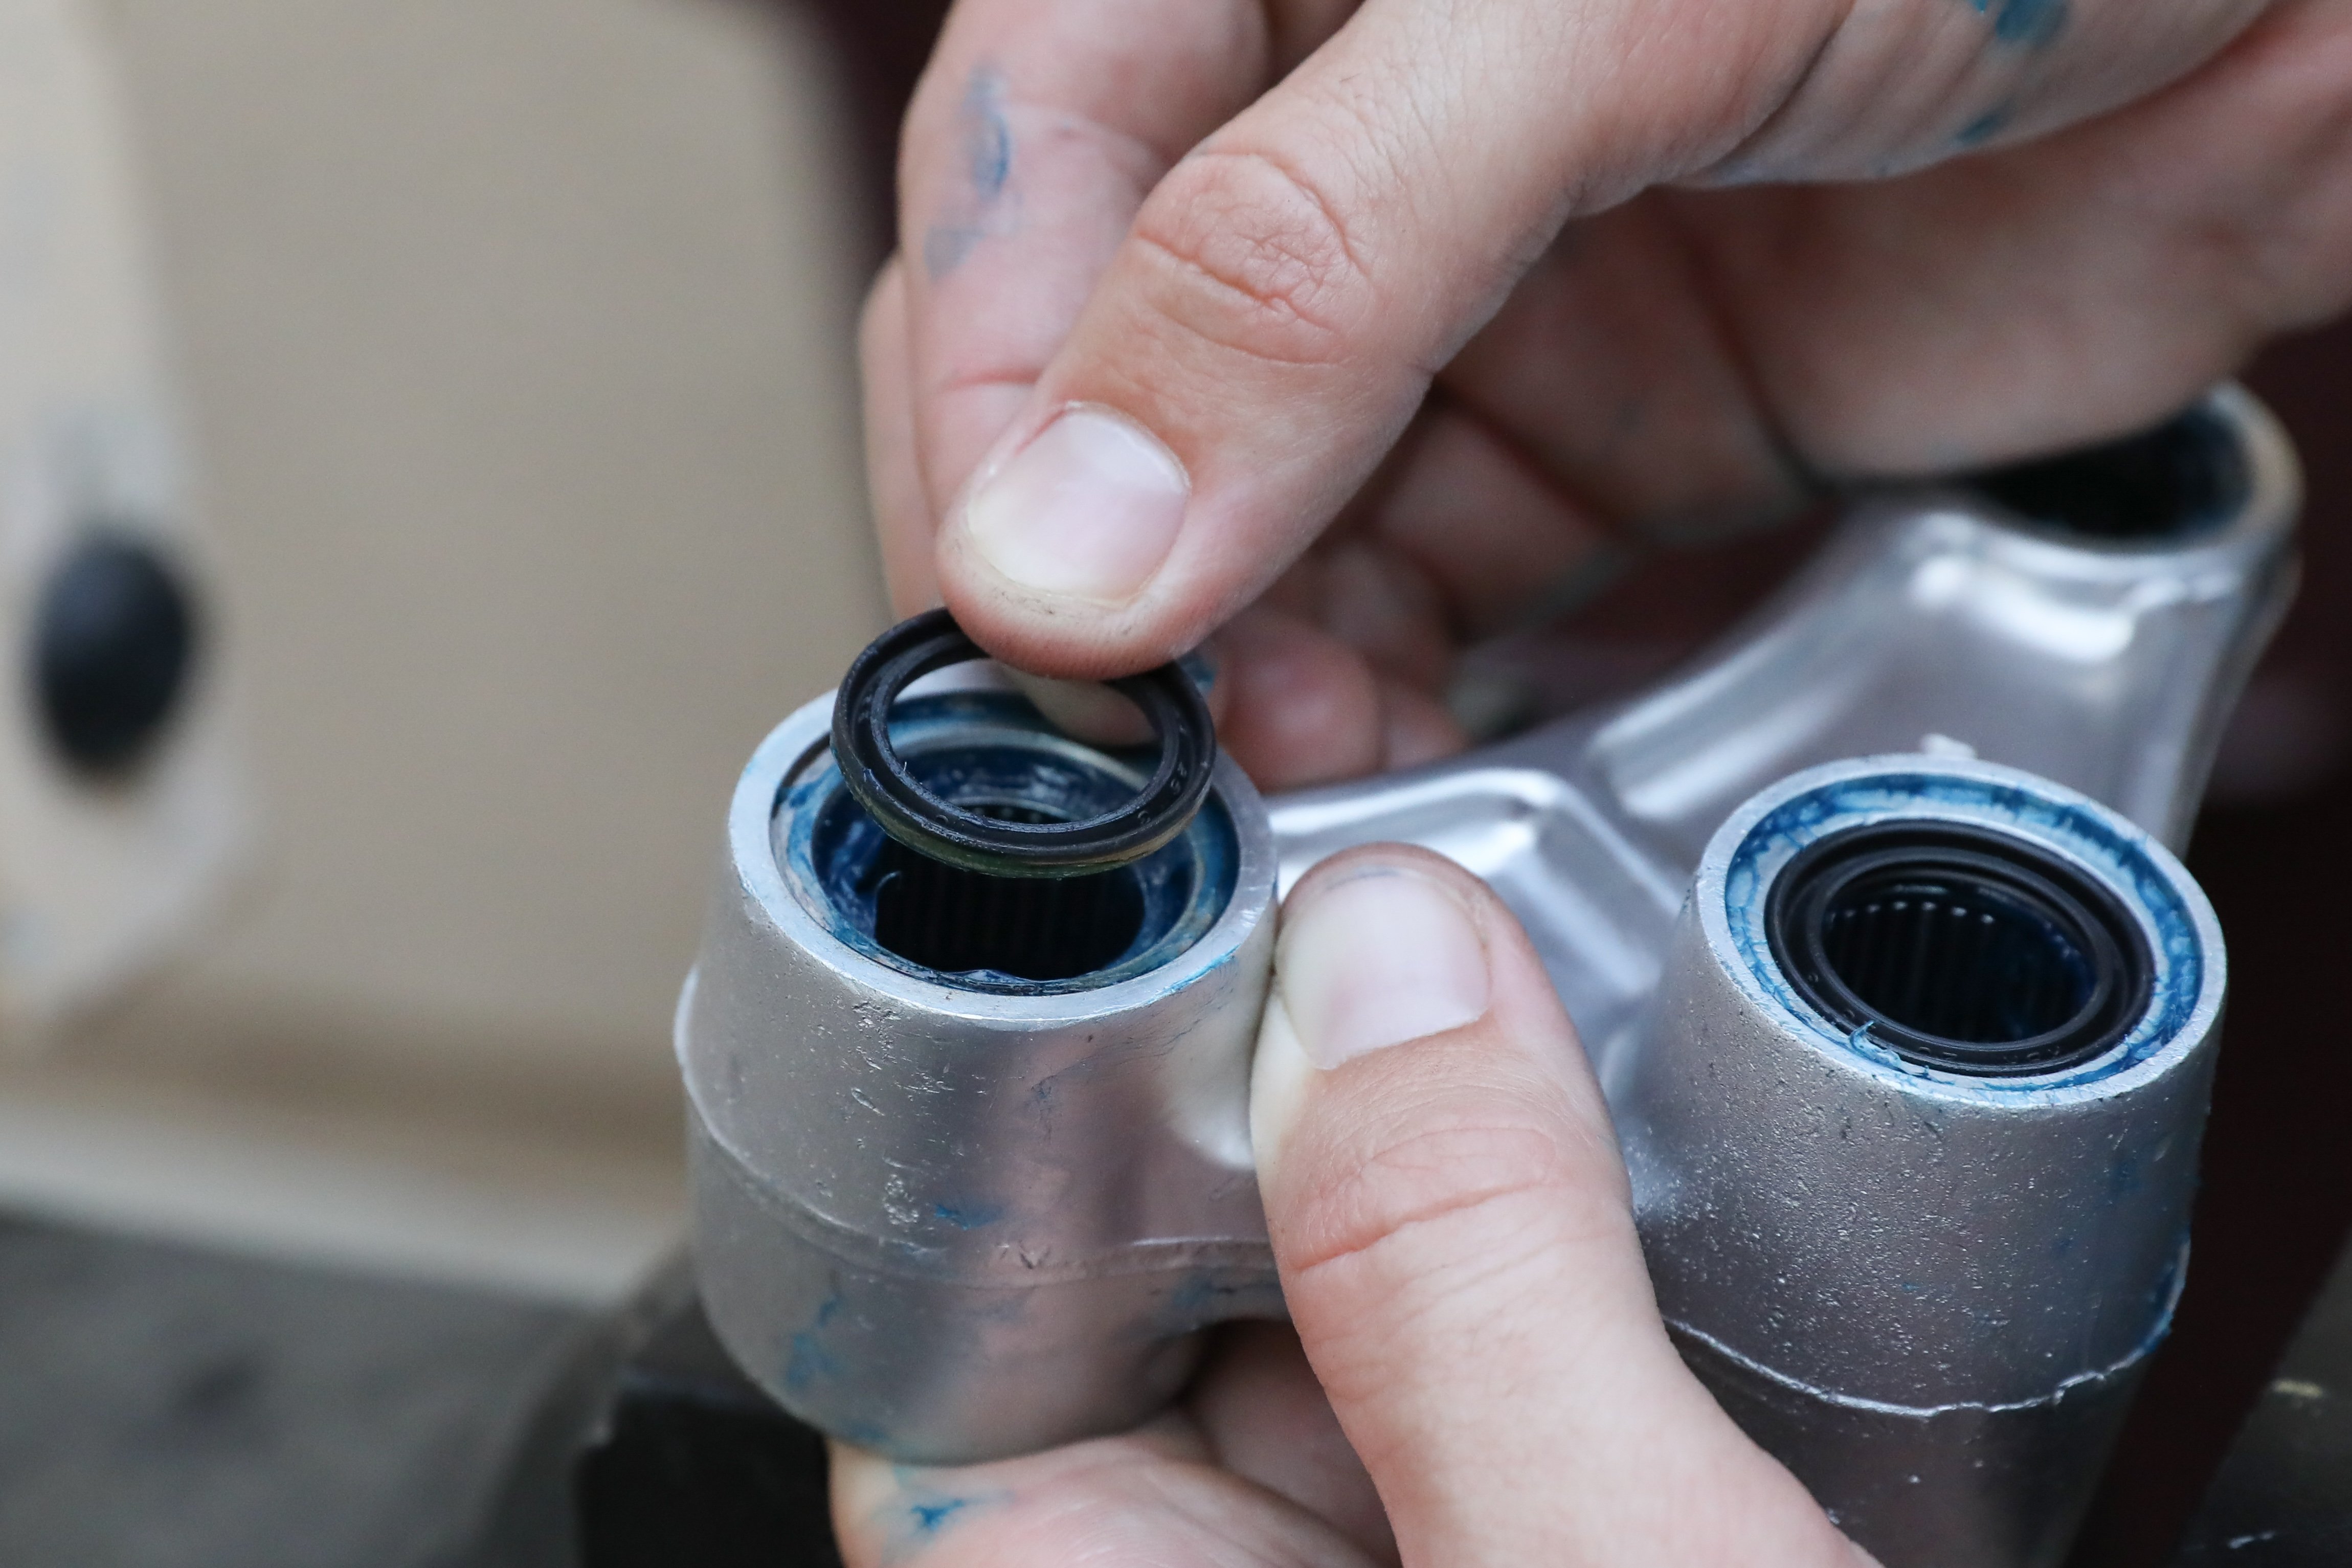
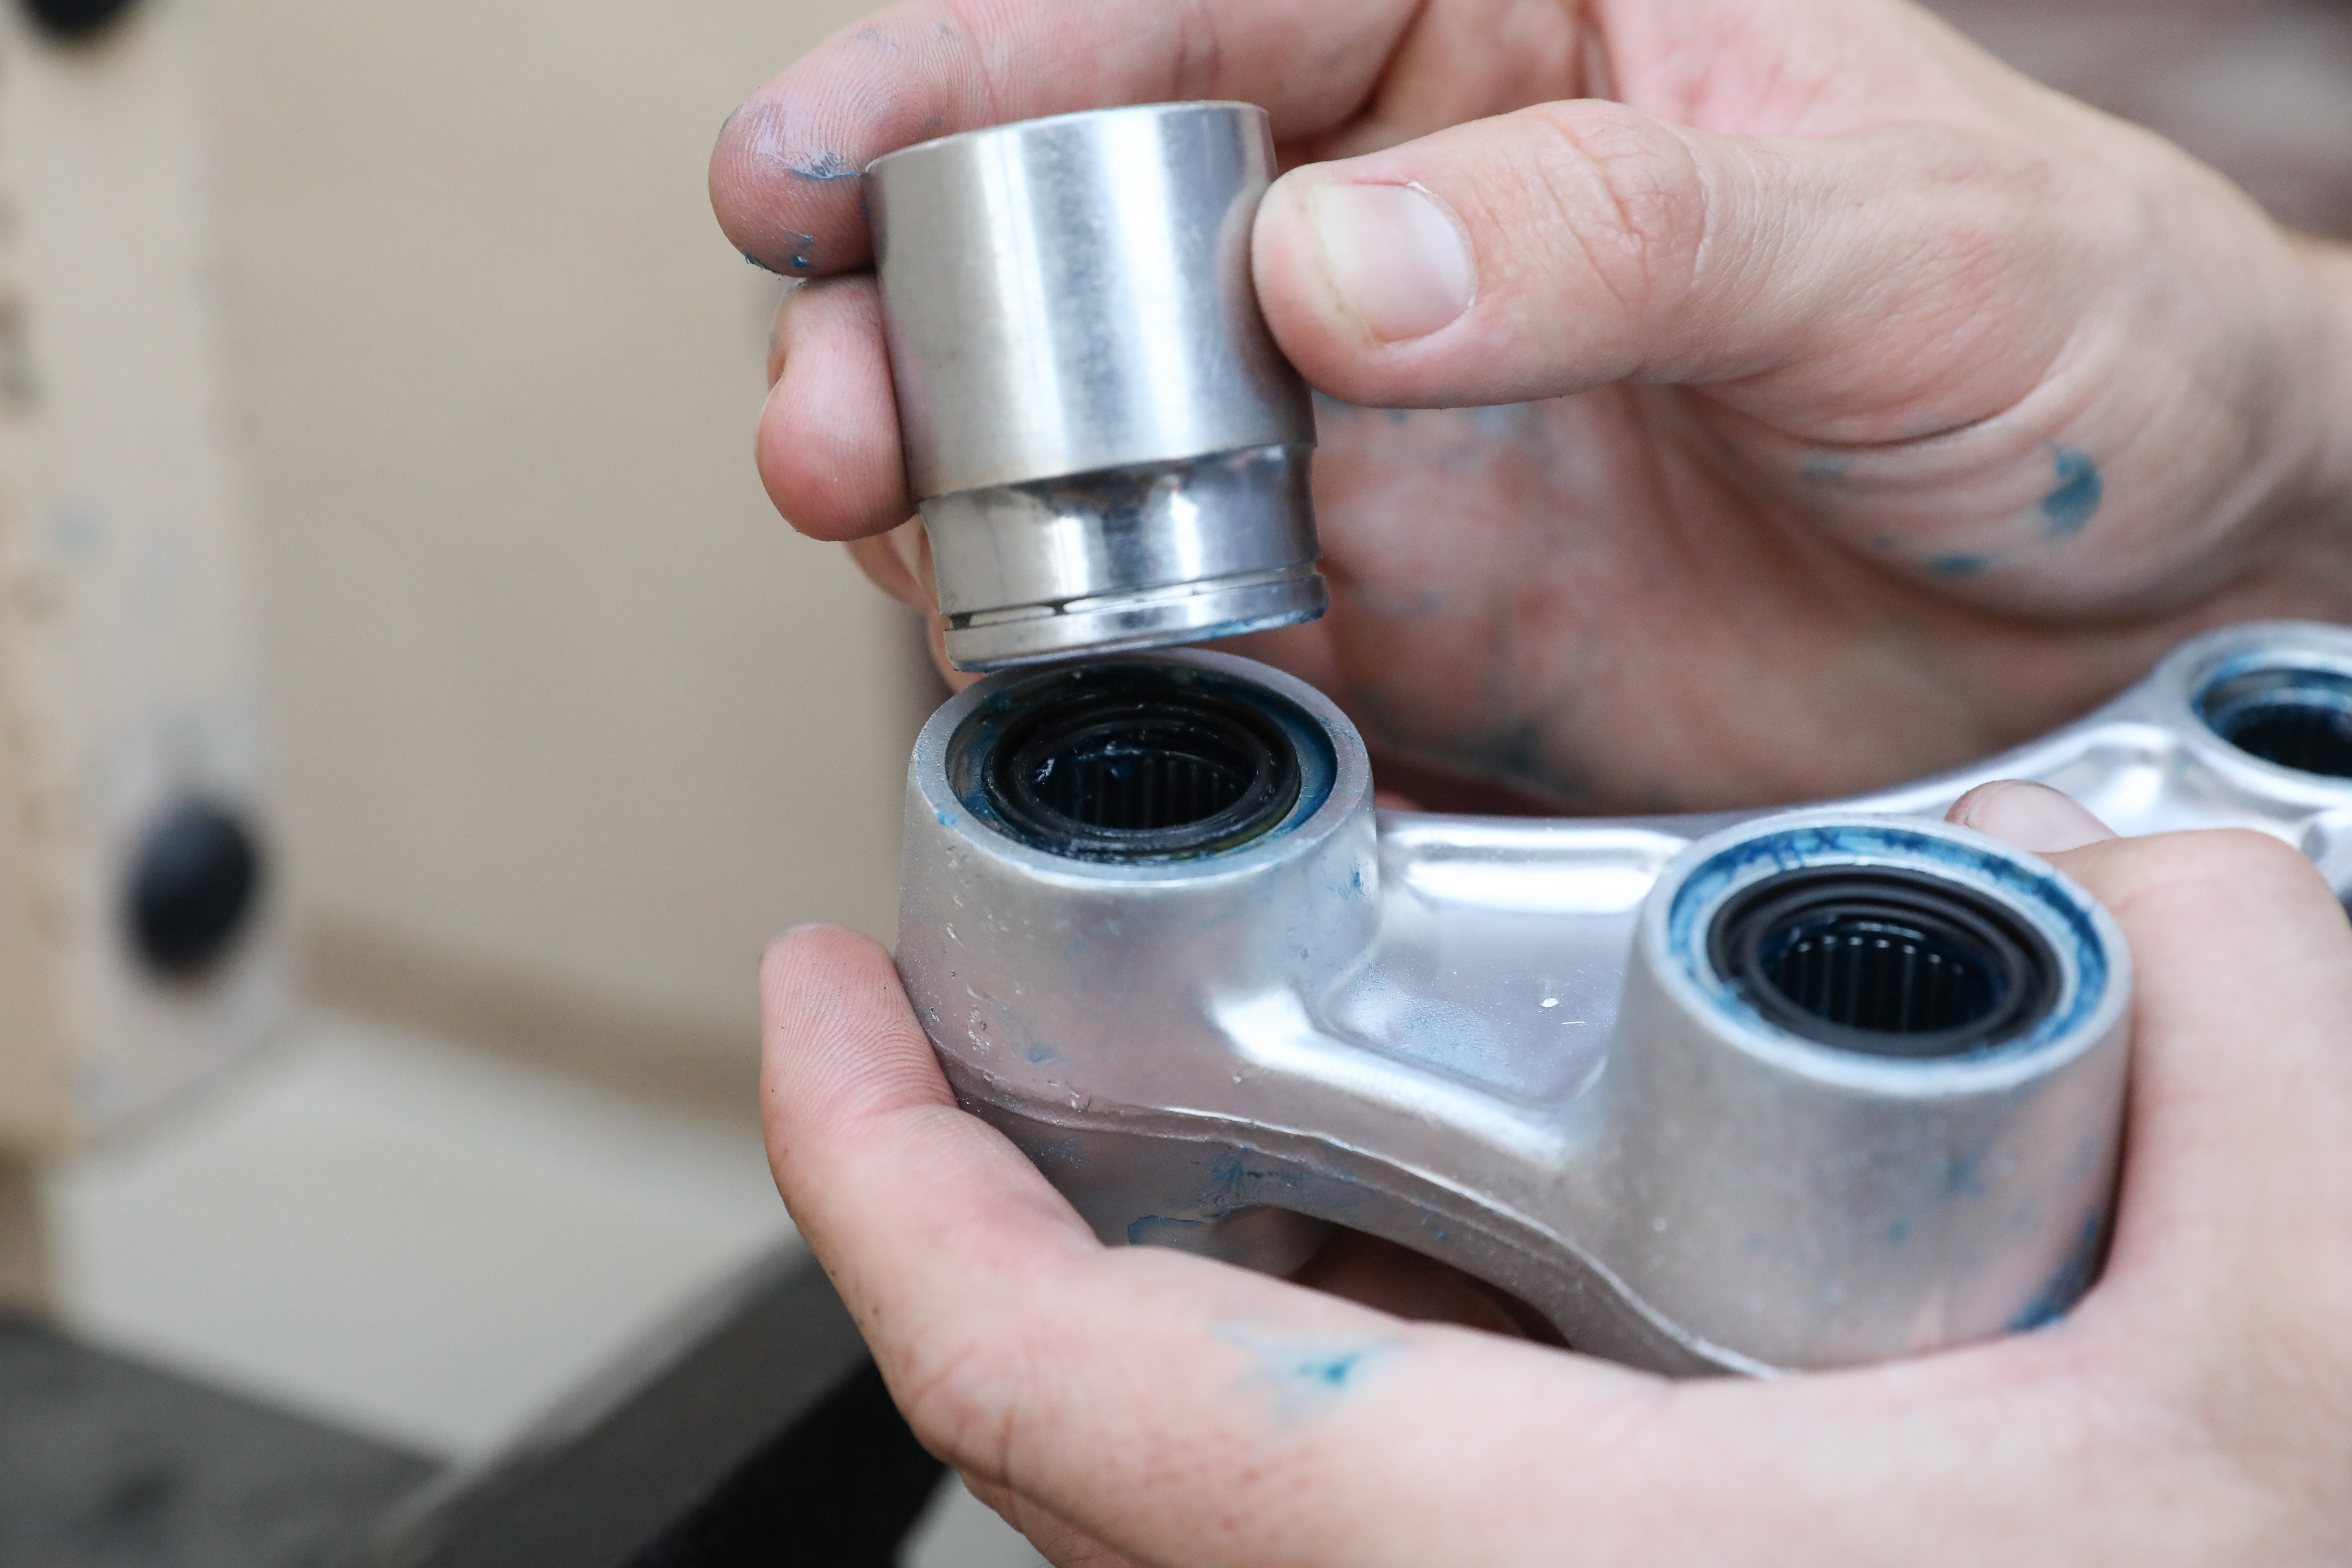
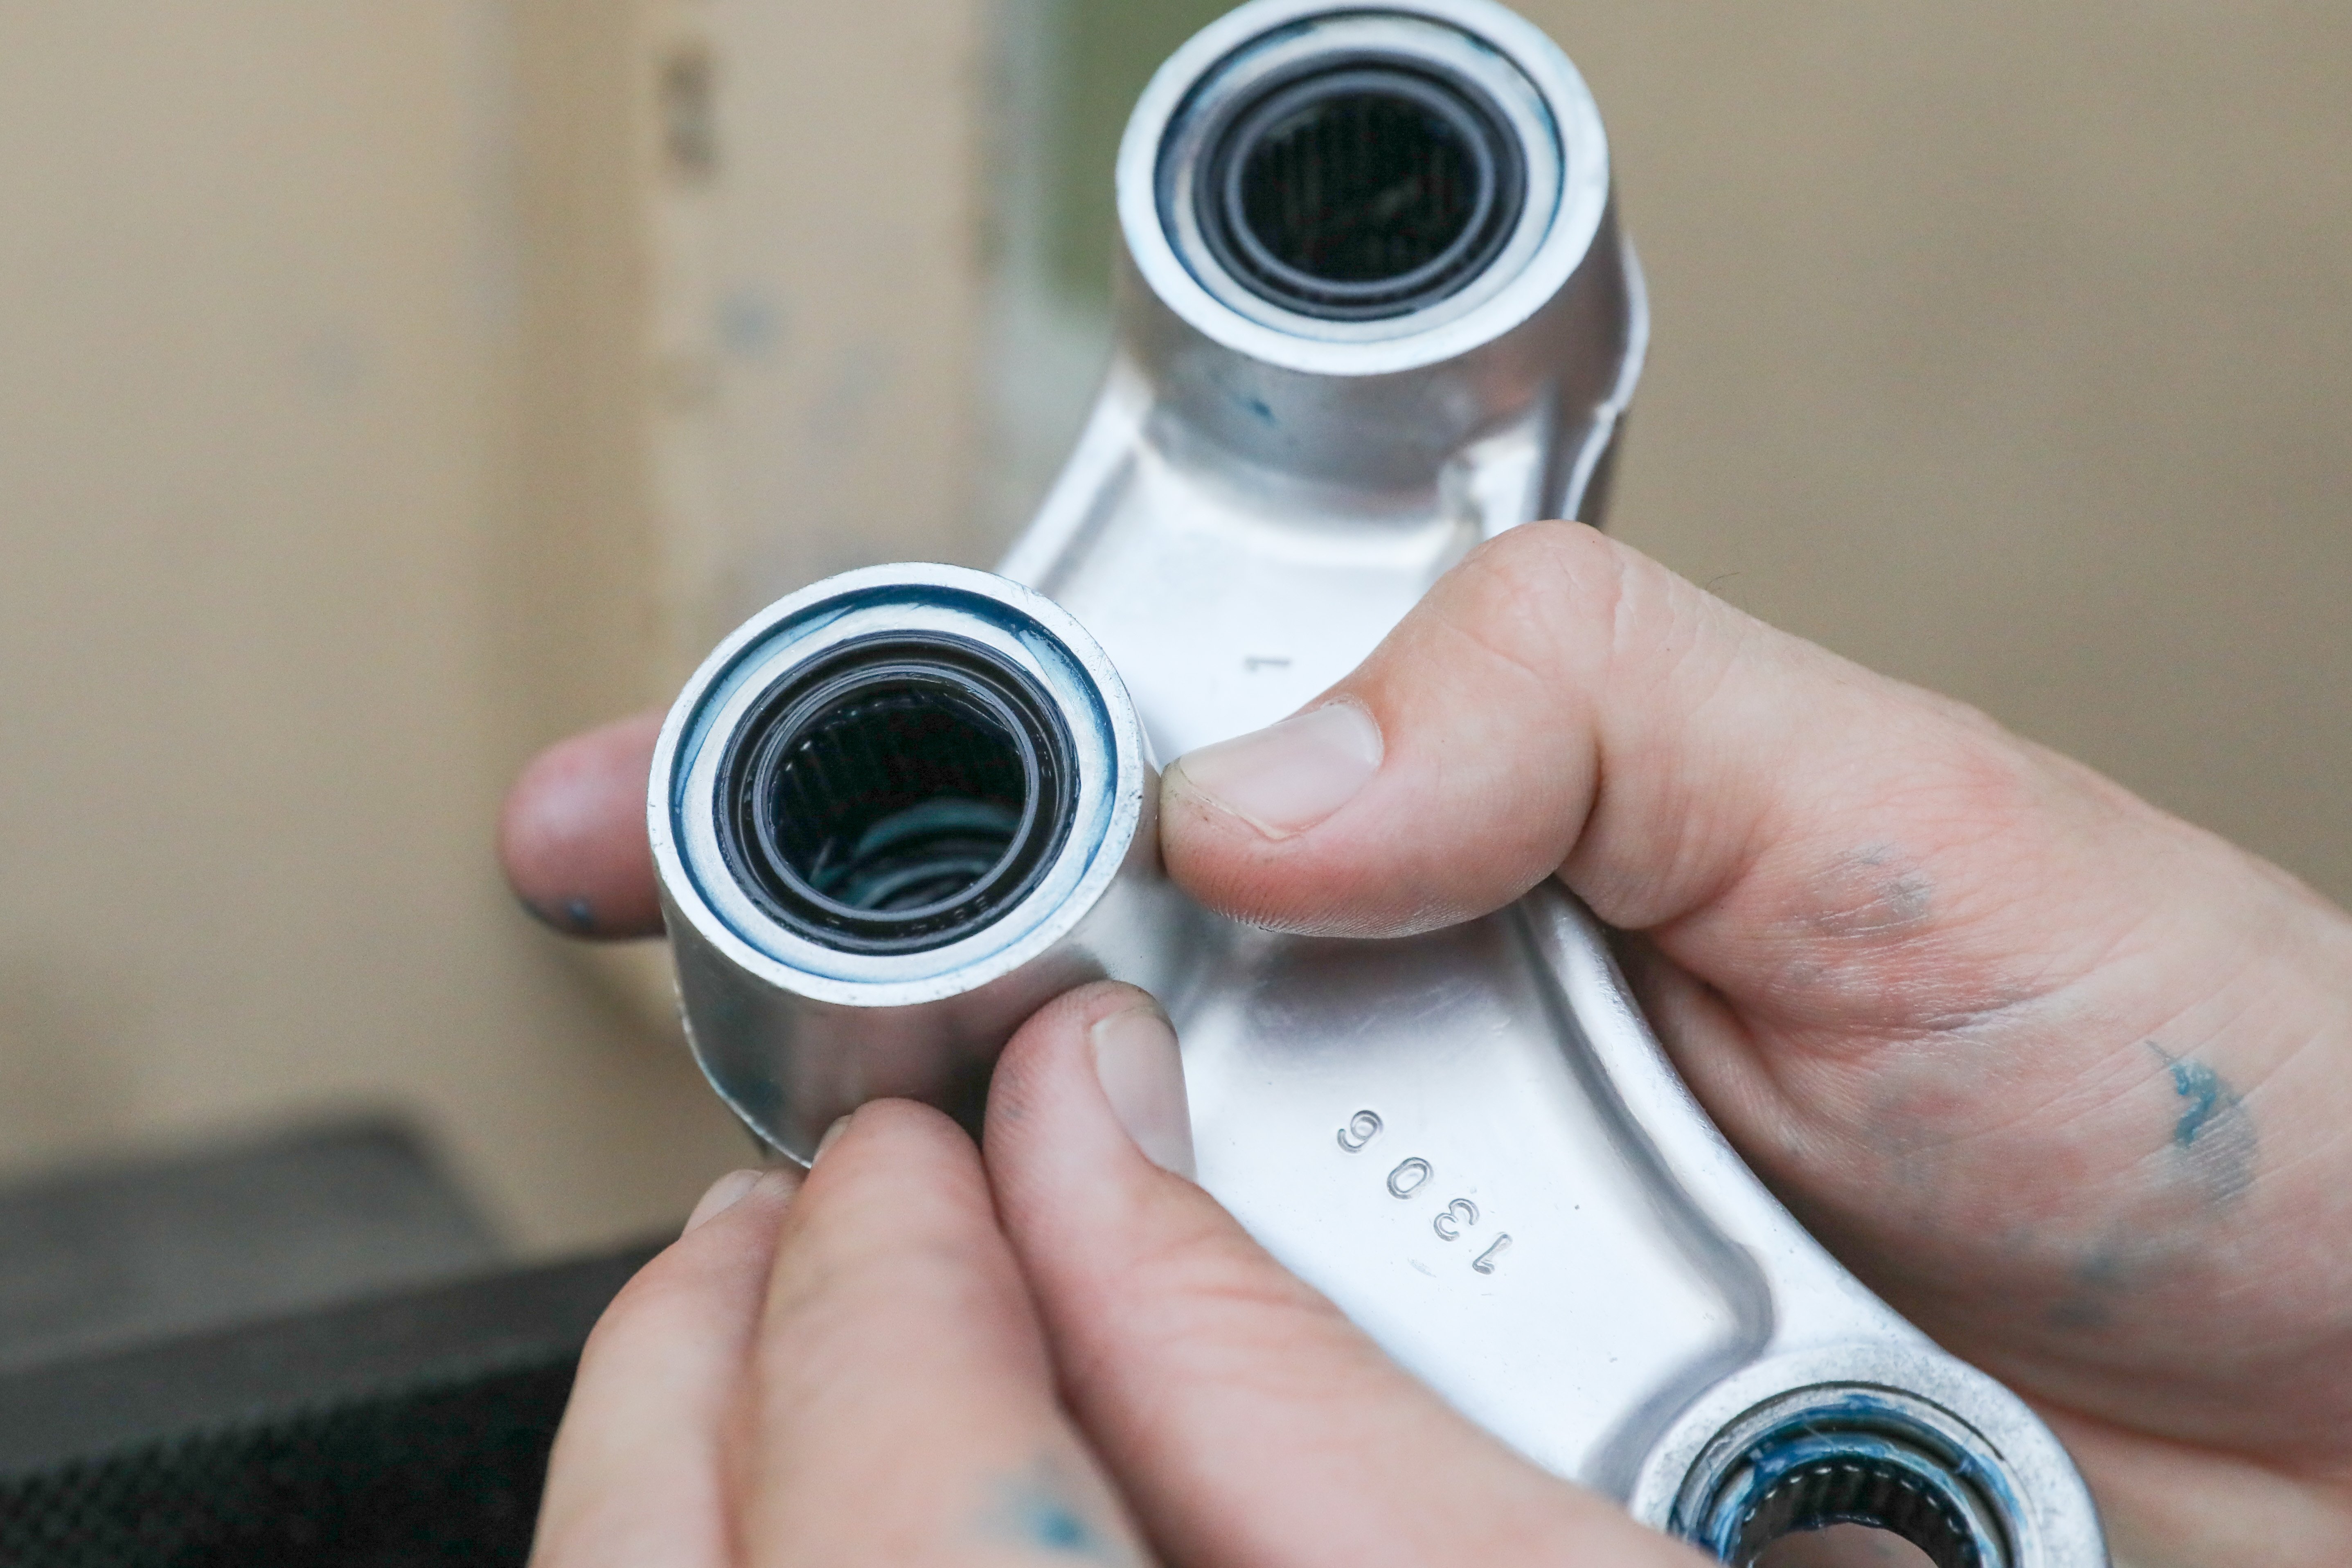
Finally, insert the new sleeves and you’re ready to bolt your linkage back on the bike! As always, torque all fasteners to proper specs. Take your time and stay on top of this simple maintenance task. Trust us, your shock will thank you!
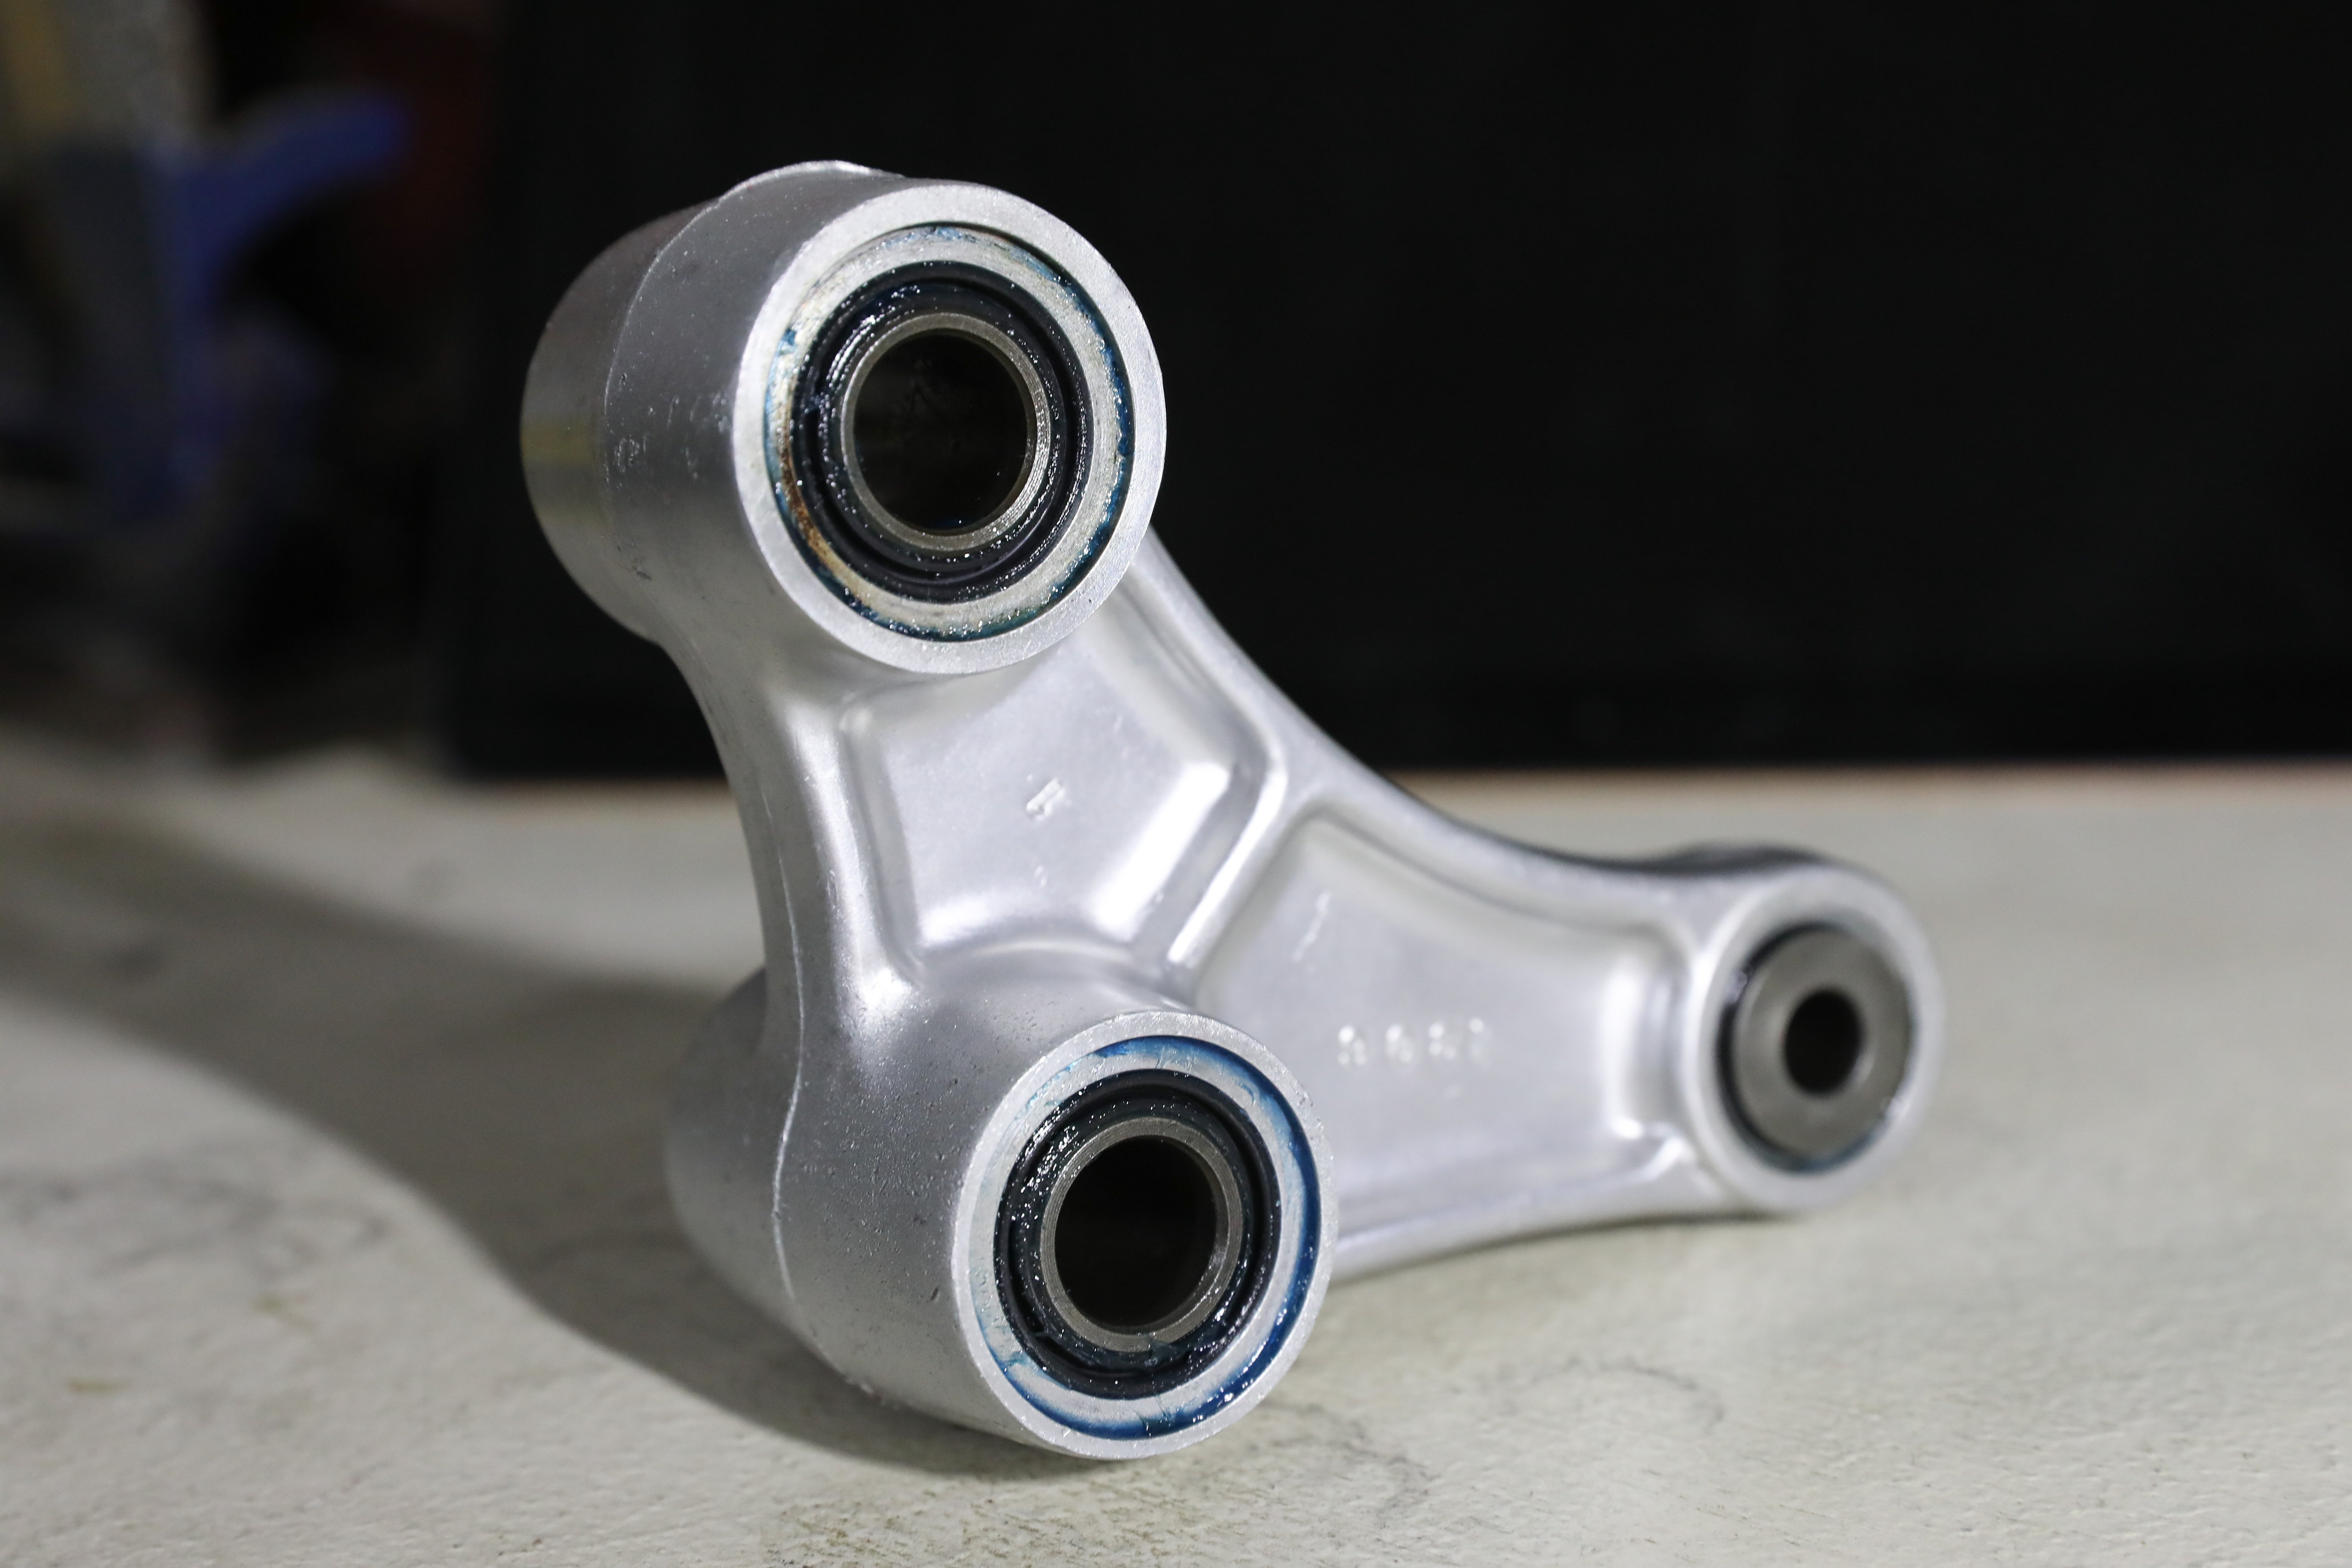
Search for new bearings and other components you need for your machine here
Shock Linkage Bearing Inspection Tips
Look at the condition of the seals to be sure they are not tattered, torn or missing. Gently lift the rear of the bike and feel for free play within the shock linkage system. Another way to inspect the condition of the bearings is to push down on the seat and compress the rear suspension (bike off the centerstand). Assess the smoothness of the system as the shock decompresses. If there is significant free play or the suspension does not rebound smoothly these are indicators that the linkage bearings or bushings need to be serviced.

