In part 1 of our 2006 YZ450F rebuild, we walked you through how to replace the piston with a new ProX piston kit. After the new piston is installed and the cylinder is torqued down, you're left with the next major task of a four-stroke top end rebuild: the head rebuild.
Watch as we rebuild our YZ450F head with a ProX stainless steel valve and spring conversion kit. We'll walk you through critical checks and steps that could save you from an unfortunate failure after your next rebuild.
See all our guides on 4-stroke top end rebuilds here!
A head rebuild on a four-stroke dirt bike includes:
- Disassembly and inspection
- Clean up
- Critical component health checks
- Reassembly
- Checking valve clearance
We go into full detail on how to perform each of these critical steps in our article on replacing valves and springs, which you can read here.
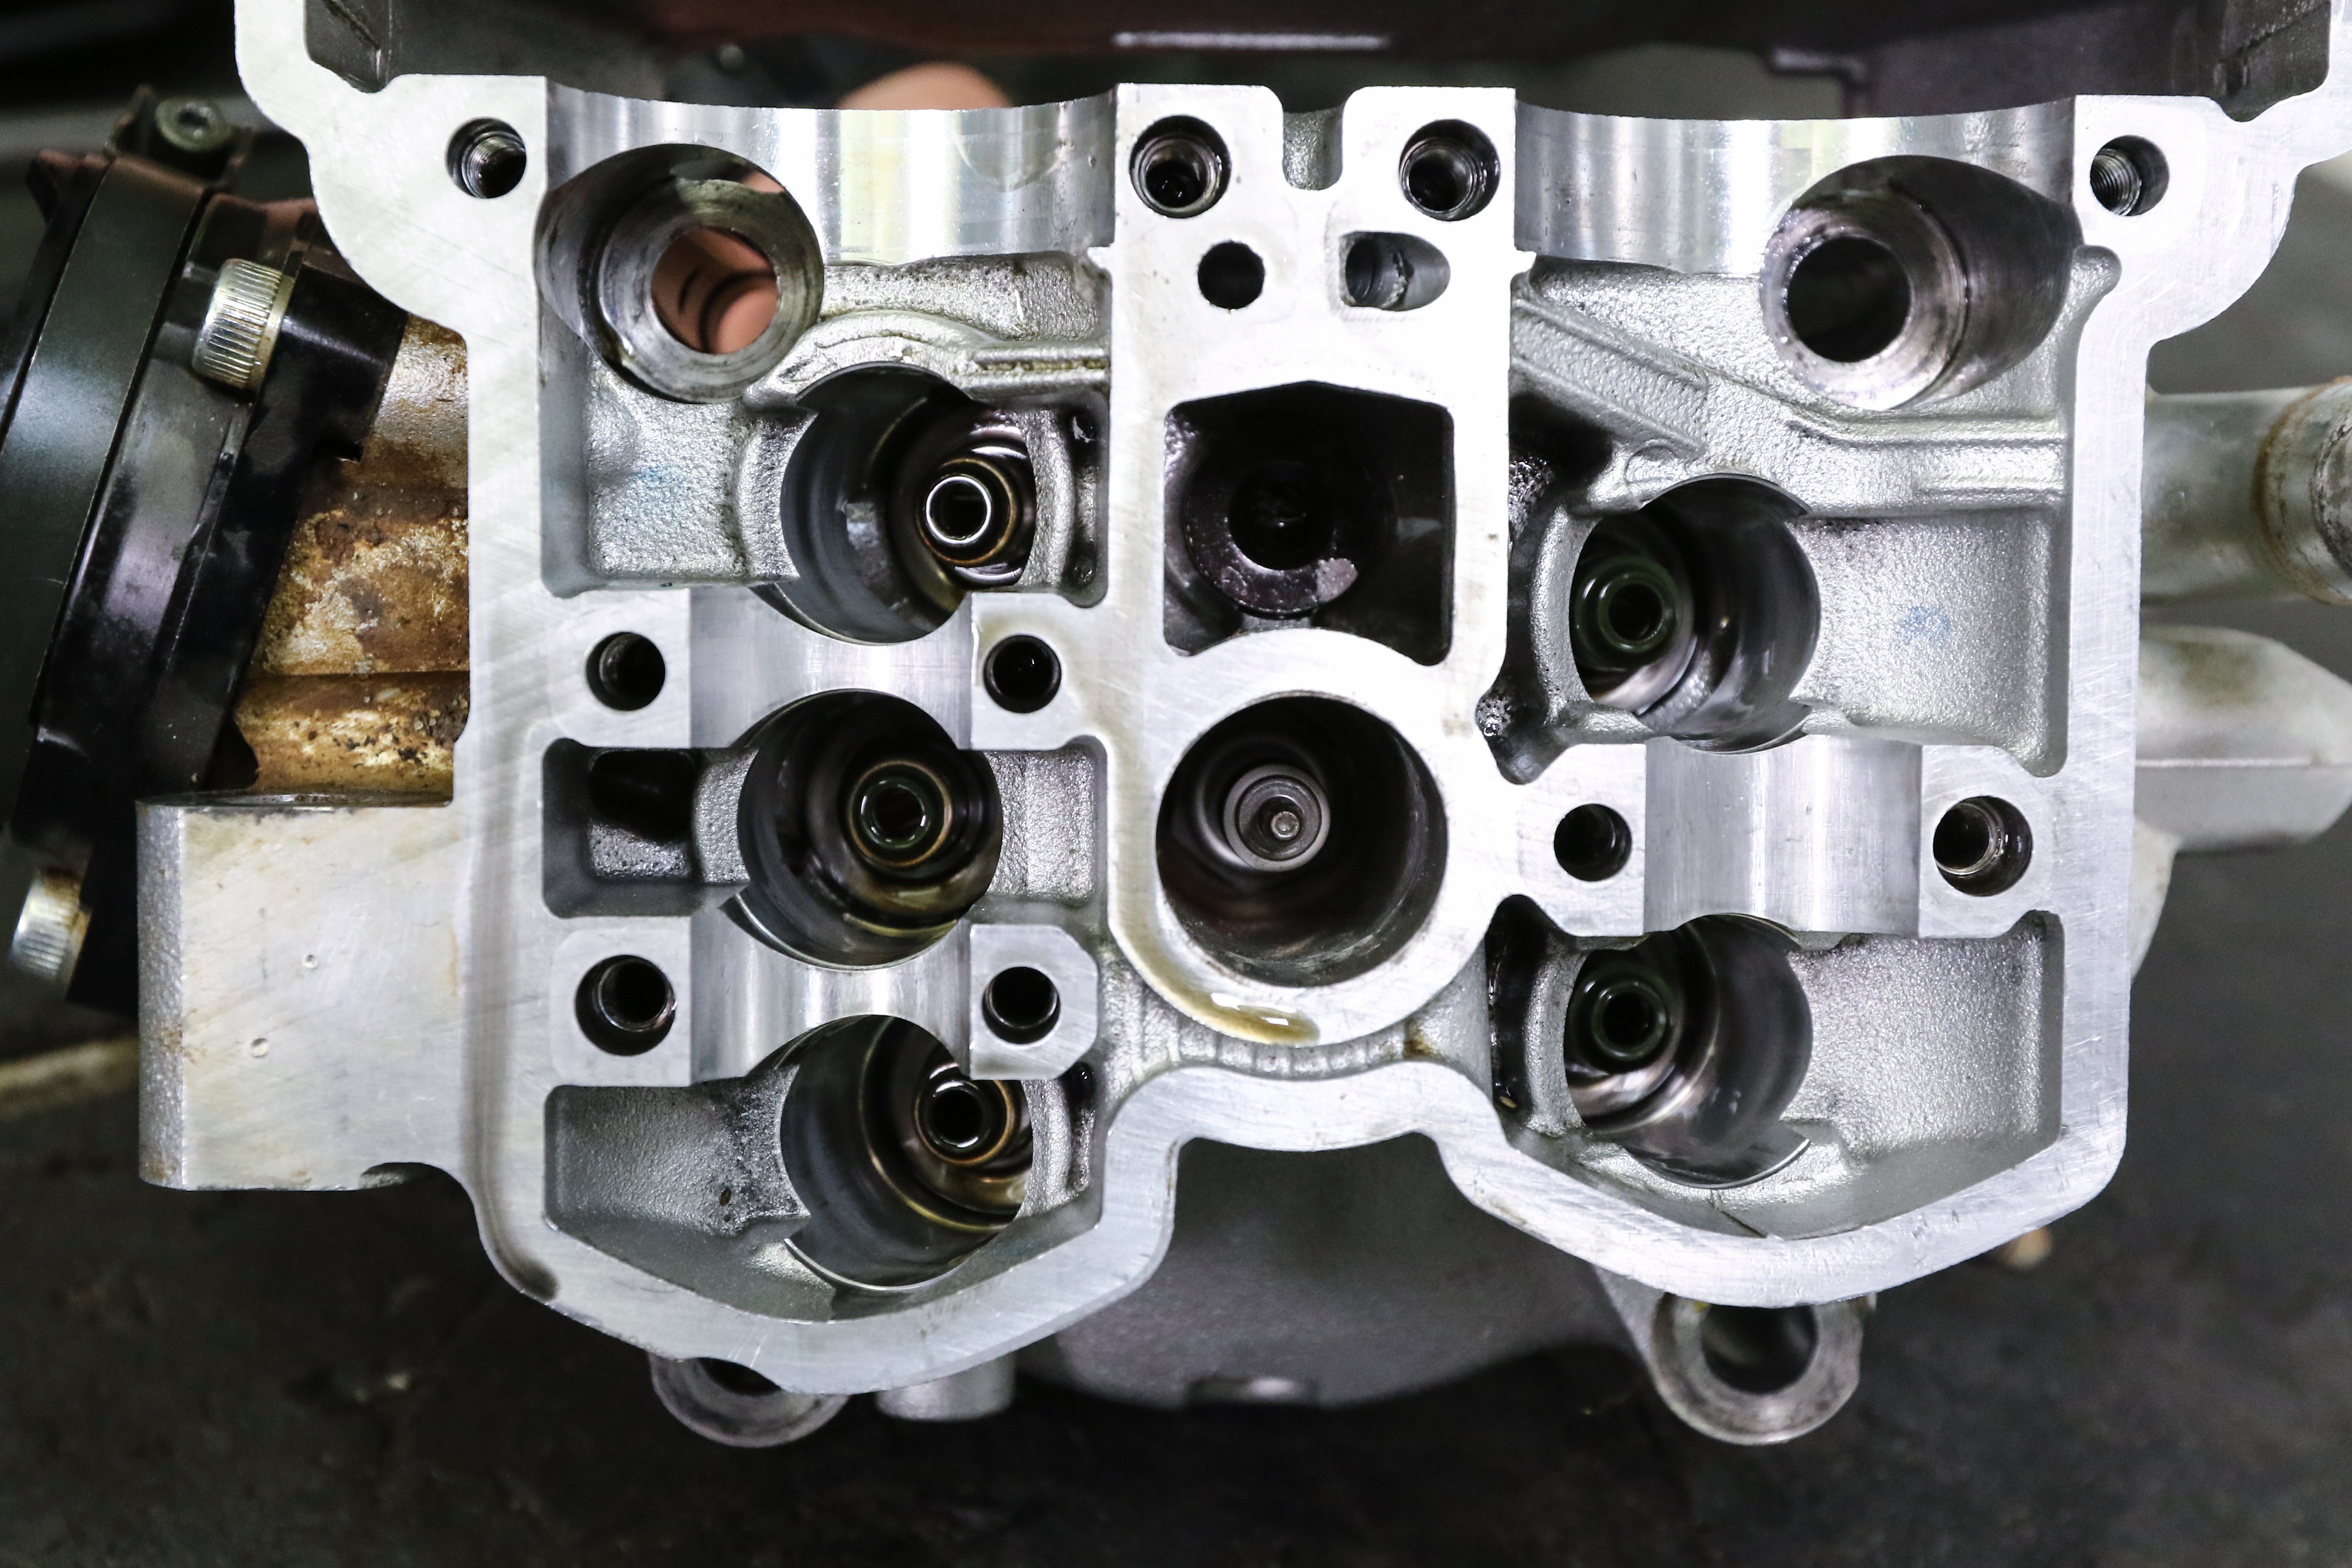
Disassembly, Inspection, and Clean Up
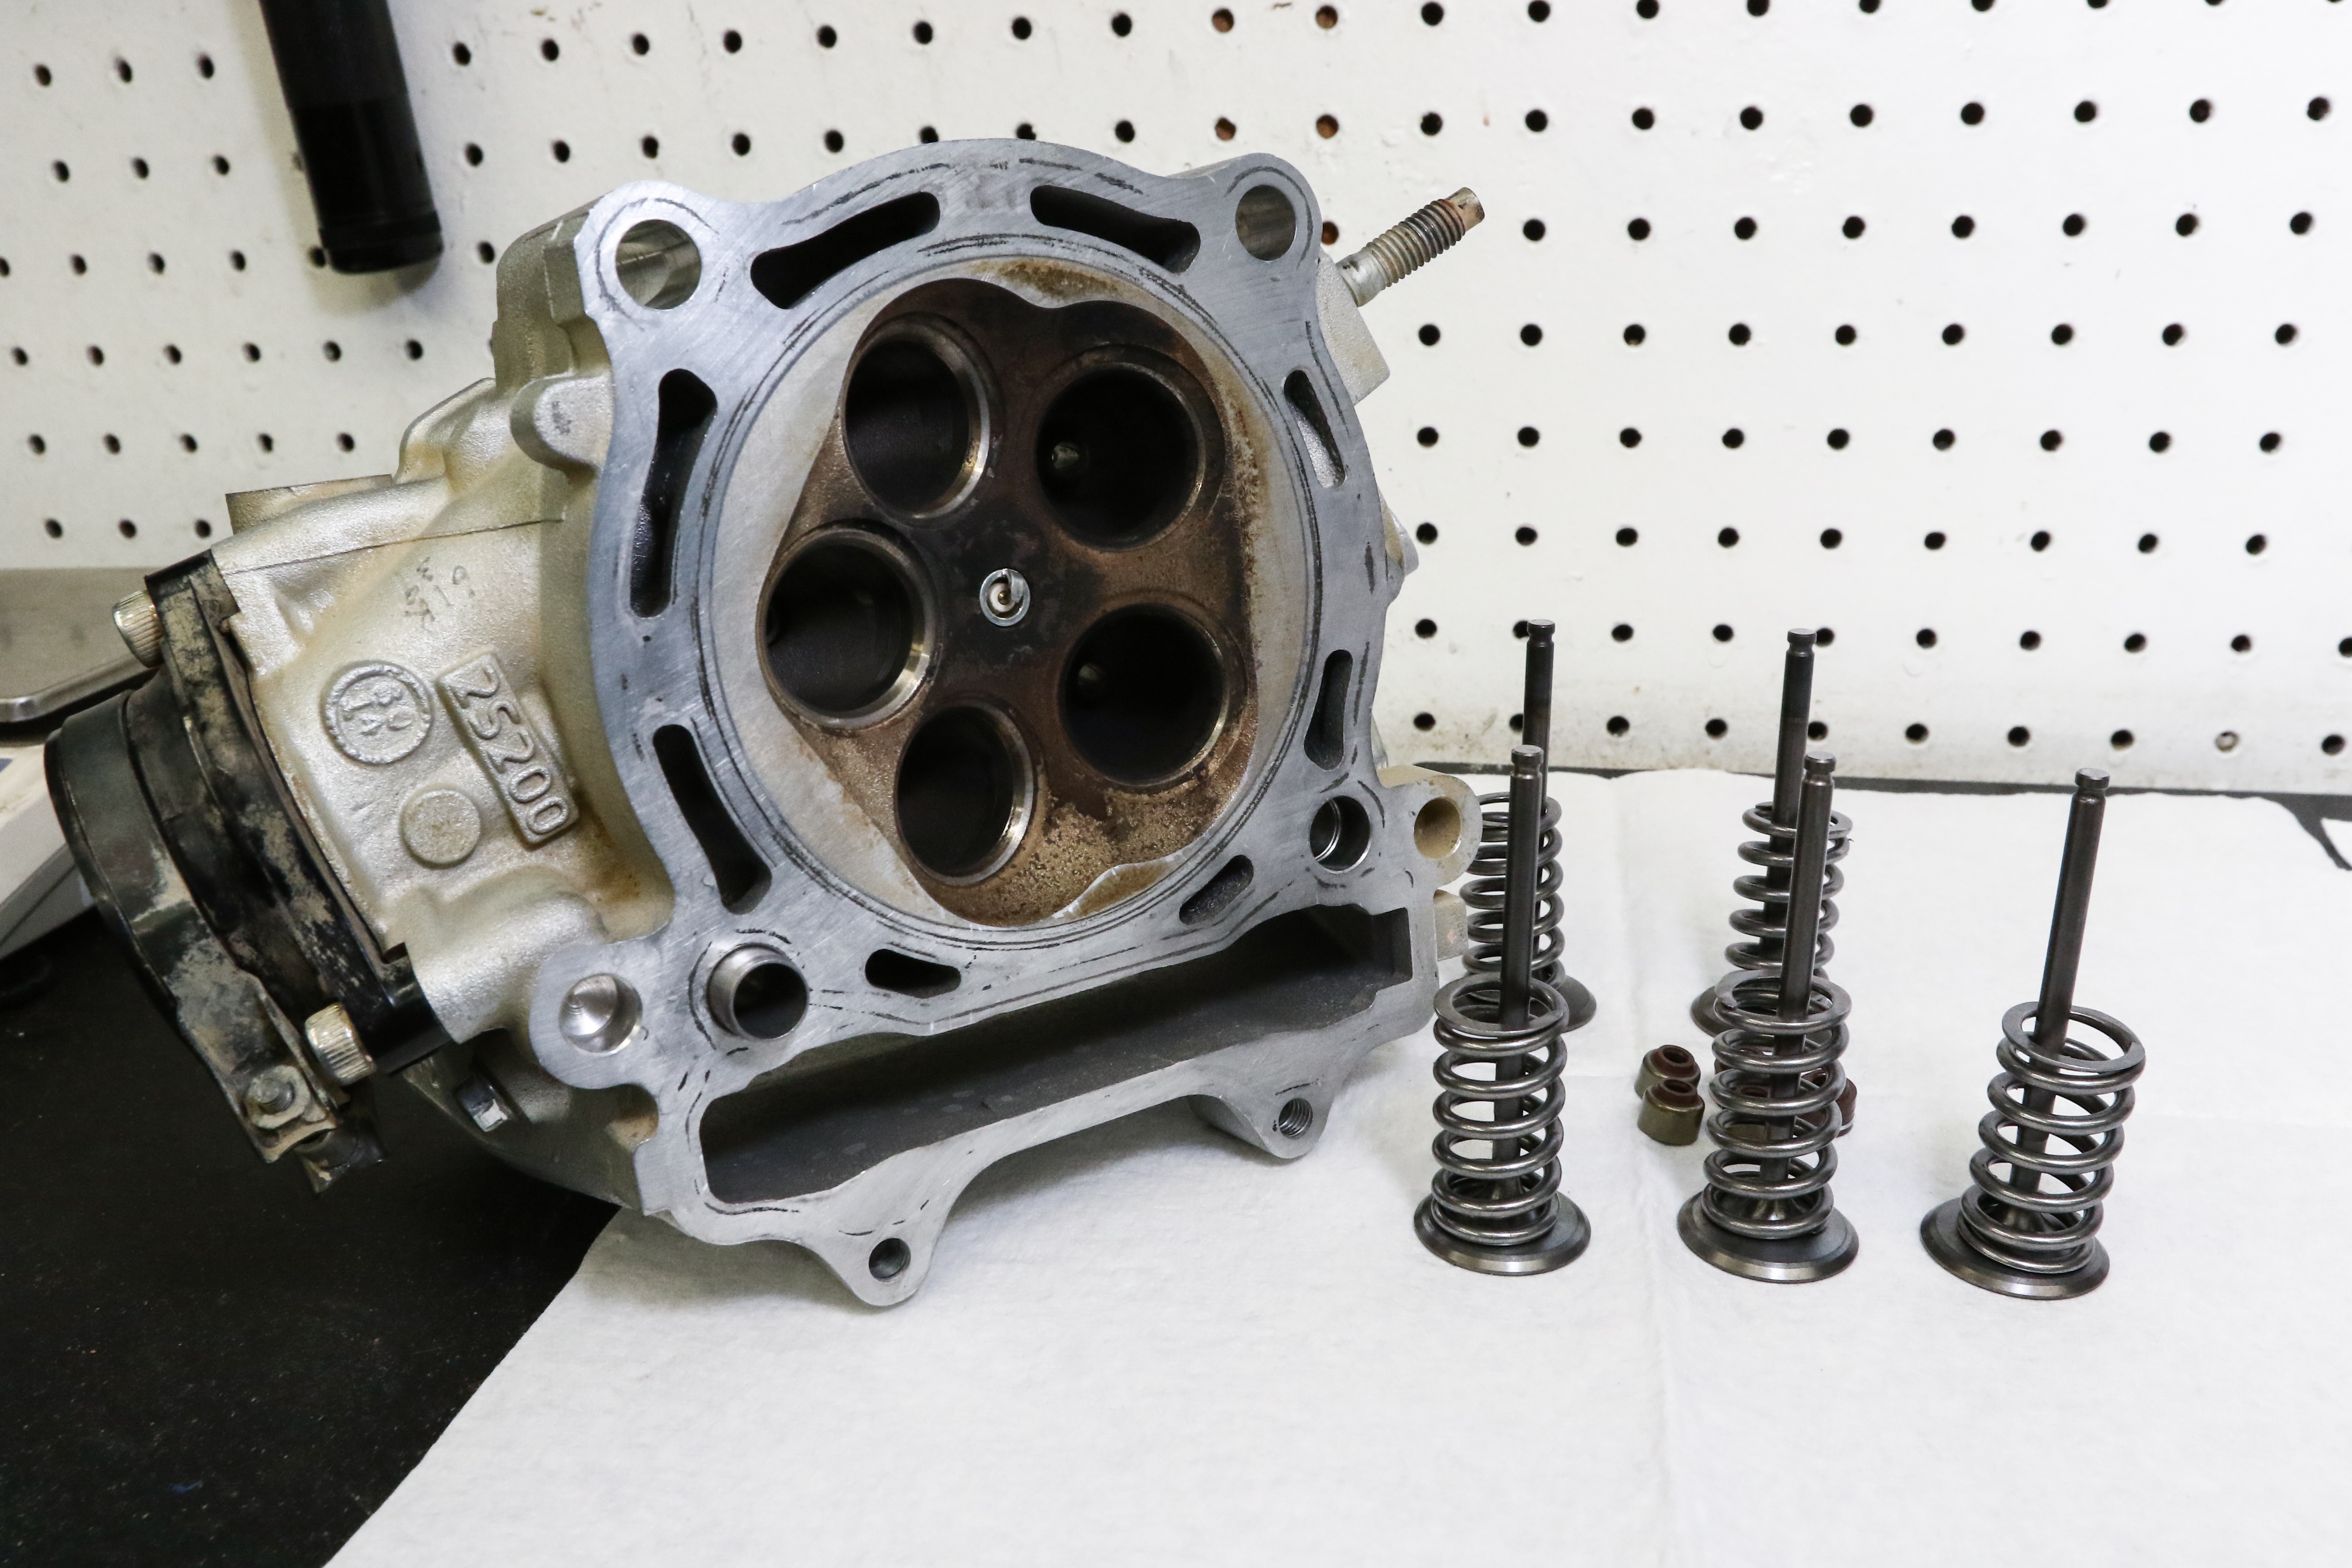
While disassembling the head, it's important to look for any signs of malfunctioning parts or excessive wear, and carbon build-up. Carbon build-up is a normal side-effect of running the engine, so if your motor has a fair amount of time on it, you will likely notice carbon deposits on the combustion chamber.
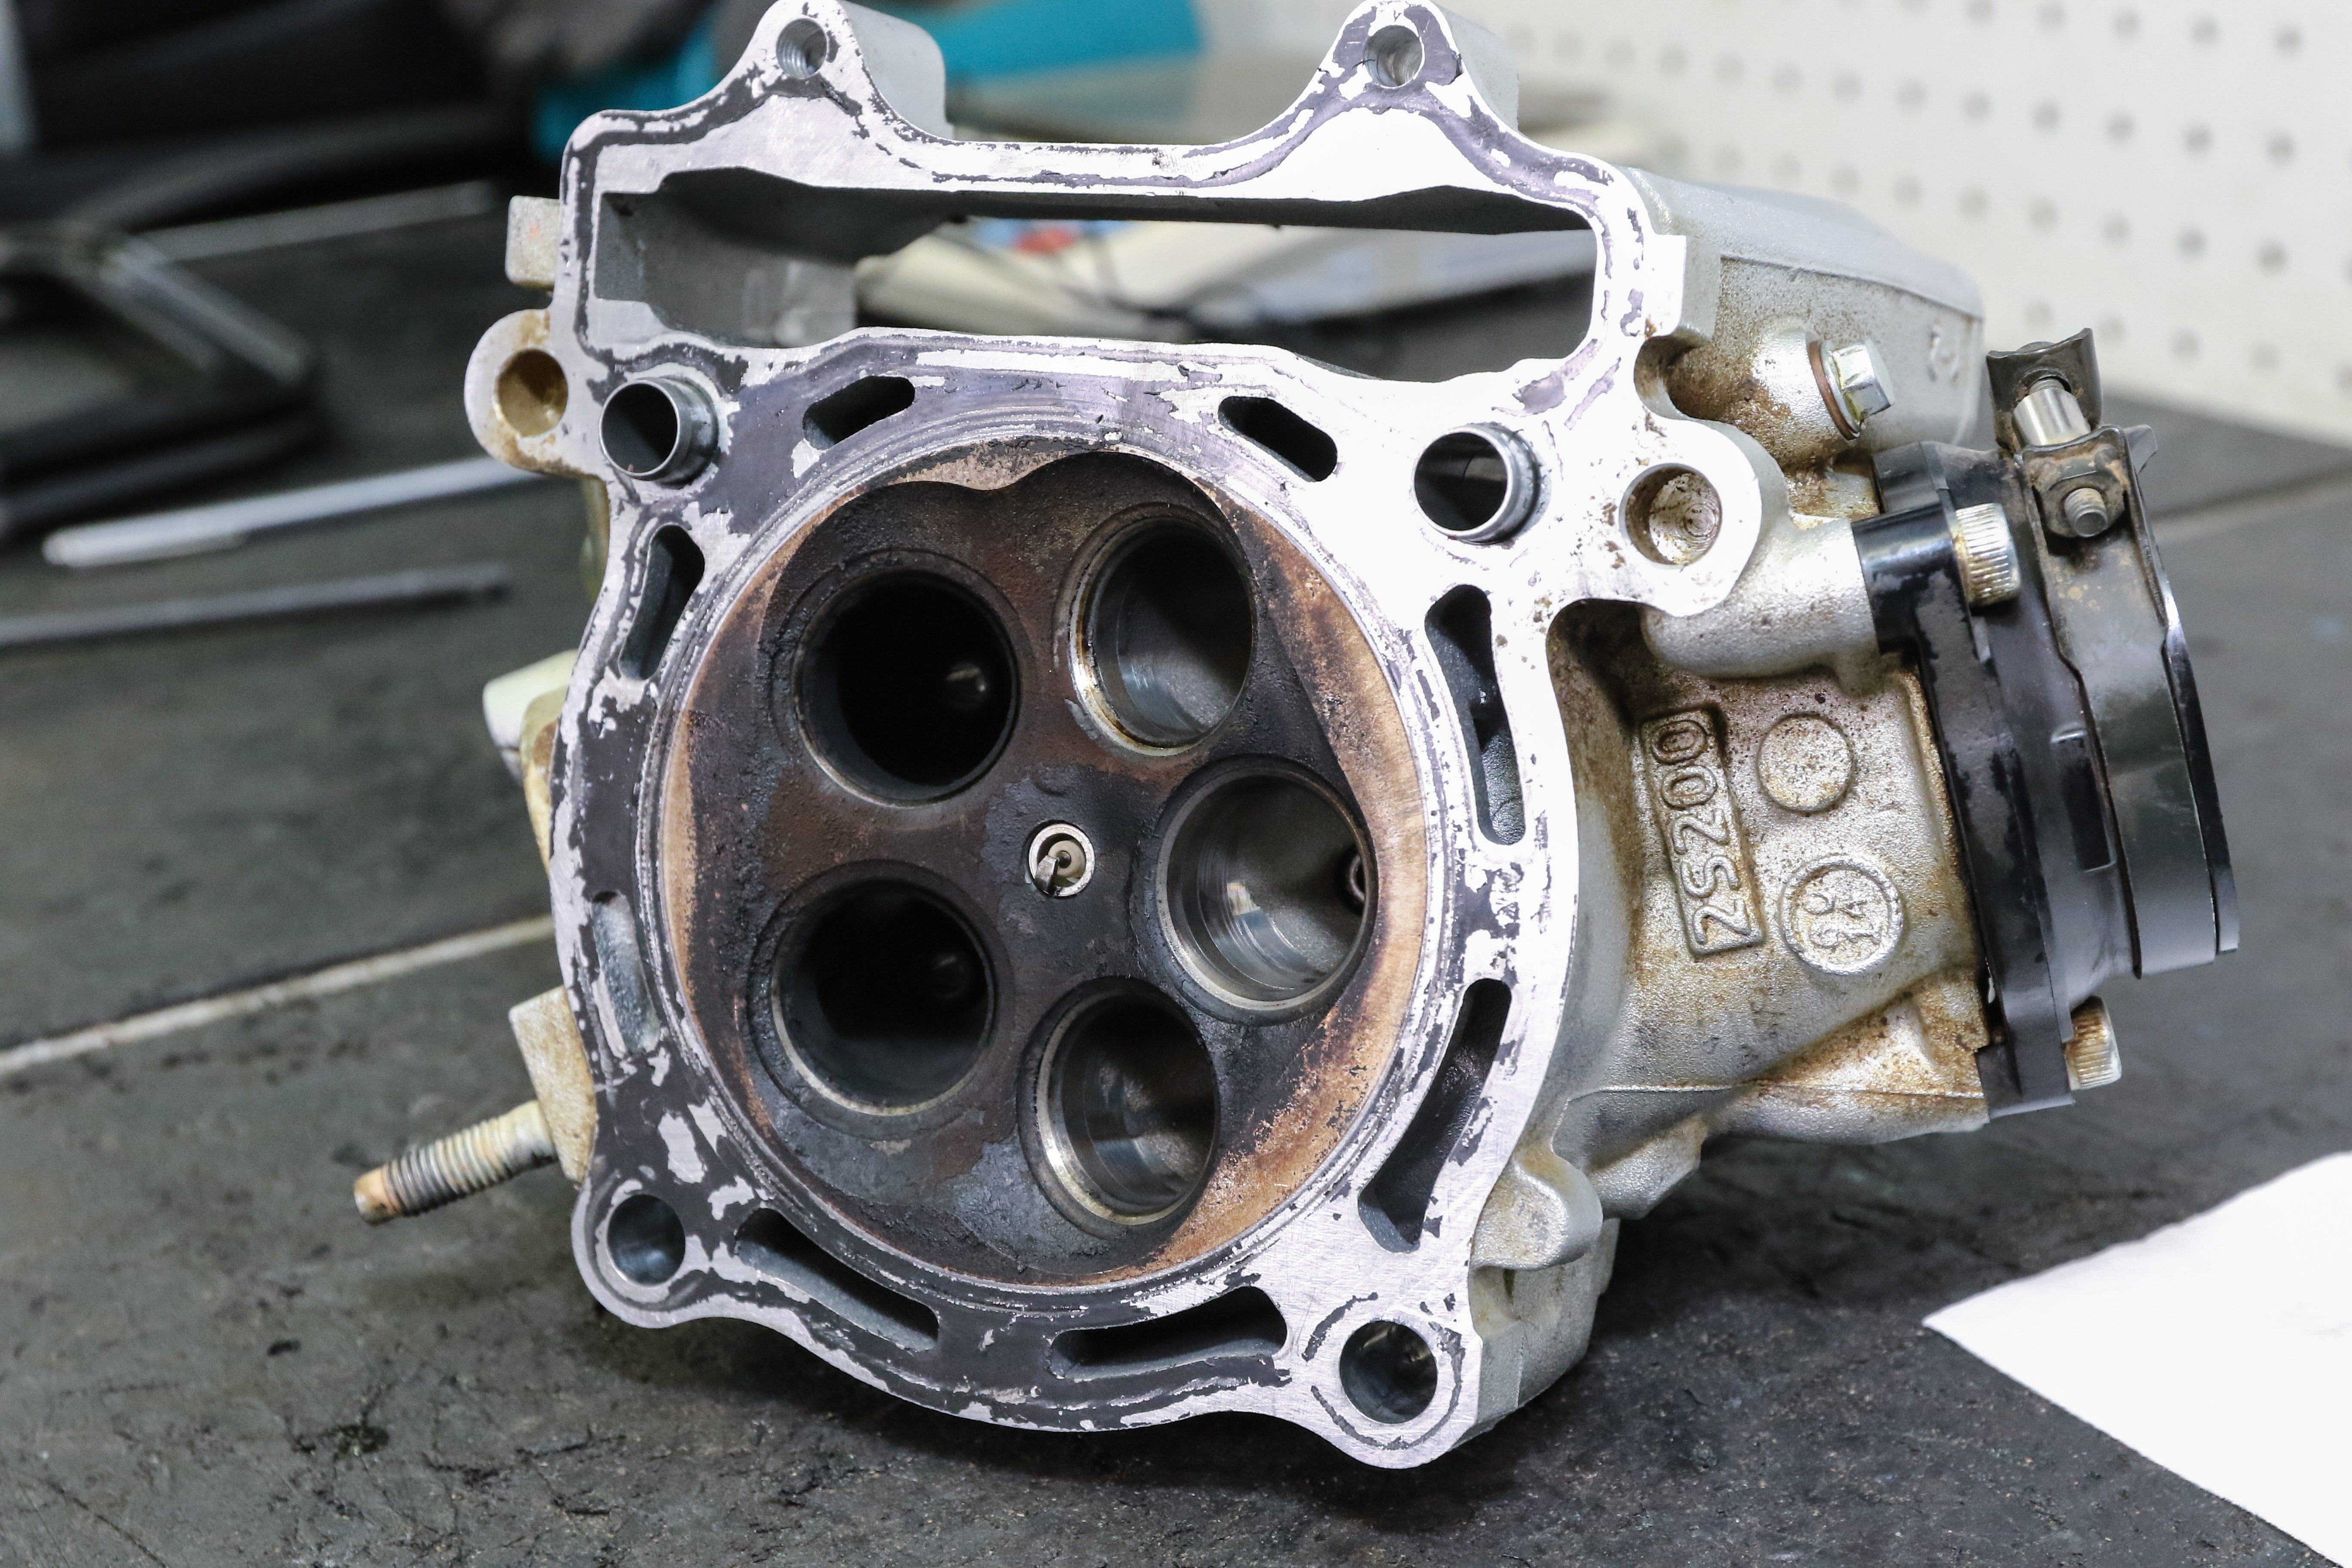
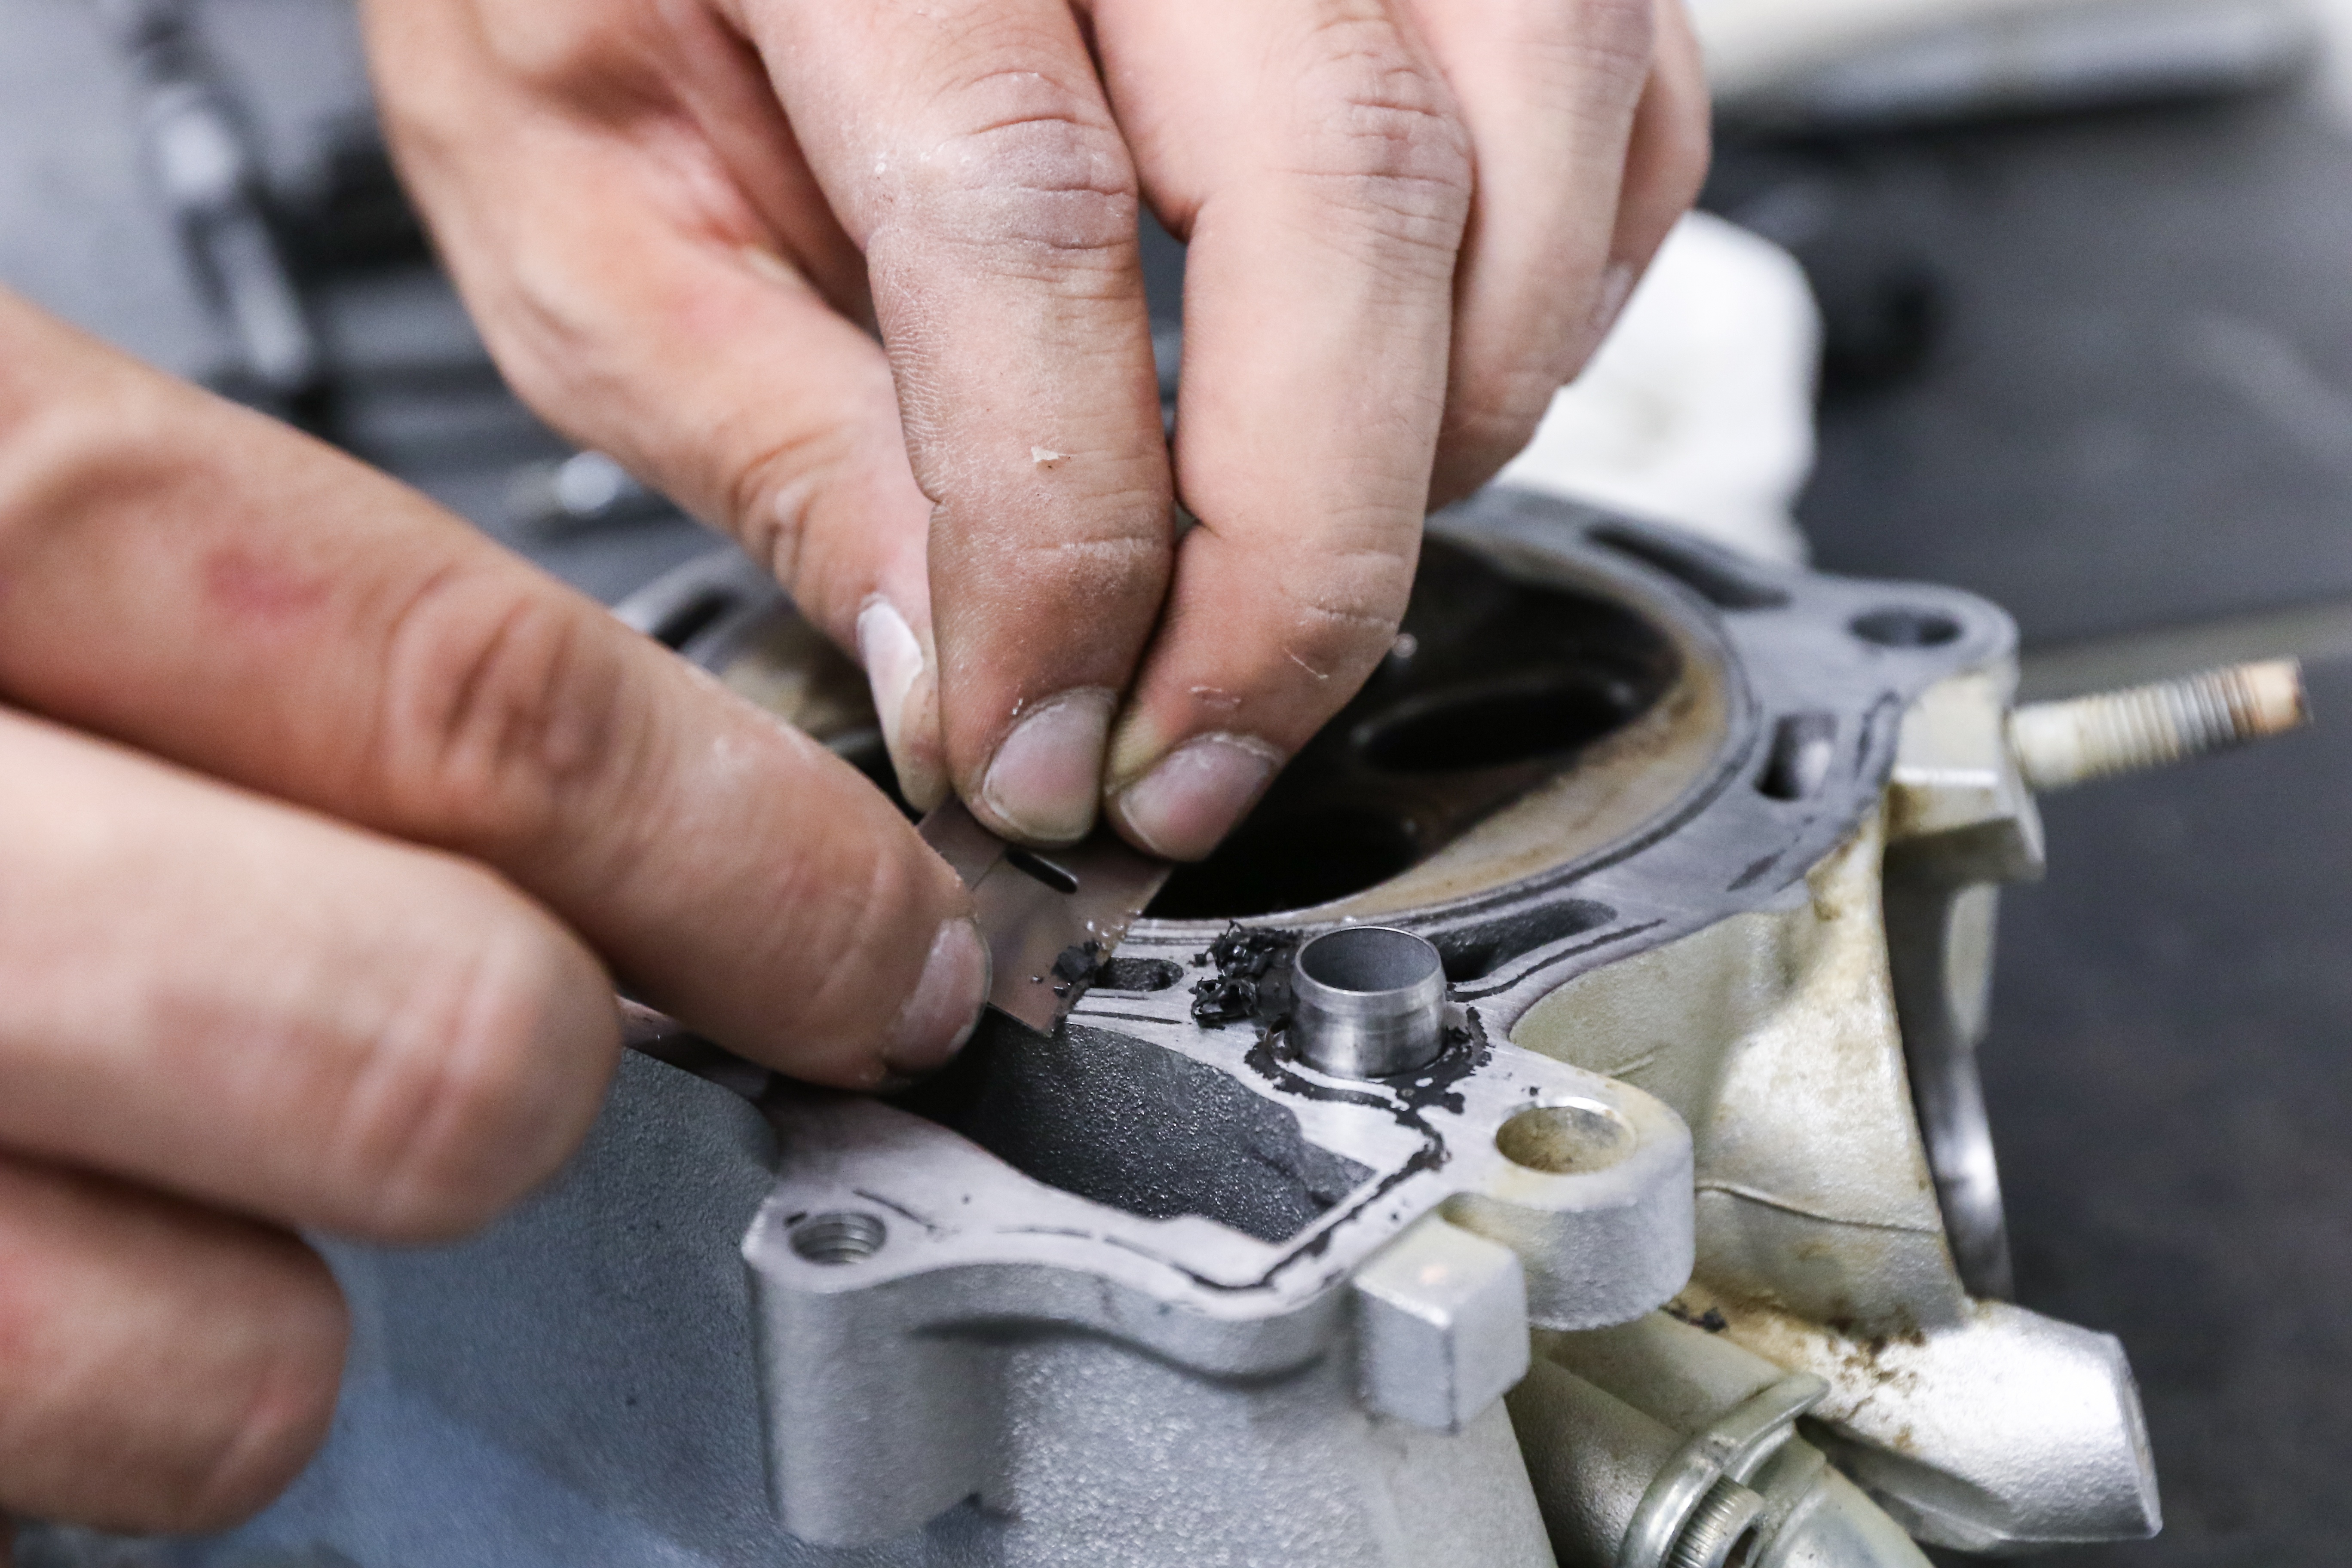
The disassembled head should be cleaned thoroughly, removing built up carbon and remaining gasket material from the combustion chamber and sealing surfaces. Also, be sure to clean out the valve guides, ports, and remaining areas of the cylinder head to ensure it is removed of debris and build up. There are multiple parts washing solutions that can be used to accomplish this. Partially abrasive materials can be used to assist, such as a Scotch-Brite pad.
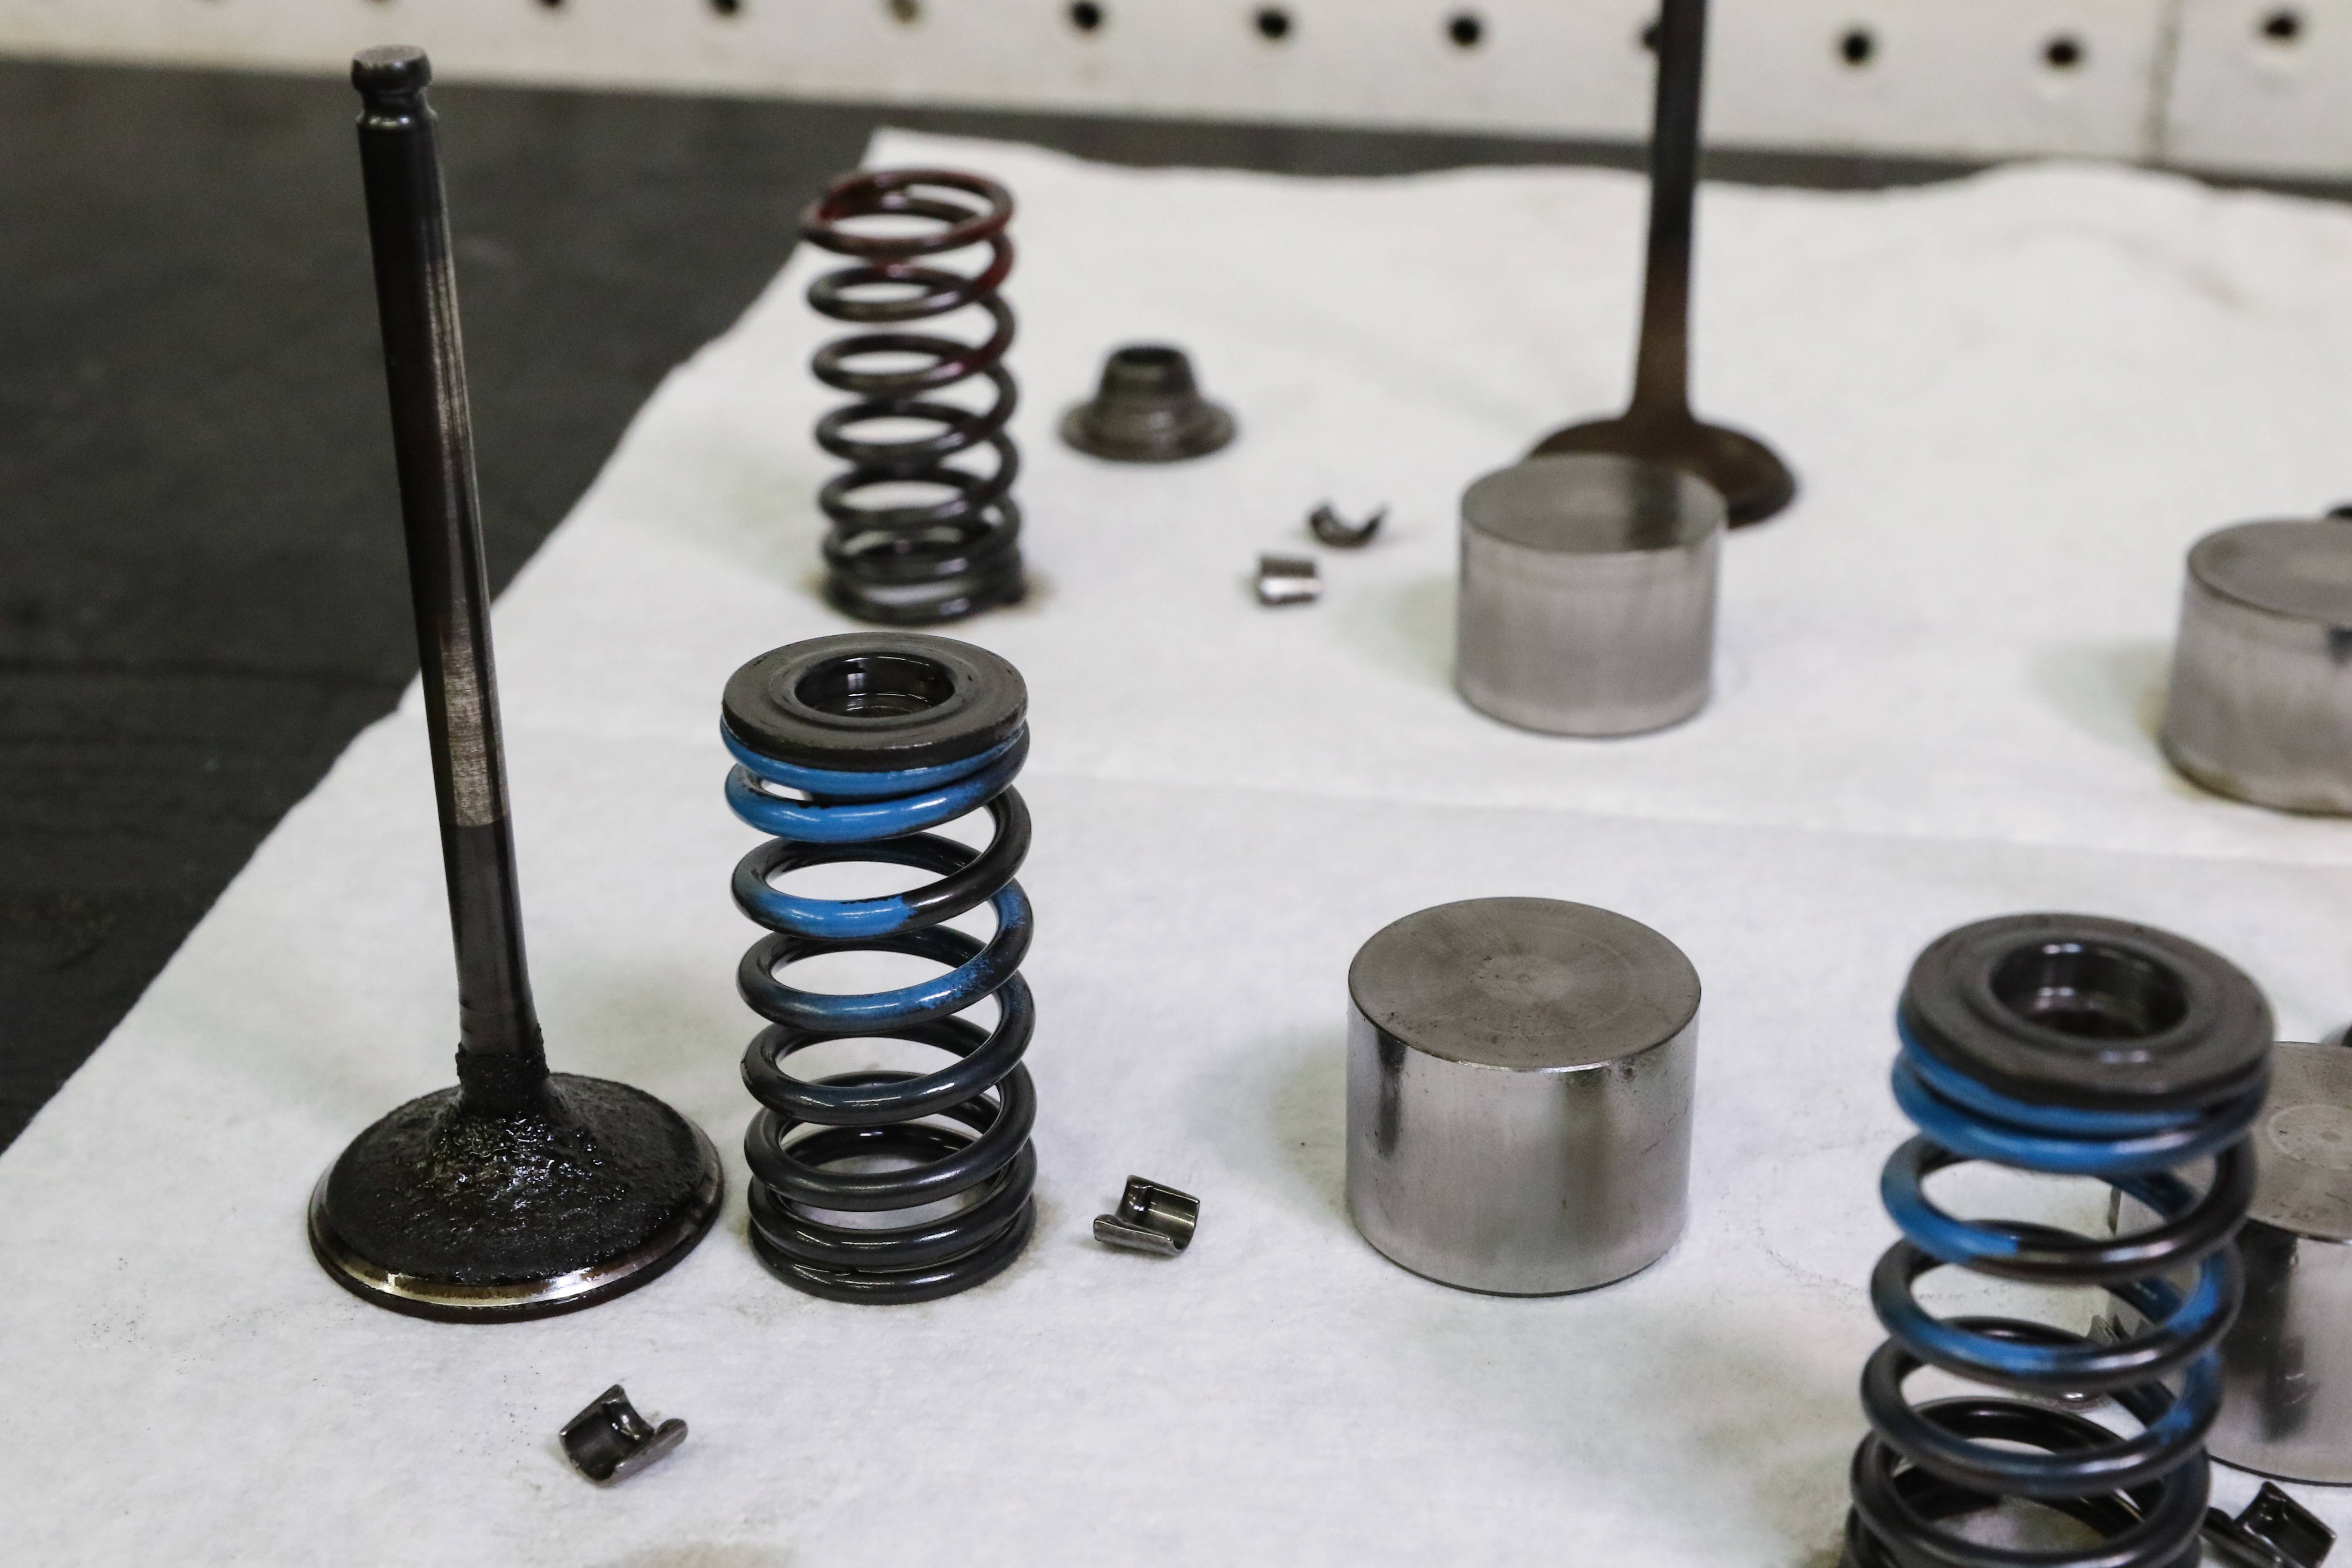
Next, you should inspect components you're not replacing. Items such as the buckets are subject to potential wear, and should be checked for scoring or grooves. Any items showing wear beyond your manual's recommendation need to be replaced.
We usually recommend replacing the retainers and keepers, but if you choose to reuse them, inspect them to make sure they are not showing damage or wear before reinstalling.
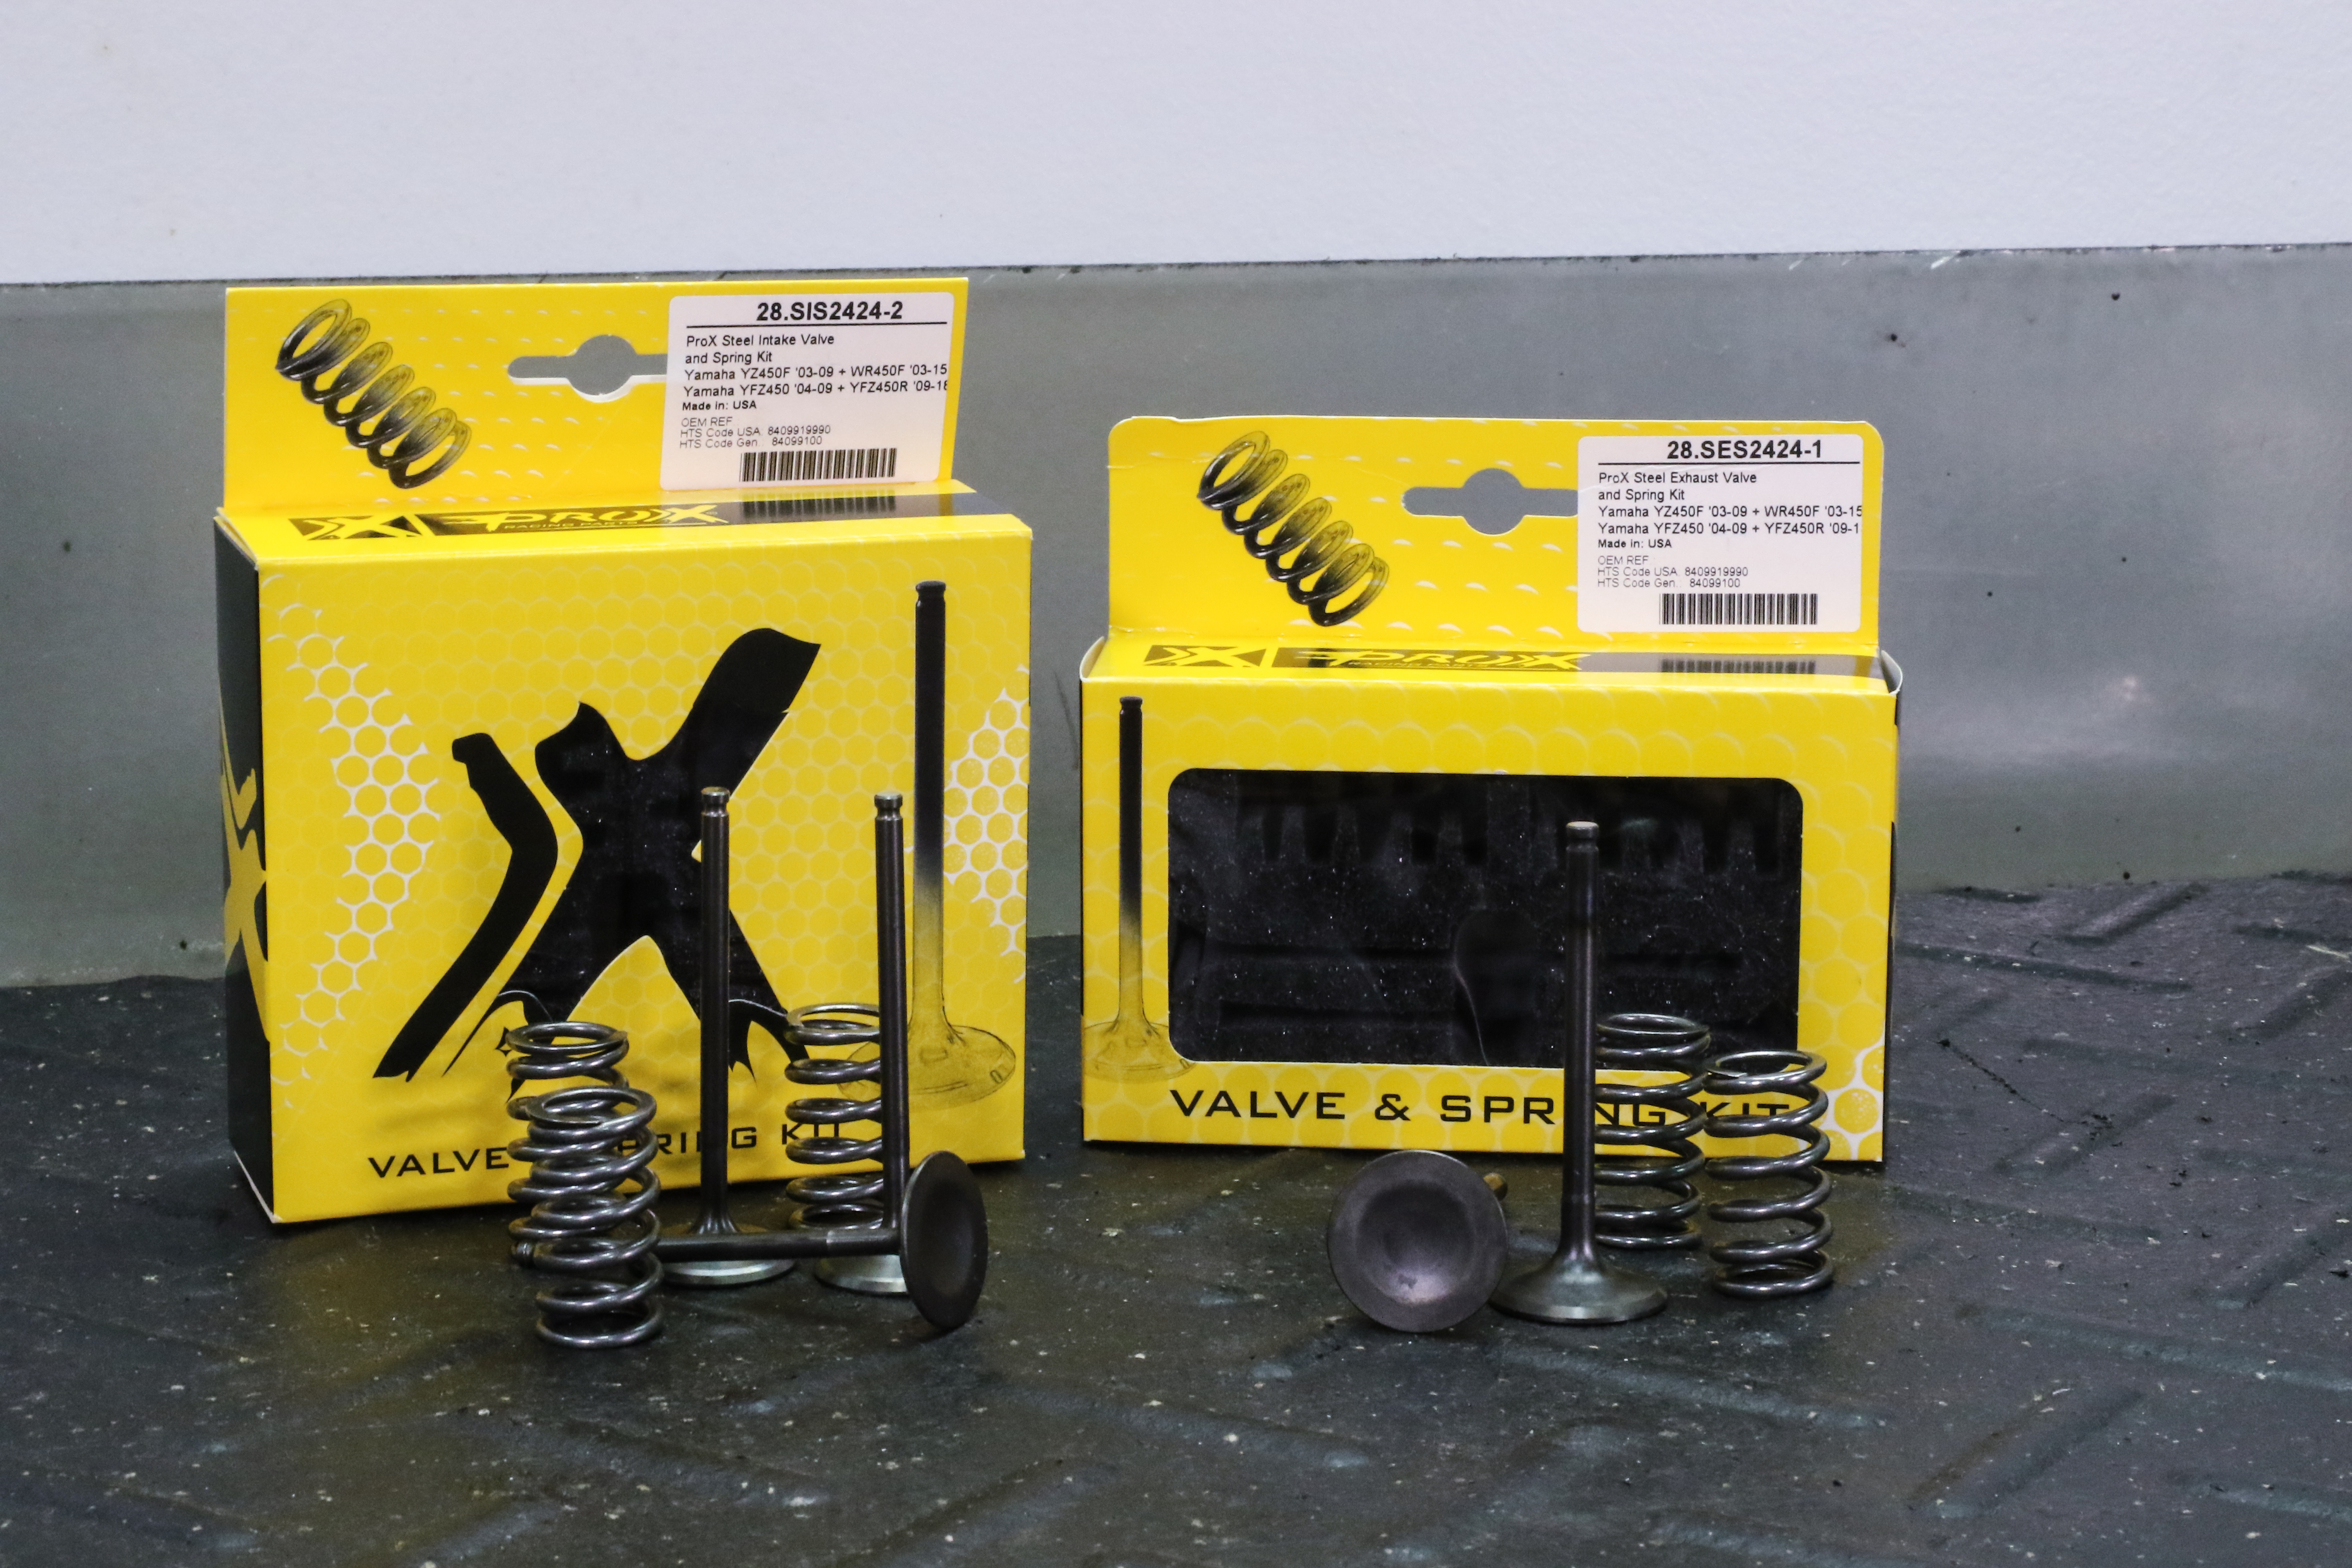
Stainless Steel Conversion
The 2006 Yamaha YZ450Fs not only had a 5-valve design, but the OEM valve material was Titanium. While Ti valves are praised for their performance sealing capabilities and light weight, they typically do not have as long a service life as their steel counterparts.
ProX offers stainless steel valve and spring conversion kits for many models that come with OEM Titanium equipment. ProX steel valves offer longer-term resistance to wear, and are manufactured by OE suppliers to OEM specifications to ensure you retain performance. The conversion kits also come with heavier-rated valve springs. It is critical to use springs that correspond with your valves. Using springs that are too light or too heavy for the valves can result in top end failure.
Click here to find ProX valvetrain components for your machine.
Before moving on to reassembly with your new components, further inspection of the valve guides should be performed. This can be done by sliding the new valve into the valve guide and feeling for run out and suction, which is explained in the video.
After components have been inspected, and the head is reassembled with new components, the head can be reinstalled on the cylinder. Be sure to reinstall the camshaft(s) and cam caps in the same manner they were removed, torquing all bolts to the corresponding specification in your owner's manual.
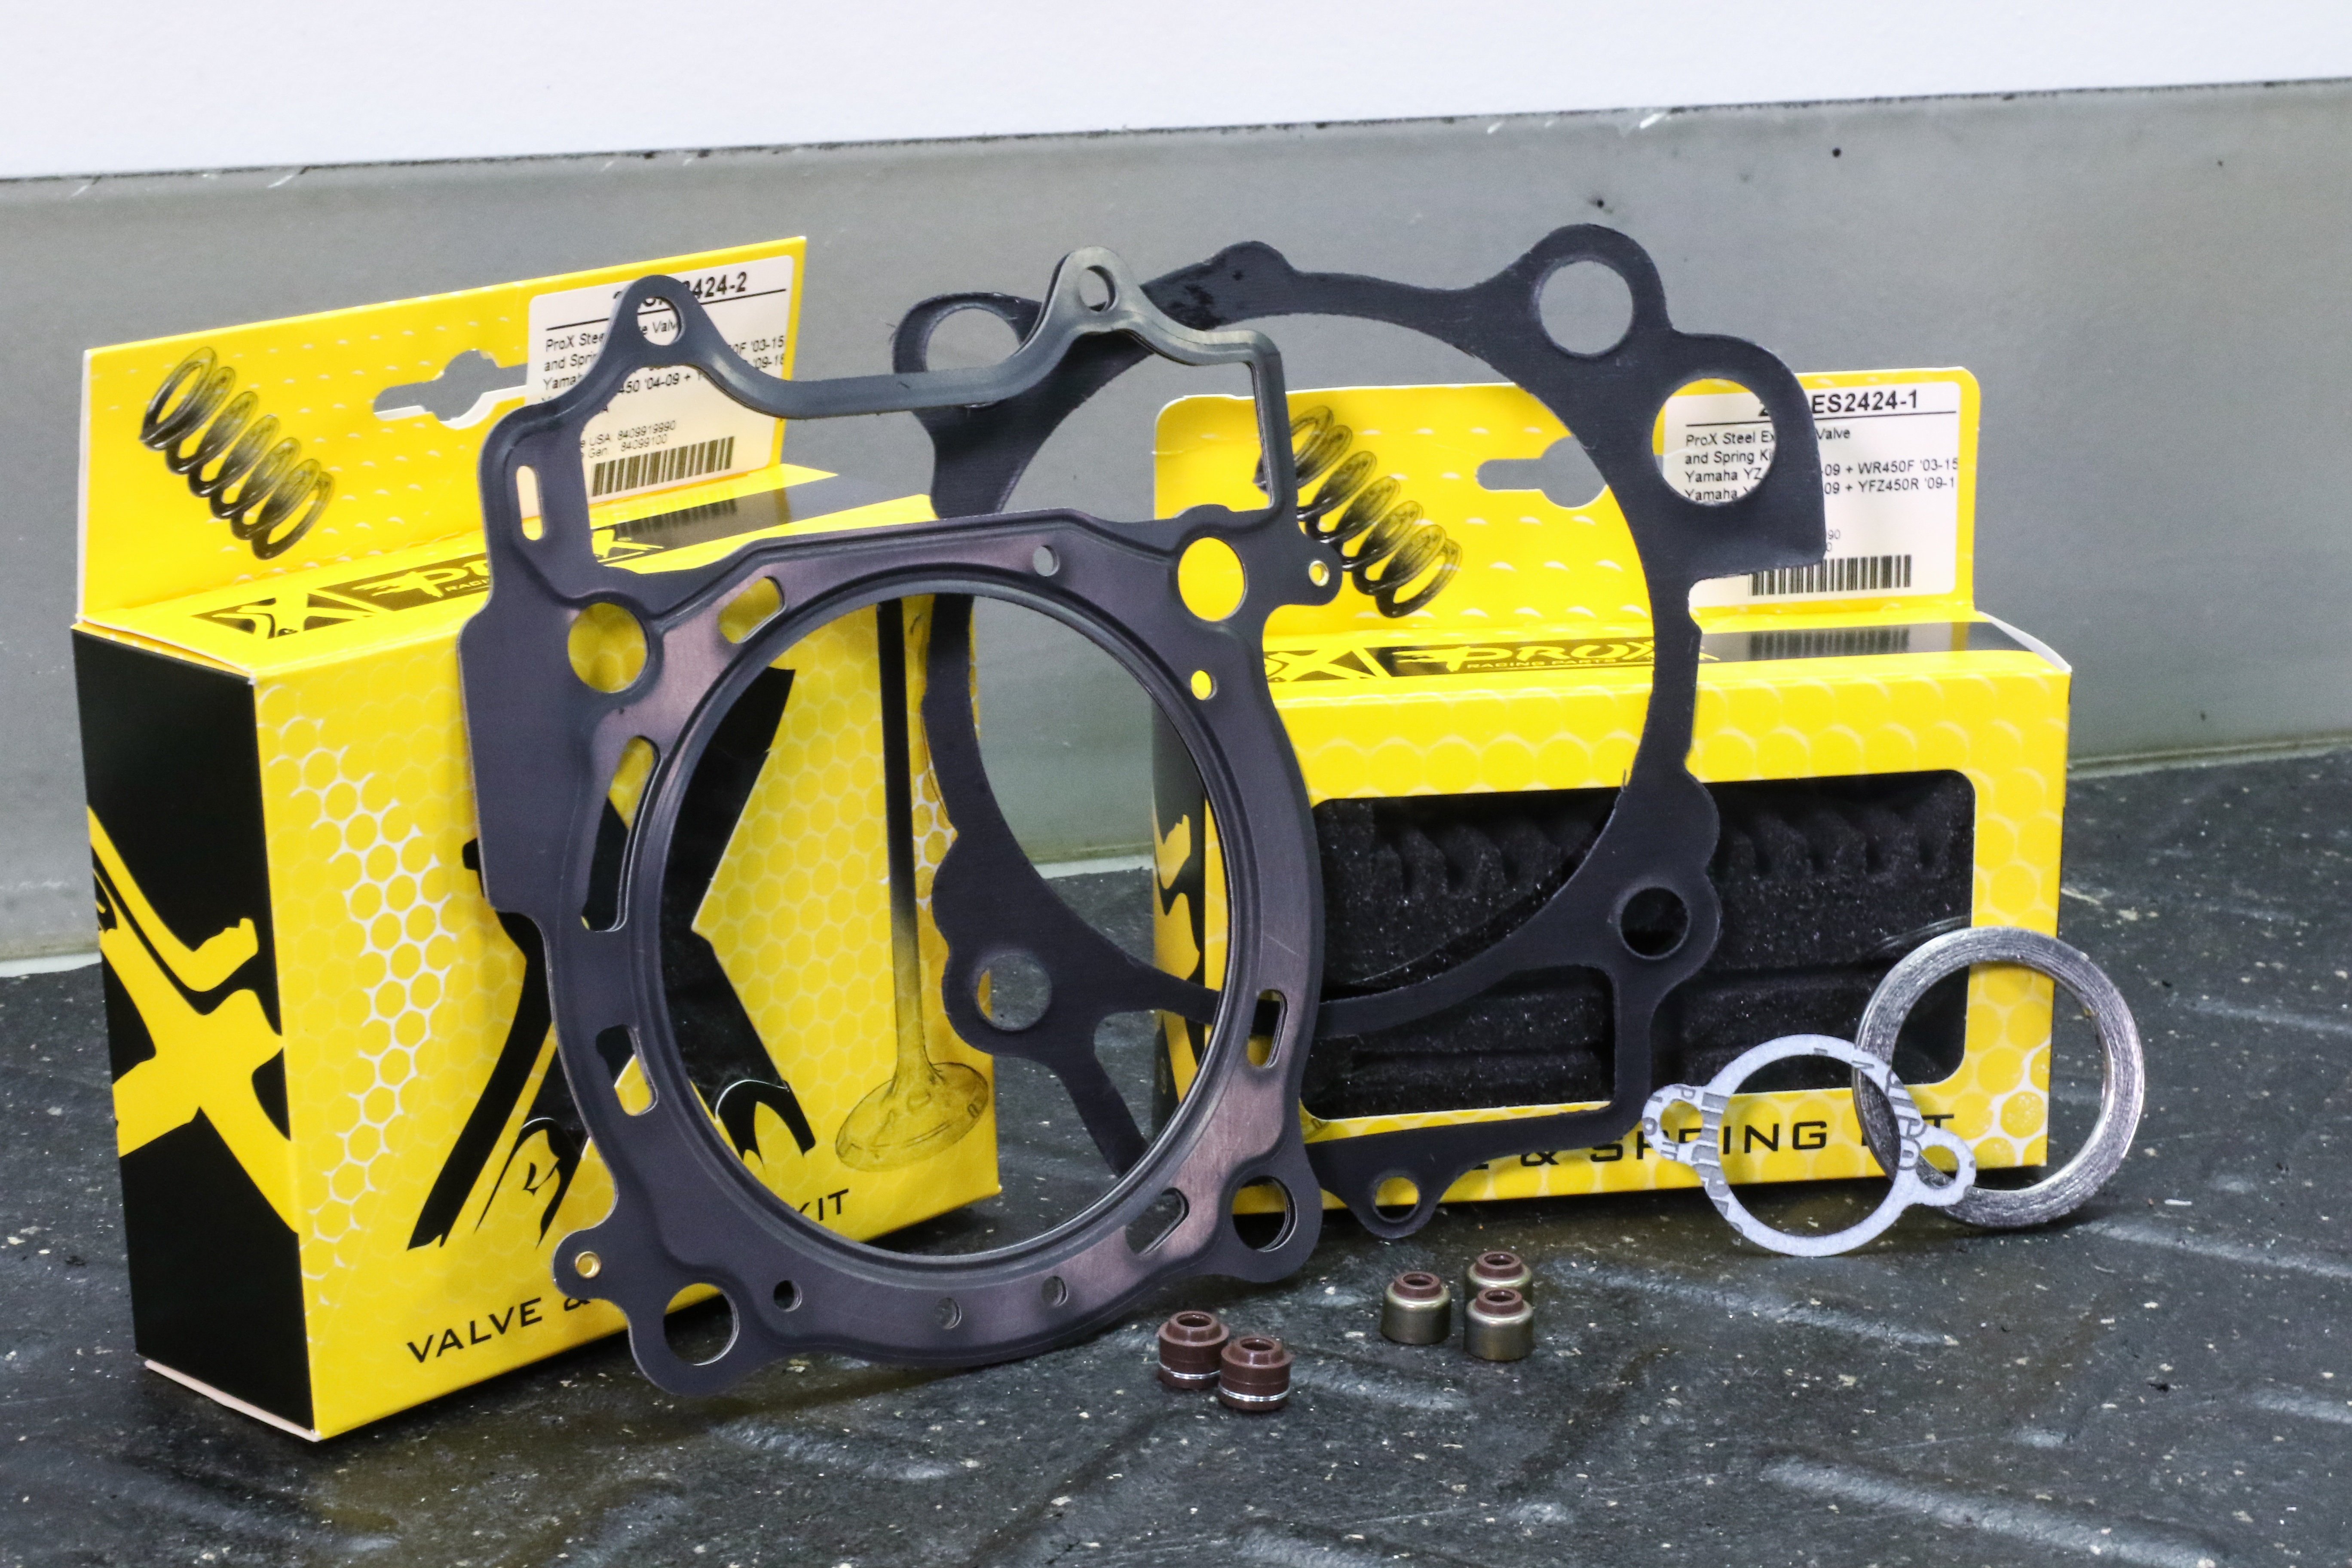
Gaskets
Always use new gaskets during reassembly. Using a quality gasket on a clean, smooth sealing surface will help ensure your engine will not develop any harmful oil or air leaks. ProX gasket kits are an affordable option for OEM quality gaskets, and are available in top end, bottom end, and complete engine gasket kits for many models. Ordering all your gaskets and seals from an OEM usually requires many individual part numbers, so the convenience of ProX gasket kits providing everything you need under one part number can save a lot of hassle.
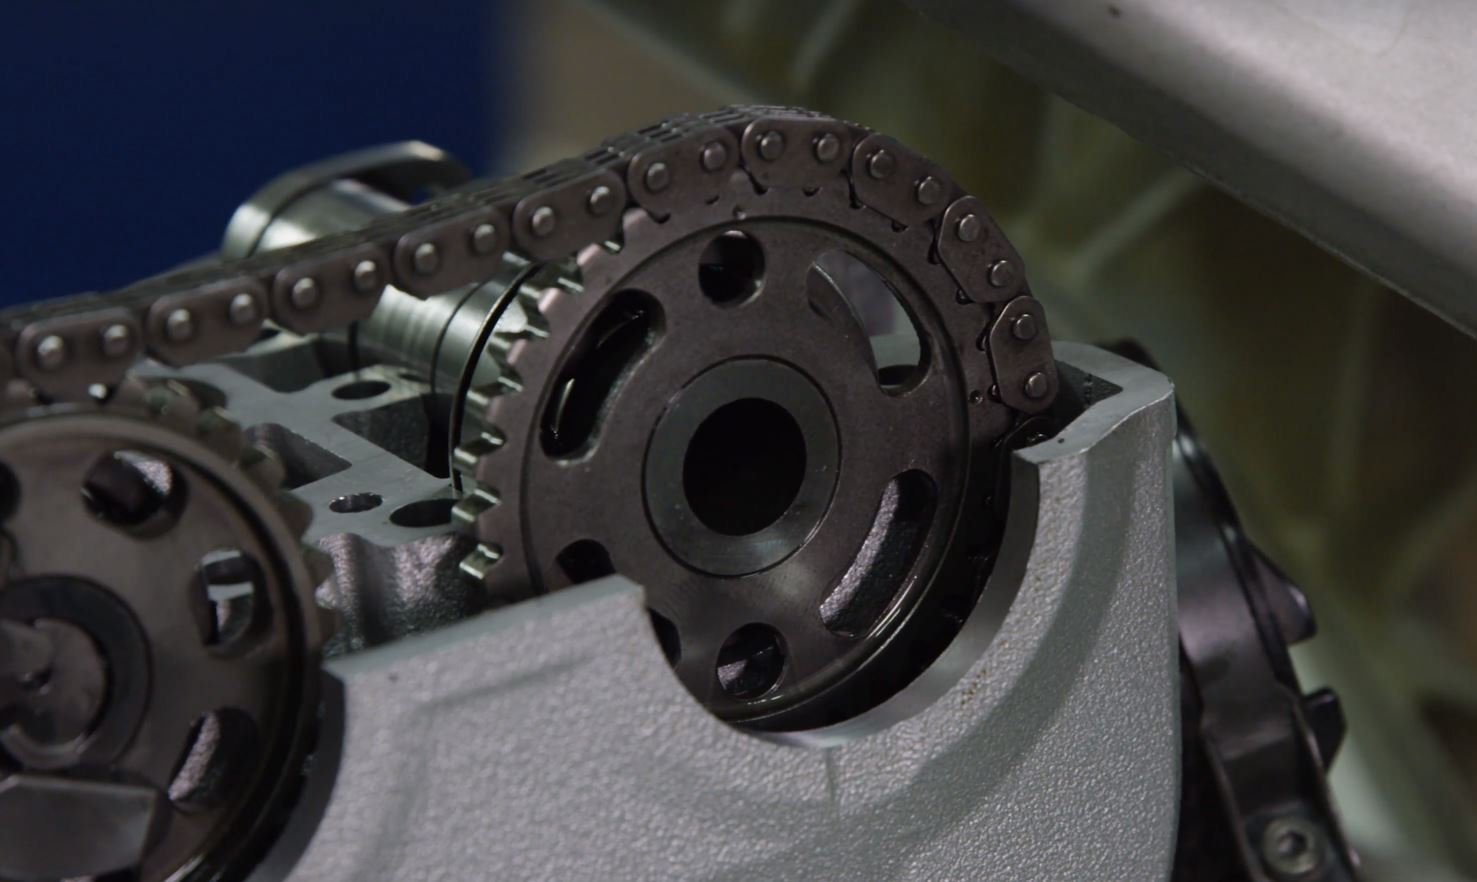
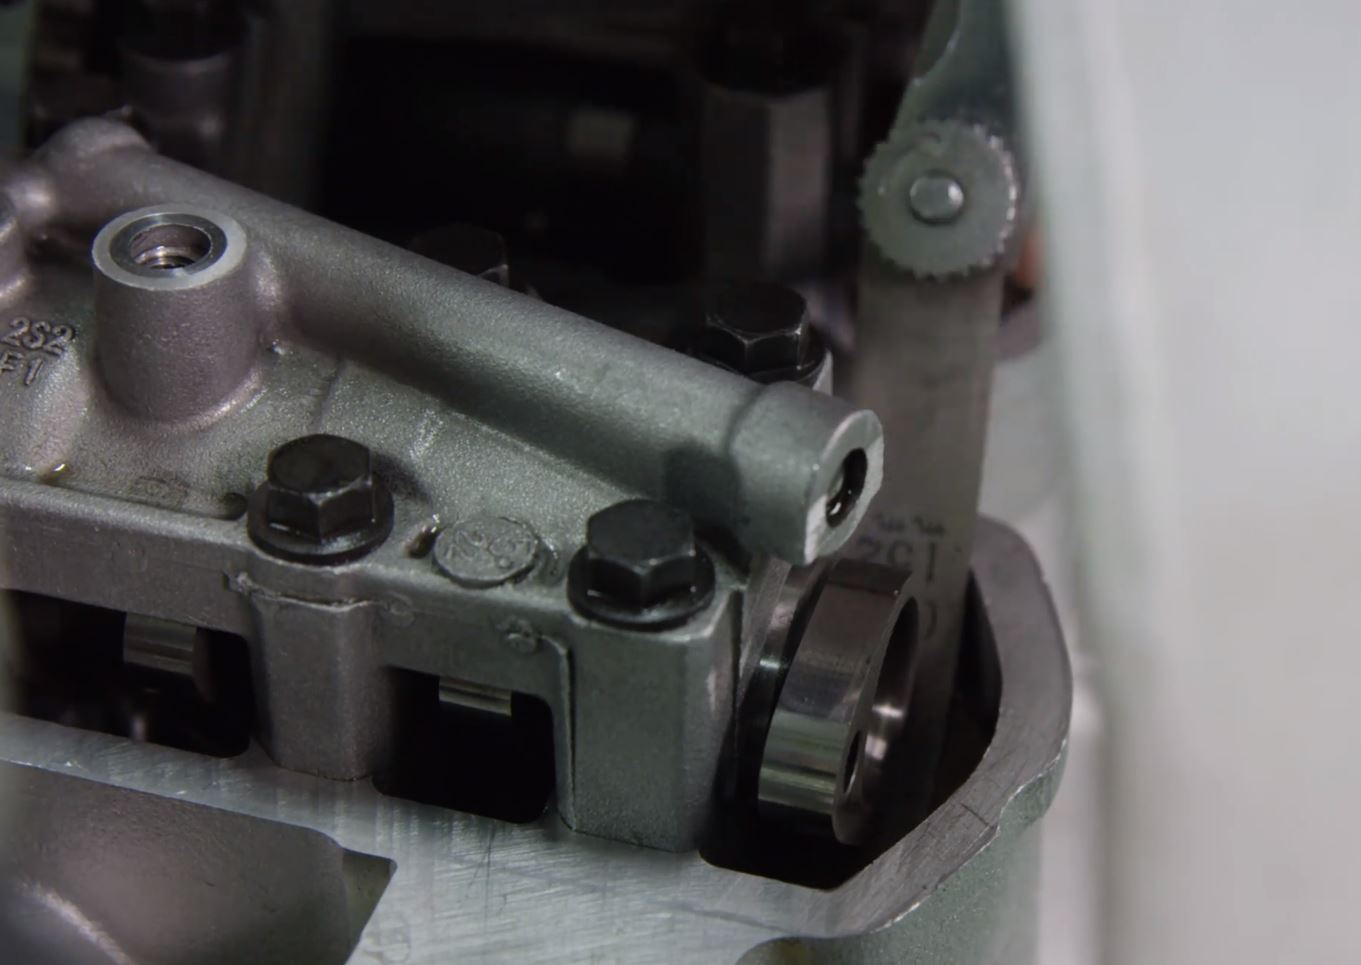
Setting Cam Timing
Setting cam timing as you reinstall the timing chain is absolutely crucial, as an improperly timed four-stroke engine will be subject to damage. Be sure your timing marks on your crankshaft and cam gear(s) are aligned properly, and double check them again after the timing chain is completely installed. Correct timing setting procedure for your specific model should also be outlined in your owner's manual.
Checking and Setting Valve Clearance
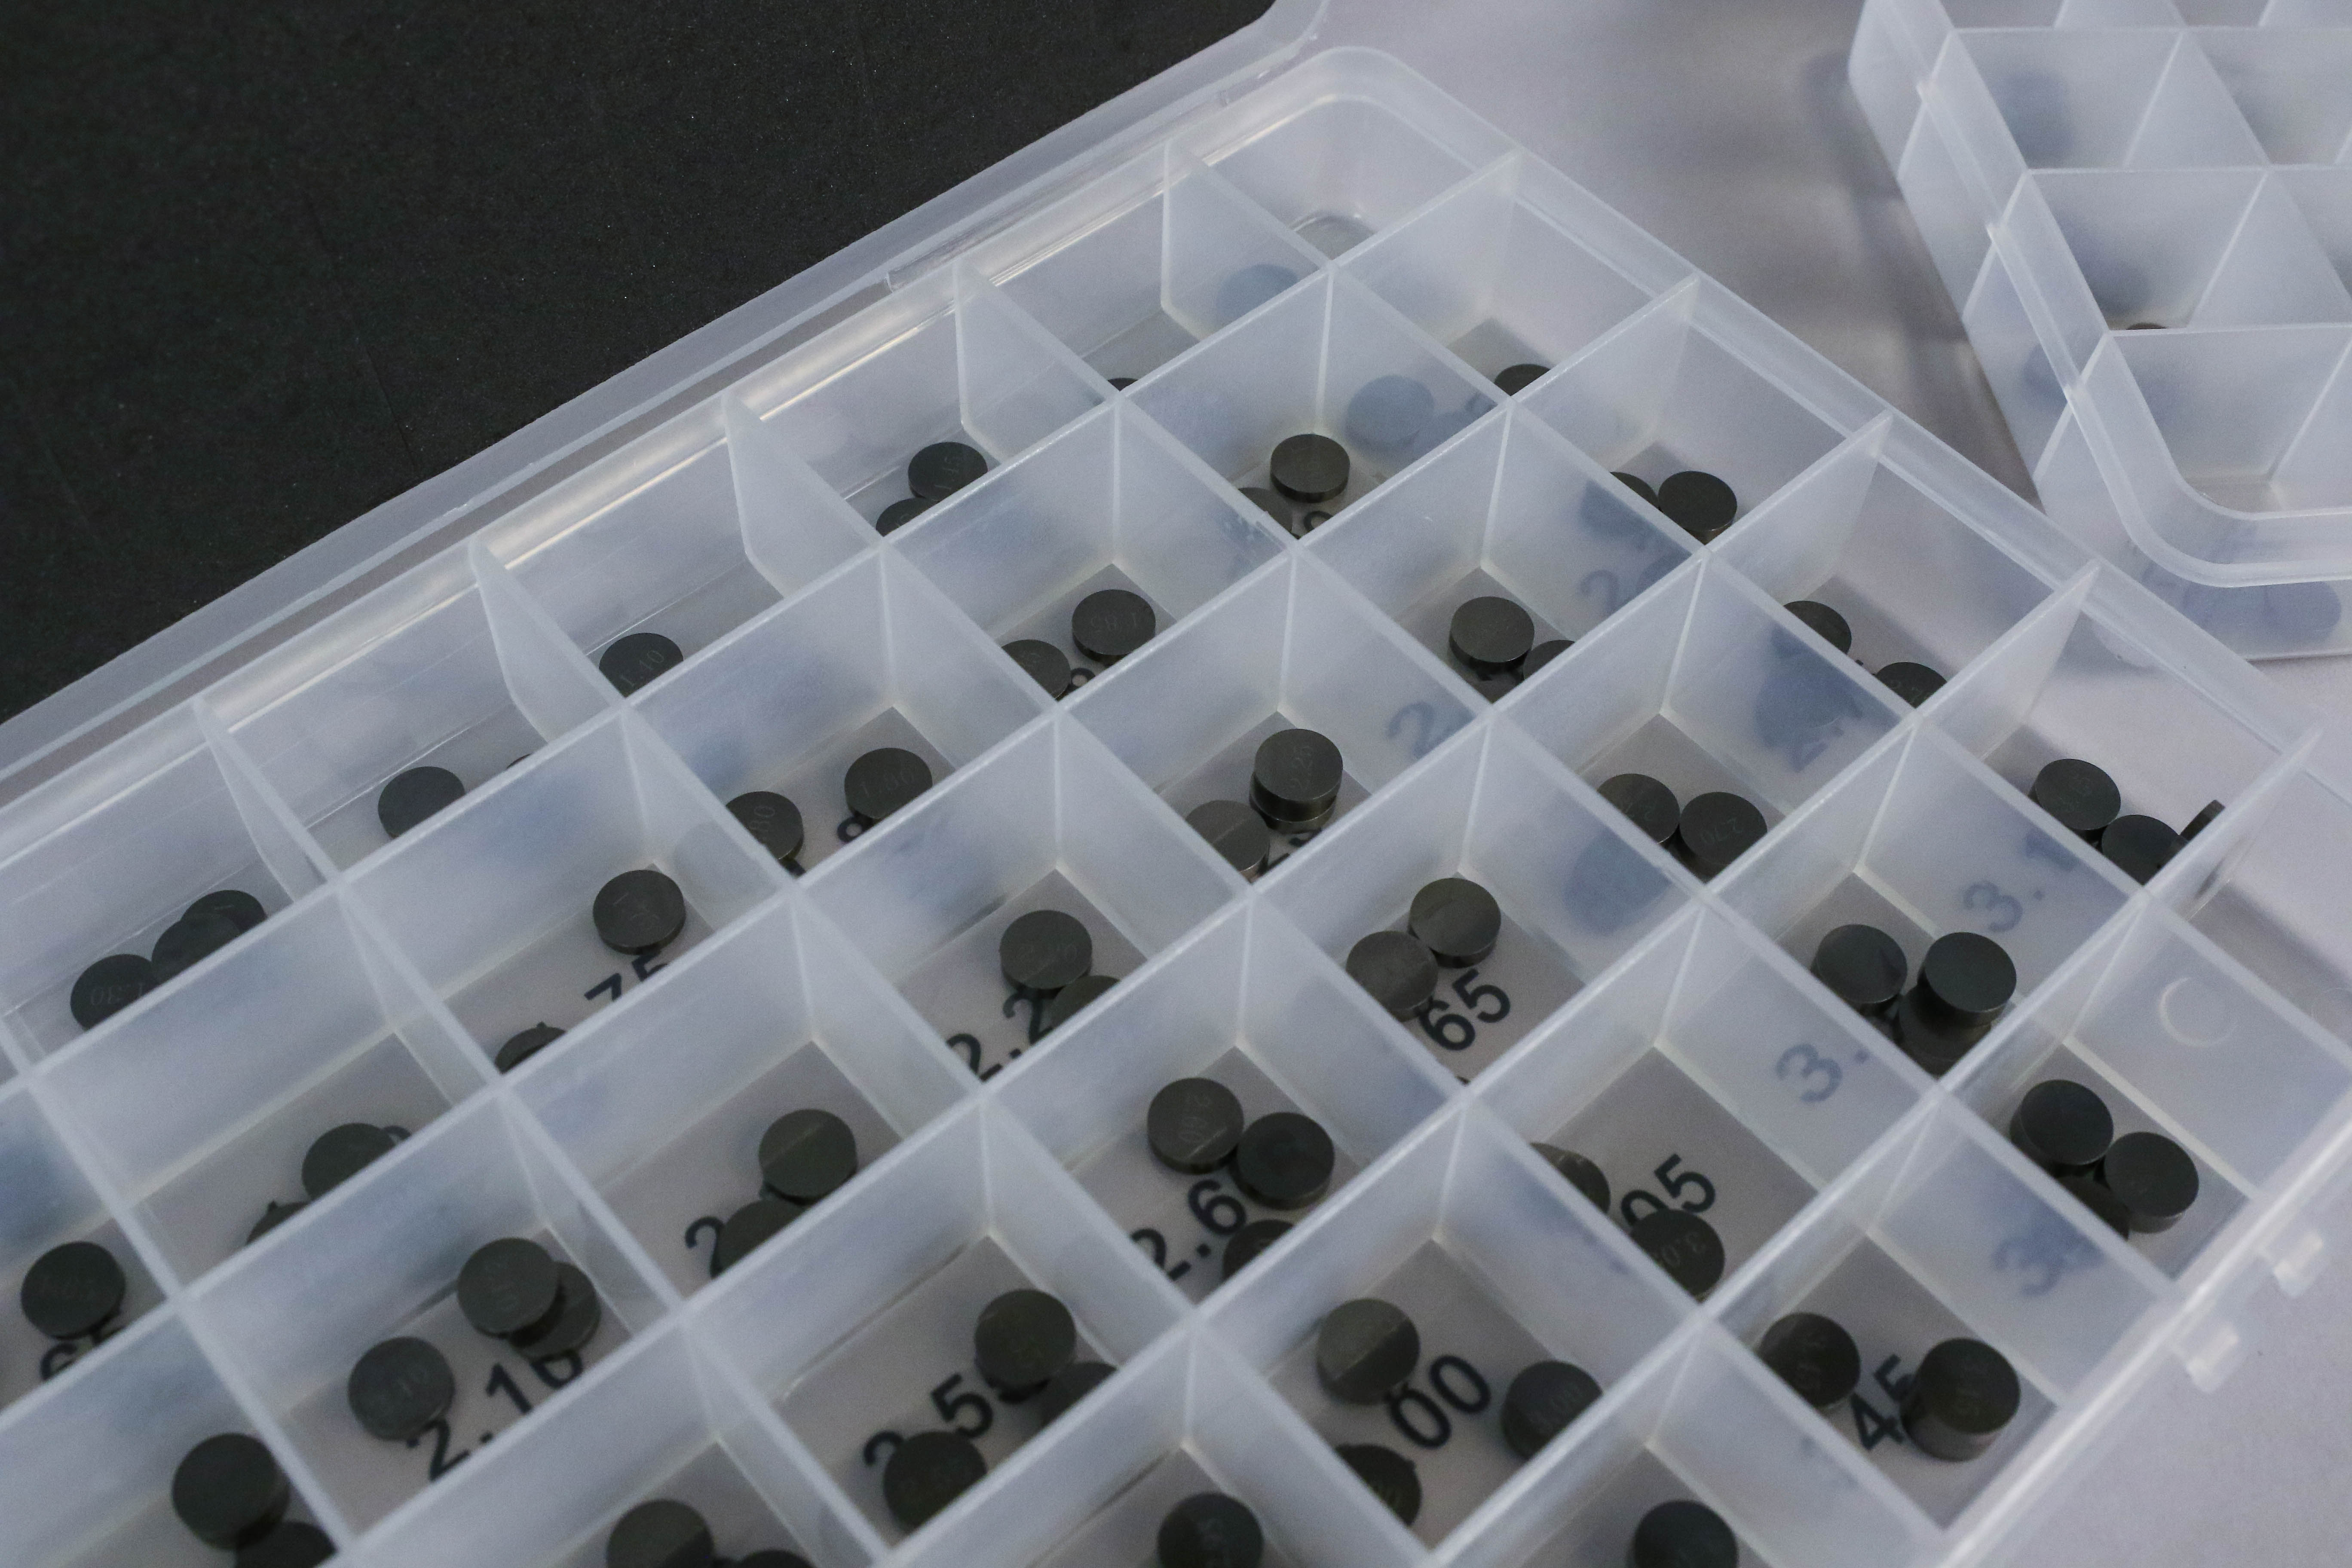
Once you've confirmed timing is set correctly and everything is reassembled properly, check your valve clearance before completely buttoning up the engine. Like we show in the video, use a set of feeler gauges to determine if each valve is within the clearance specifications outlined in your owner's manual. If any valves are out of spec, you'll need to make some shim changes. Different sized shims are what should be used to adjust clearance. Complete shim kits are good to have handy in the garage. ProX offers shim kits for Japanese and Austrian brands, with shim sizes provided in 0.25mm increments.
Remember, this is not an all-inclusive guide to every step in the head rebuild process. These are key steps and checks to perform throughout the process. You can find even more detail on assembling your head here!
