Follow along through our guide of tips and tricks on replacing the front and rear sprockets on your dirt bike.
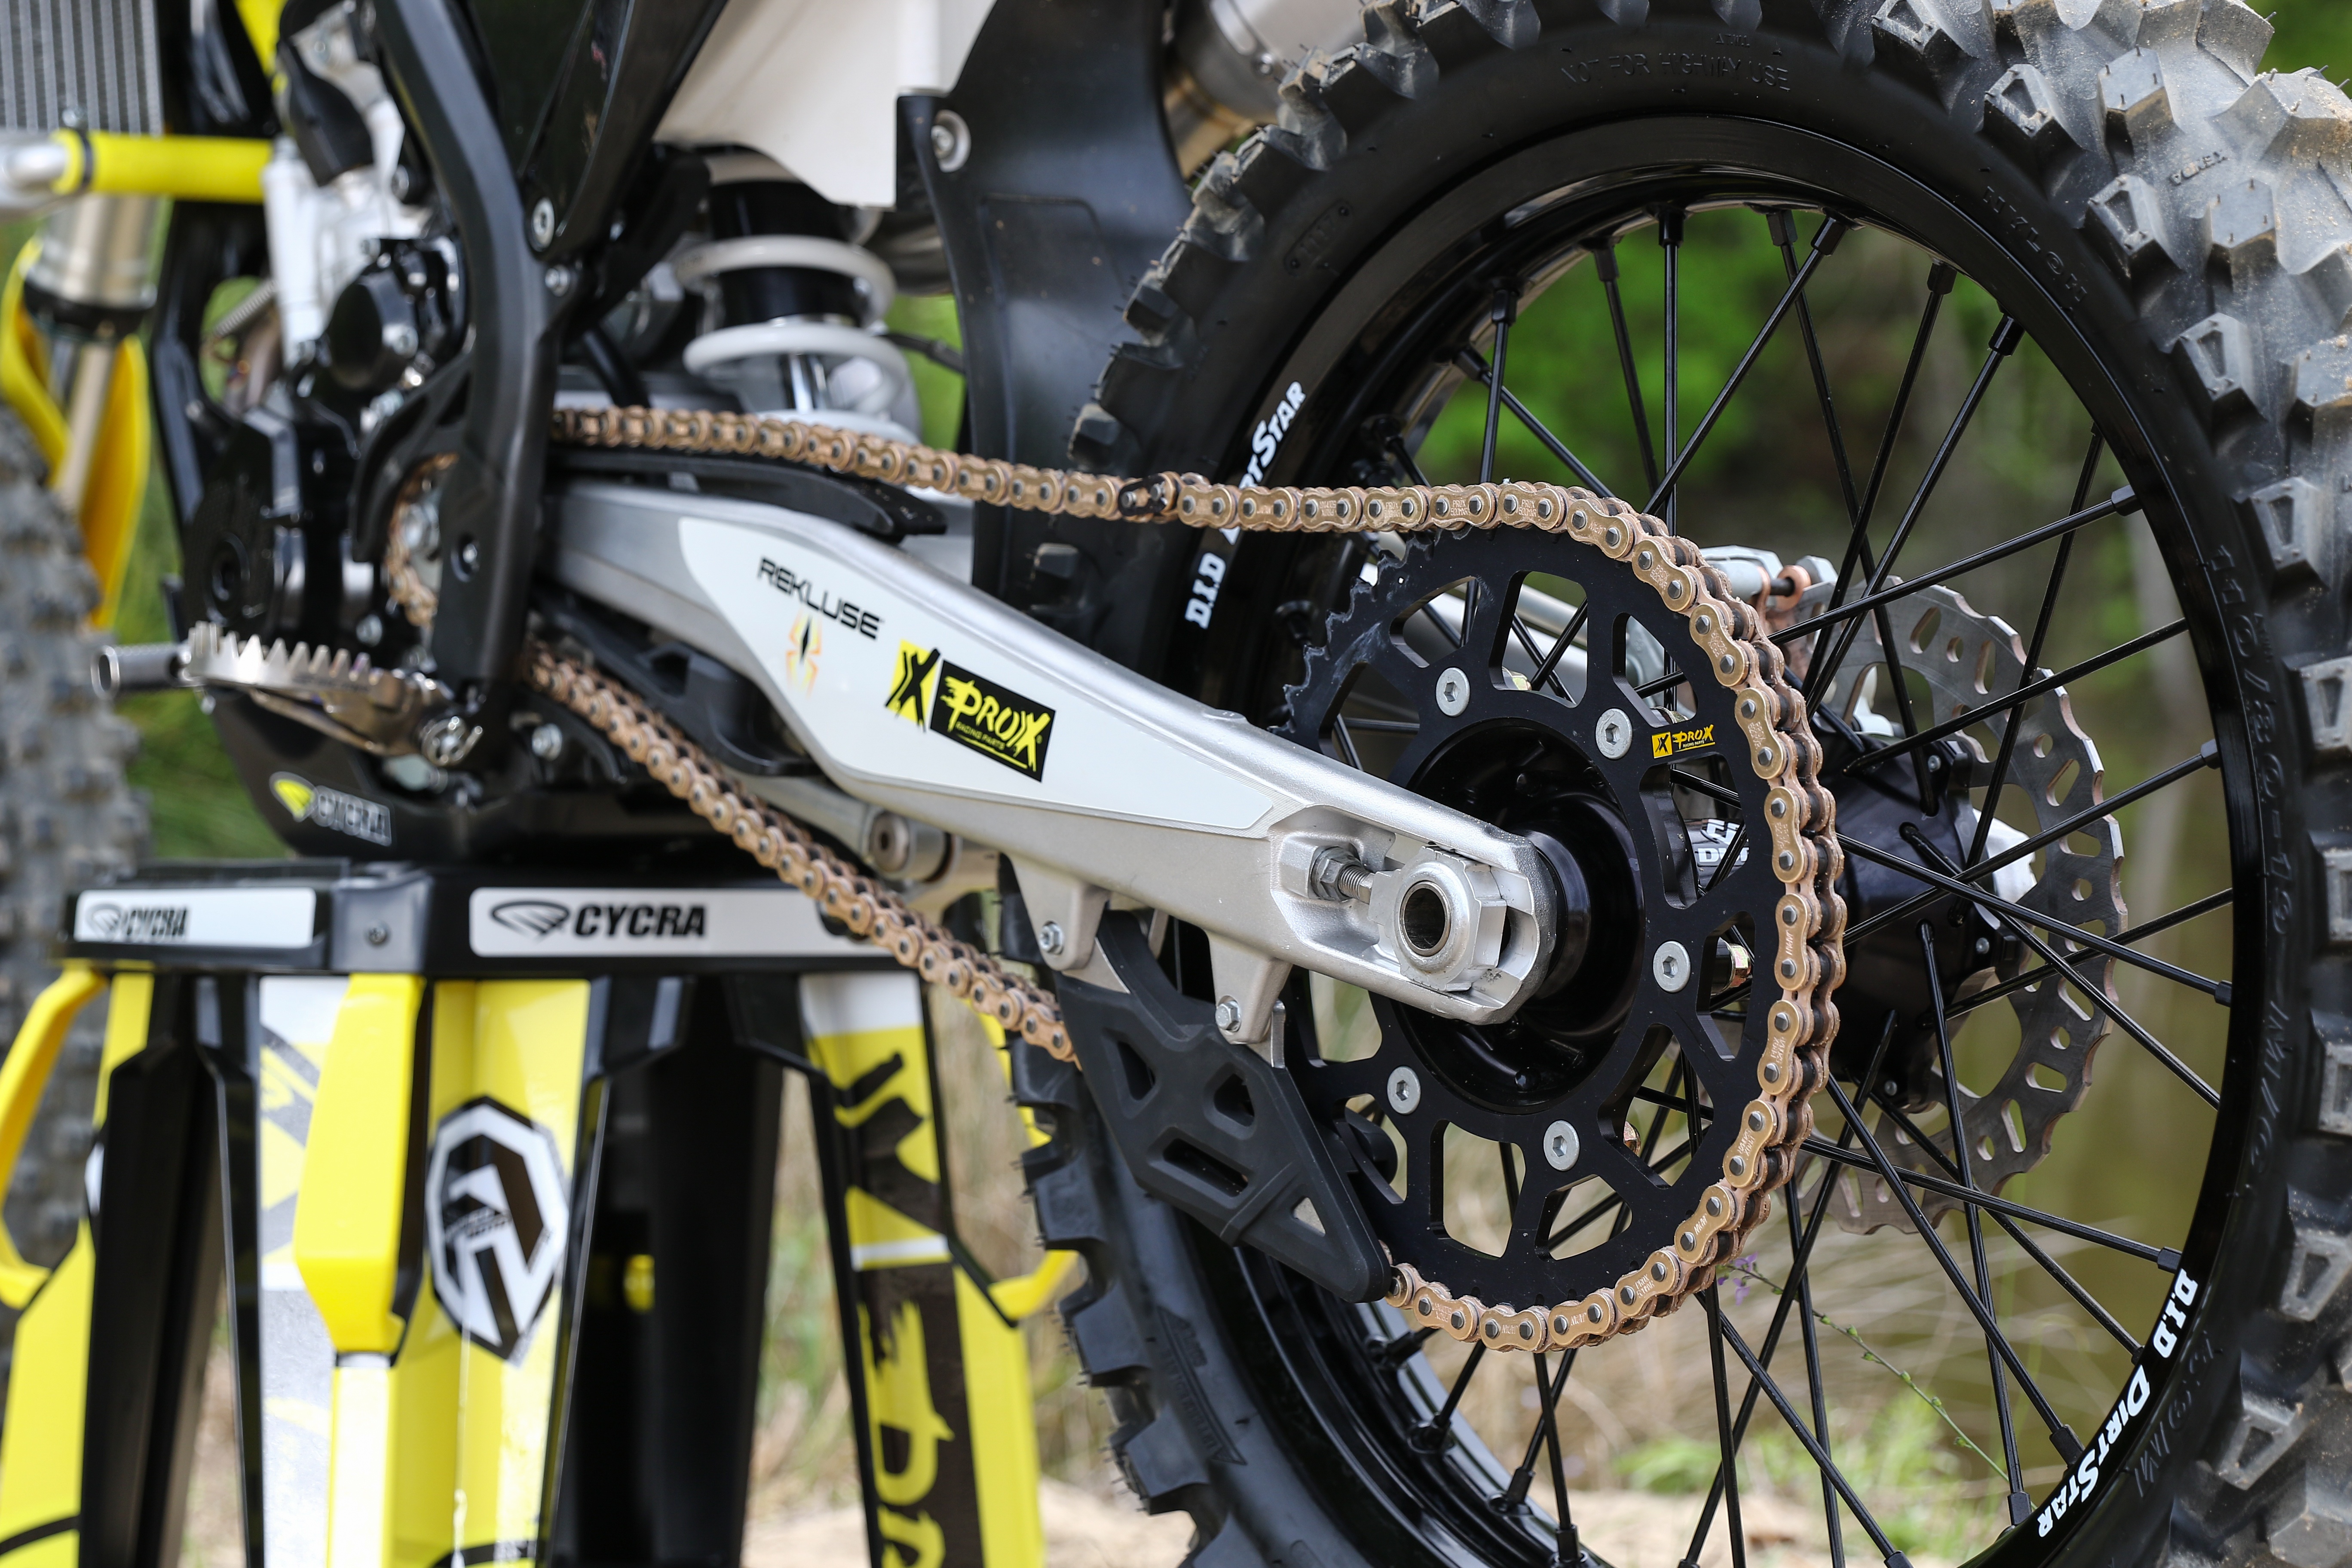
Maintaining your machine's final drive is an essential aspect of ensuring power is delivered to the ground efficiently and reliably. The final drive consists primarily of the chain and sprockets but also includes the chain guide and chain rollers. In this article, we're going to detail all aspects of sprocket maintenance including inspection, tools required, where to get sprockets, the proper way to replace sprockets and provide tips and tricks to make the job go easier. If you want to learn how to install a new chain, you can follow this link which will take you to our guide on chain replacement.

Replacement Intervals
Final drive components are typically replaced on an as-needed basis based on the amount of wear observed during inspections. Most manufacturers recommend replacing the primary final drive components at the same time. These components are the front sprocket, rear sprocket, and drive chain. The reason for this is because the chain and sprockets mate together. If a worn sprocket were mated to a new drive chain, the wear rate of the chain would be much higher than if it were matched with a new sprocket. The type of riding, conditions, quality of components used, and amount of final drive maintenance that is performed between replacement intervals dictate how long the chain and sprocket set can go before requiring replacement.
.jpg)
.jpg)
Need help deciding between standard and X-ring chain? Click here.
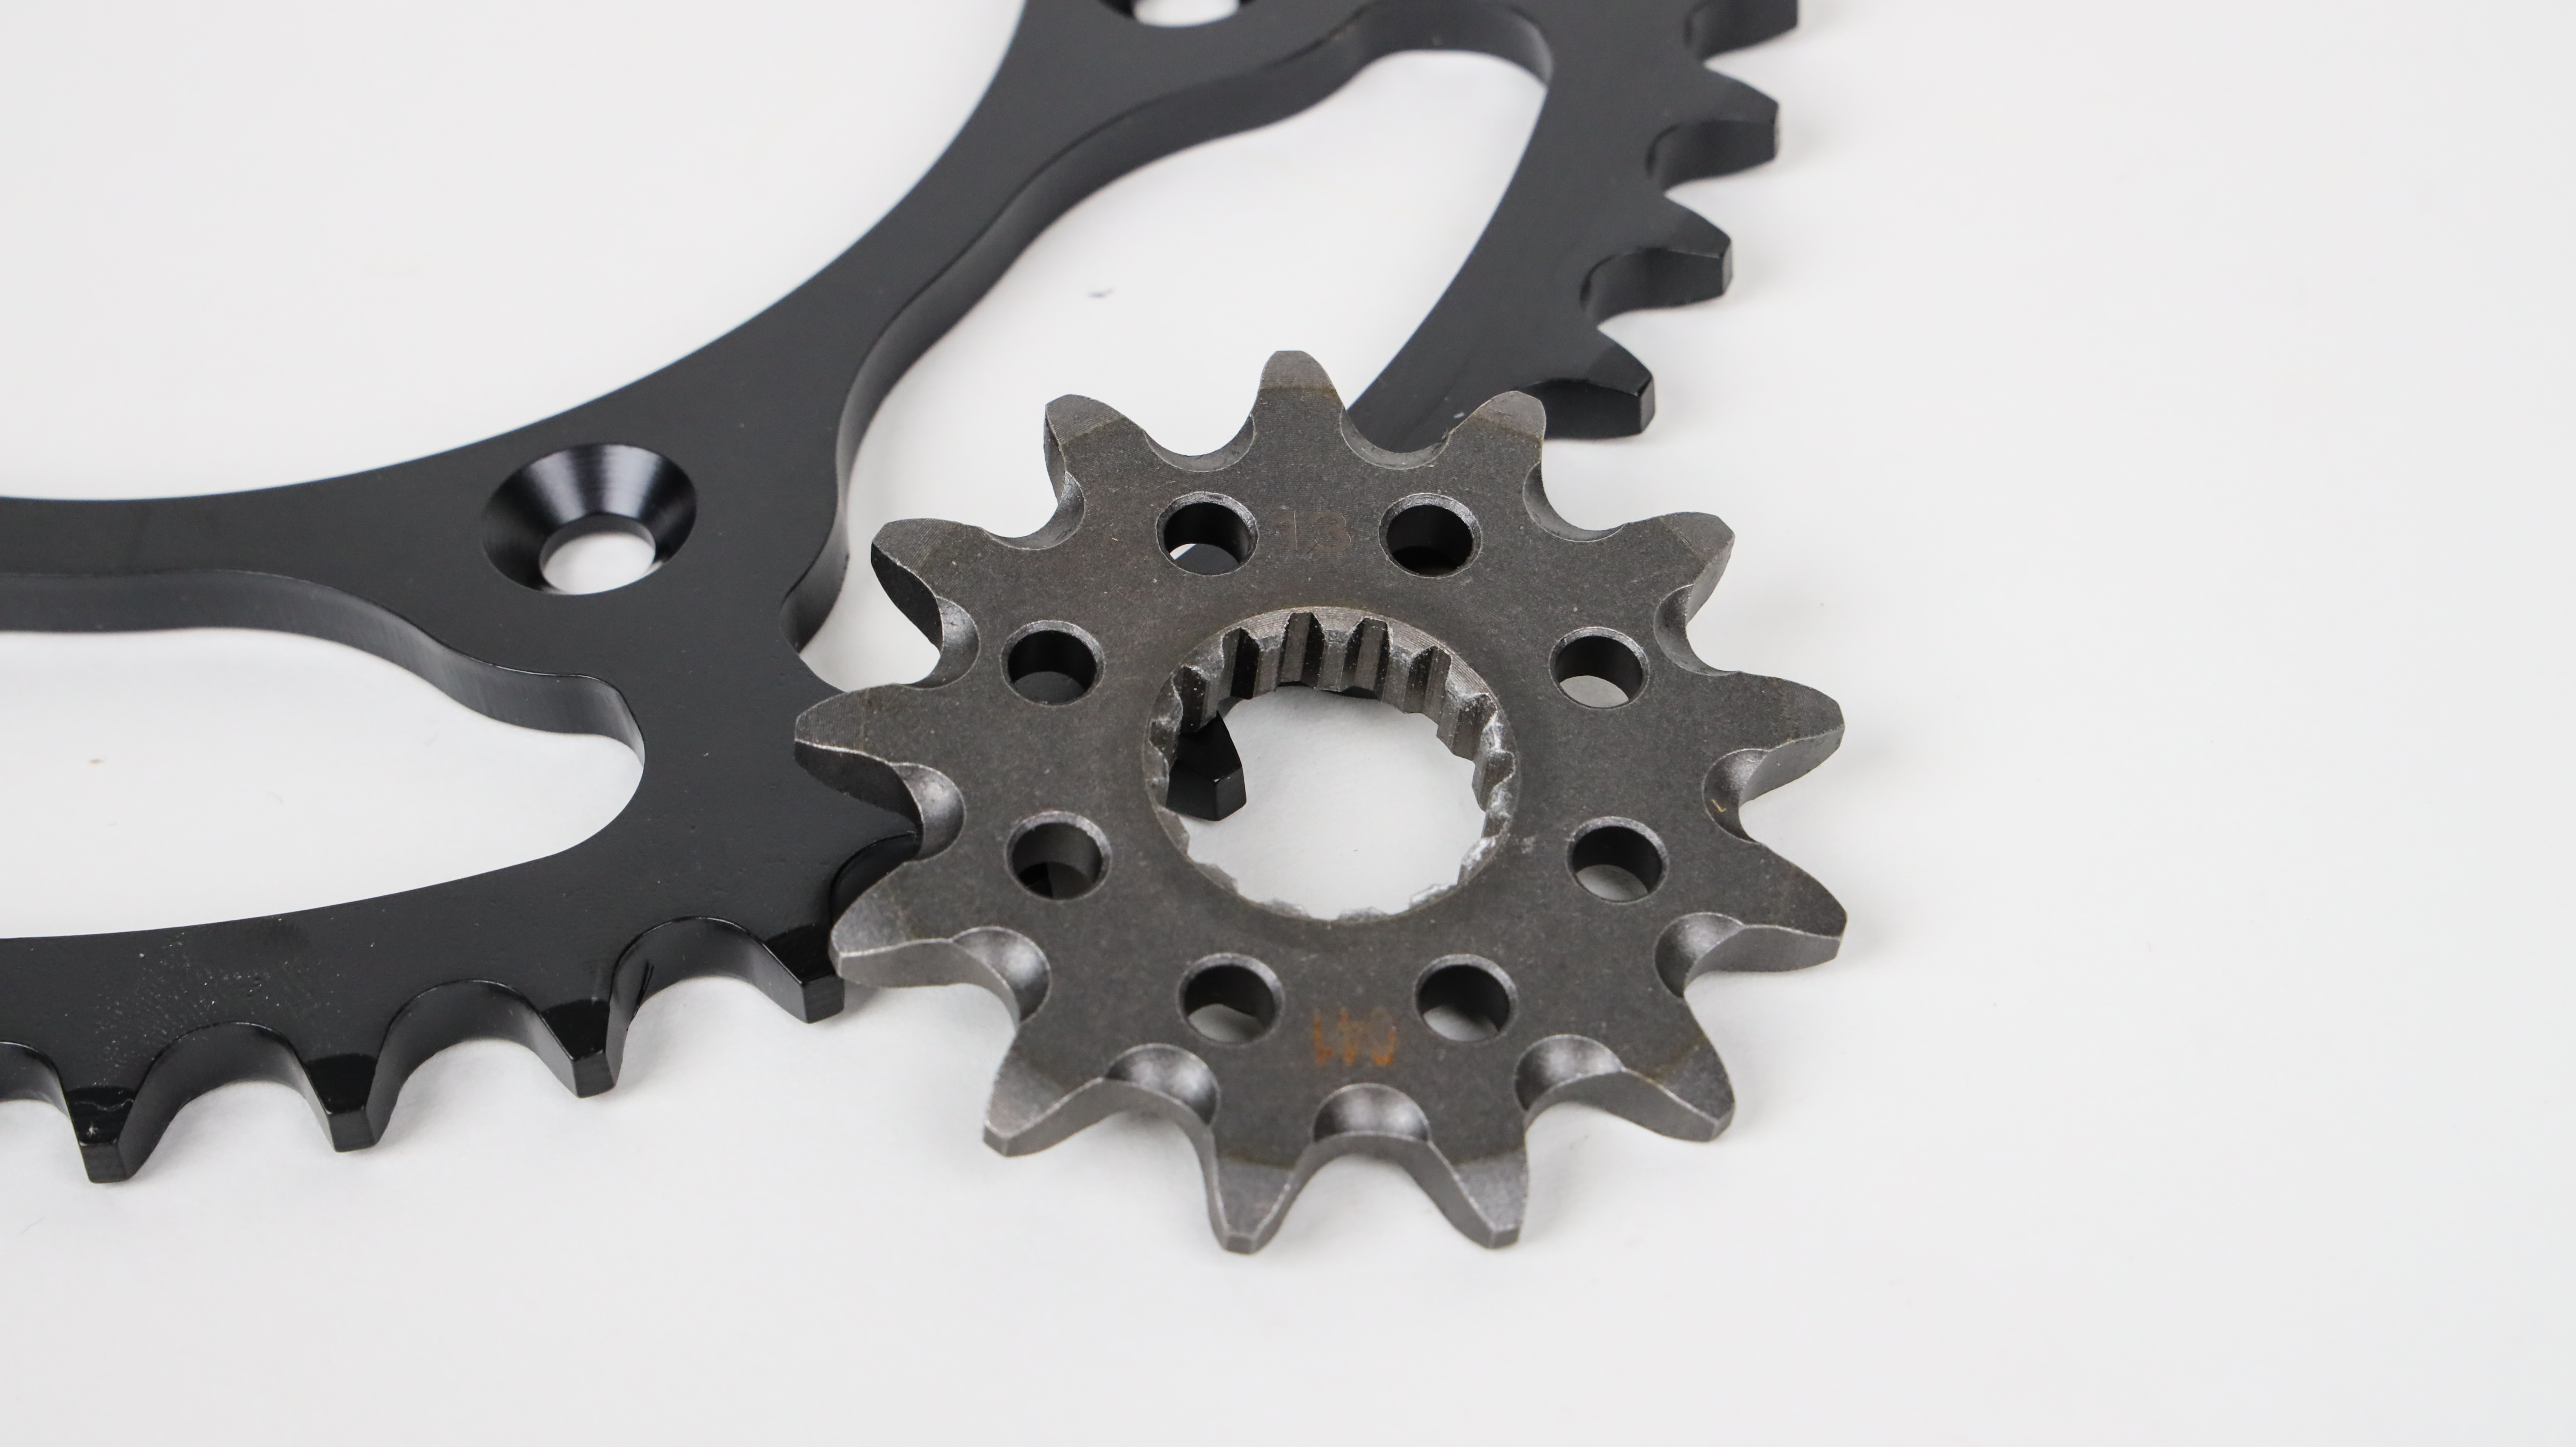
Inspection
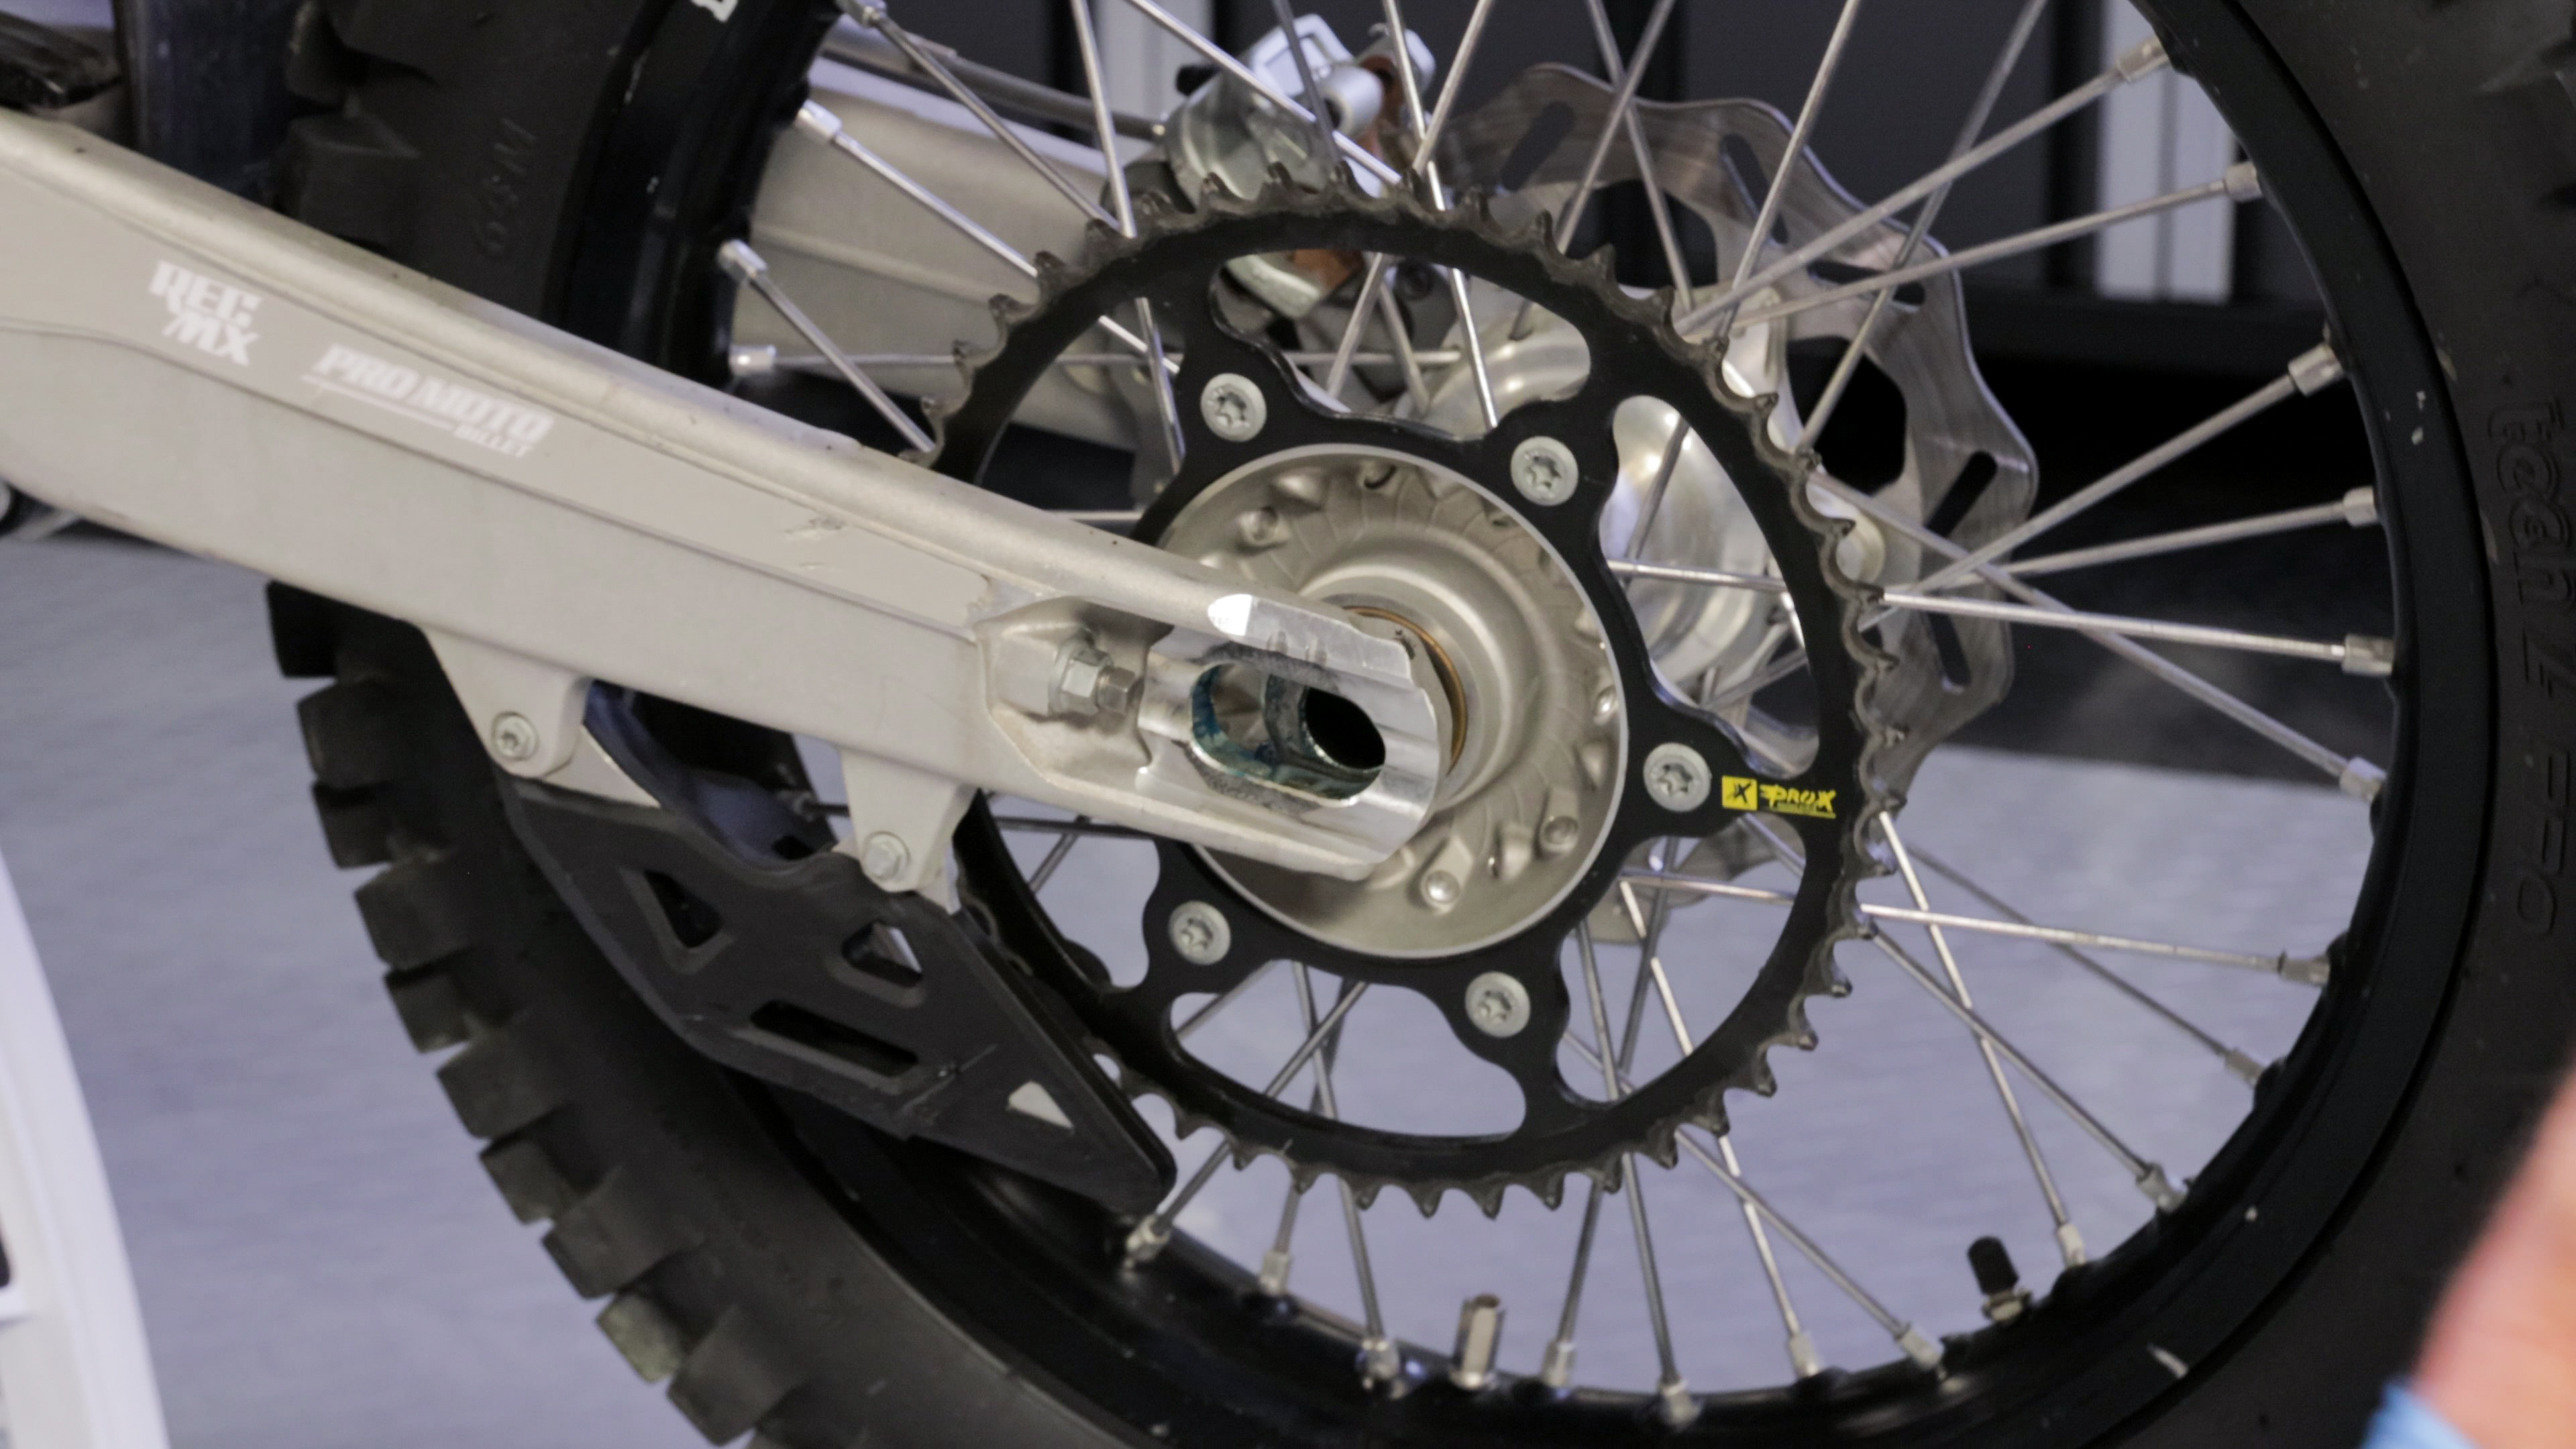
Inspecting the condition of the drive (countershaft/front) sprocket and driven (rear) sprockets is straightforward. Sprocket wear occurs on the leading edge of the drive sprocket and trailing edge of the driven sprocket. When the direction of rotation and forces are considered, this is easy to comprehend. To inspect the condition of the sprockets, compare the side of the tooth that engages with the chain (to drive the wheel forward) with the other side of the tooth. Worn sprockets will exhibit a hooked wear pattern. In severe cases, teeth will become rounded or worn entirely off.
.jpeg)
.jpg)
Replacement Parts
The sprockets will be replaced, but it's worth covering additional components that should be replaced that you may not be aware of. These components will vary by make and model, so it's not possible to provide concrete guidance. Your machine's factory service manual will provide instruction on specific components that should be replaced along with the sprockets. This information is usually found in the periodic maintenance, final drive, or rear wheel sections of the manual. Generally speaking, the following items are usually replaced at the time of sprocket replacement:
Drive Sprocket (Countershaft / Front)
- Retaining ring (if used)
- Spacer/collar o-rings
Driven Sprocket (Rear)
- Lock nuts
Your manual will also likely specify locking agent for the driven sprocket hardware.
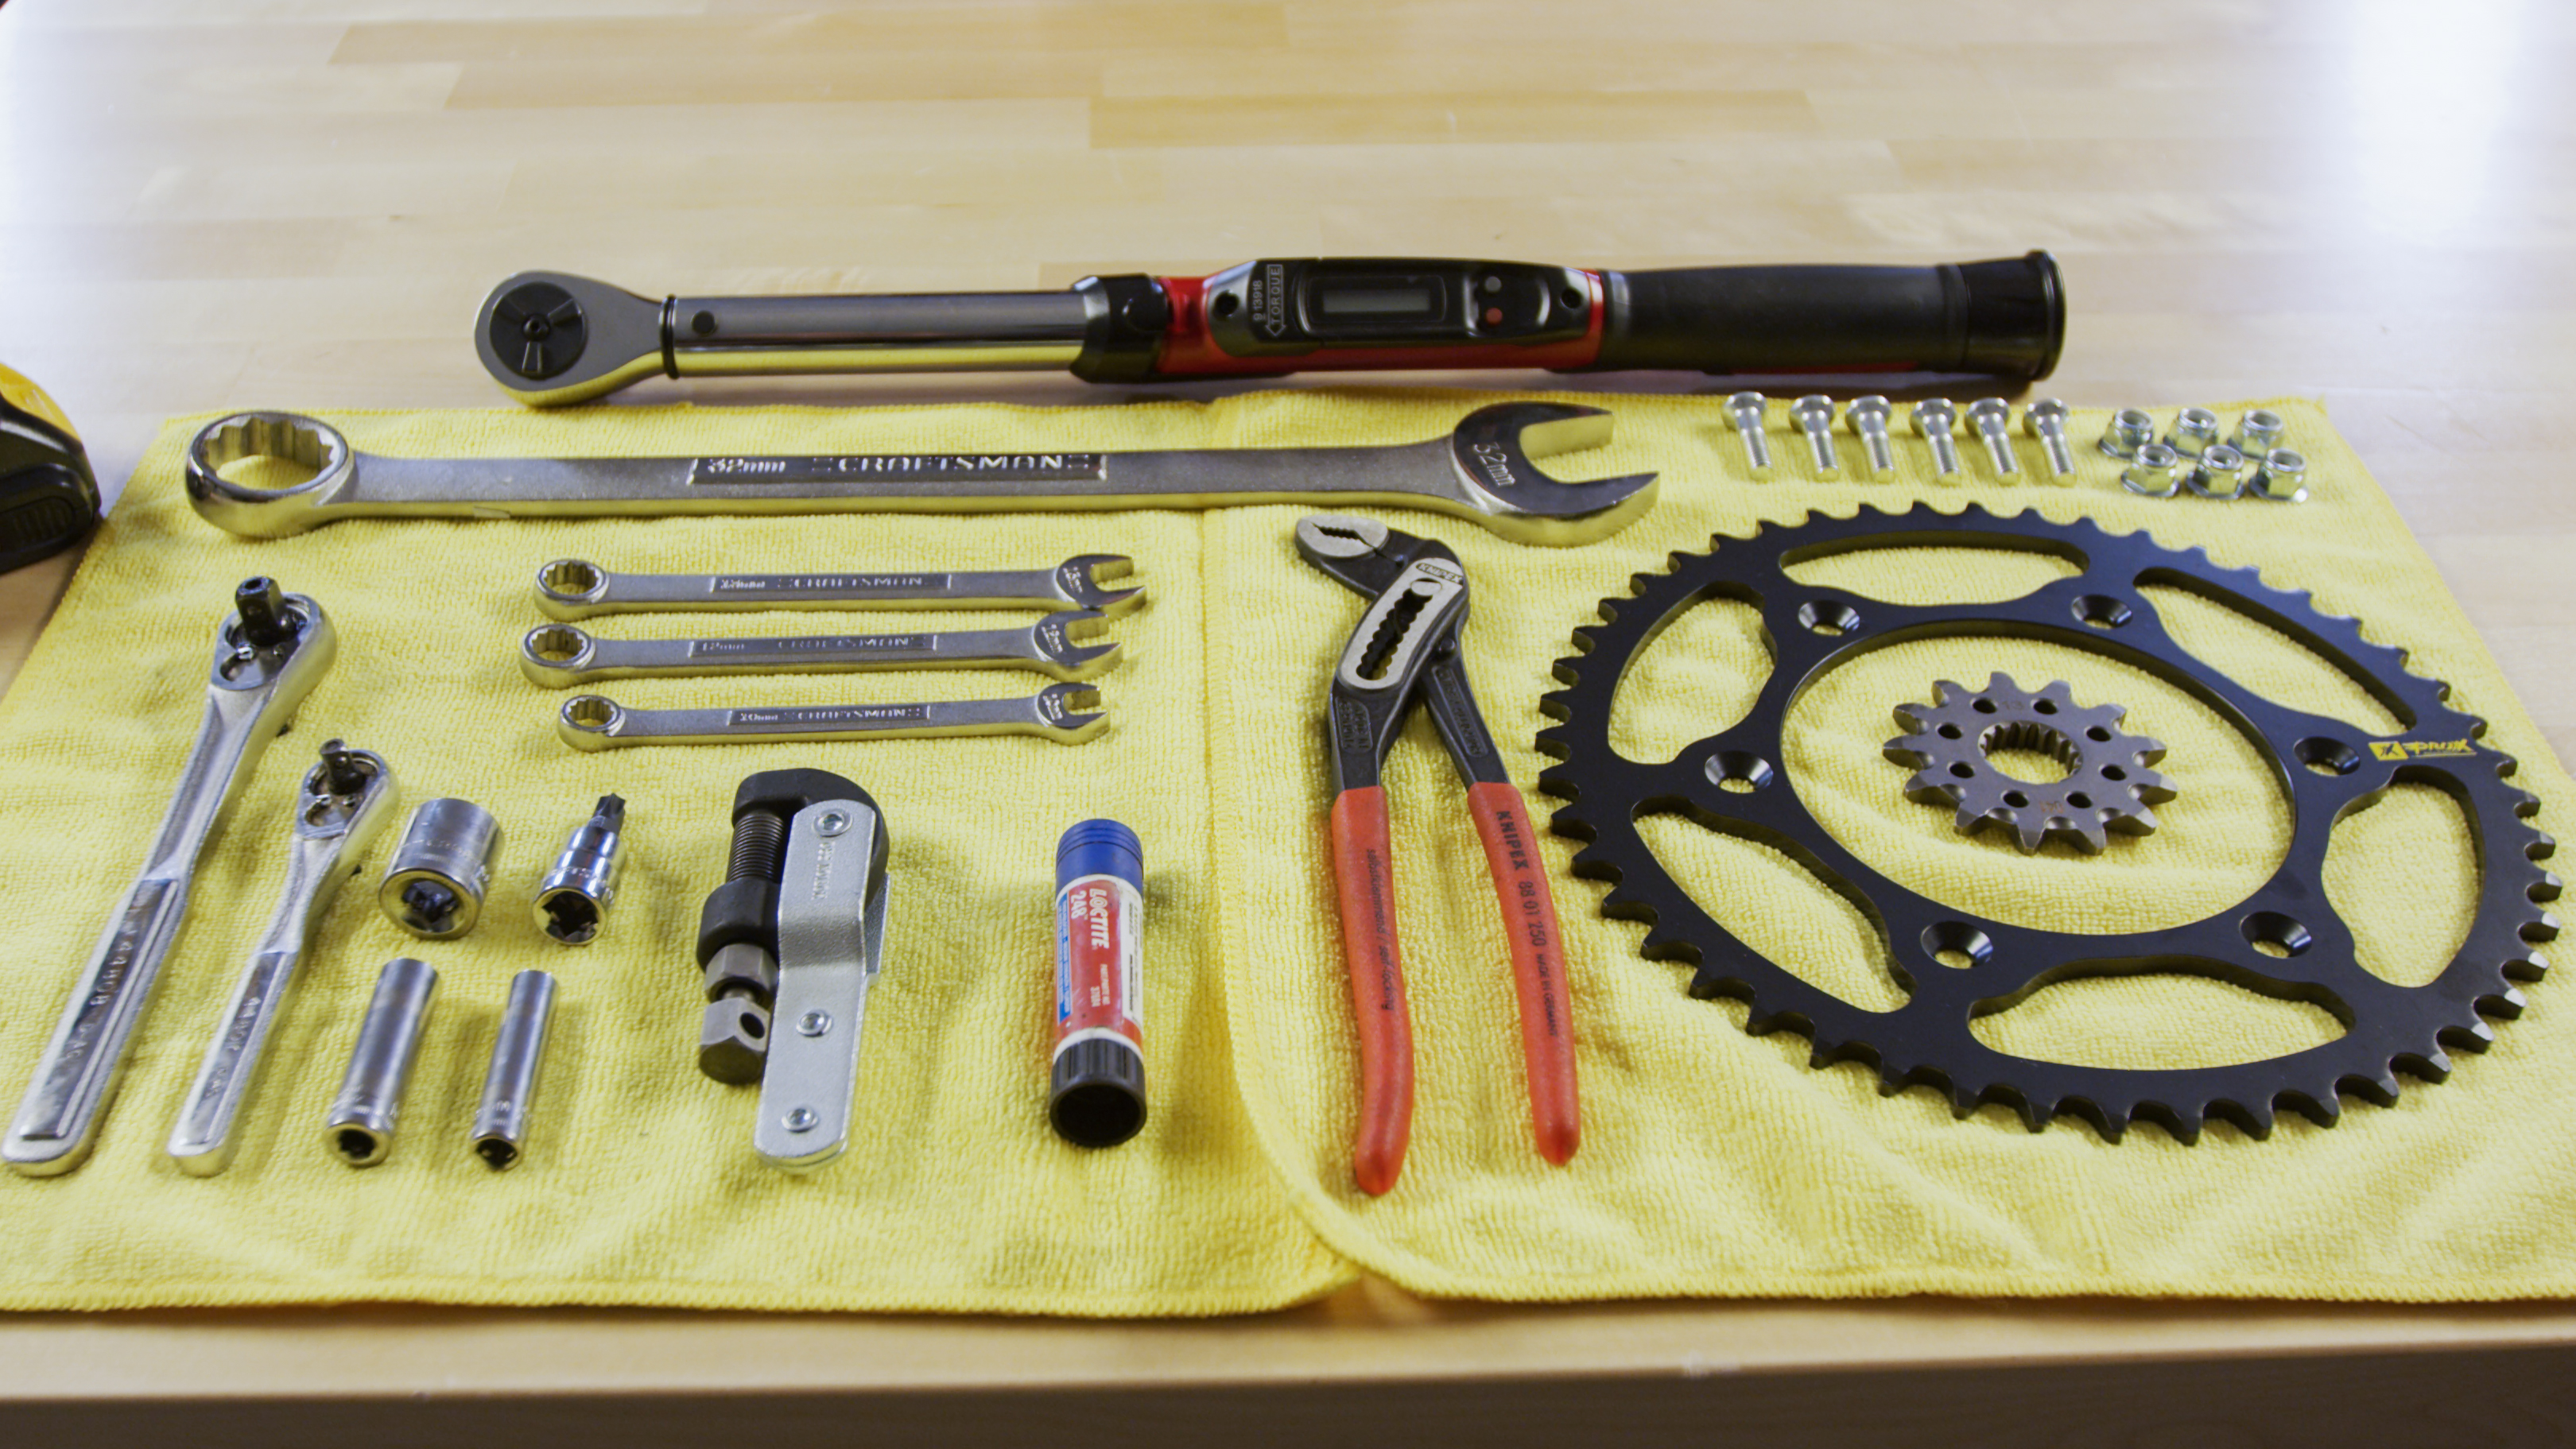
Tools
The types of tools required will be dependent on the specific machine; however, nothing out of the ordinary is necessary. A regular set of sockets, wrenches, retaining ring pliers, and larger set of sockets for any drive nuts and the rear axle are all that is usually needed.
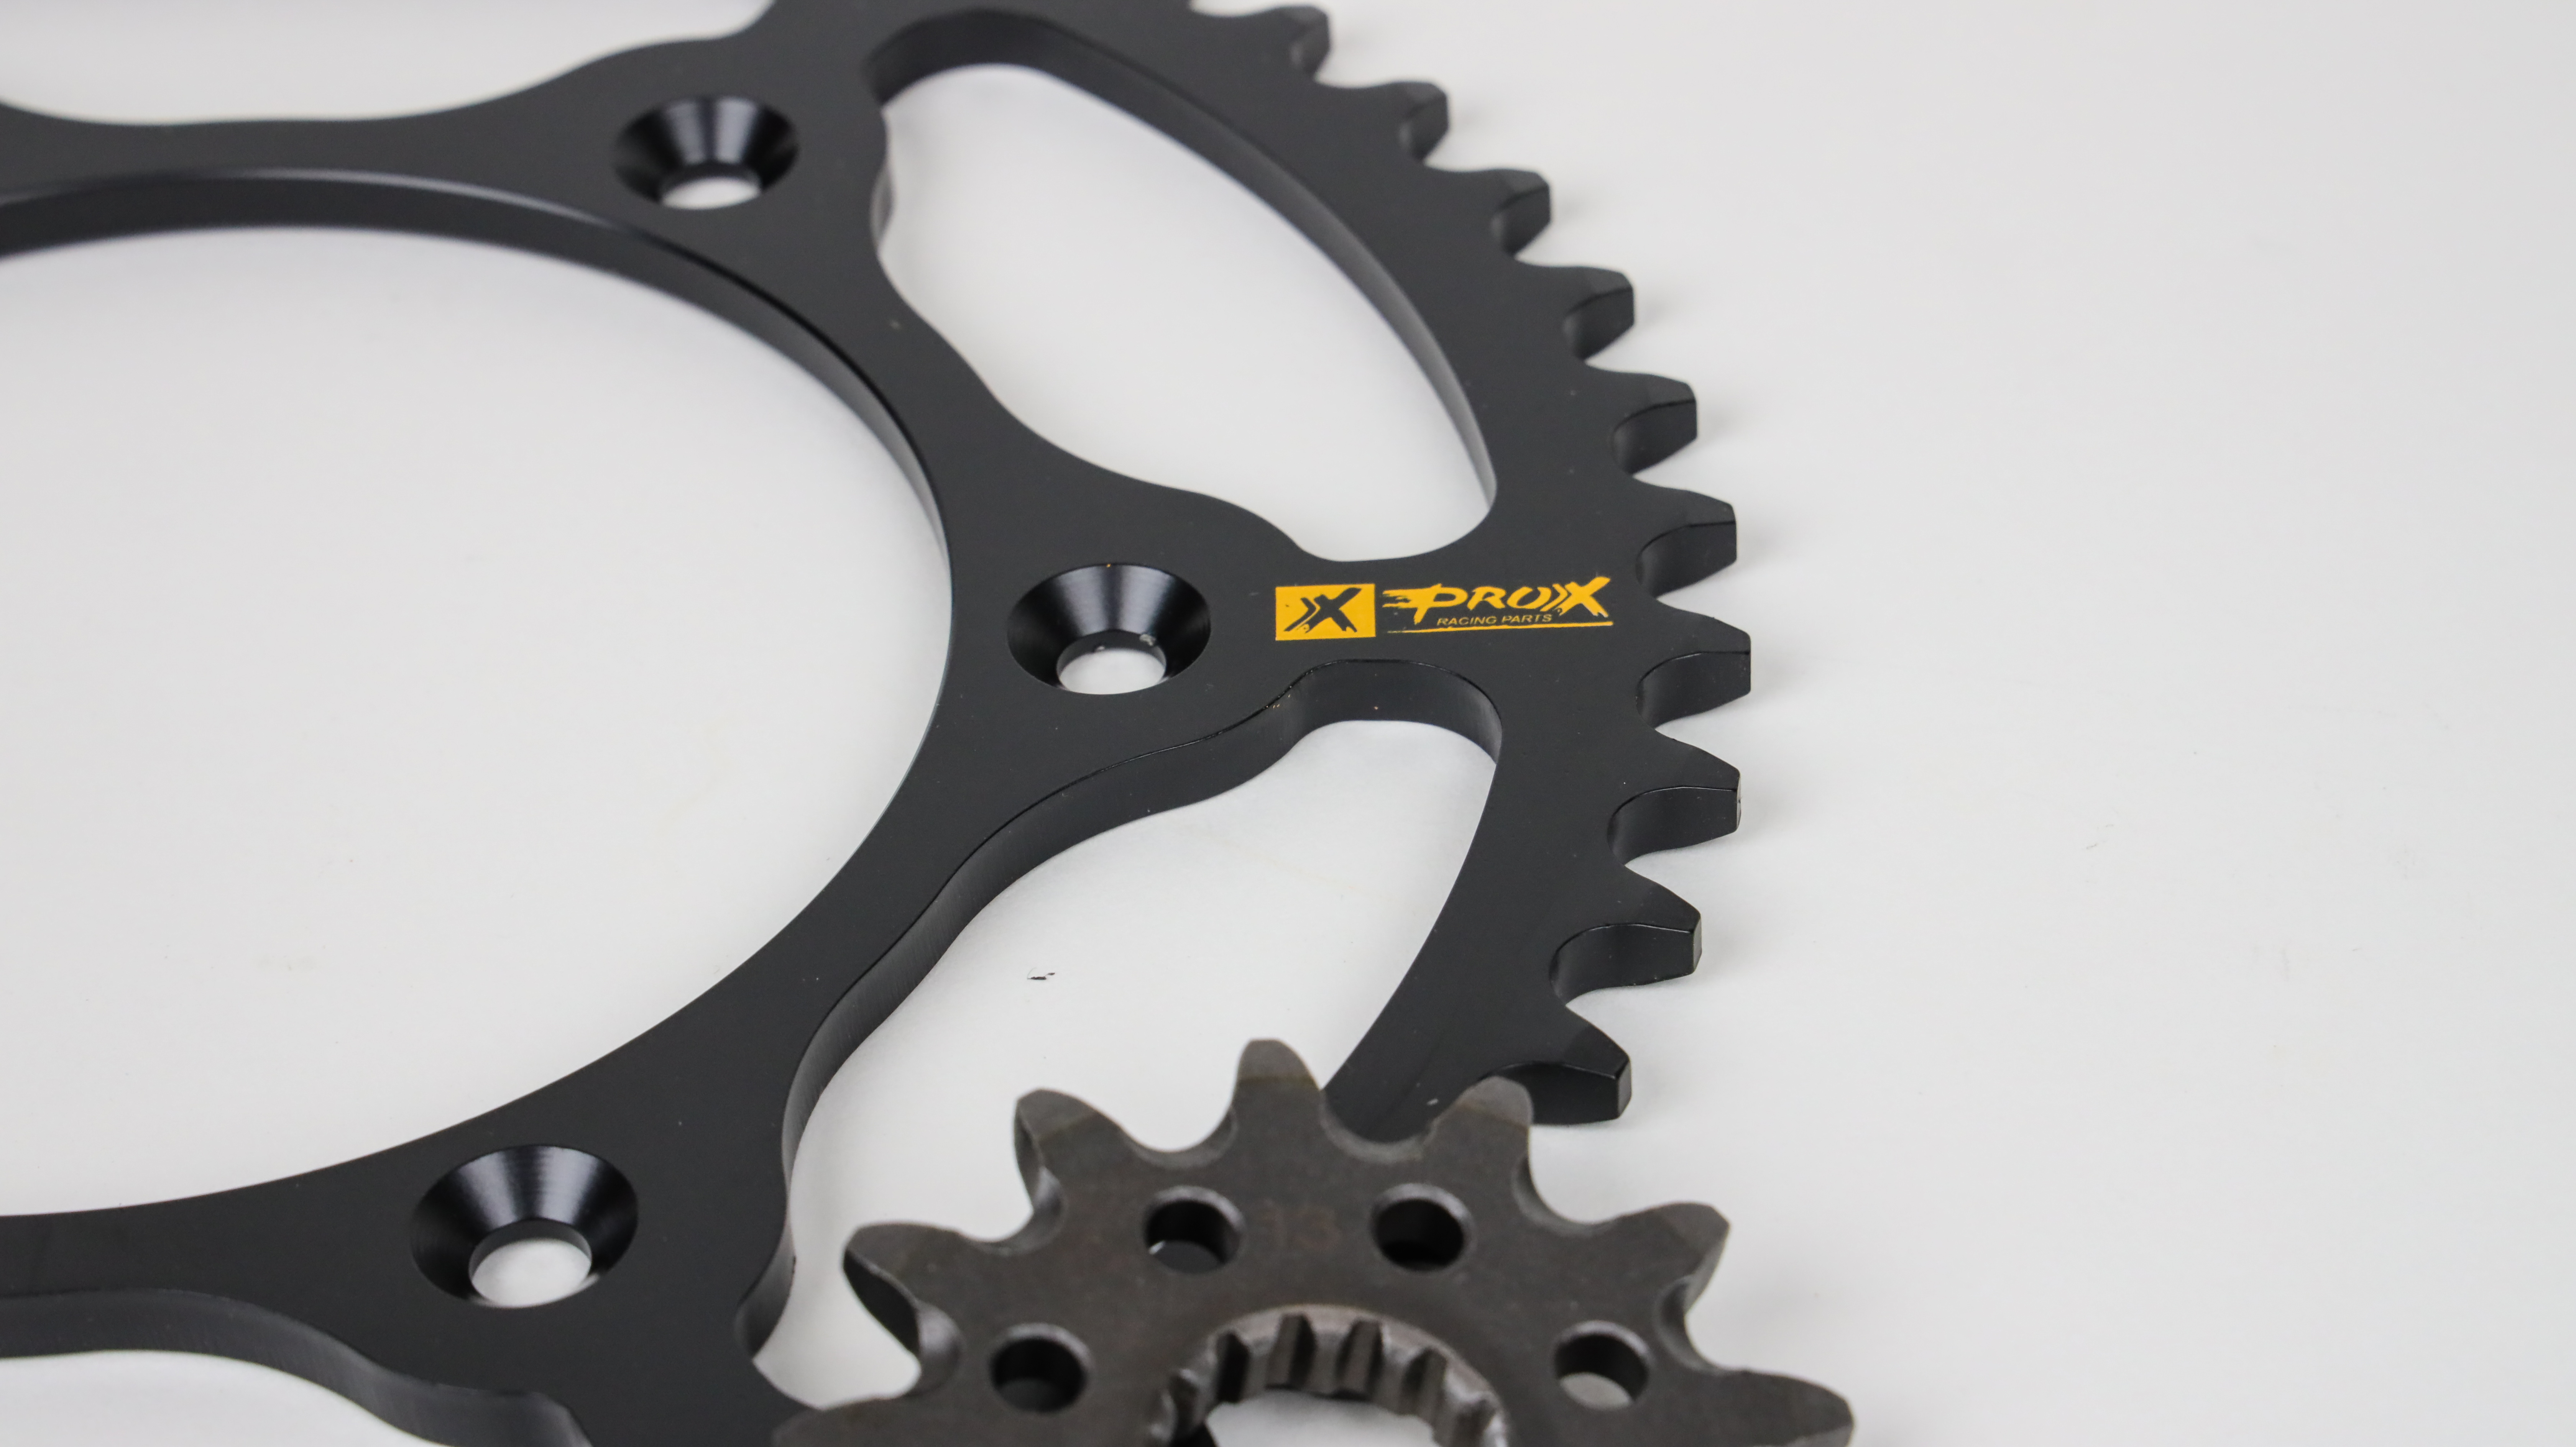
Replacement Sprockets
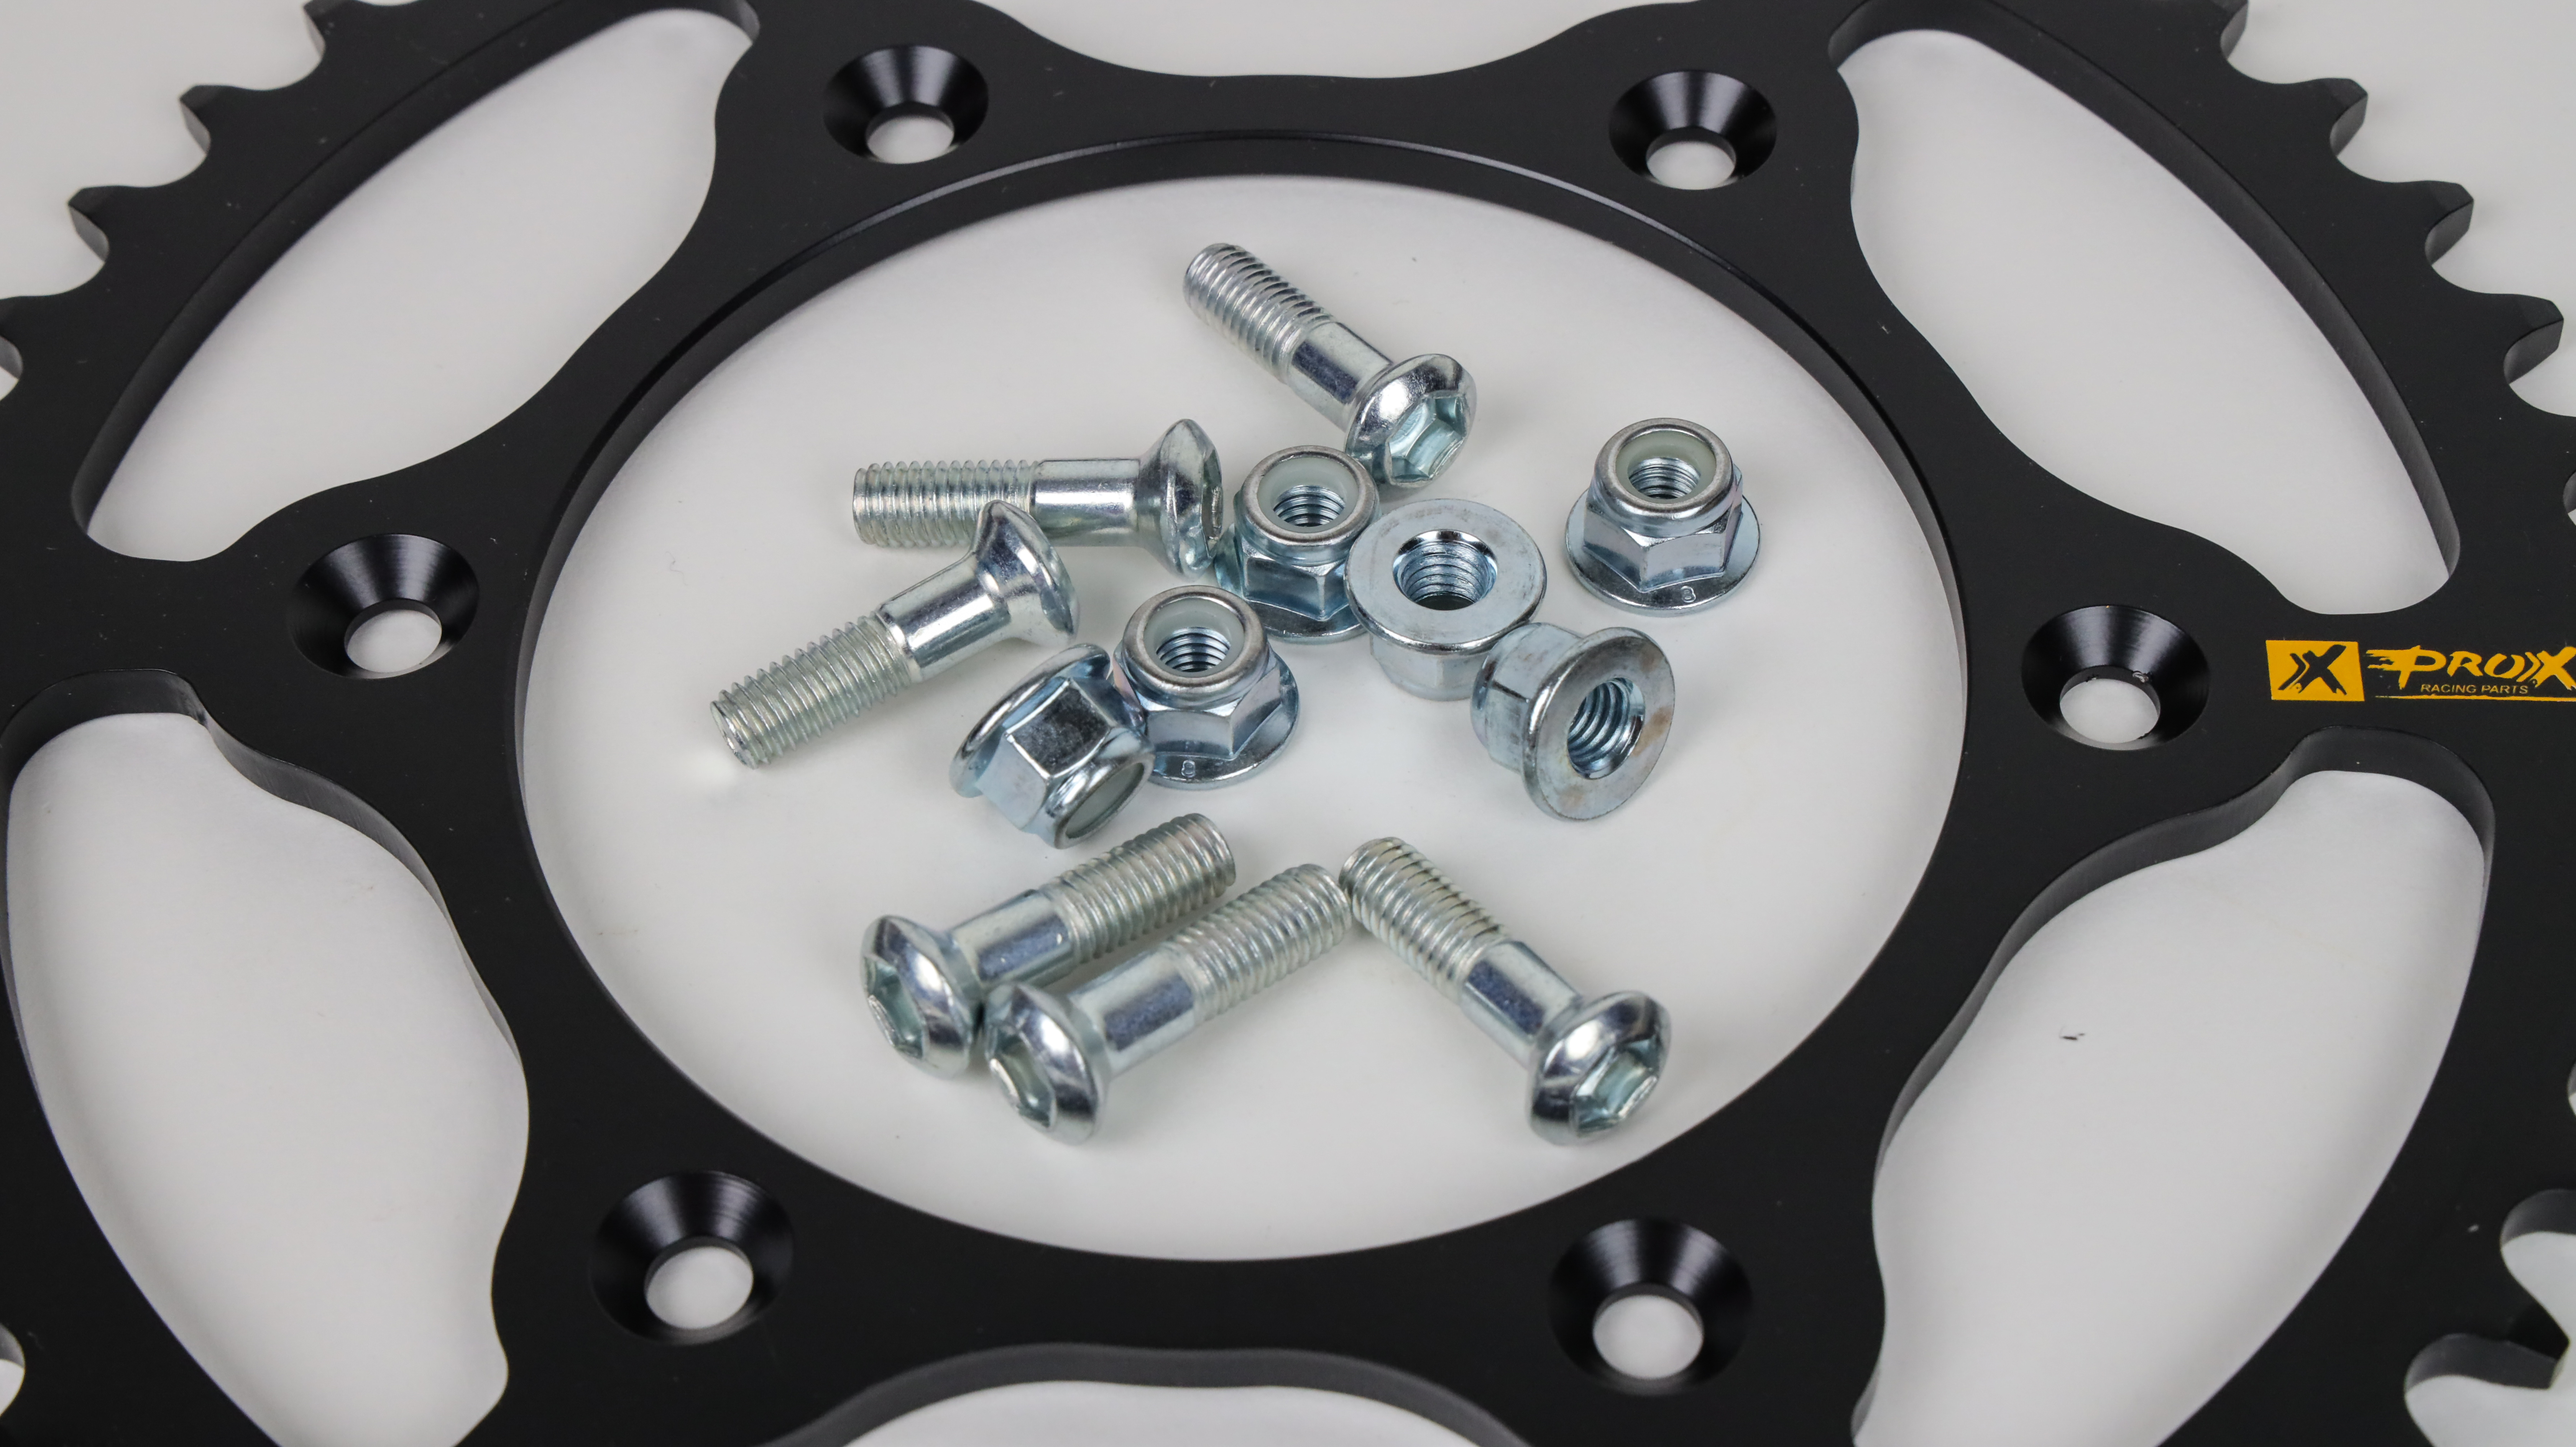
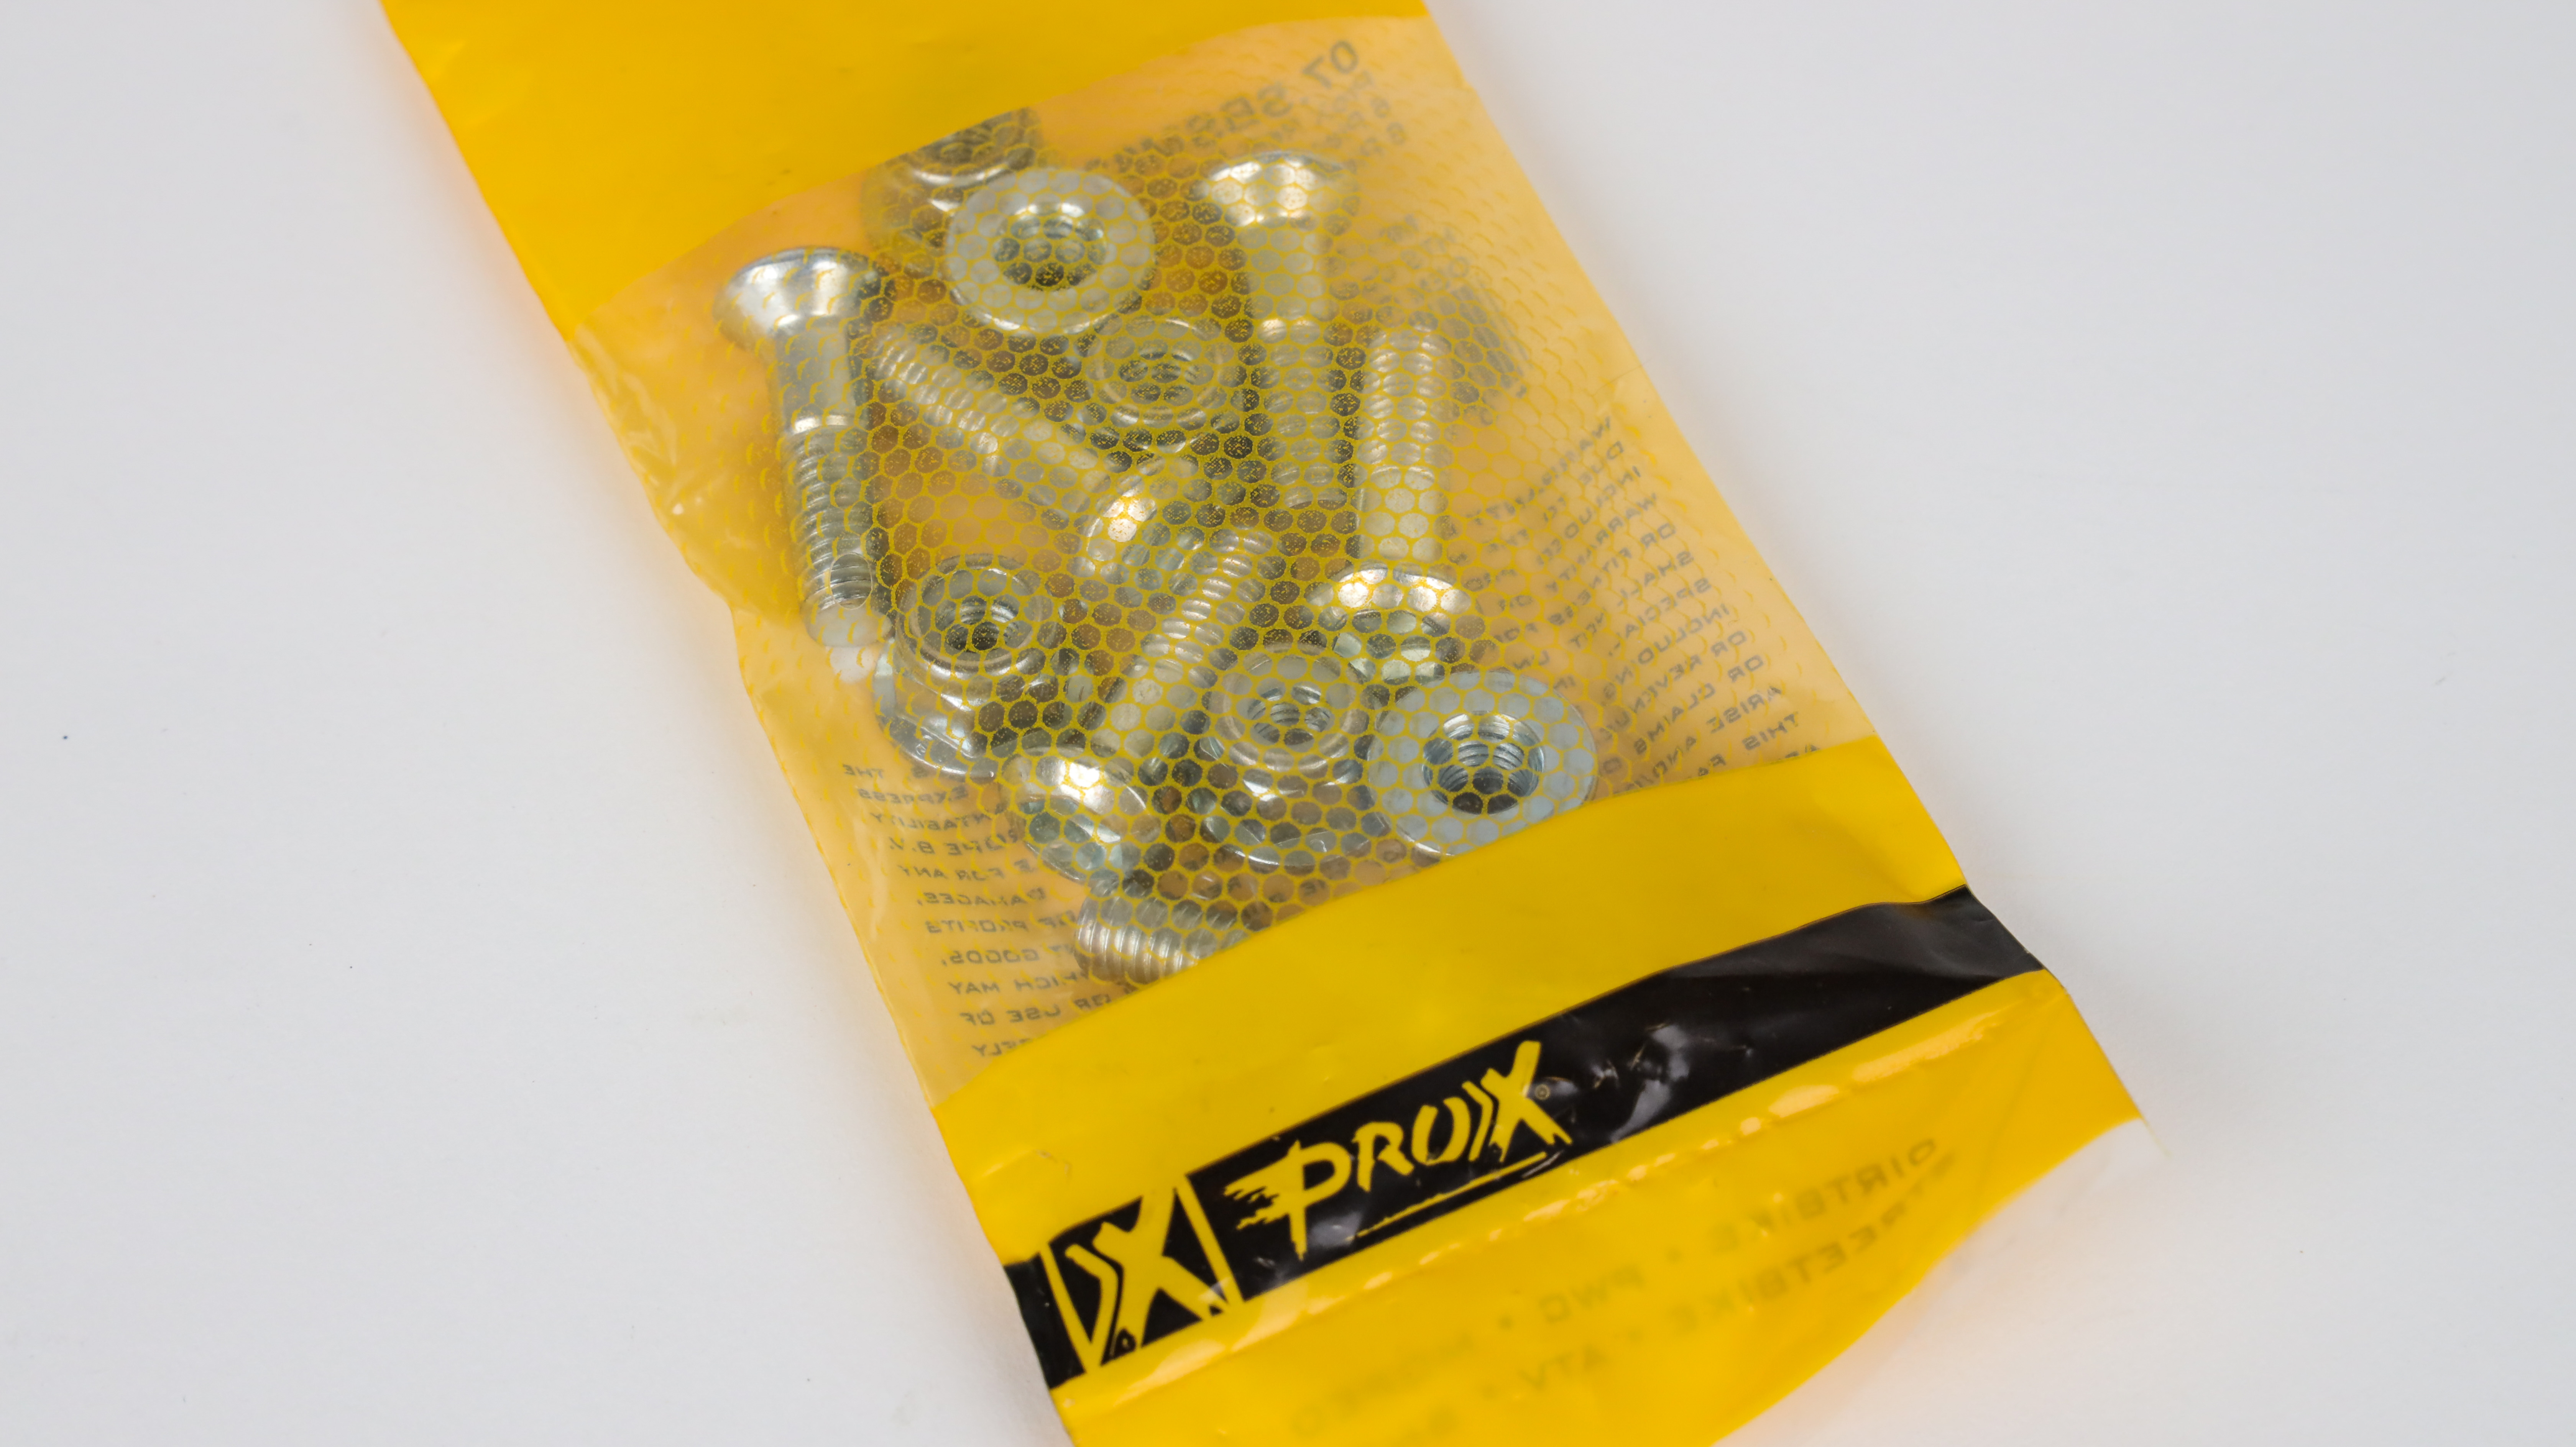
ProX offers final drive solutions that offer increased durability and affordability. Sprocket sets, drive chains, countershaft seal kits, chain rollers, and sprocket bolts are all available from ProX for most makes and models. ProX front sprockets are manufactured from corrosion resistant SCM435 Ni-Chrome molybdenum steel which offers excellent ductility (this helps to prevent fracture and breakage) and is then case hardened to ensure exceptional wear resistance. Rear sprockets are offered in both steel and aluminum variations and are also designed with durability in mind.
Click here to find ProX drive components for your machine.
Replacement Tips and Tricks
The following tips and tricks can be used to facilitate easy replacement of the sprockets. Depending on your specific machine, not all tips may be applicable.
Drive (Countershaft/Front) Sprocket Removal
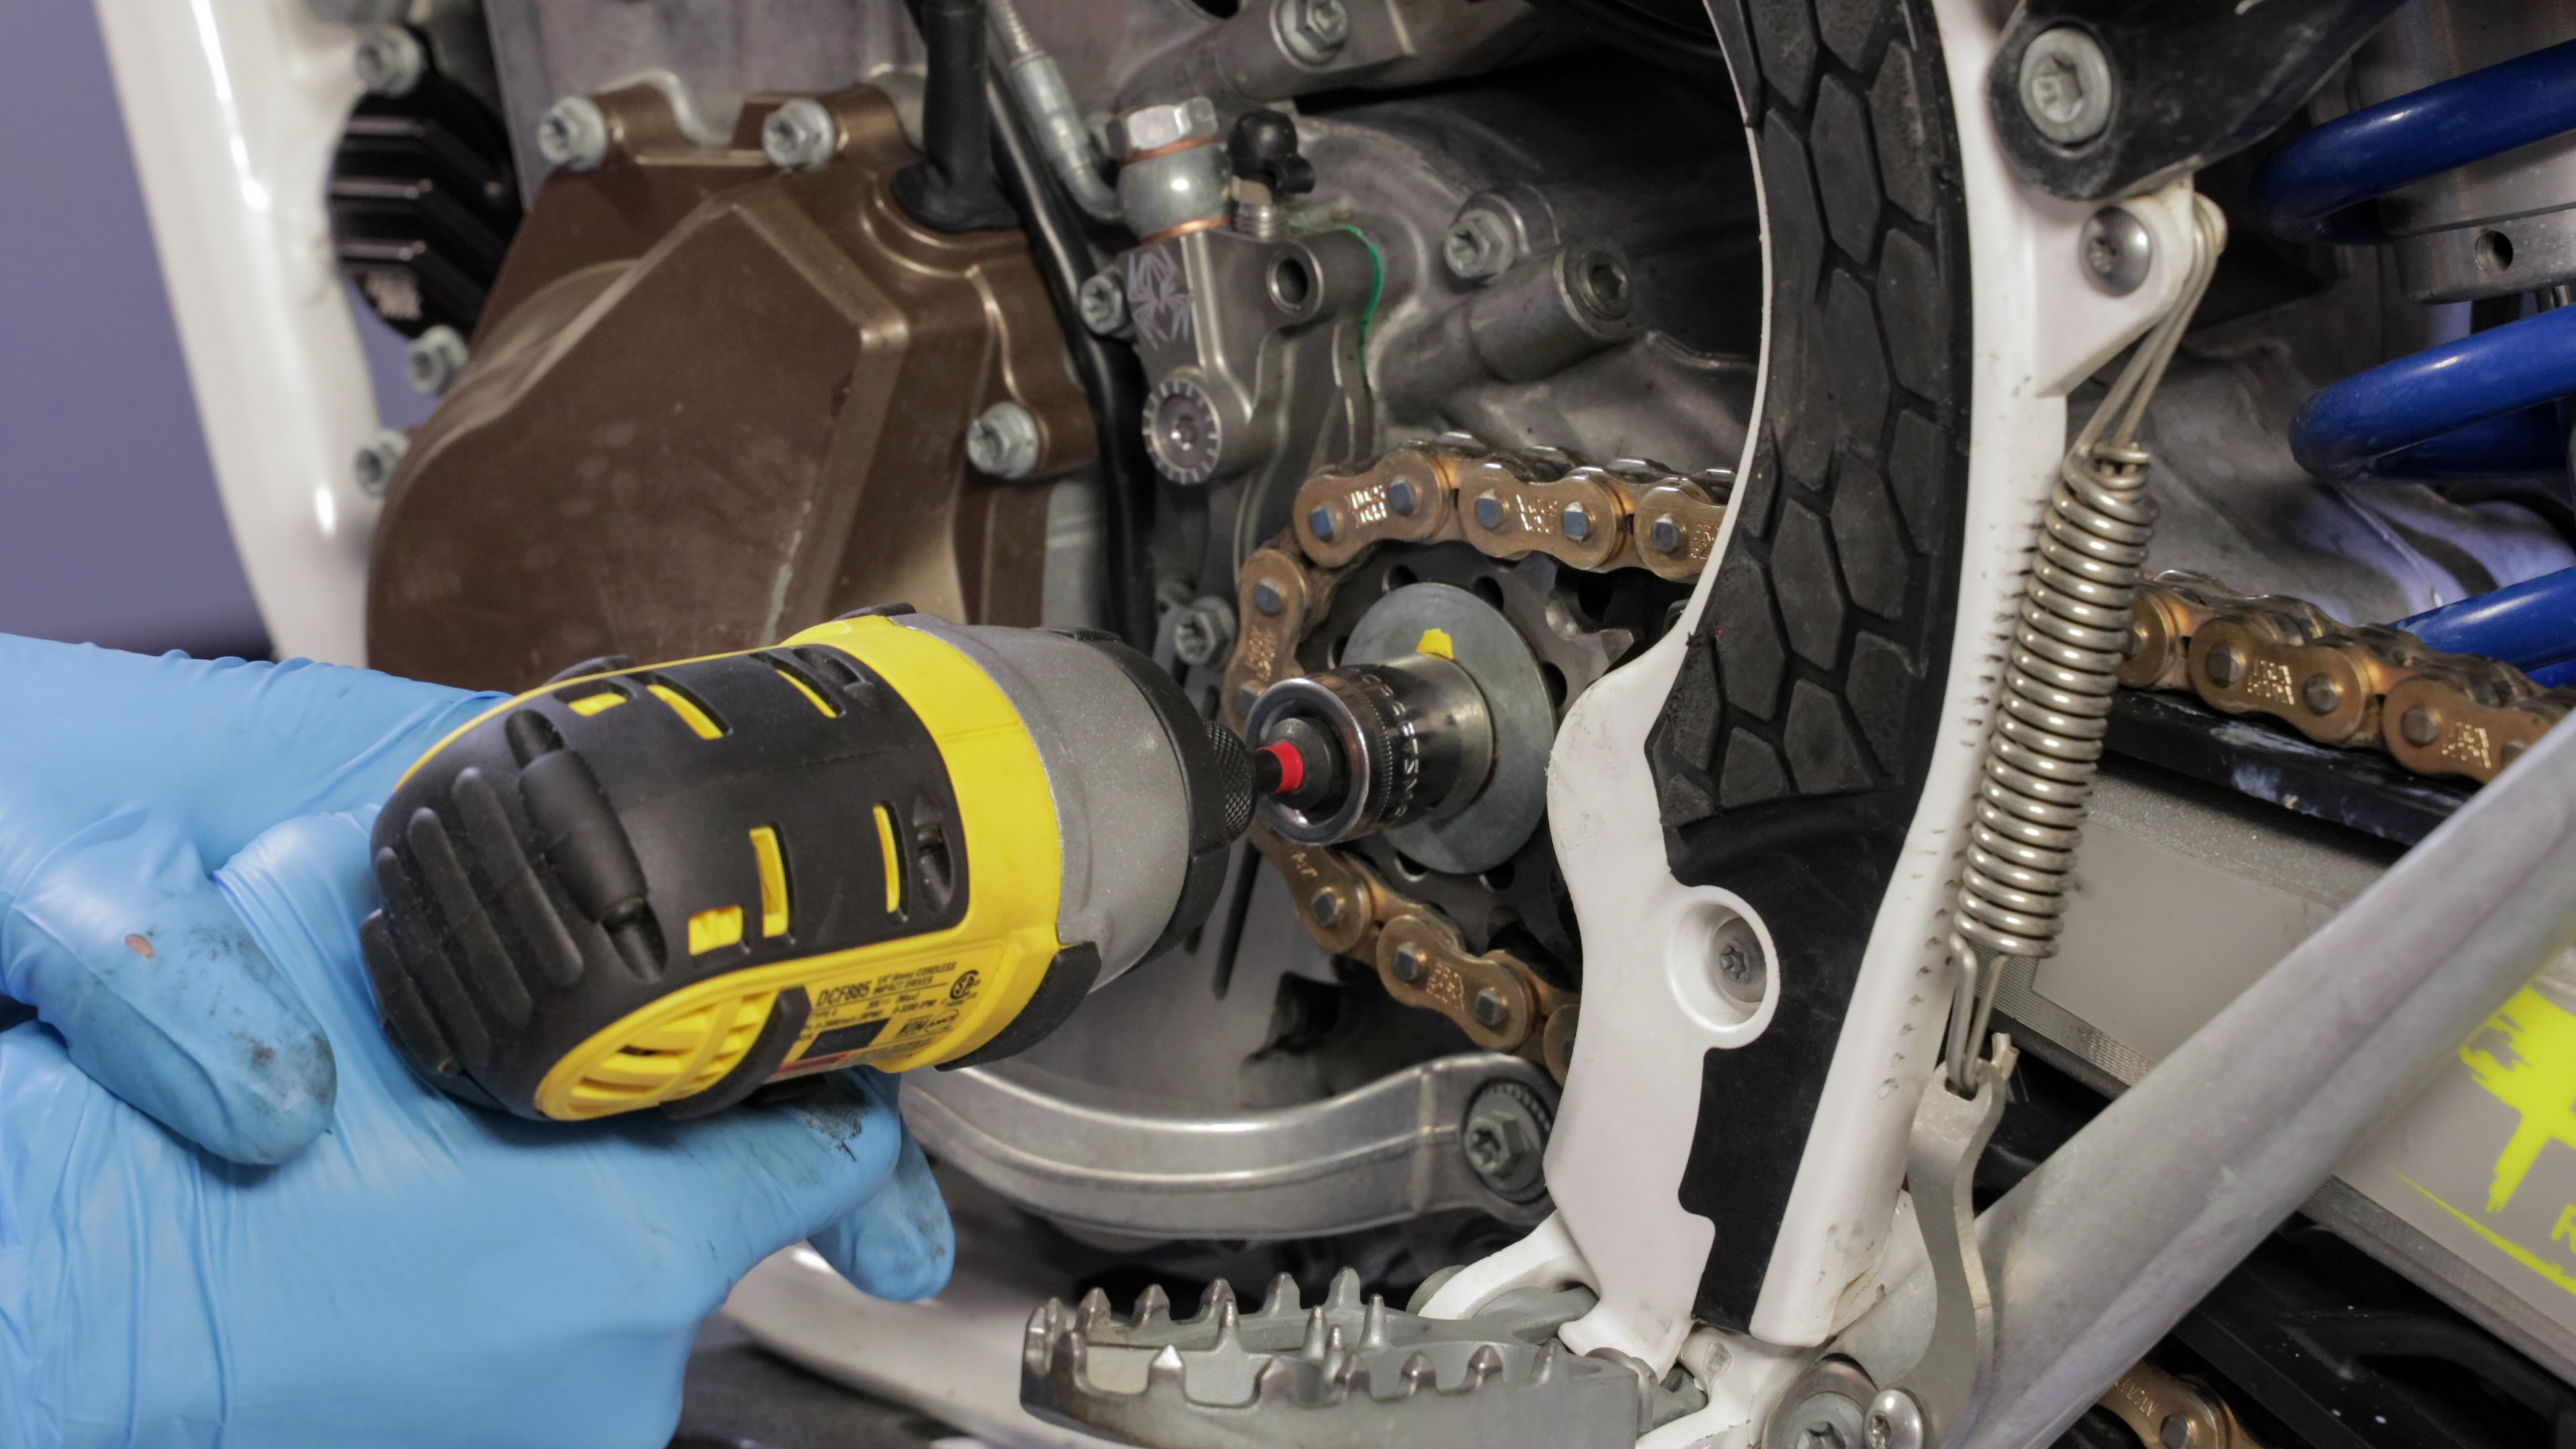
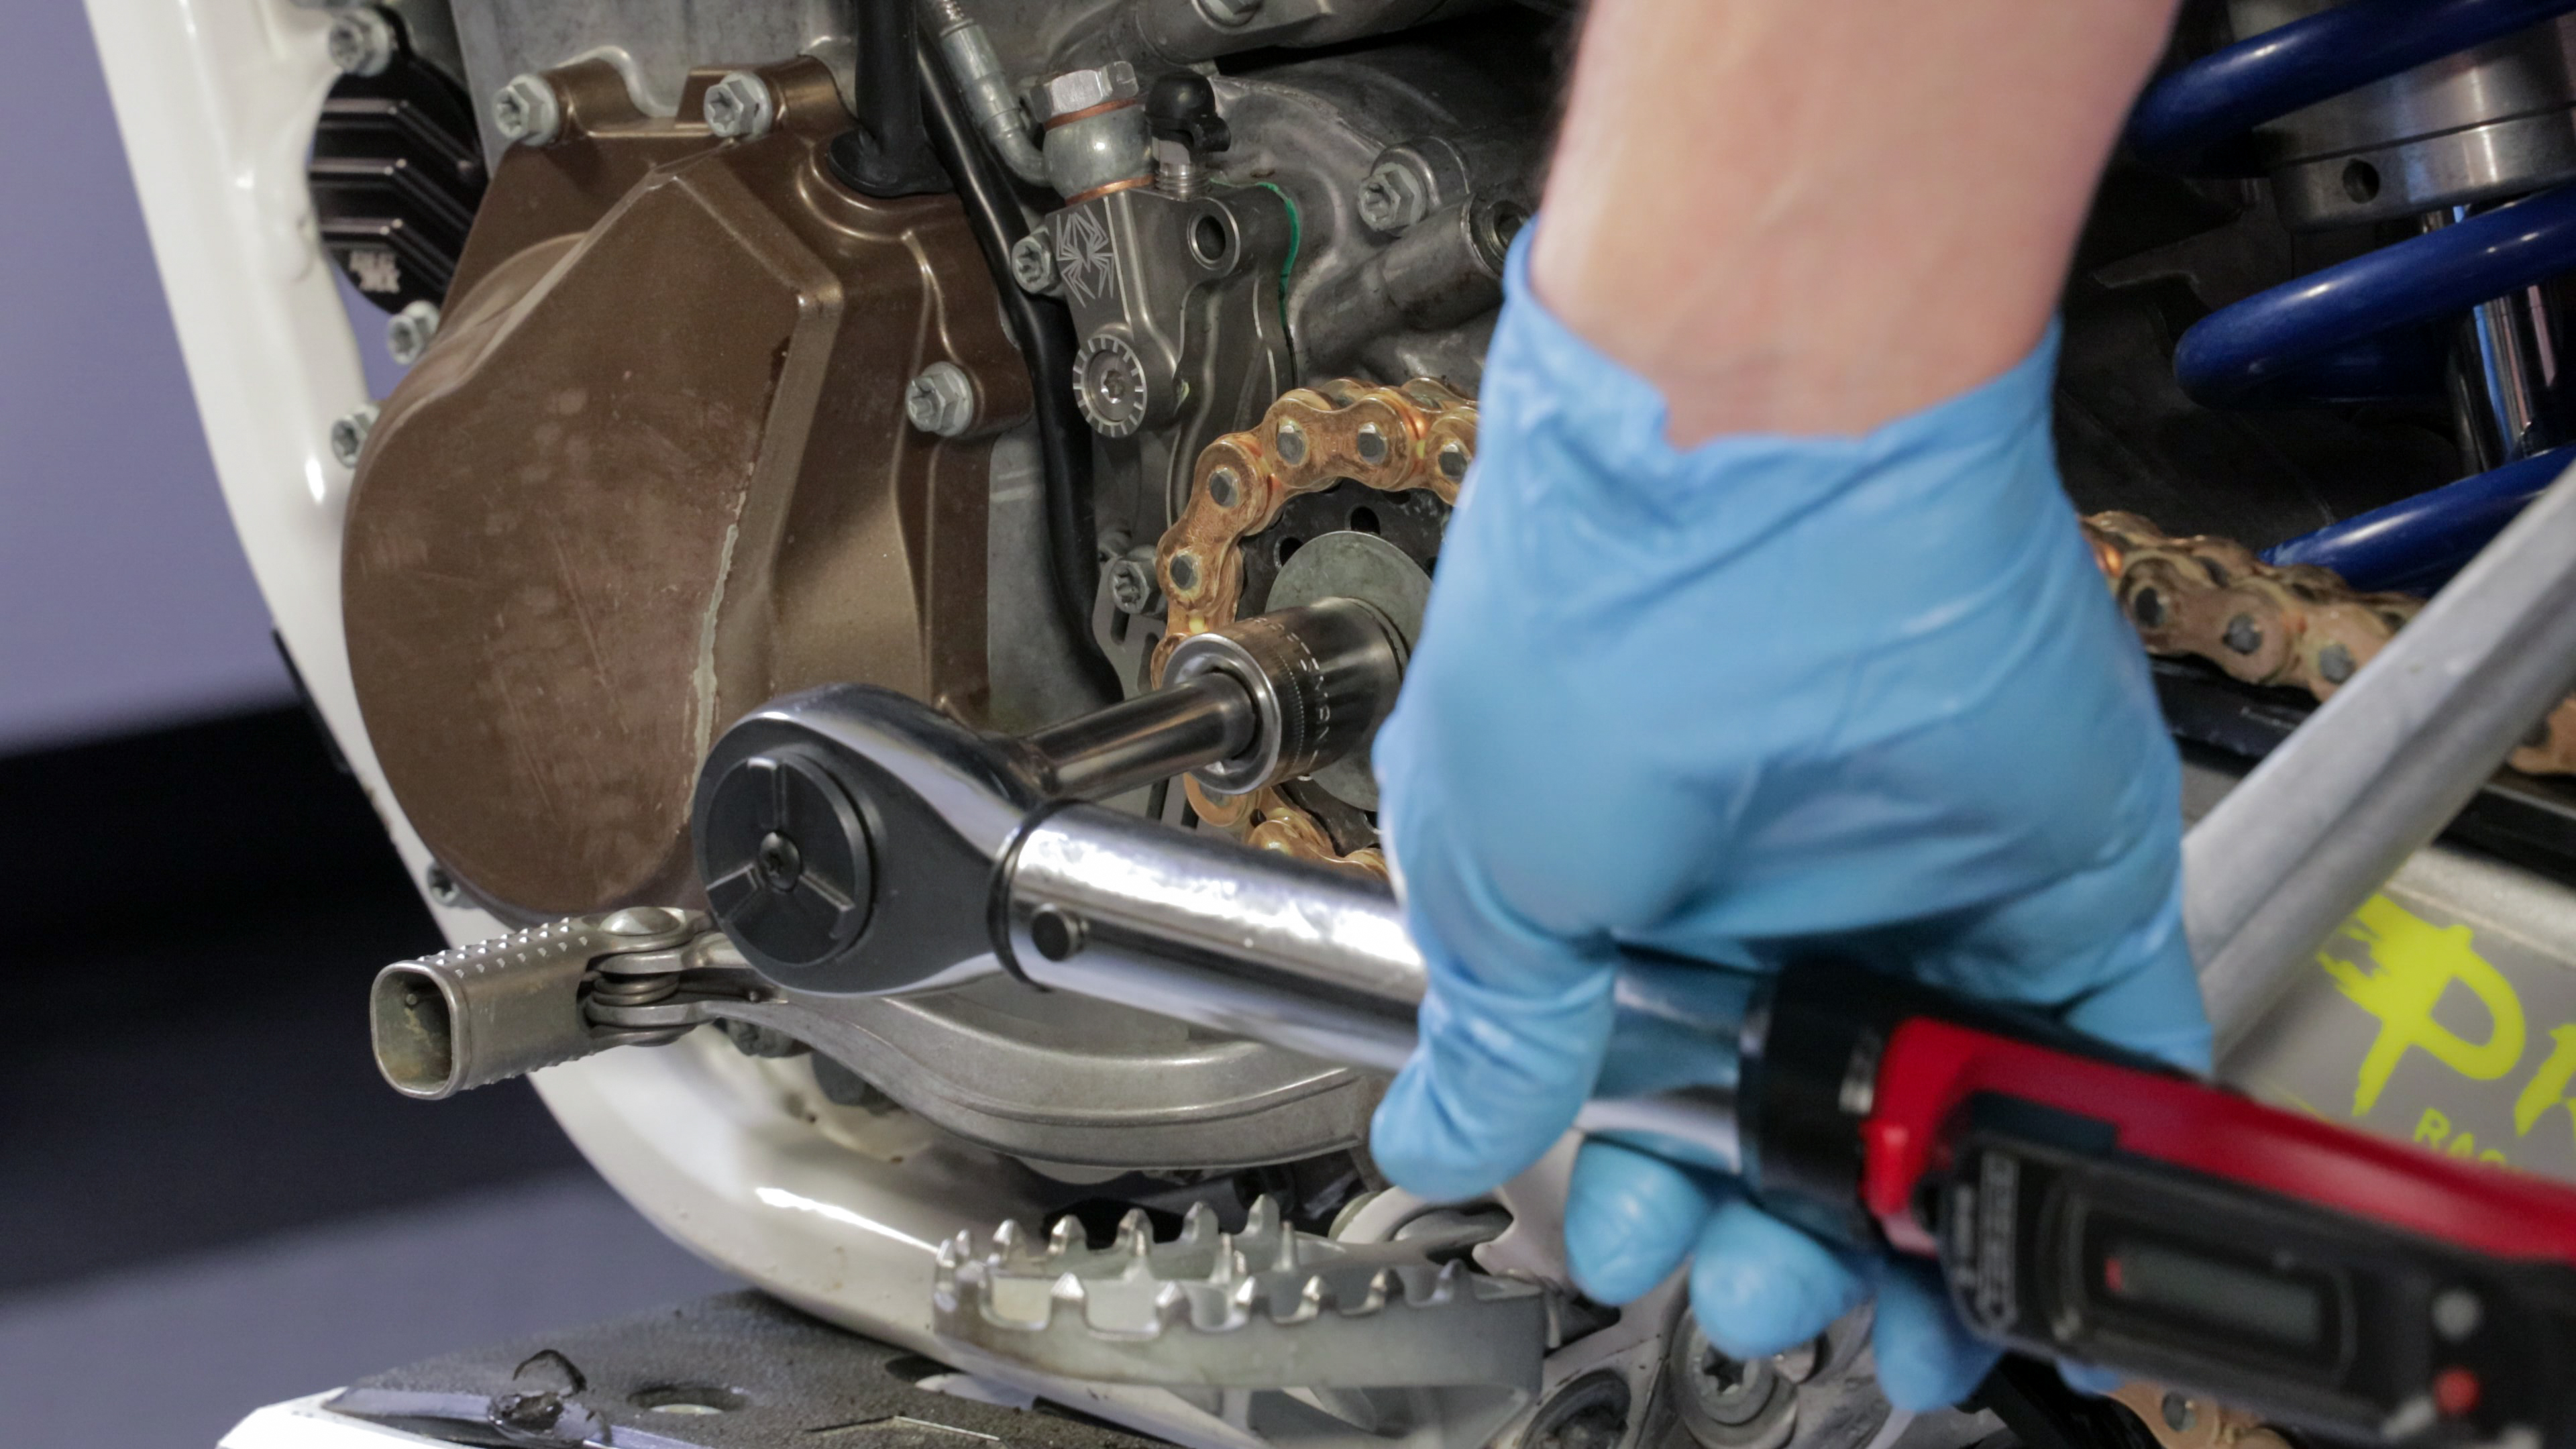
The drive sprocket will either be secured with a retaining ring or nut/bolt. When working on a machine that uses a nut or bolt to secure the sprocket to the shaft locking the shaft is imperative to loosening it. There are a handful of ways the sprocket can be secured.
- The rear brake – With the chain still attached, have a helper apply the rear brake and loosen the fastener. Occasionally, the torque required to remove the fastener will overcome the power of the rear brake, and alternative methods will have to be explored.
- Impact wrench – If you have access to an impact wrench, it can be a great tool to facilitate removal of the fastener.
- Sprocket pliers – Special sprocket holding pliers are an effective means of securing the sprocket in place if space permits.
- Pin wrench – A pin wrench can be used similarly to sprocket pliers if the sprocket has holes in it.
- Fabricated wedge – If you face space or tool constraints a soft wedge (wood or aluminum) that fits between the sprocket and engine or swingarm can be made to lock the sprocket in place.
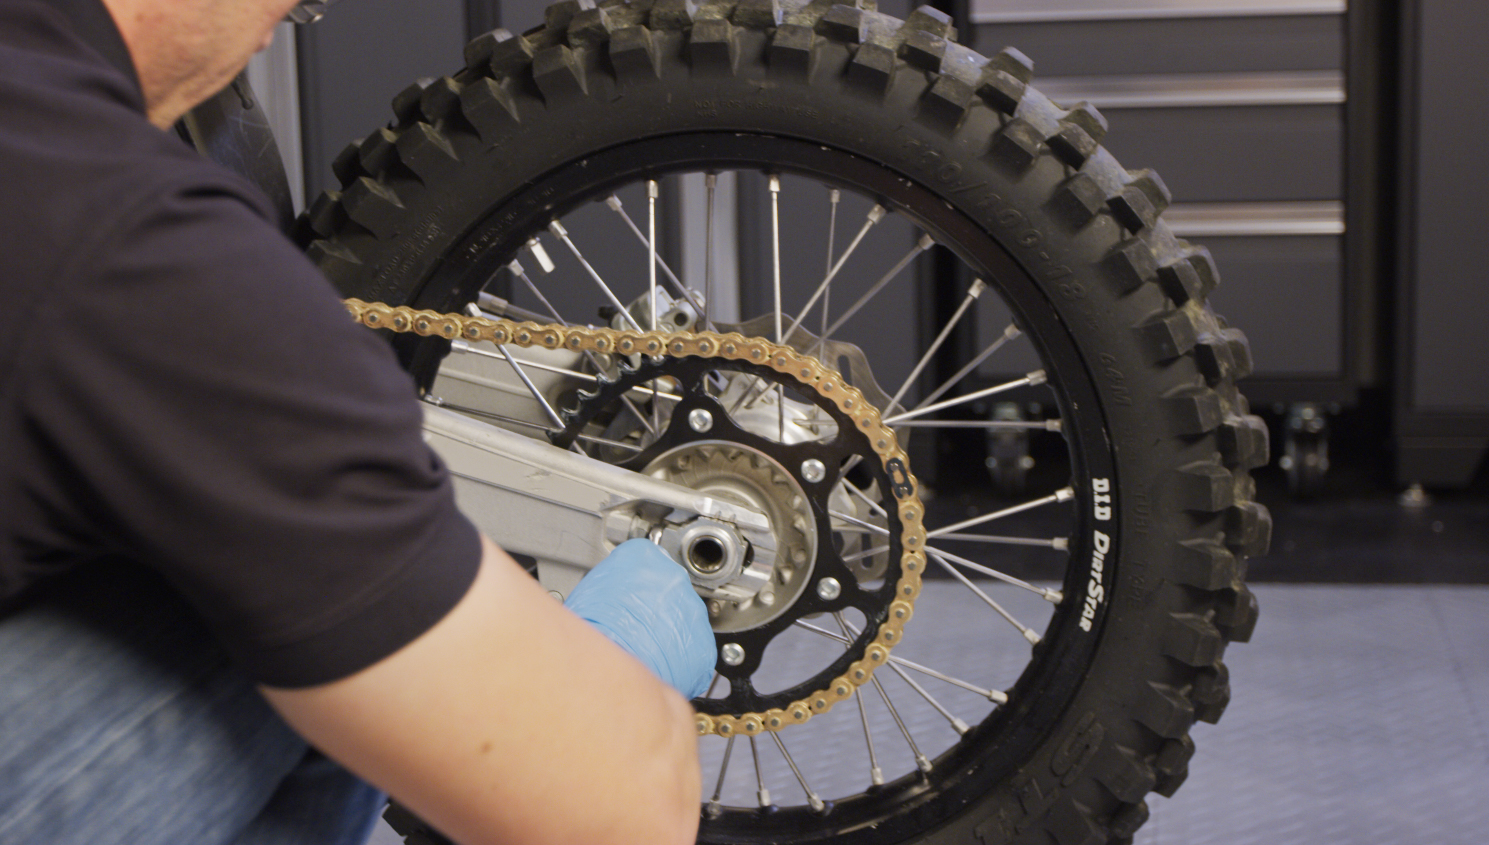
Rear Wheel Removal
- The easiest way to remove the rear wheel is to use a center stand to support the bike.
- The chain adjusters don't need to be slackened to remove the wheel. However, if you are installing a new chain, they should be set in a mid-position so that there is plenty of adjustment room available for gearing changes and chain tensioning.
- Ensure the area underneath the wheel is clean. Spacers love to fall to the ground and pick up dirt.
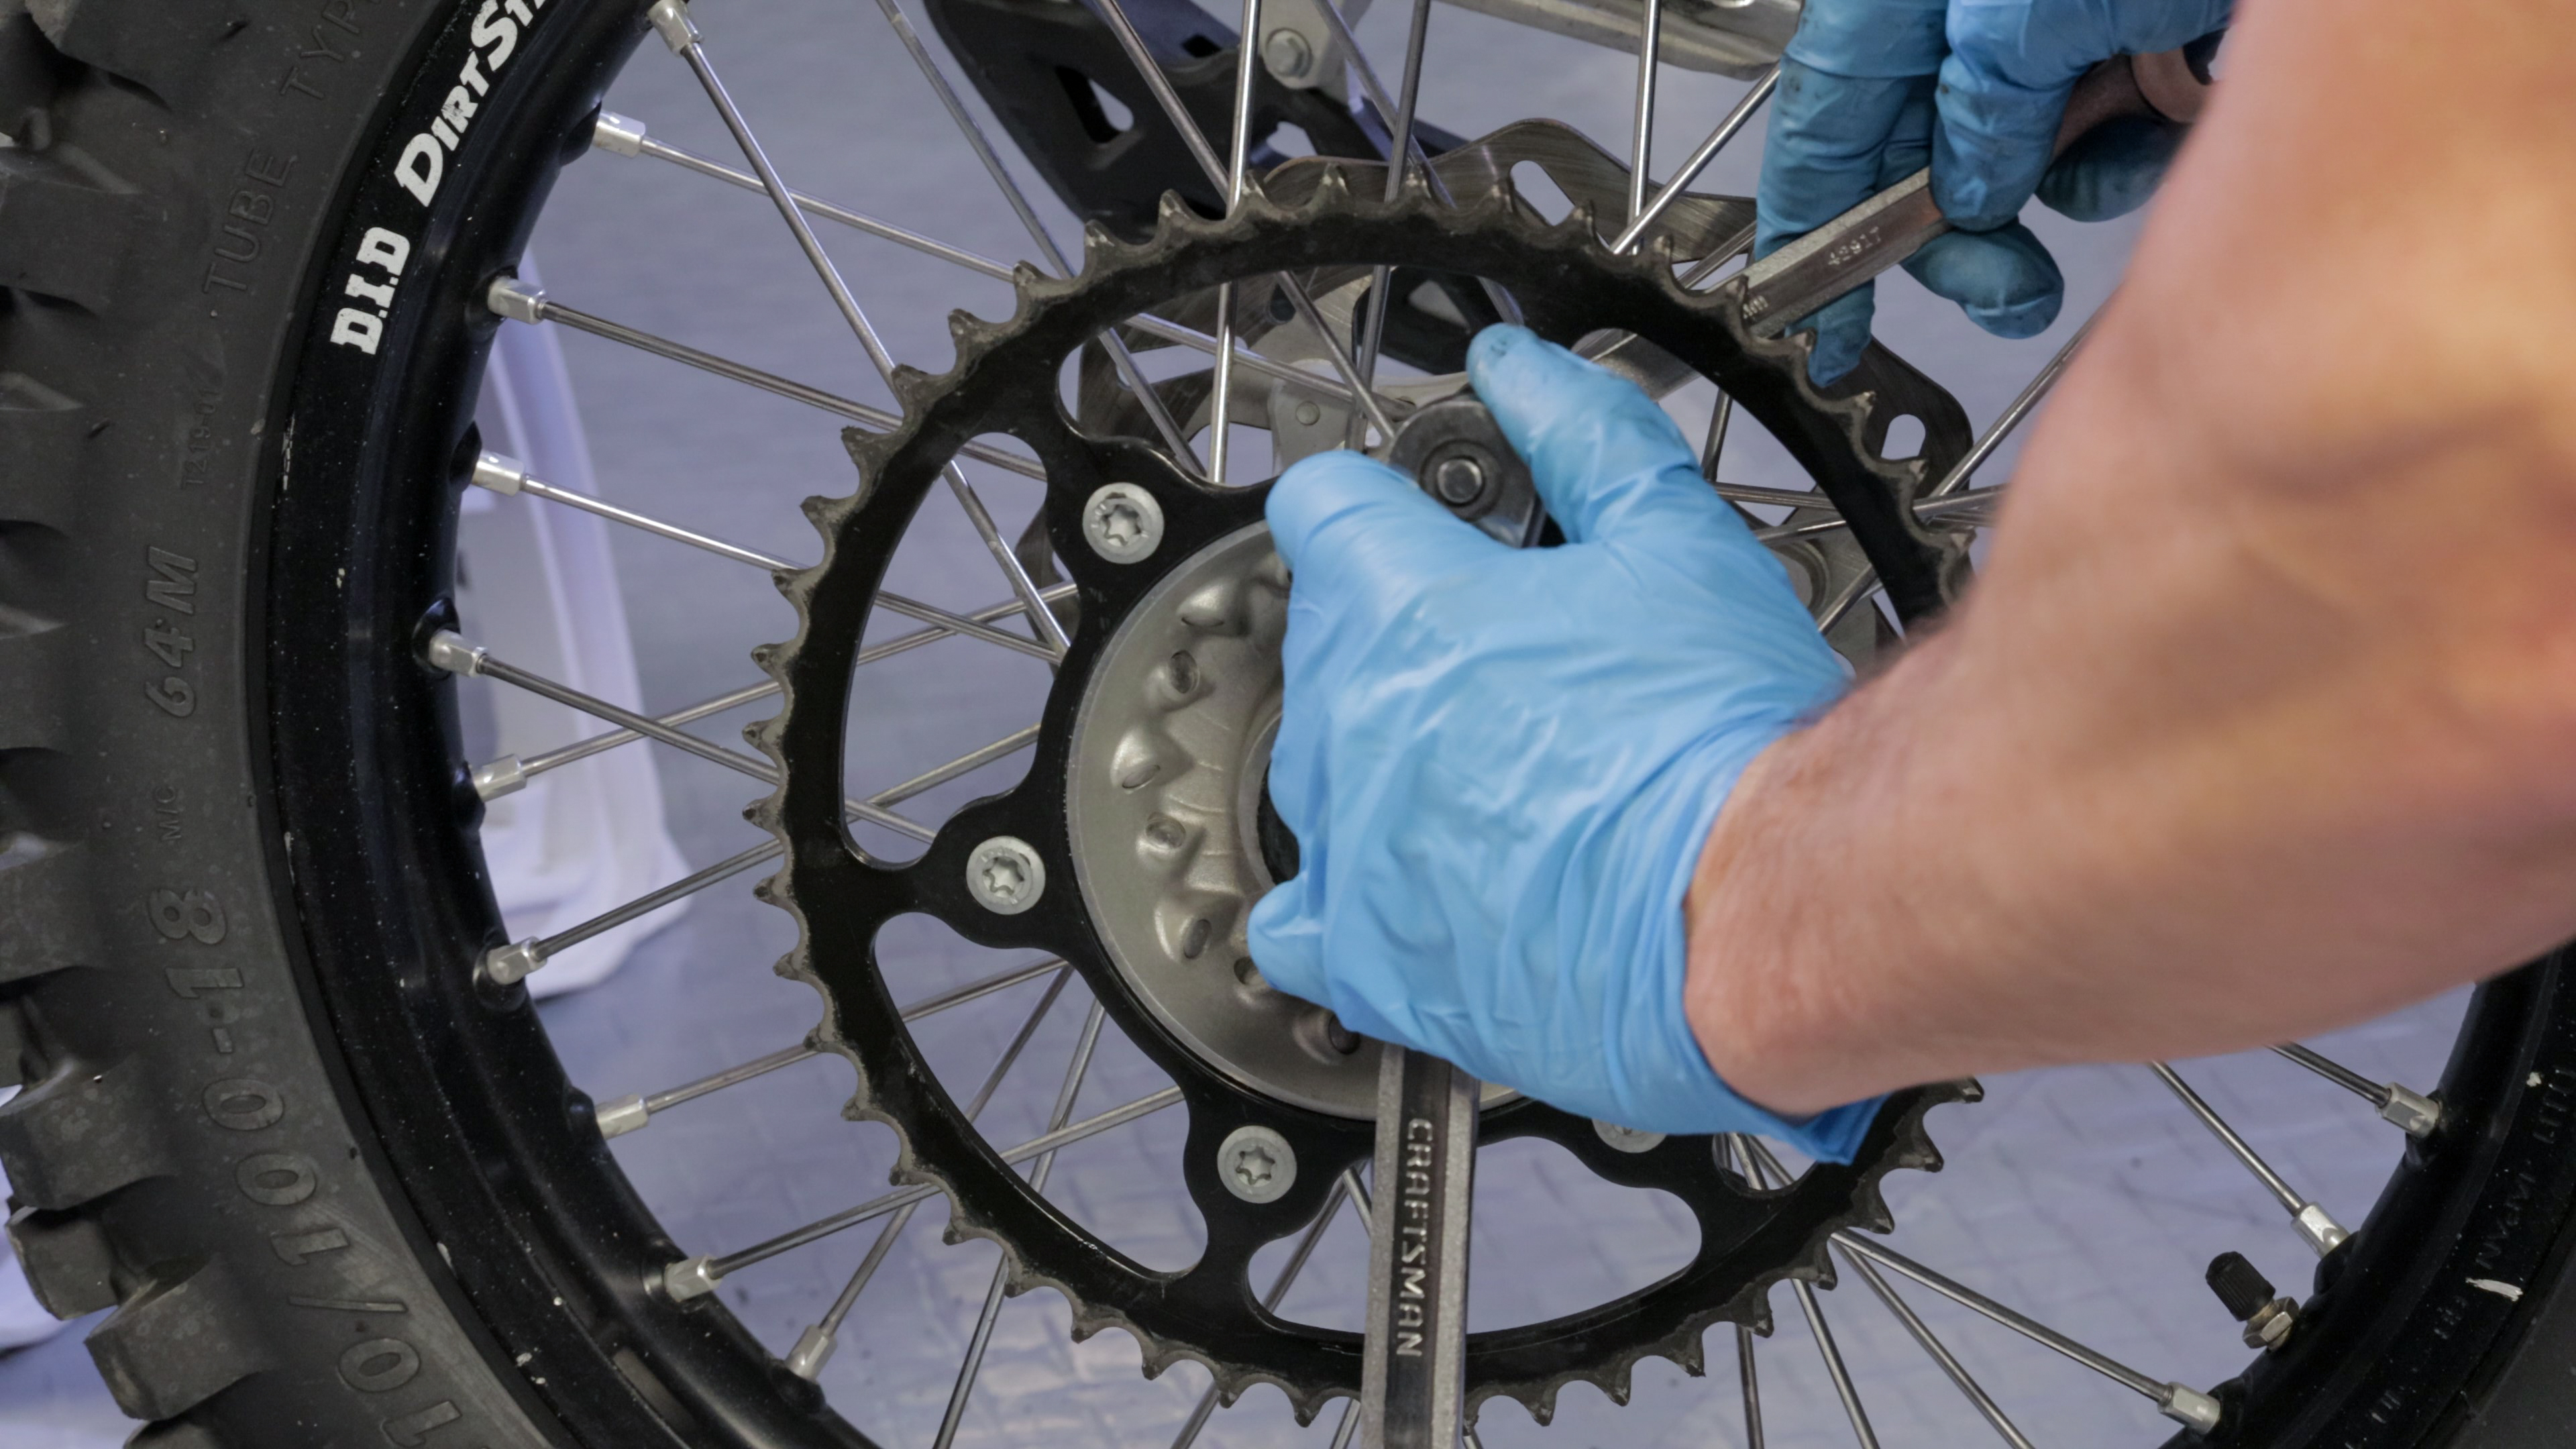
Driven (Rear) Sprocket Removal
- Support the rear wheel so that the brake disk does not contact the ground. The brake disk can easily distort if the wheel is accidentally loaded when working on the sprocket.
- Relieve fastener tension in a criss-cross pattern.
- Inspect bolts for rounding of the internal or external hex geometry and replace any that are damaged.
Guides and Rollers
- With the chain and sprockets out of the way, check the condition of chain guides and rollers to ensure they are fit for continued use.
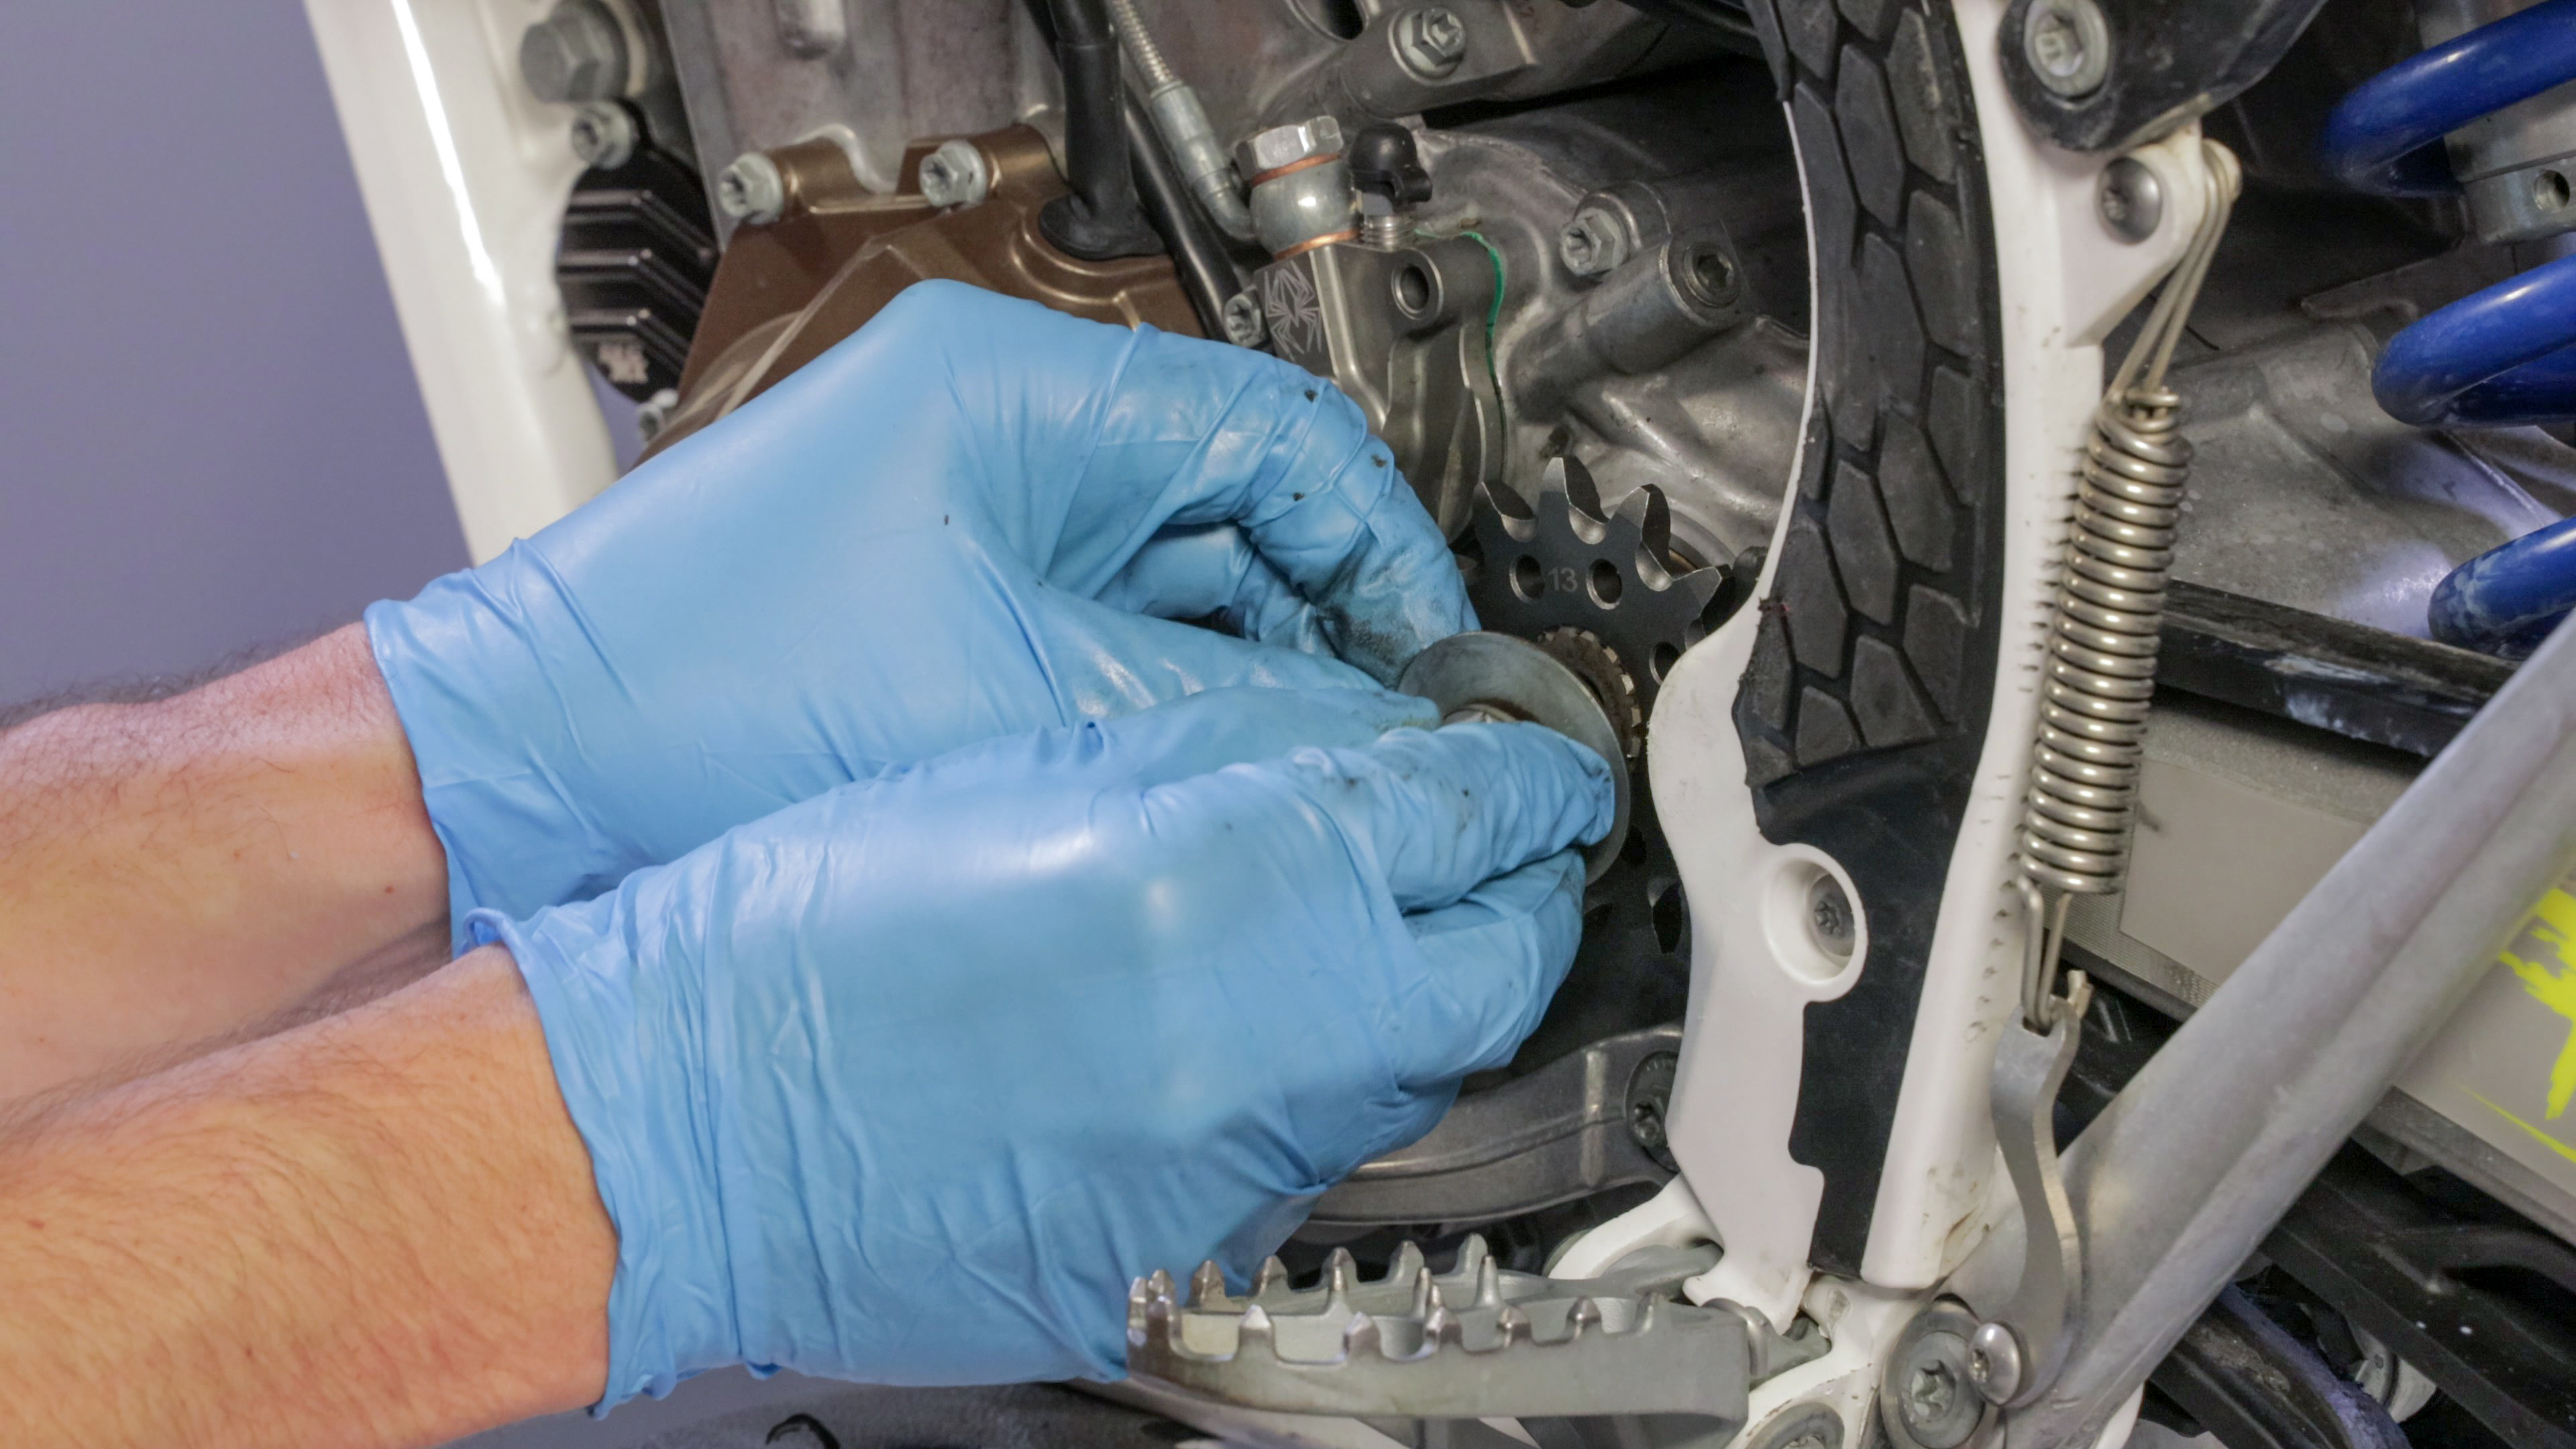
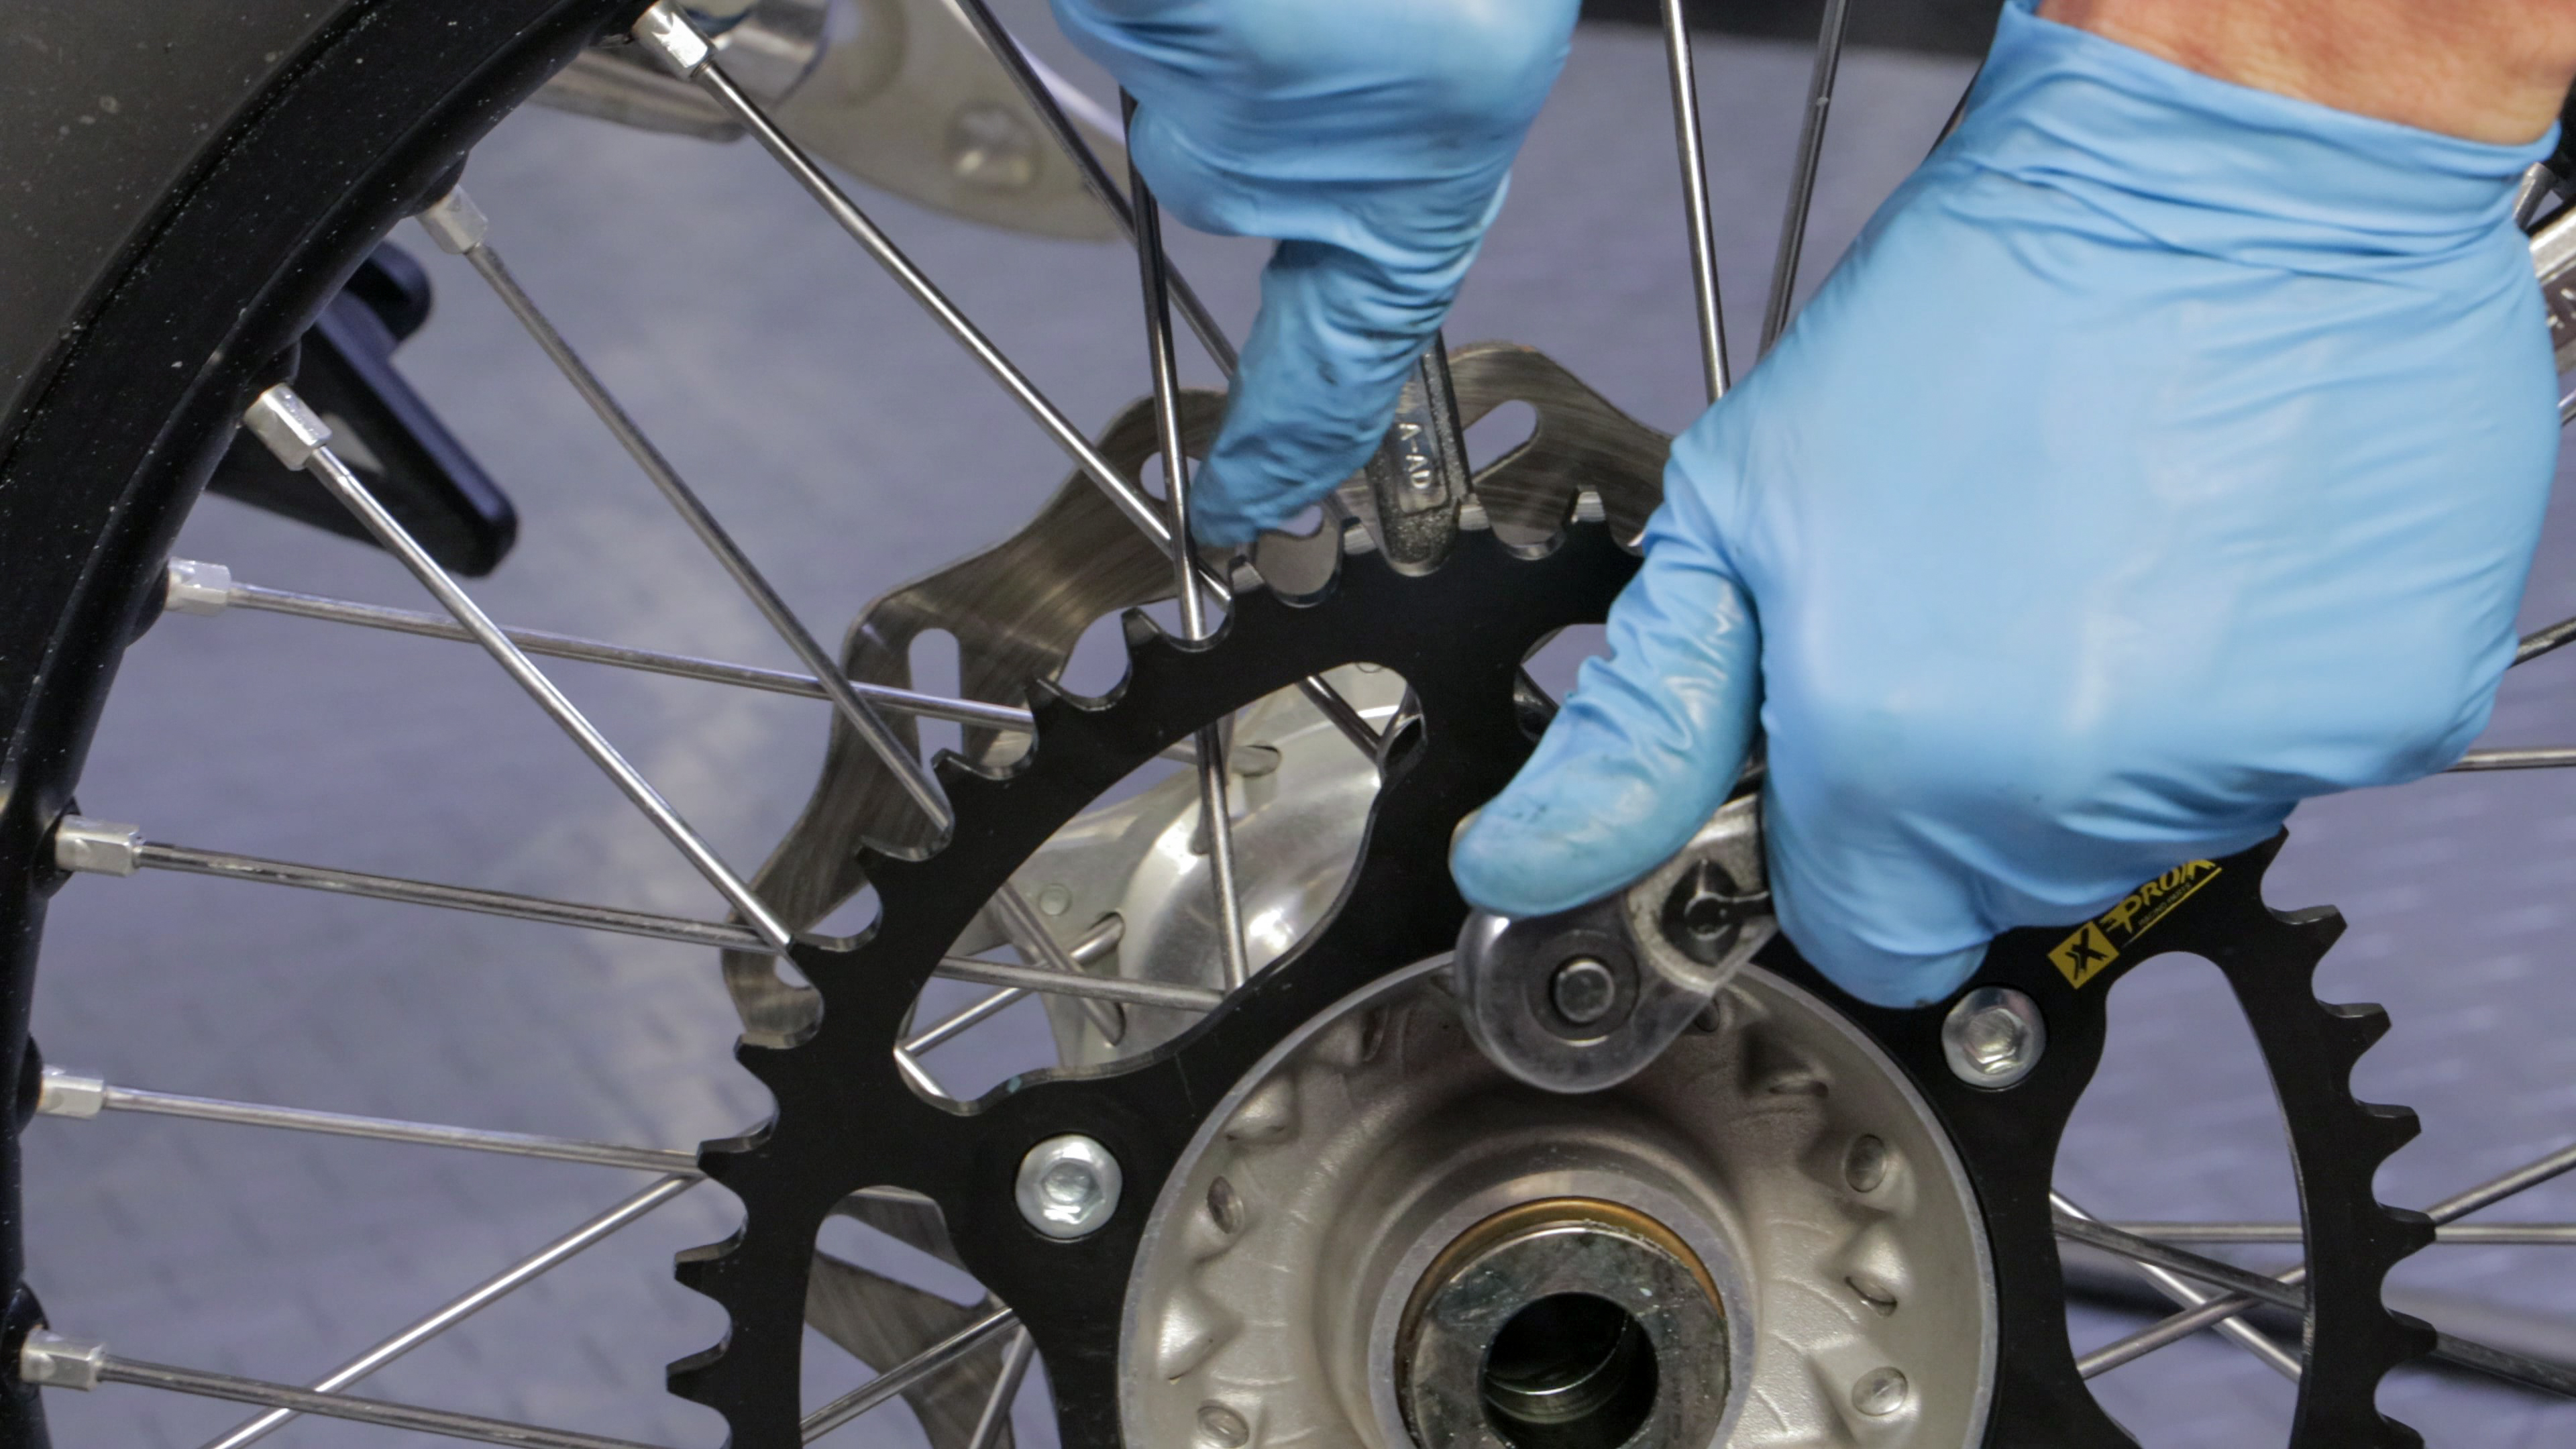
Drive Sprocket Installation
- Most sprockets are marked with the number of teeth. Position this marking outward so it can easily be referenced in the future.
- Replace any necessary shaft collar o-rings as outlined in the service manual.
- If a retaining ring is utilized to retain the sprocket, install it so that the sharp side faces out.
- For sprockets retained with fasteners, be sure to adhere to the torque specs outlined in the service manual and use locking agents as specified.
- If you are not replacing the chain, installation of the chain over the sprocket is usually required to install the sprocket.
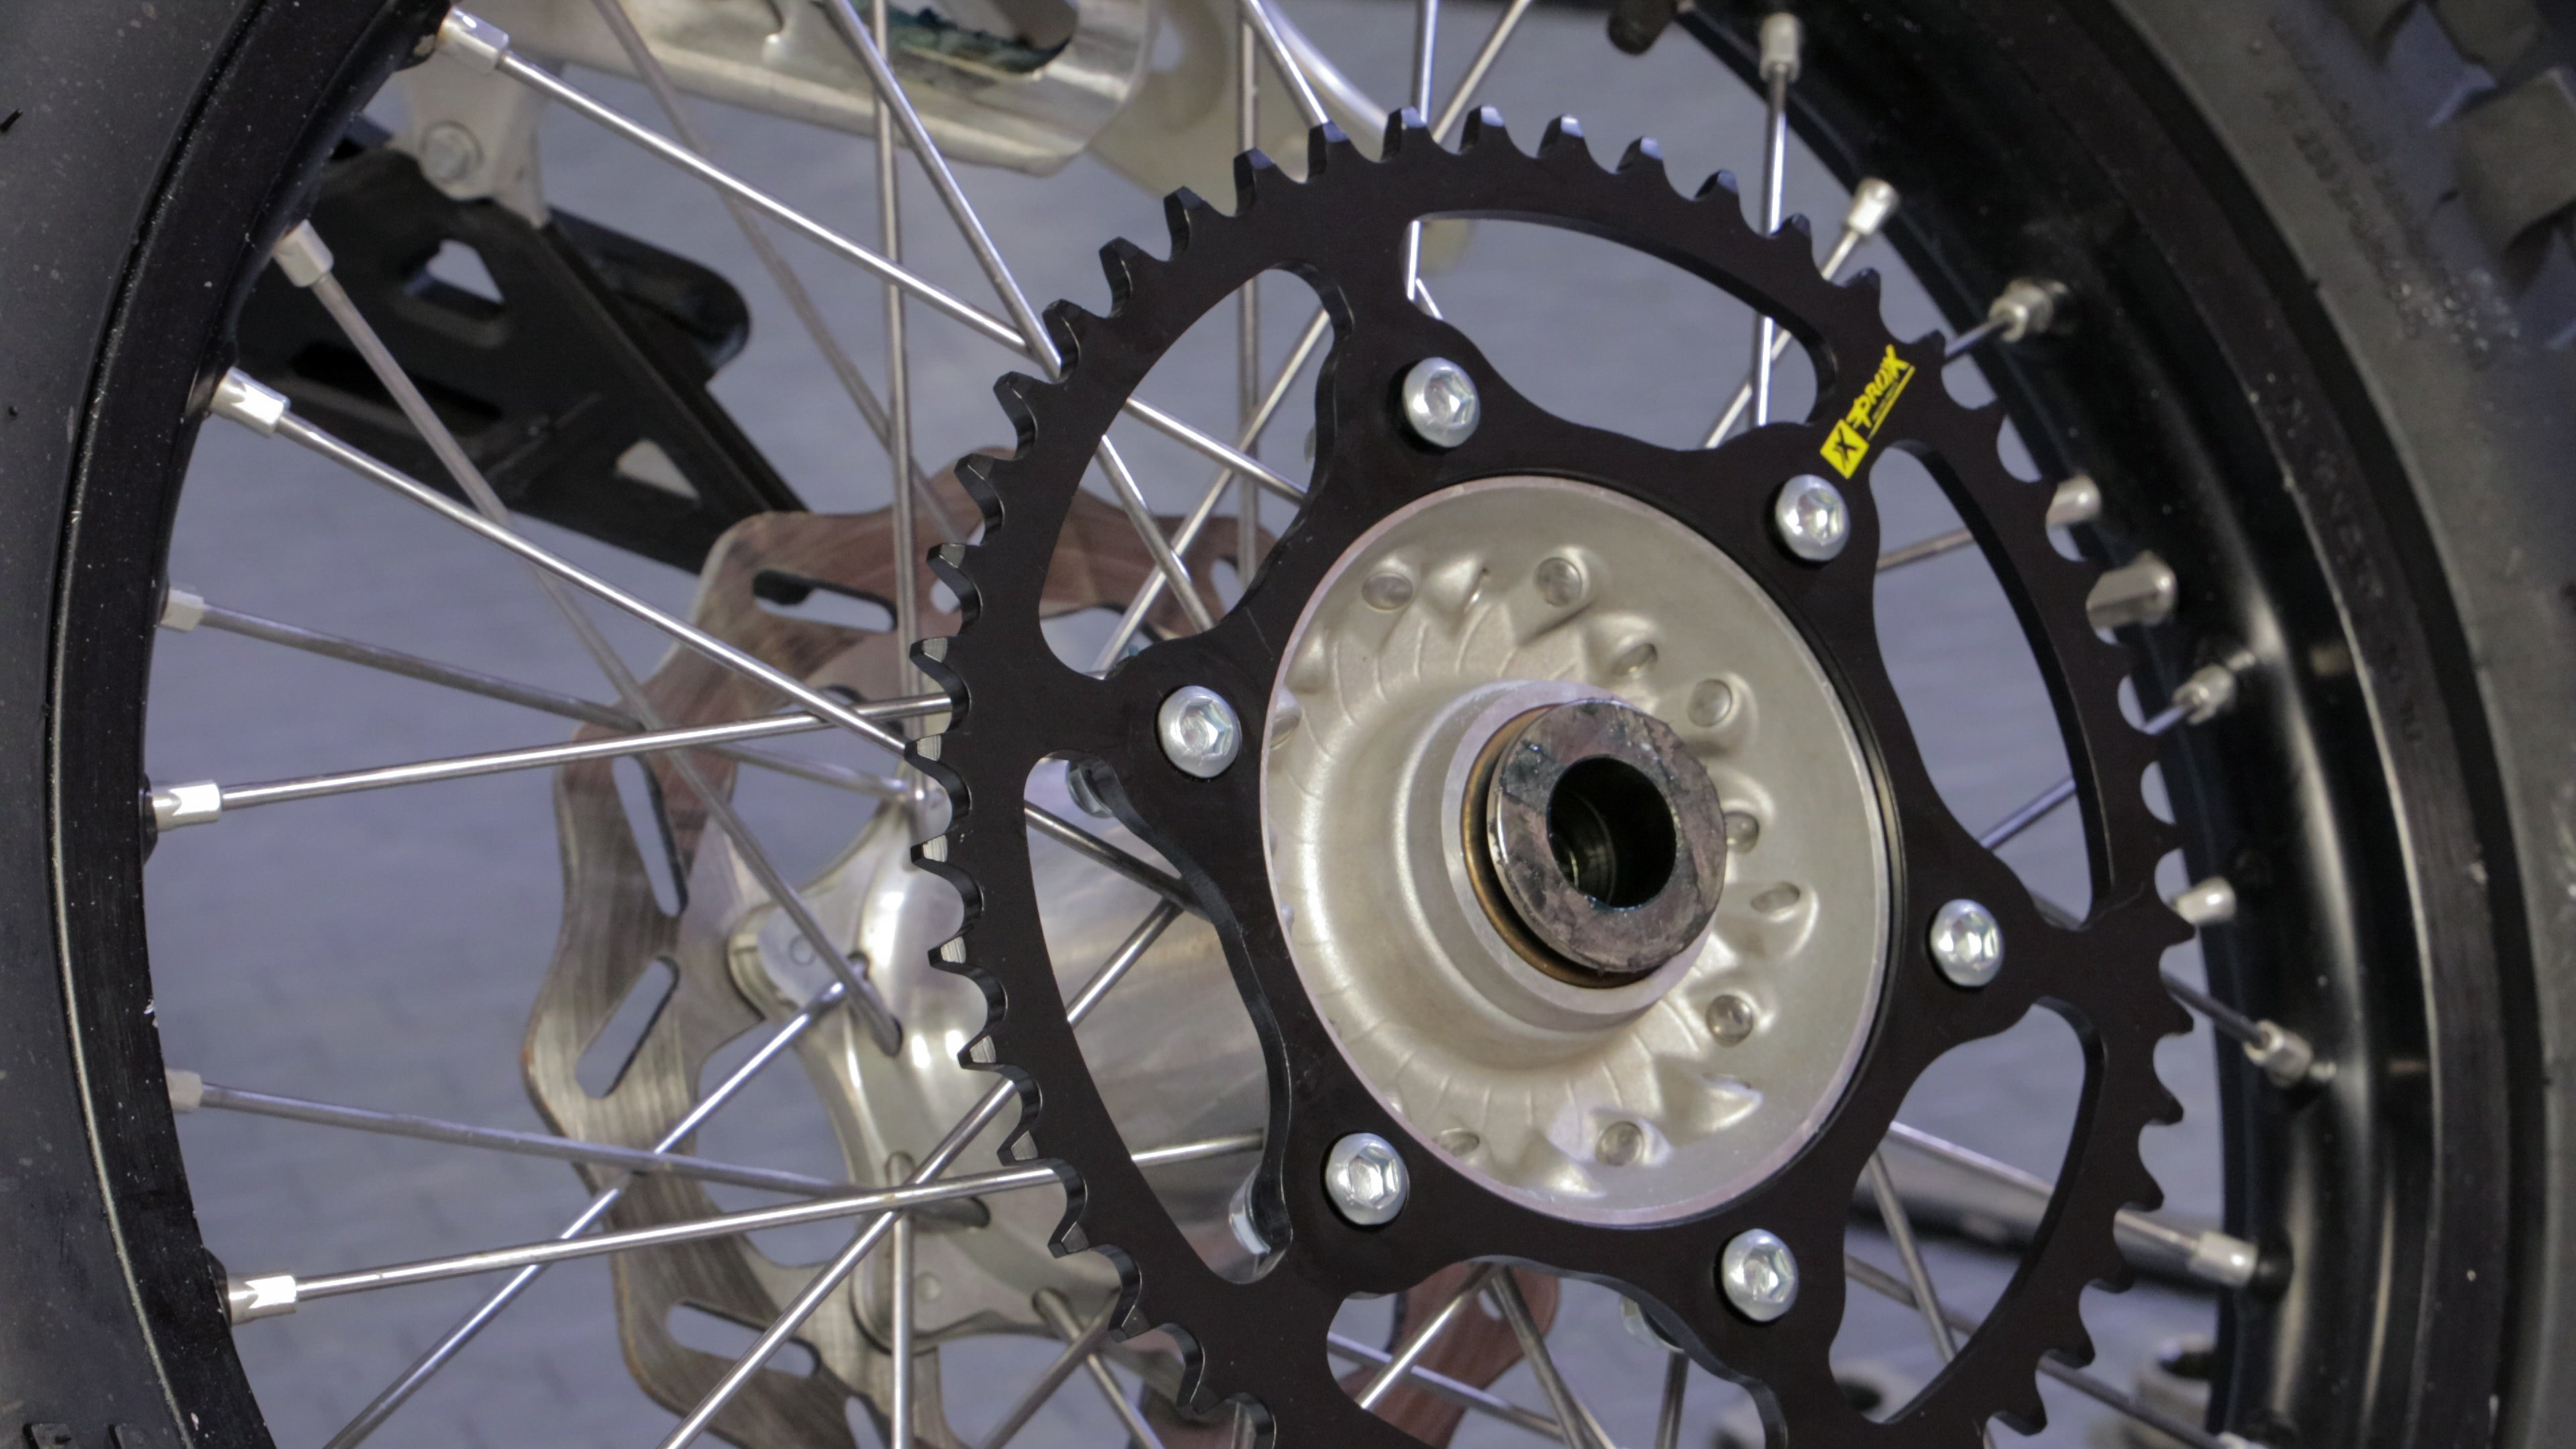
Driven Sprocket Installation
- Always replace lock nuts with new ones as specified in the service manual.
- Reference the service manual to confirm if a locking agent is required.
- Tighten the bolts incrementally until snug so that the bolts seat in their tapered bores correctly.
- Use a criss-cross tightening pattern and torque the bolts to the specified value in the service manual.
- Ensure the brake disk is off the ground, and the wheel is supported to reduce the chance of warpage.
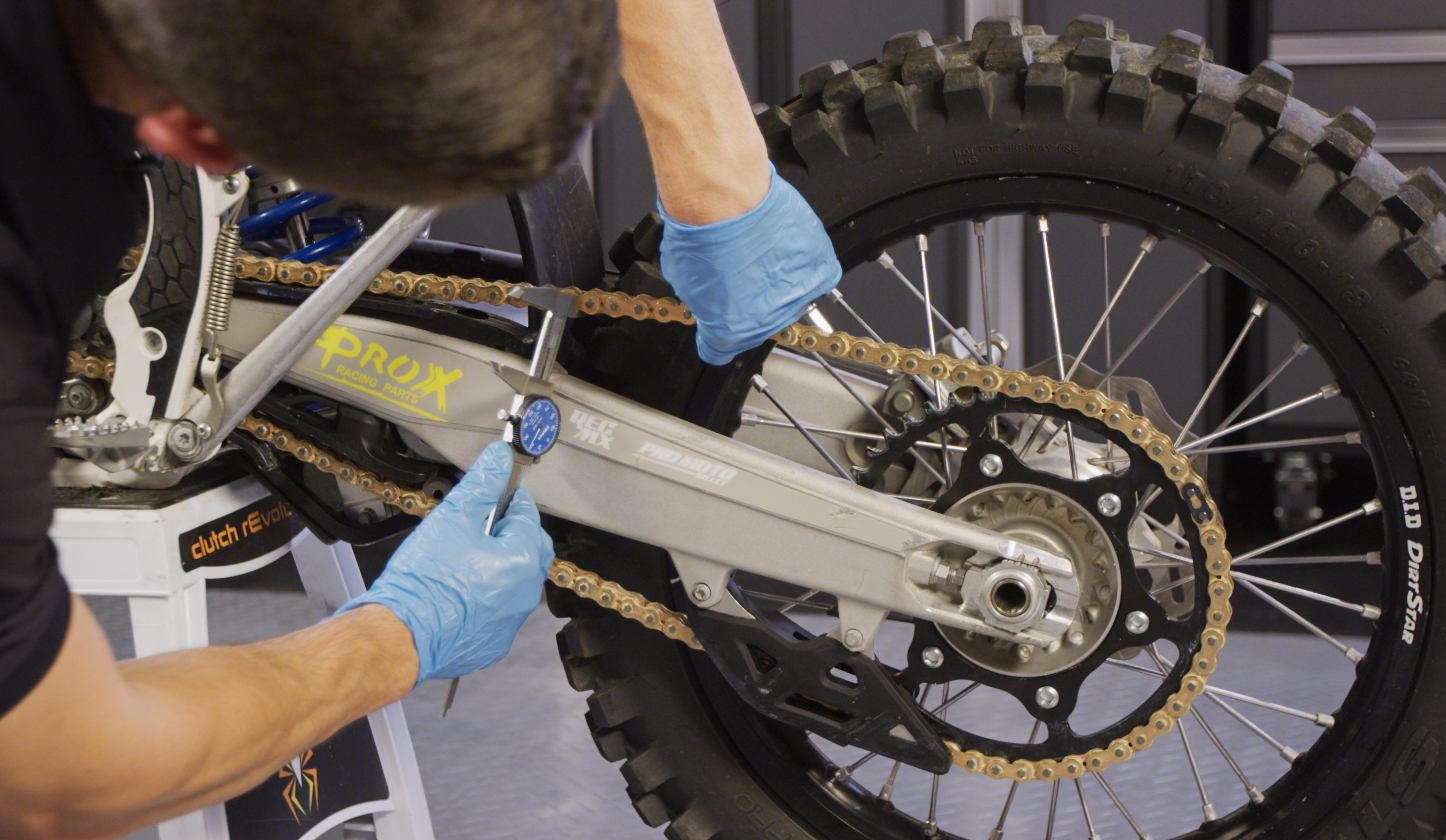
Setting Chain Tension and Alignment
- Anytime new sprockets are installed, the chain tension and alignment should be checked.
- Your machine's service manual will outline how to measure the chain slack and define the slack range. Most manufacturers recommend measuring chain slack with the bike on a center stand. Slack is then measured by pulling up on the chain near the center of the swingarm and measuring its displacement. Most dirt bikes require 30 - 60mm (1.18 - 2.36 inches) of chain slack. Carefully manipulate the chain adjusters so that they tension the chain evenly and align with the same reference points from side to side.
- Double check that both chain adjusters are set to the same marks.
- Rotate the wheel several revolutions and visually confirm that the wheel and drive chain is aligned with the bike and sprockets.
- Once chain slack and alignment are correctly set, torque the rear axle nut to the specification outlined in your service manual.
The ProX crew strives to support our customers and fellow riders with helpful information, and this guide on sprocket maintenance and replacement is just one of many topics we have and will continue to cover. Sprocket replacement isn't a tough job; however, as we've discussed, it is an essential part of ensuring your final drive system remains durable and efficient.