Periodically inspecting and replacing the chain on your motorcycle or ATV is part of regular maintenance. Here, we go over steps and key tips for replacing your worn out chain with a new one.
The necessity to periodically replace the chain on off-road machines comes as a byproduct of operating in harsh environments containing dirt, mud, sand, etc. On road machines aren’t exempt from this maintenance task either, however, their replacement intervals are longer. Replacing your machine’s chain isn’t a tough job if you’re well equipped and prepared to take on the task.
To start, it is essential to have a copy of your machine’s factory service manual. Within the service manual, you’ll find specific instructions and torque specifications that may be required to complete the job. For example, if either of the sprockets requires replacement, it is imperative the nuts and bolts that secure them are torqued to the outlined specifications.
Before purchasing a new chain, you’ll want to confirm that the sprockets are in good condition. Pairing a new chain to worn sprockets will accelerate the rate of chain wear and be counterproductive. You’ll also want to inspect components that come in contact with the chain such as chain slides and rollers. Replacing these components at the same time as the chain is advantageous.
.jpg)
.jpg)
Inspections
Sprocket condition can be checked visually by looking at the sprocket teeth. Sprocket teeth take on a hook shape when they become worn, and in severe cases, shorten and round off when service has been severely neglected.
.jpg)
If funds allow, it’s always best practice to replace both sprockets when replacing your chain. This will allow for the most life possible out of your drive system.
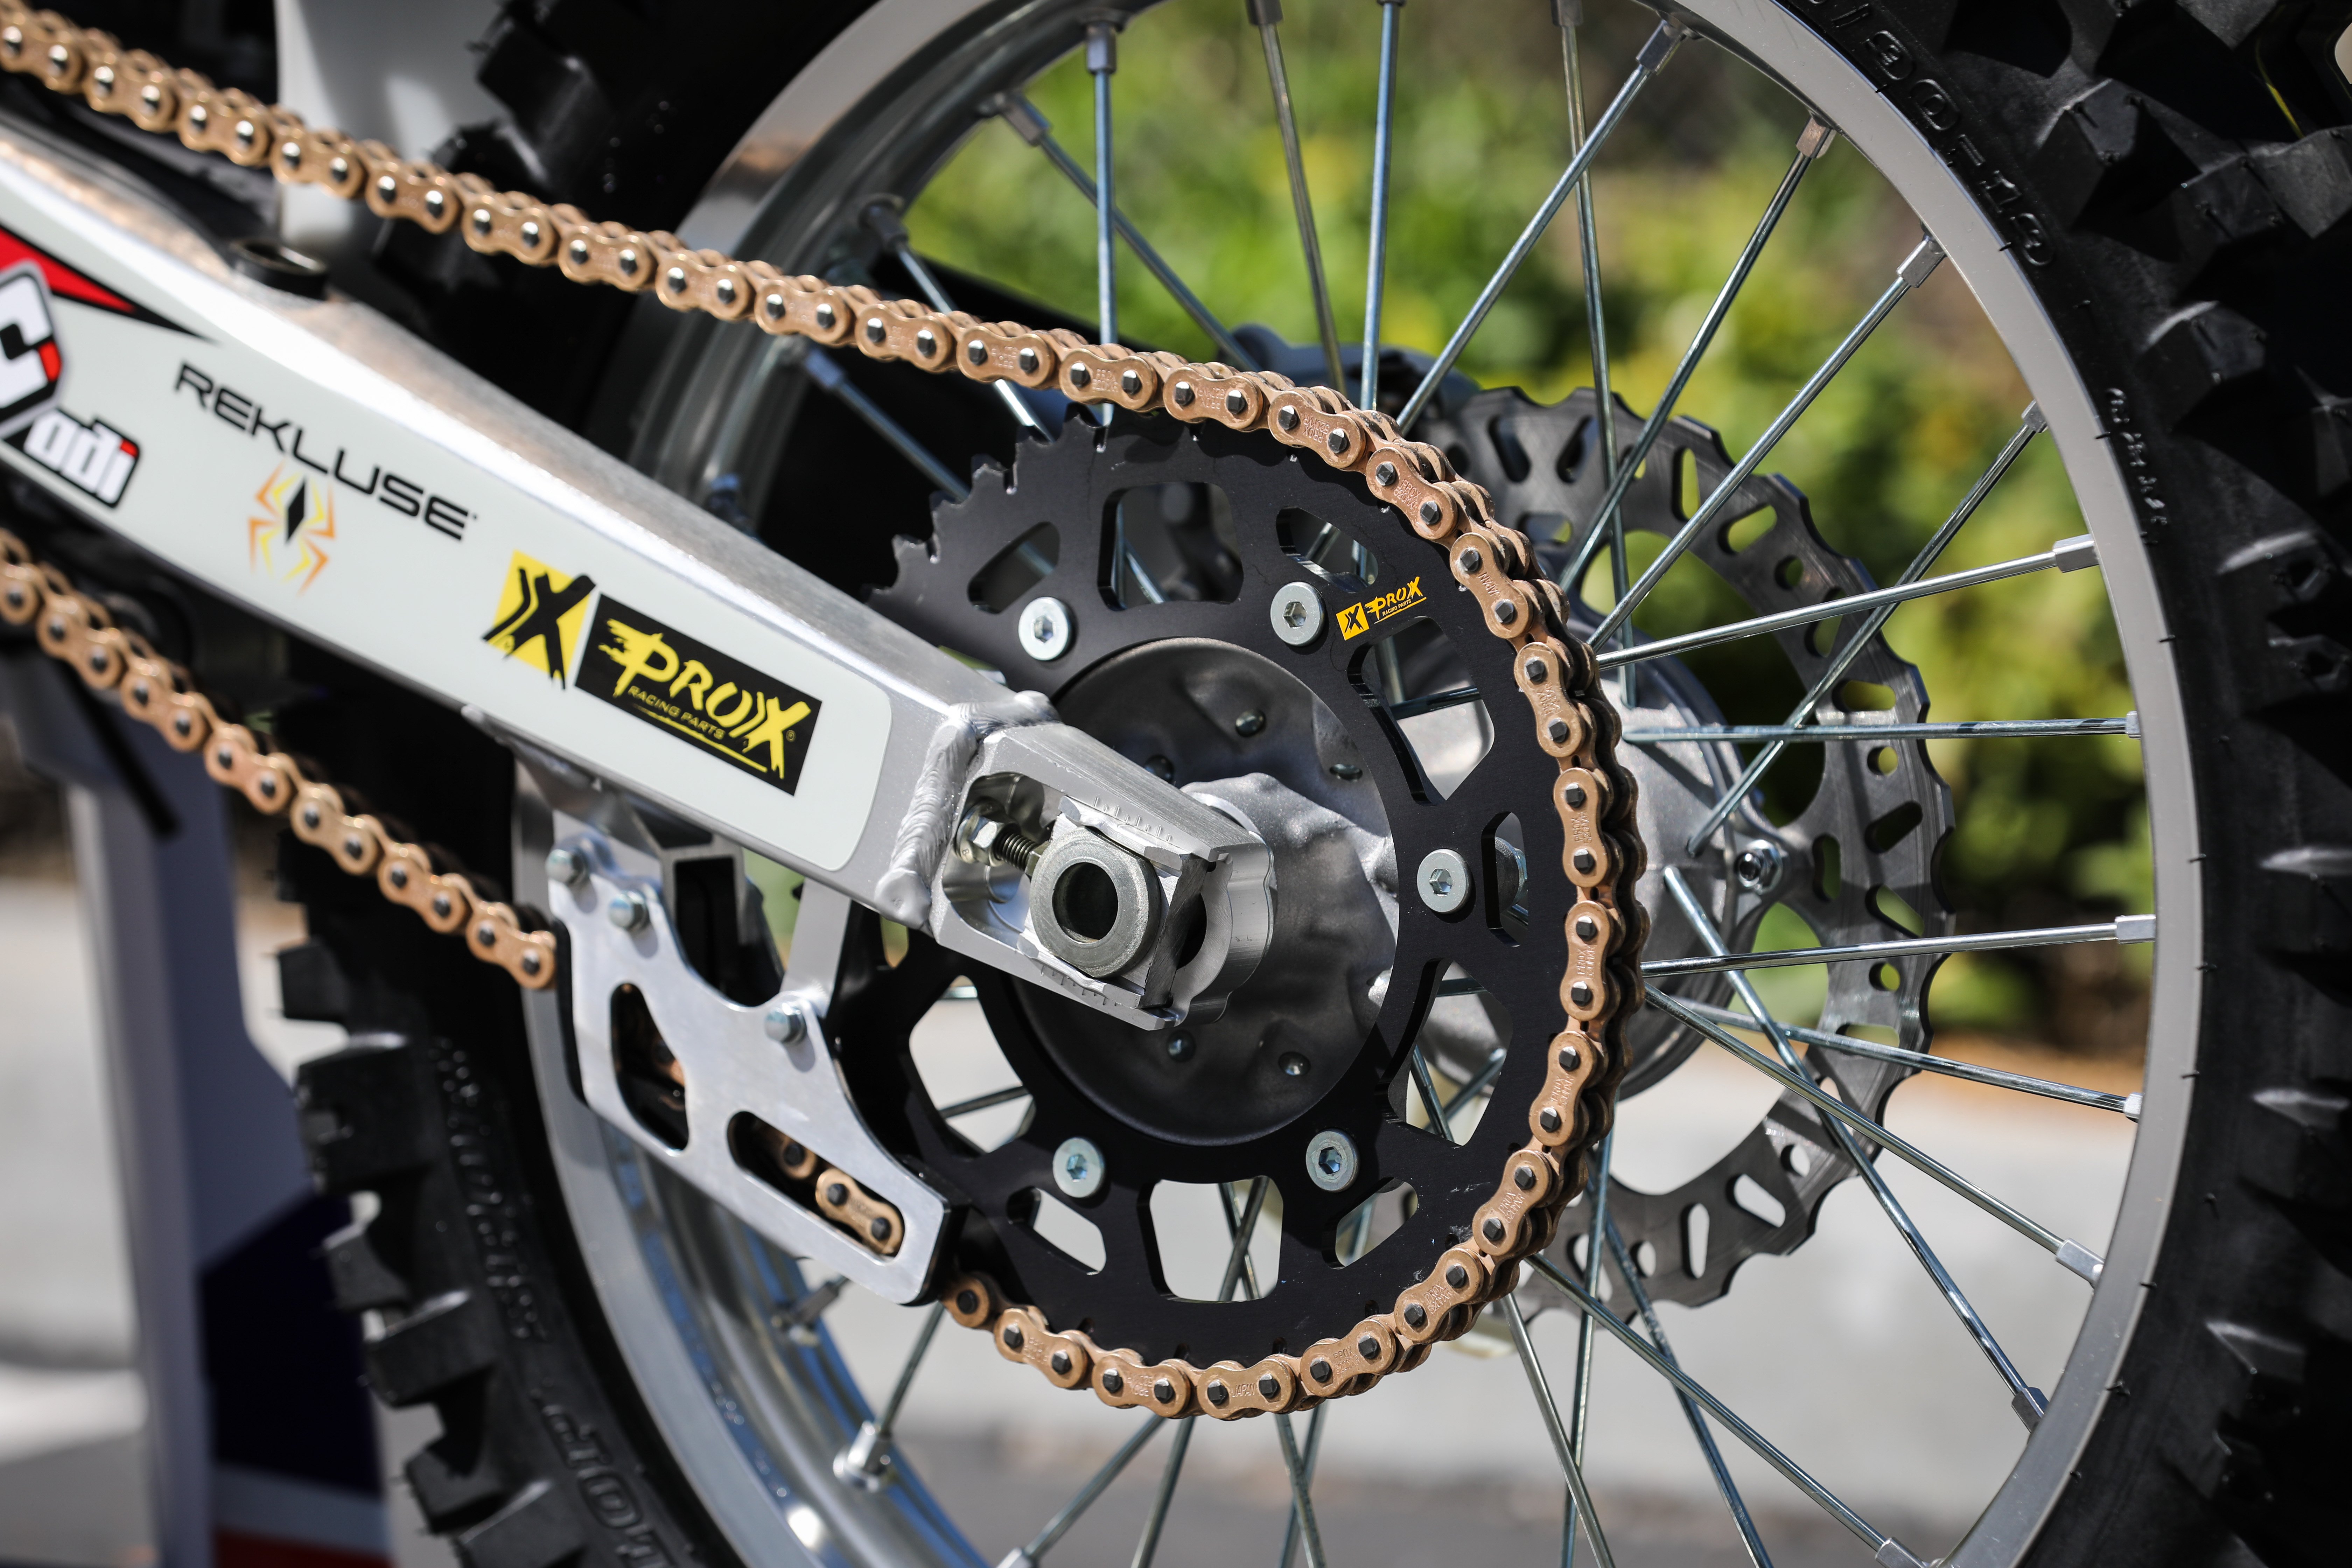
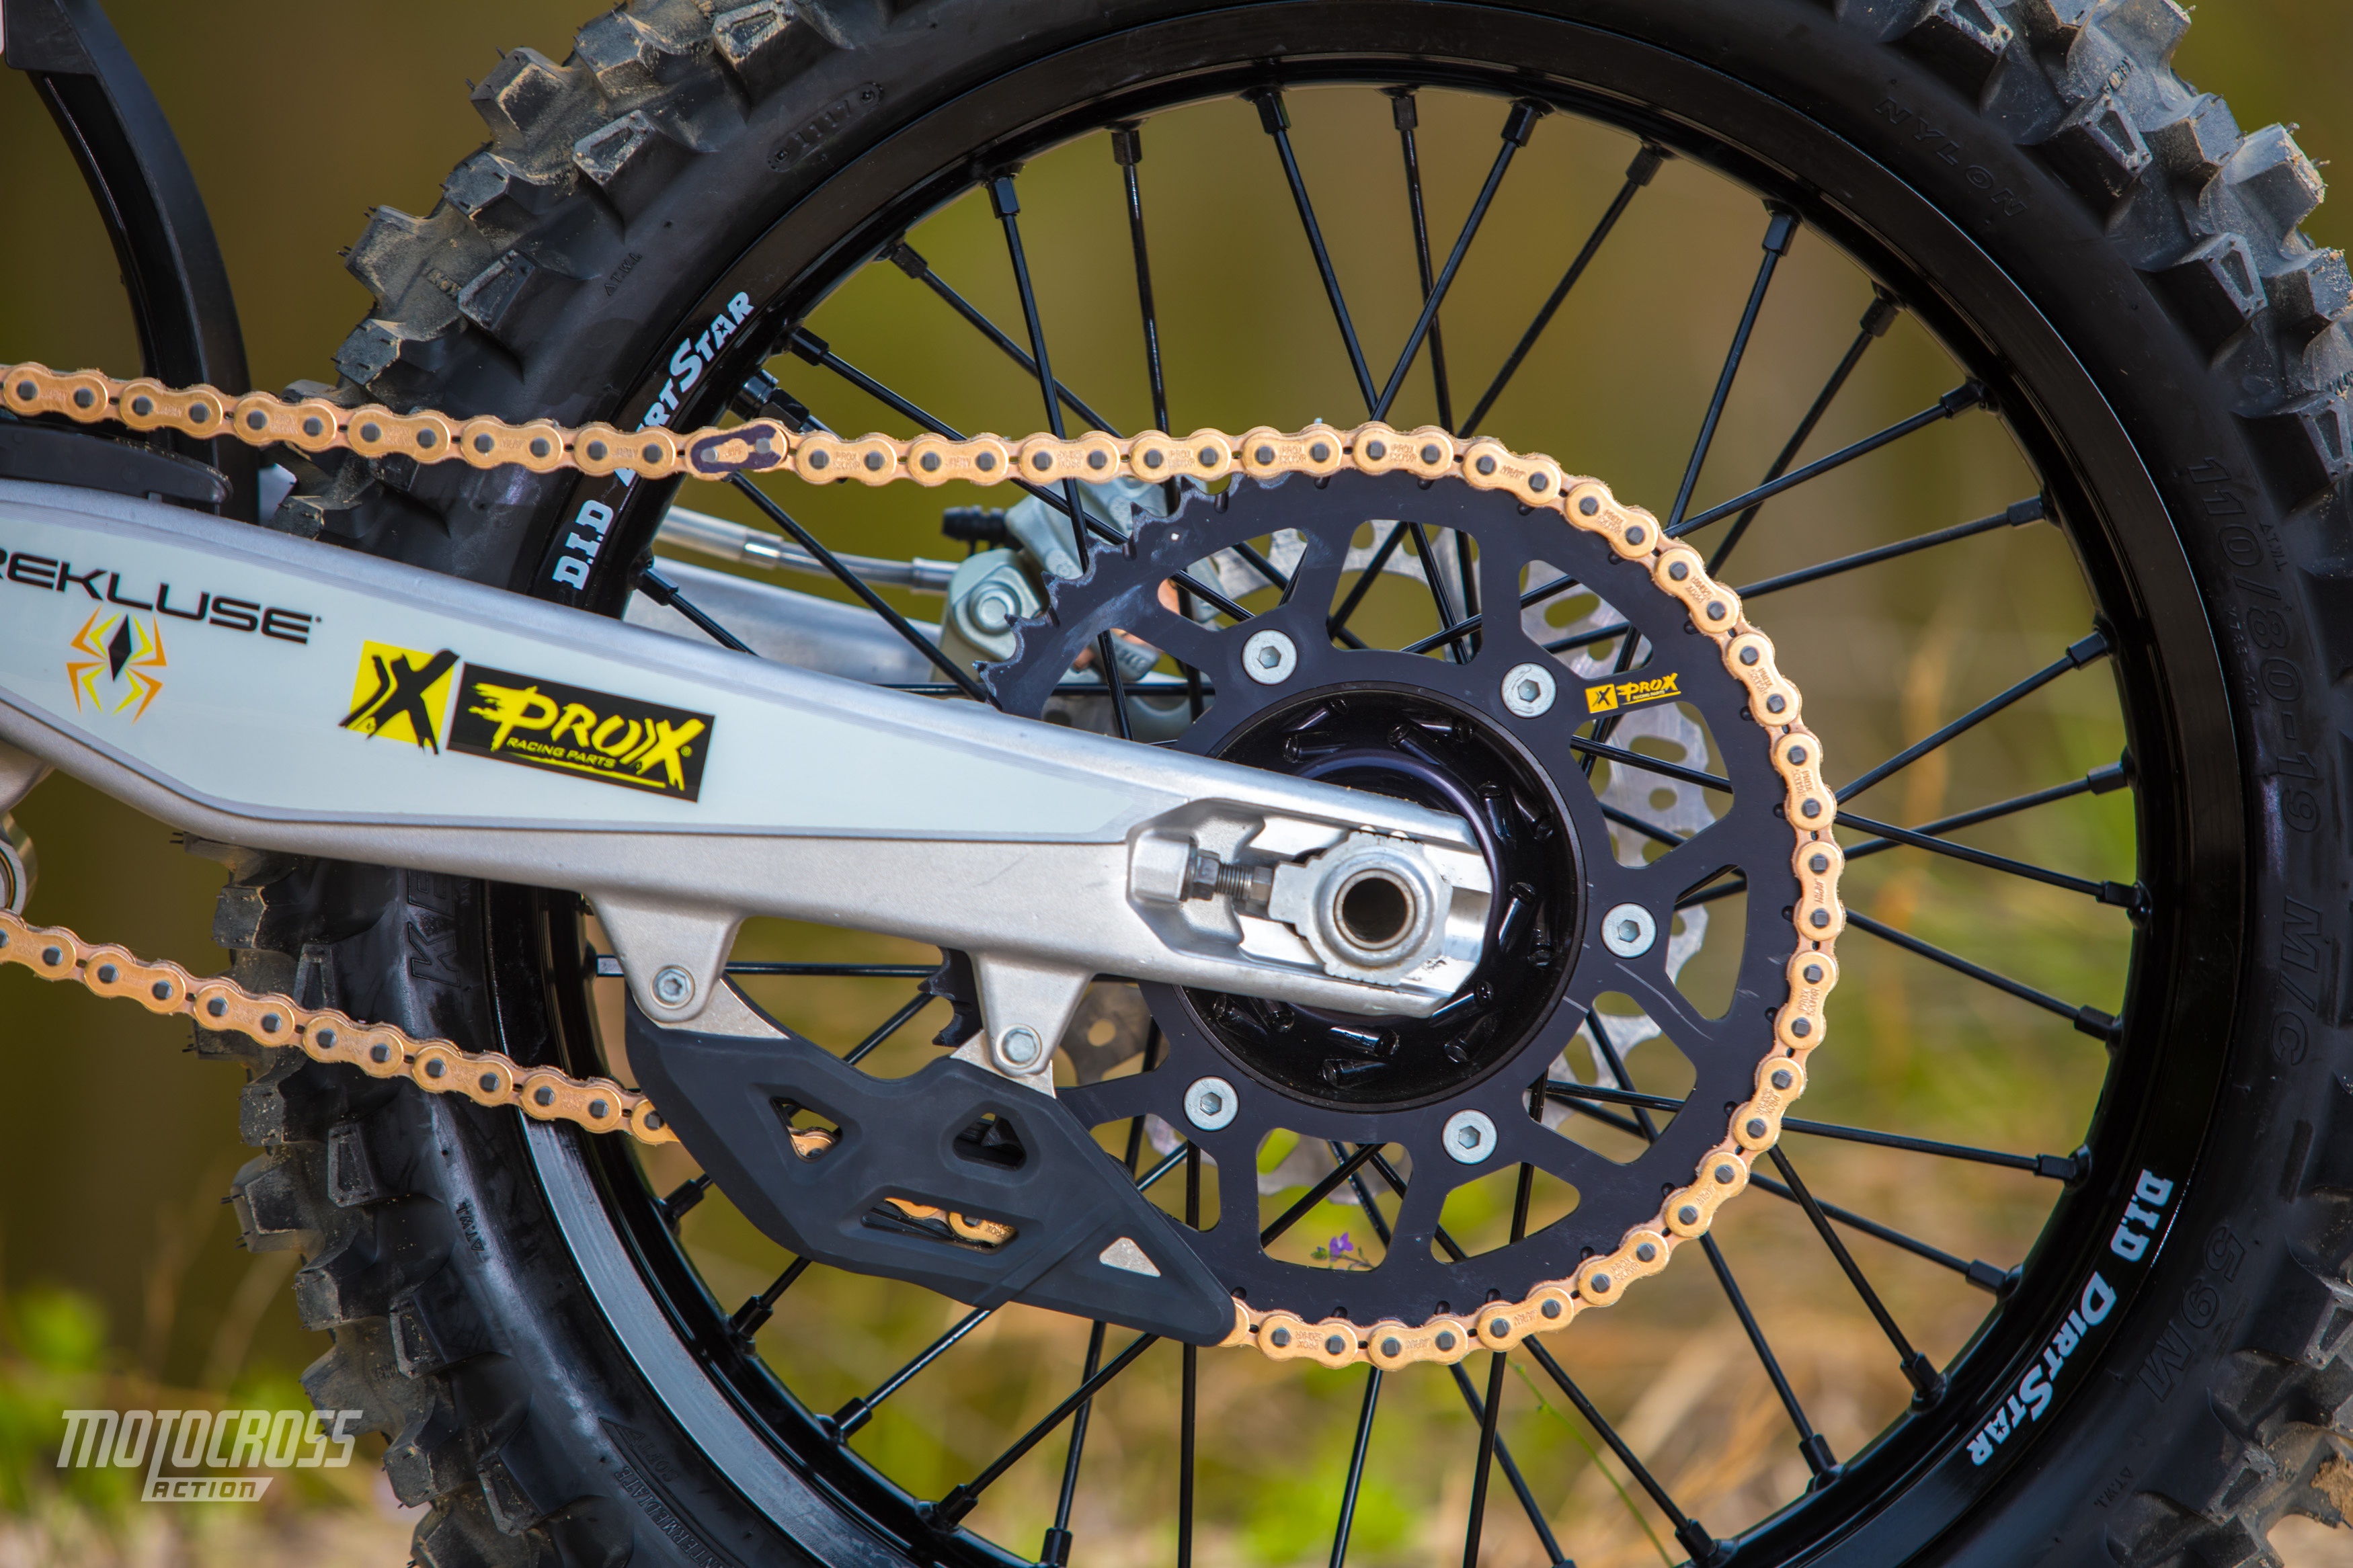
The condition of the chain can be assessed by putting the bike on a center stand. Rotate the rear wheel and visually inspect the chain’s condition. As you rotate, feel the chain for tight spots or links that are stuck together. Attempt to pull the chain away from the rearmost part of the rear sprocket. If the chain can be pulled off the rear sprocket by a half sprocket tooth or more, it is time for a replacement. Similarly, if the chain moves significantly side to side when pushed and pulled on the sprocket, wear has occurred.
.jpg)
Check any chain slides to ensure they have ample life left. Rotate chain rollers to ensure they spin freely.
.jpg)
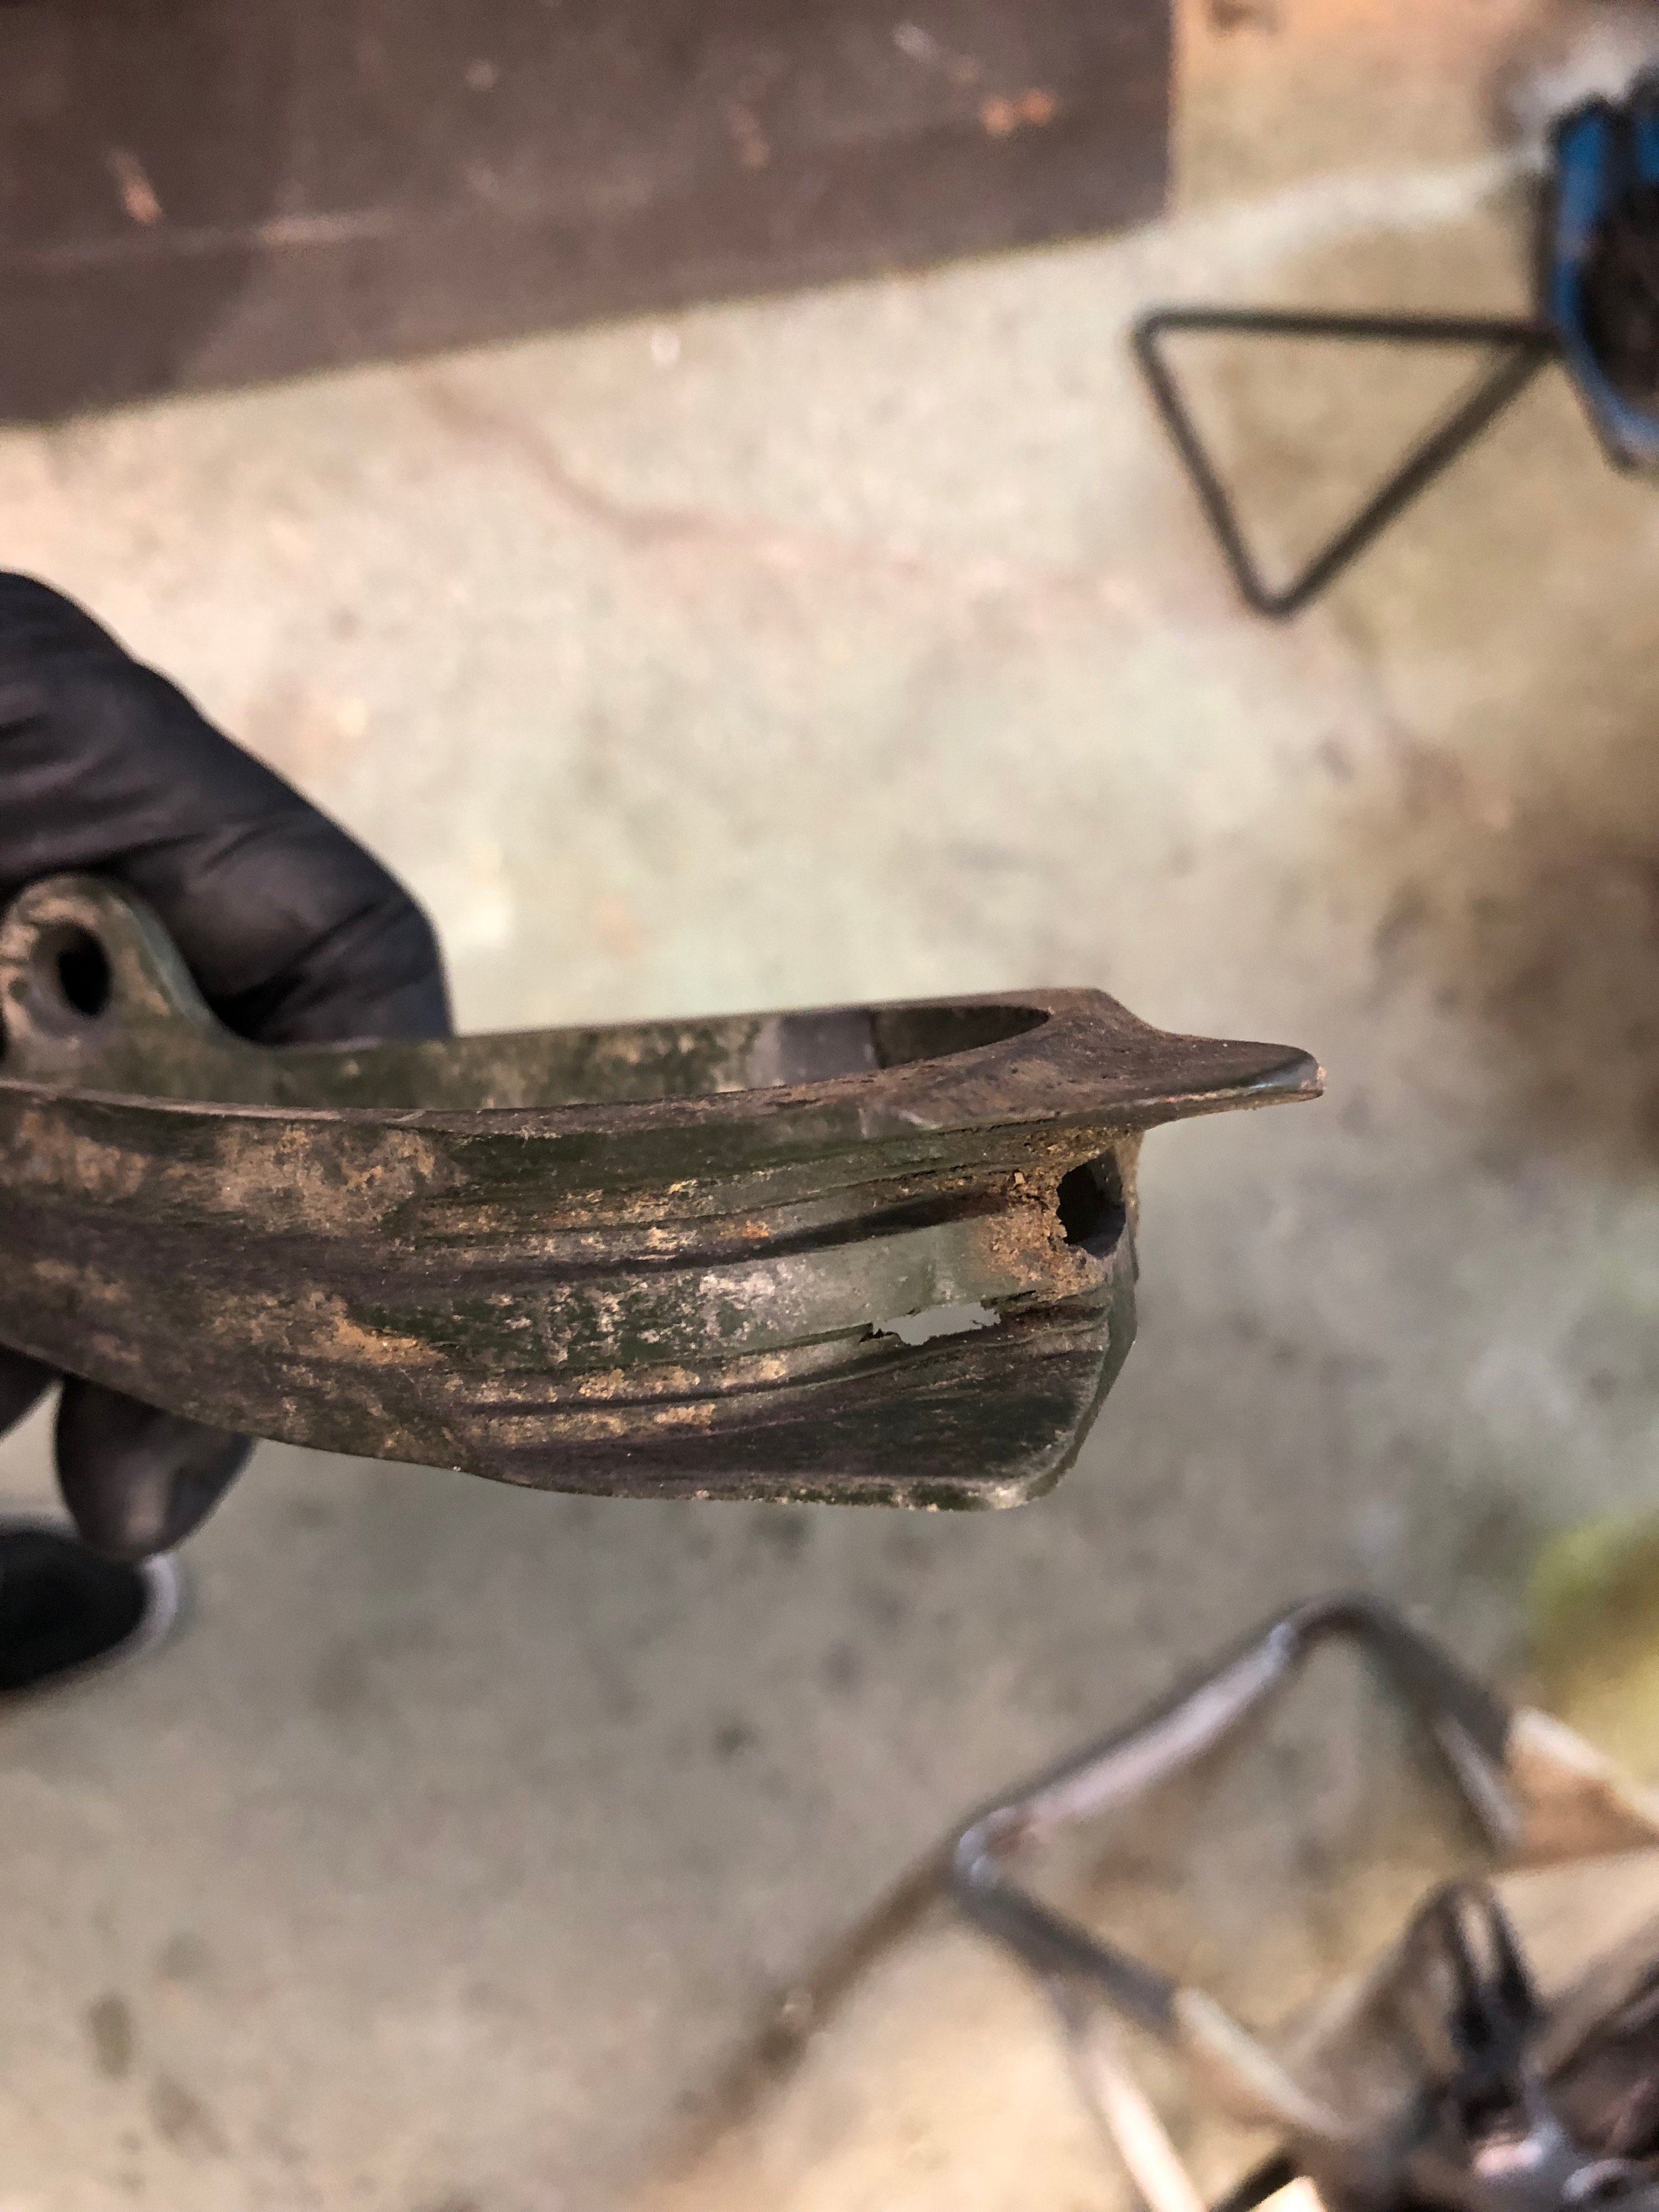
ProX also offer OEM replacement chain rollers in addition to chains and sprockets.
Chain Sizing and Options
Off and on-road chains used for powersports applications come in various sizes based on chain pitch and length. Before purchasing a new chain, you’ll need to confirm the appropriate pitch and size for your machine.
Chain pitch defines the distance between the chain pins. Common pitch options are shown in the table below along with their corresponding dimensions.
|
Chain |
Pitch |
Width |
Roller Diameter |
|
420 |
12.70mm |
6.35mm |
7.75mm |
|
428 |
12.70mm |
7.75mm |
8.51mm |
|
520 |
15.88mm |
6.35mm |
10.16mm |
|
525 |
15.88mm |
7.85mm |
10.16mm |
|
530 |
15.88mm |
9.53mm |
10.16mm |
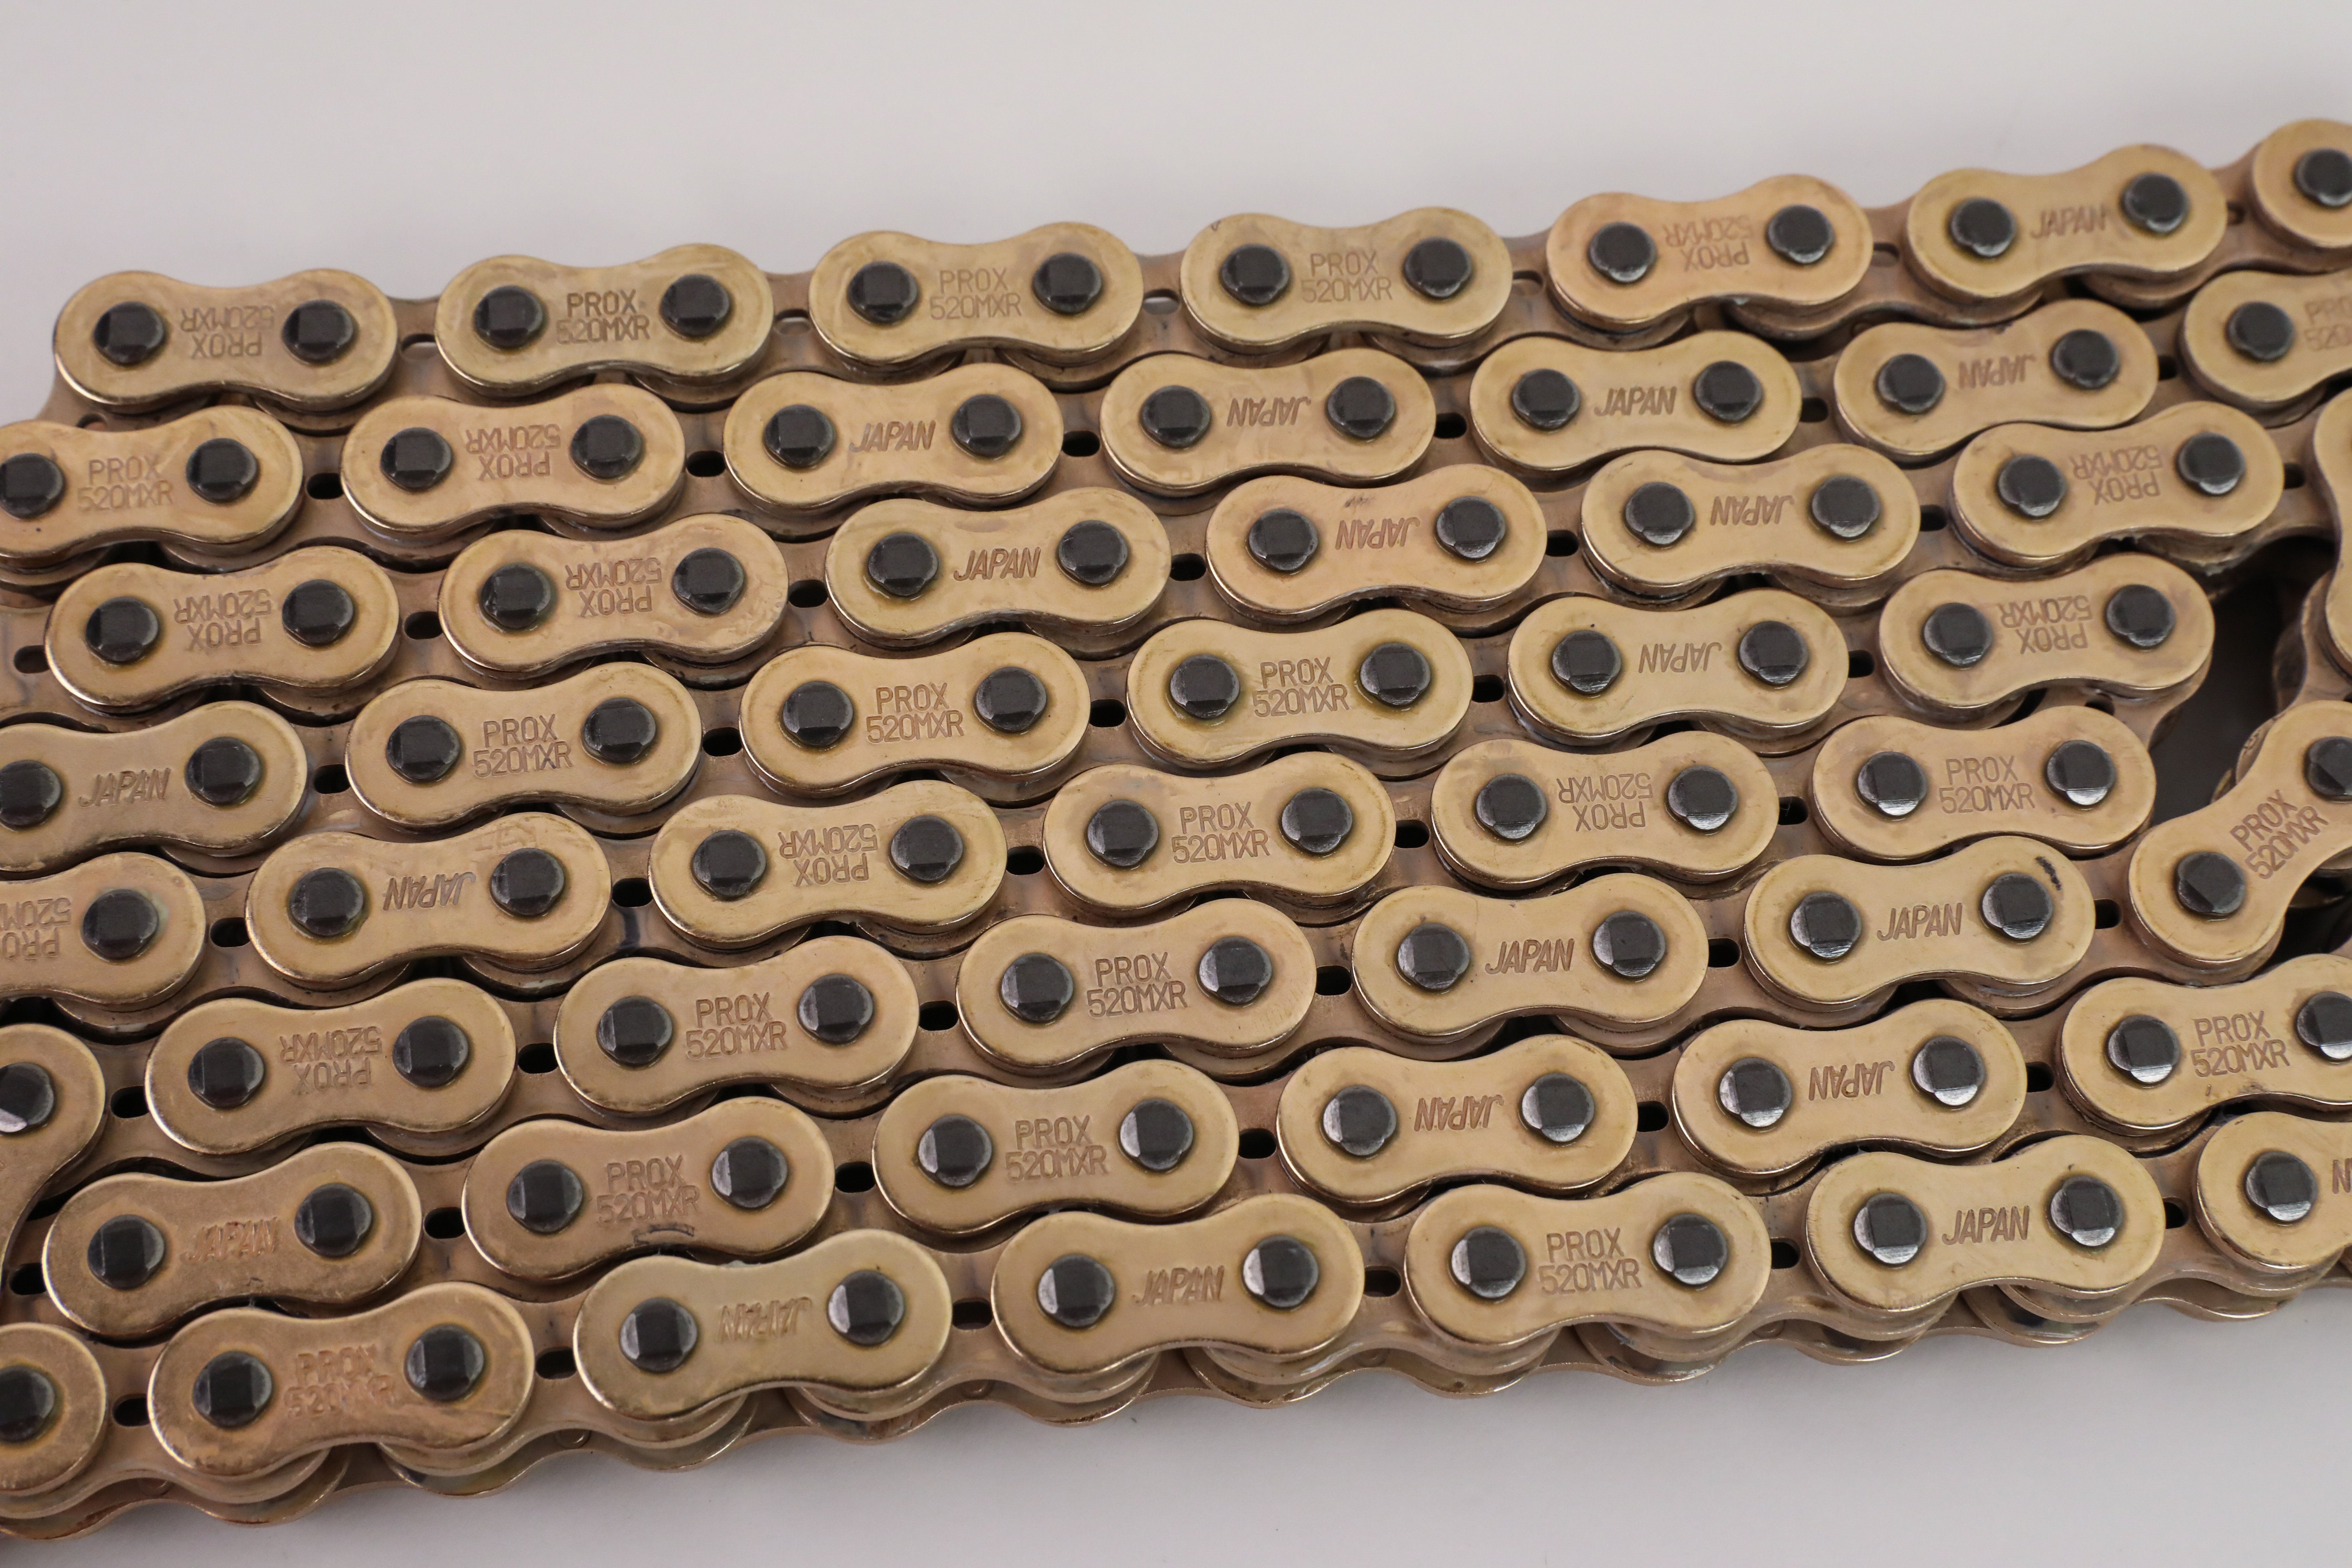
There are a couple of ways to determine the type of chain your machine utilizes. First, your factory service manual should contain this information. This is usually found in the rear wheel specification table. Second, most chain manufacturers denote the chain’s pitch on the side of the chain. You can obtain the chain’s length simply by counting the number of chain links it has.
Once you’ve determined the chain pitch and length you need, you’re ready to order. When it comes to ordering, you’ll need to decide on the type of master link connection you want and whether the chain is a standard chain or a sealed chain.
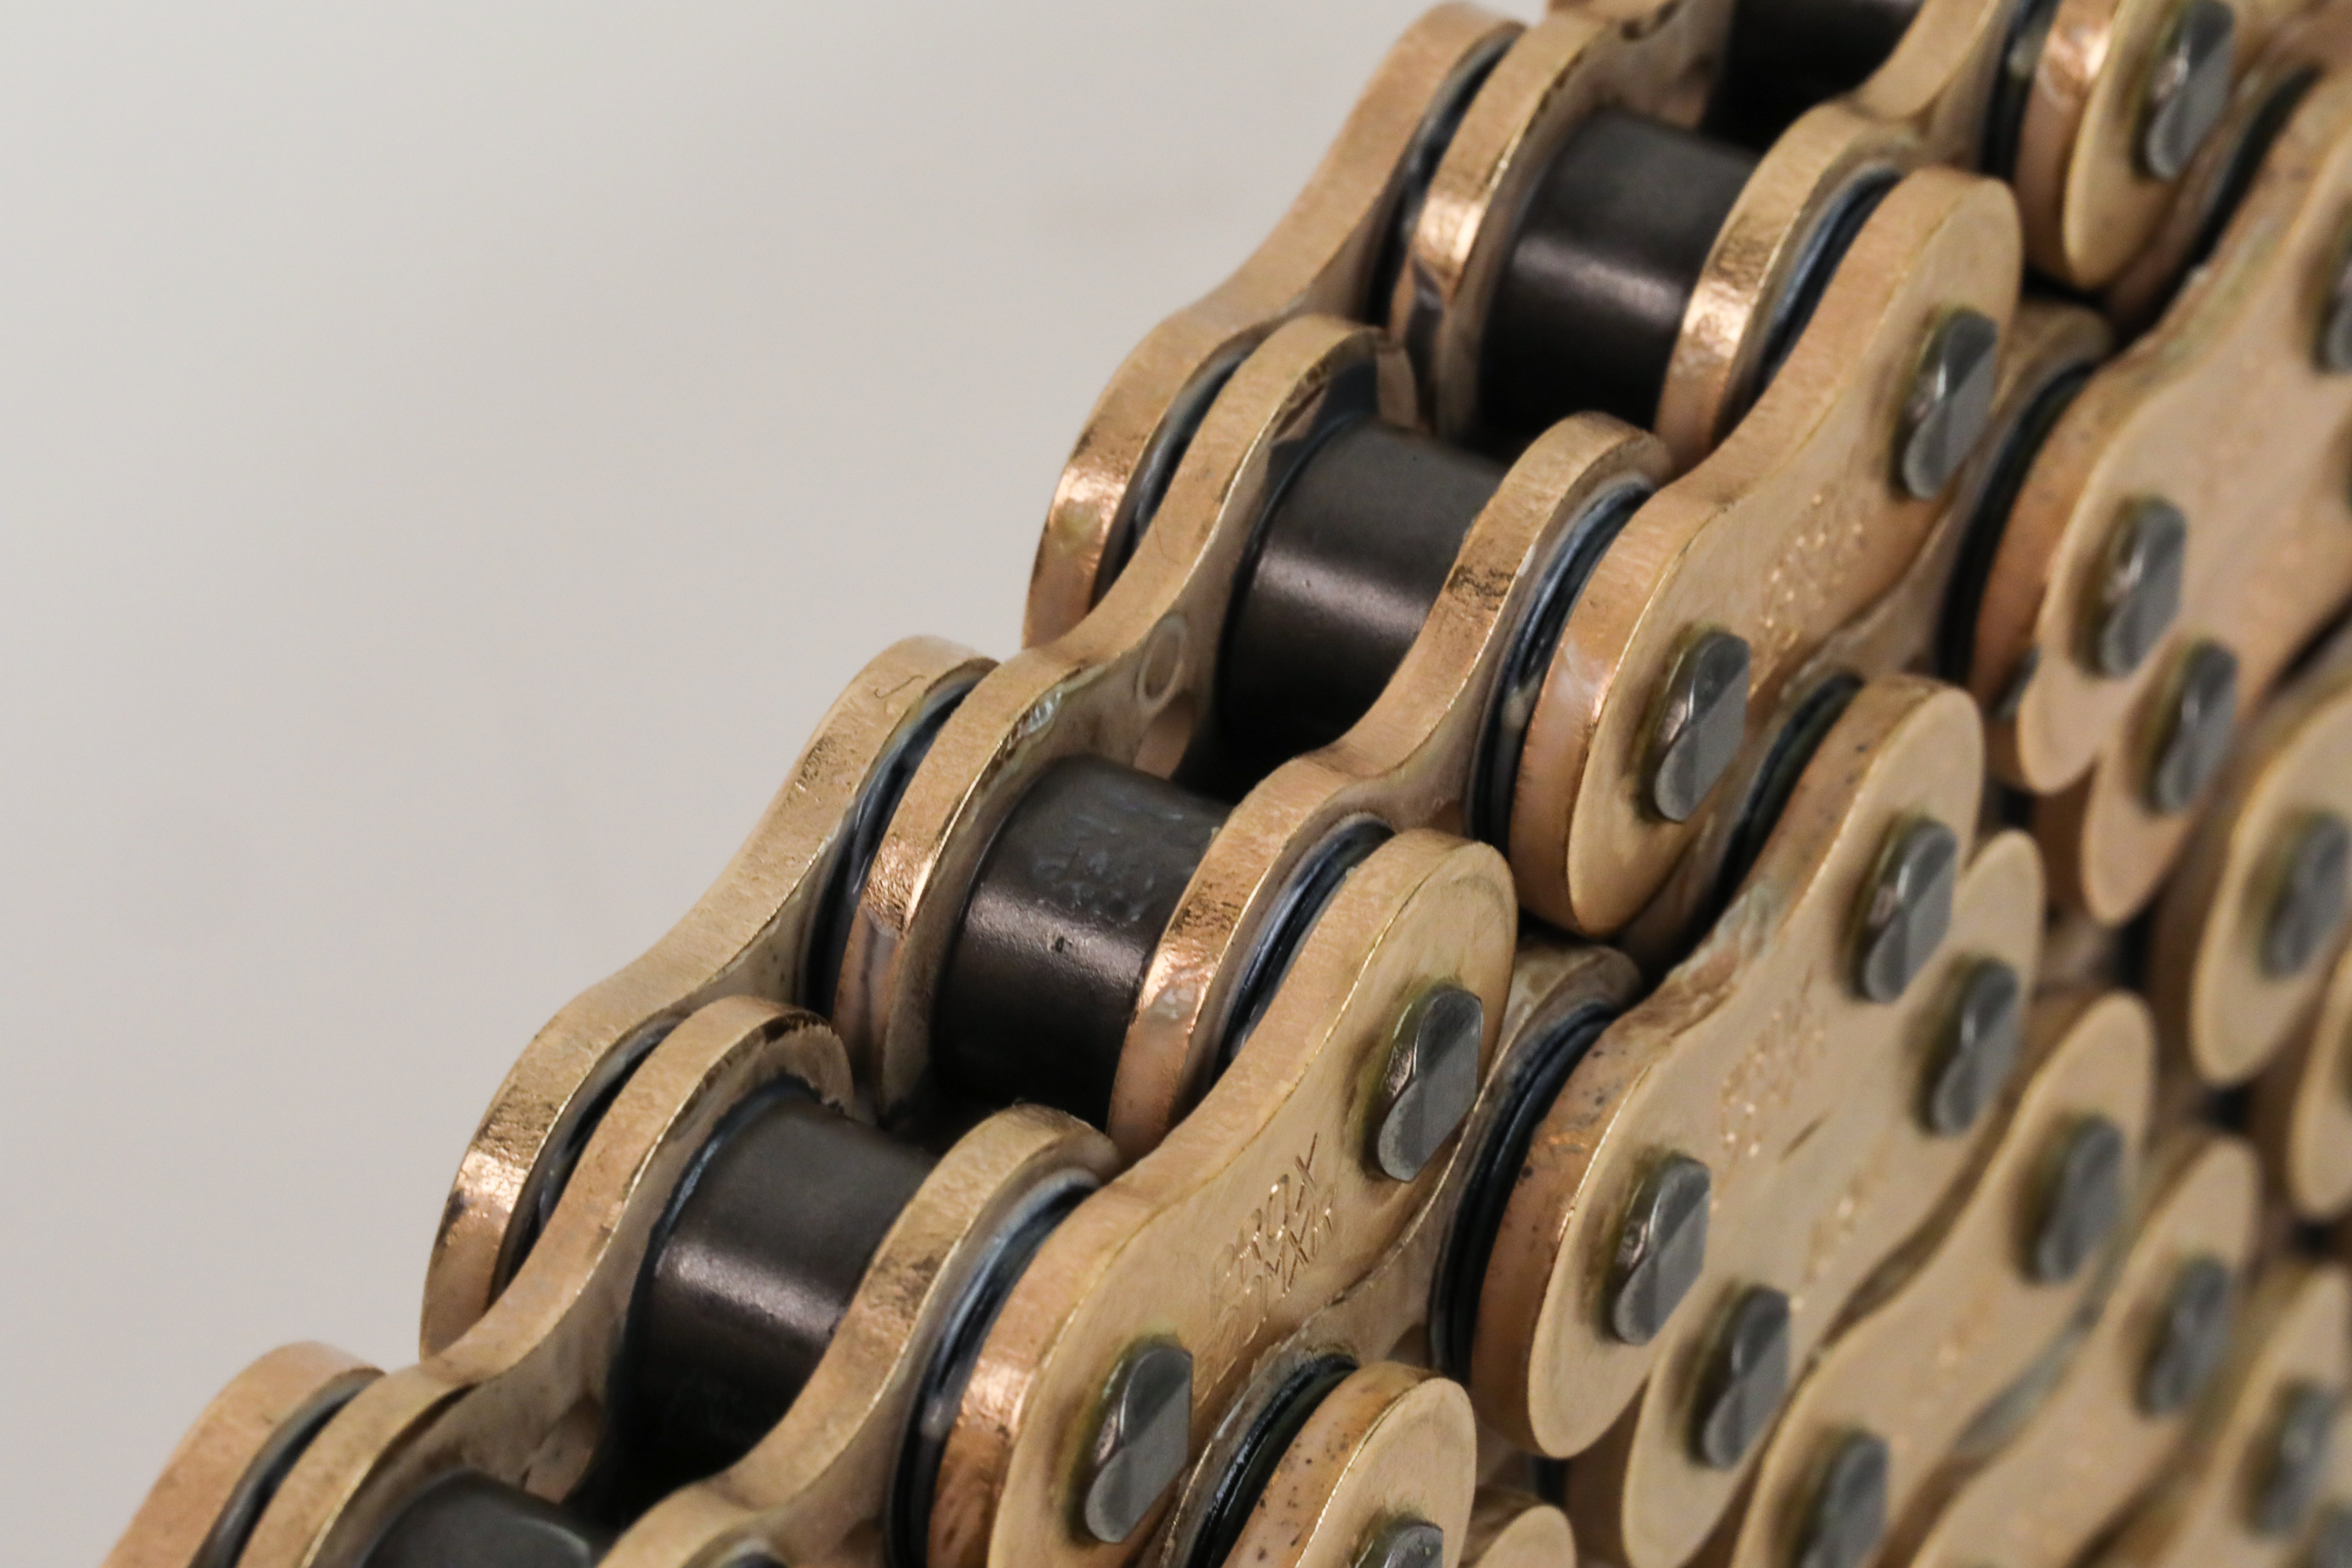
The most common chains in dirt bike and ATV applications are 420 (for minis) and 520. ProX offers both sizes of chains. ProX 520MX chains are available in both standard and X-ring, in standard and gold finishes. The gold finish is the result of a rust-resistant coating. ProX chains are made in Japan from high-quality Japanese steel. These chains come with master link style connections, which is the most common in modern off-road applications.
Master Link Connection
Clip Type - Clip type connections are widespread nowadays and are notable for their ease of installation. Clip type master links are not quite as strong as rivet type. However, they can be installed with no special tools.

Rivet Type - Rivet type master links require a special rivet tool to install but offer a more permanent connection.
Replacement chains will either come with both of the connection types or one or the other so ensure you know what you’re ordering.
Chain Seals
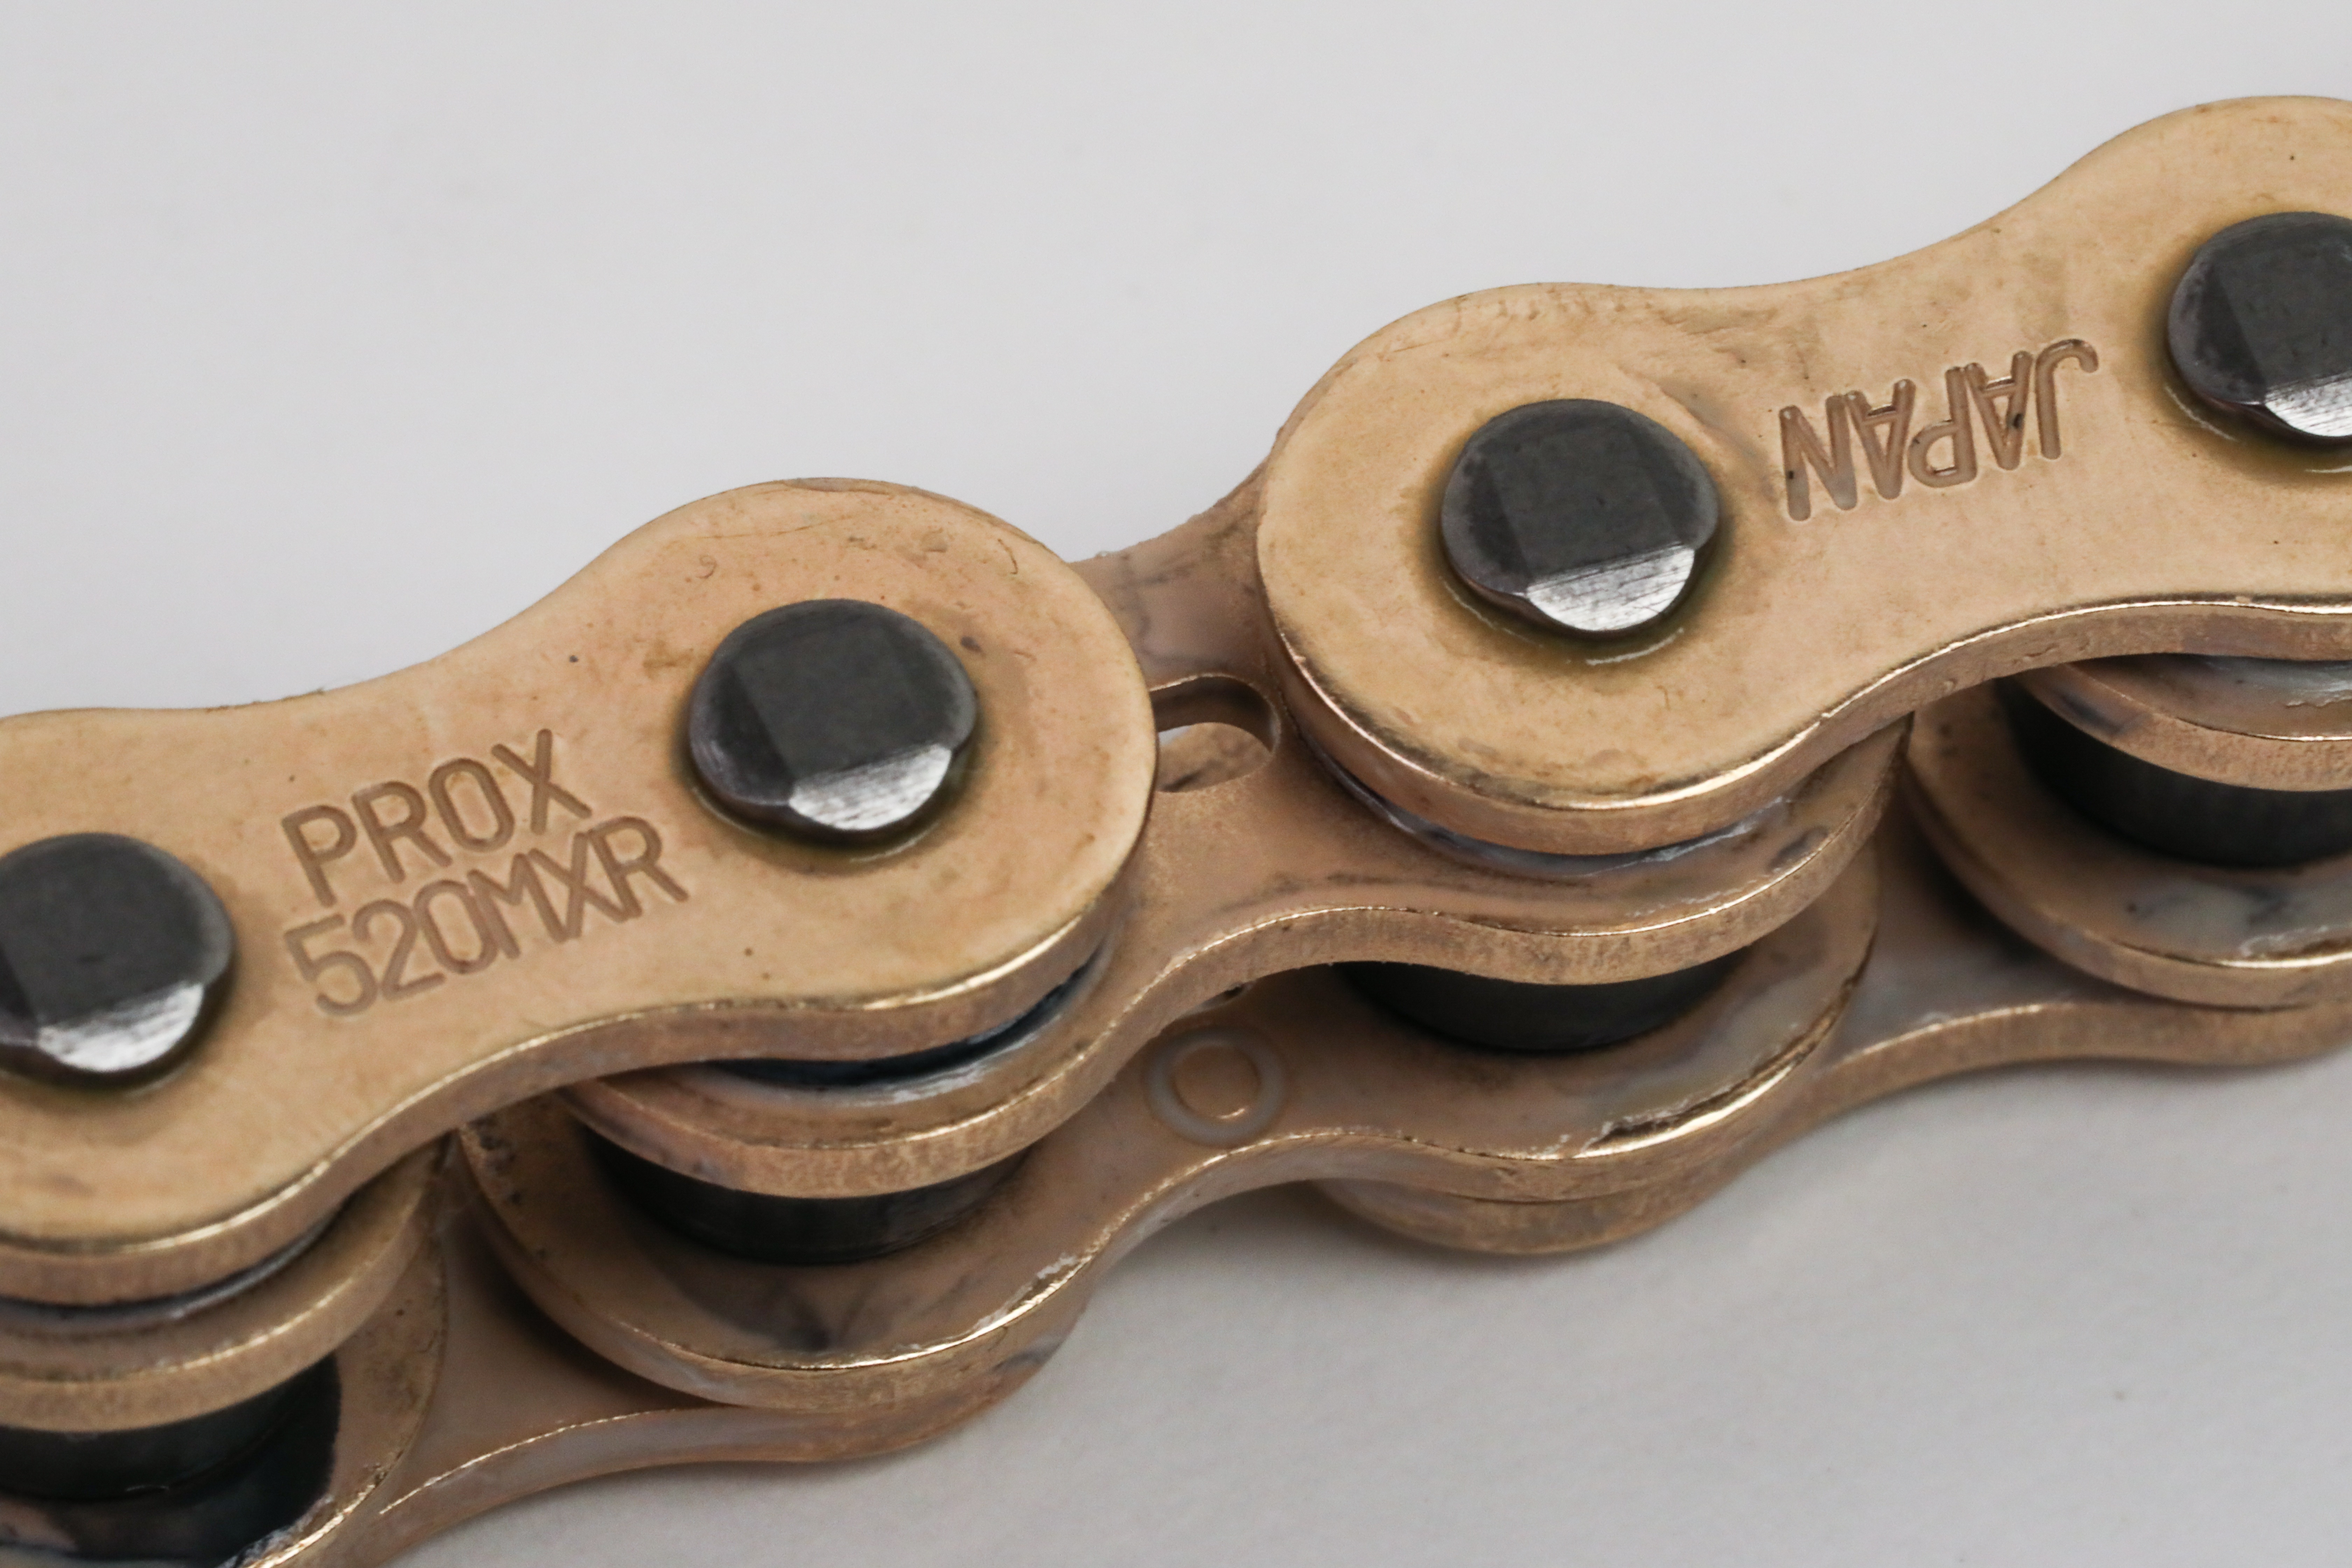
The difference between a standard chain and a sealed chain is that the former does not use any type of seal to retain chain lubricant. Sealed chains, often referred to as O-ring chains, utilize O-rings or similar variants to retain lubricant which helps reduce wear and prolong chain life.
There are different styles of O-ring chains available, such as ProX’s X-ring chains. ProX’s X-ring chains are a sealed O-ring chain but have less O-ring surface area touching the link surfaces to reduce the drag in comparison to a normal O-ring chain. The advantage is in the design of the O-rings themselves.
Tools
To replace a chain that utilizes a clip type master link, you’ll need the following:
- Pliers for pressing on the chain plate or master link plate pressing tool. Pliers will also be used to install the master link clip.
- Flat blade screwdriver for removing the master link clip.
- Grinder, punch, and hammer, or chain breaker tool to adjust chain length.
To replace a chain that utilizes a rivet type master link, you’ll need the following:
- Chain rivet tool for installing the master link.
- Grinder, punch, and hammer, or chain breaker tool to adjust chain length and to remove the old chain.
.jpg)
Chain Removal
On chains utilizing a clip type master link, chain removal is as simple as prying off the master link clip and removing the master link. Through use, the master link plate usually wears enough so that it can easily be slid off the link. If the master link plate is tight, the master link should be driven out by using a punch and hammer or chain break tool.
.jpg)
.jpg)
Chains utilizing rivet master links will require pin grinding so that one of the links can be removed. Grind the rivets that retain one of the links flat, then use a punch and hammer or chain break tool to push the chain link out.
Chain Installation
If necessary, resize the chain to your machine by removing the appropriate number of chain links. Remember to count the chain links of the old chain to establish the length of the new chain. Don’t lay them side by side and try to set the length because the chain stretch that occurred in the old chain will lead to an incorrect chain length of the new chain.
.jpg)
Chain links can be removed by carefully grinding the rivet flat to the chain side plate, then driving the pin out with a punch and hammer. Alternatively, a chain break tool can be used.
.jpg)
Loosen the rear axle nut and slacken the chain adjusters. The new chain will necessitate this since it has not worn or stretched.
Position the two chain ends on the rear sprocket. Next, install the master link whether clip or rivet type. Be sure to include the o-rings when installing sealed chains.
Clip Type Master Link Install
Once the master link has been installed, install another pair of o-rings (on sealed chains) followed by the master link plate. The master link plate will need to be pressed onto the master link. Use a pair of pliers to squeeze the plate onto the master link. Press the plate on far enough so that the grooves that retain the master link clip become exposed. A pair of small c-clamps can sometimes be helpful when installing the plate, or a master link plate installation tool can be utilized.
-1.jpg)
-1.jpg)
.jpg)
Next, install the master link clip. The master link clip is directional and should be oriented so that the closed end of the clip leads the direction of rotation. By orienting the clip this way, should the clip hit an object during operation, it will not become dislodged from the master link. To install the master link clip, position it in its mating grooves on the master link. Use pliers to seat the clip fully in its grooves.
.jpg)
.jpg)
Rivet Type Master Link Install
To install a rivet type master link, you will need a master link rivet tool. It’s recommend to follow the instructions provided with the tool to perform the rivet operation. The chain manufacturer will also provide specifications which govern the appropriate amount of flare to add when deforming the rivets.
Setting Chain Slack
Once the master link has been installed the chain tension should be adjusted so that the machine has the appropriate amount of chain slack. Your machine’s service manual will outline how to measure the chain slack and define the slack range. Most manufacturers recommend measuring chain slack with the bike on a center stand. Slack is then measured by pulling up on the chain near the center of the swingarm and measuring its displacement. Most dirt bikes require 30 - 60mm (1.18 - 2.36 inches) of chain slack. Carefully manipulate the chain adjusters so that they tension the chain evenly and align with the same reference points from side to side. Once chain slack is correctly set, torque the rear axle nut to the specification outlined in your service manual.
.jpg)
.jpg)
Post Installation Tips
Most chains are pre-stretched to reduce the amount of initial chain stretch that occurs once the chain is put in use, however, it is never a bad idea to keep an eye on the chain slack after the first few rides.
New chains come pre-lubricated from the factory. However, you should always ensure your chain stays lubricated throughout its life. Lubing your chain before or after every ride, especially muddy or rainy ones, should become habitual.
Find ProX chain and other components for your bike HERE!