Recently you saw our introduction video telling you about our used 2006 YZ450F that we're rebuilding and documenting step-by-step. In this part 1 video, we'll go over tips on replacing a four-stroke piston.
The top end in a four-stroke can be split up into two major sections: the head, and the cylinder and piston. They both require specific attention and critical steps to ensure proper opertation once everything is back together.
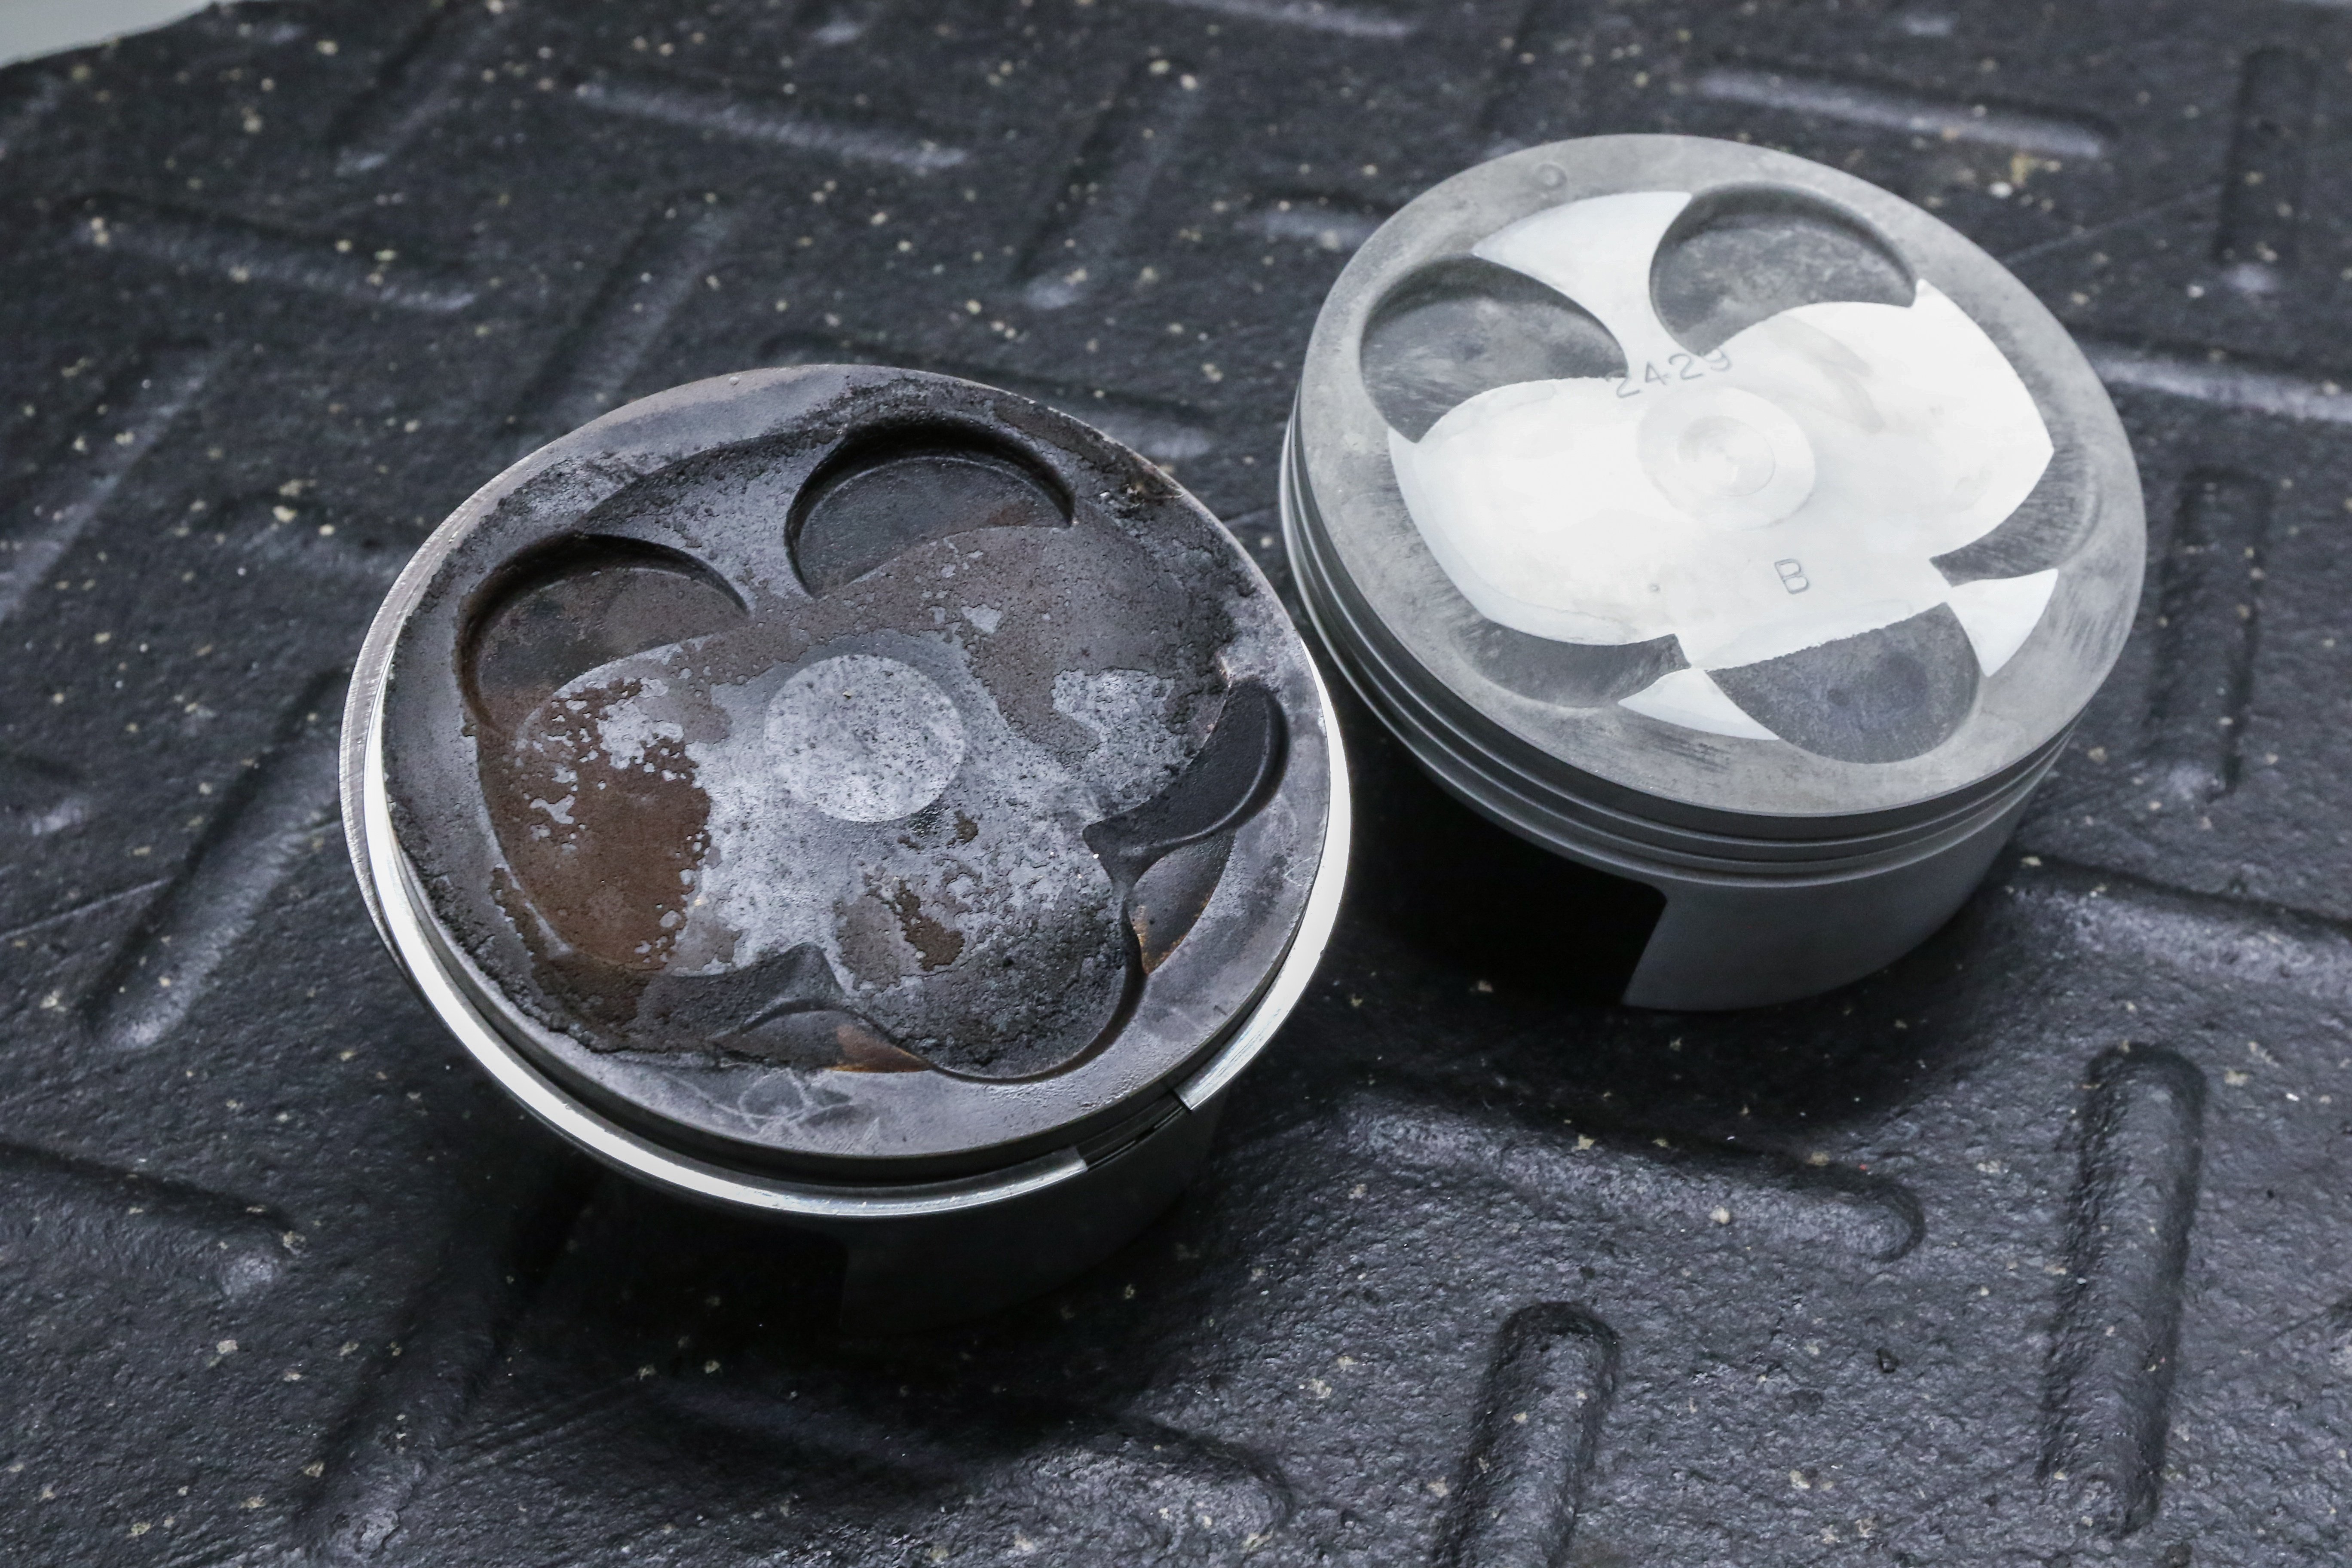
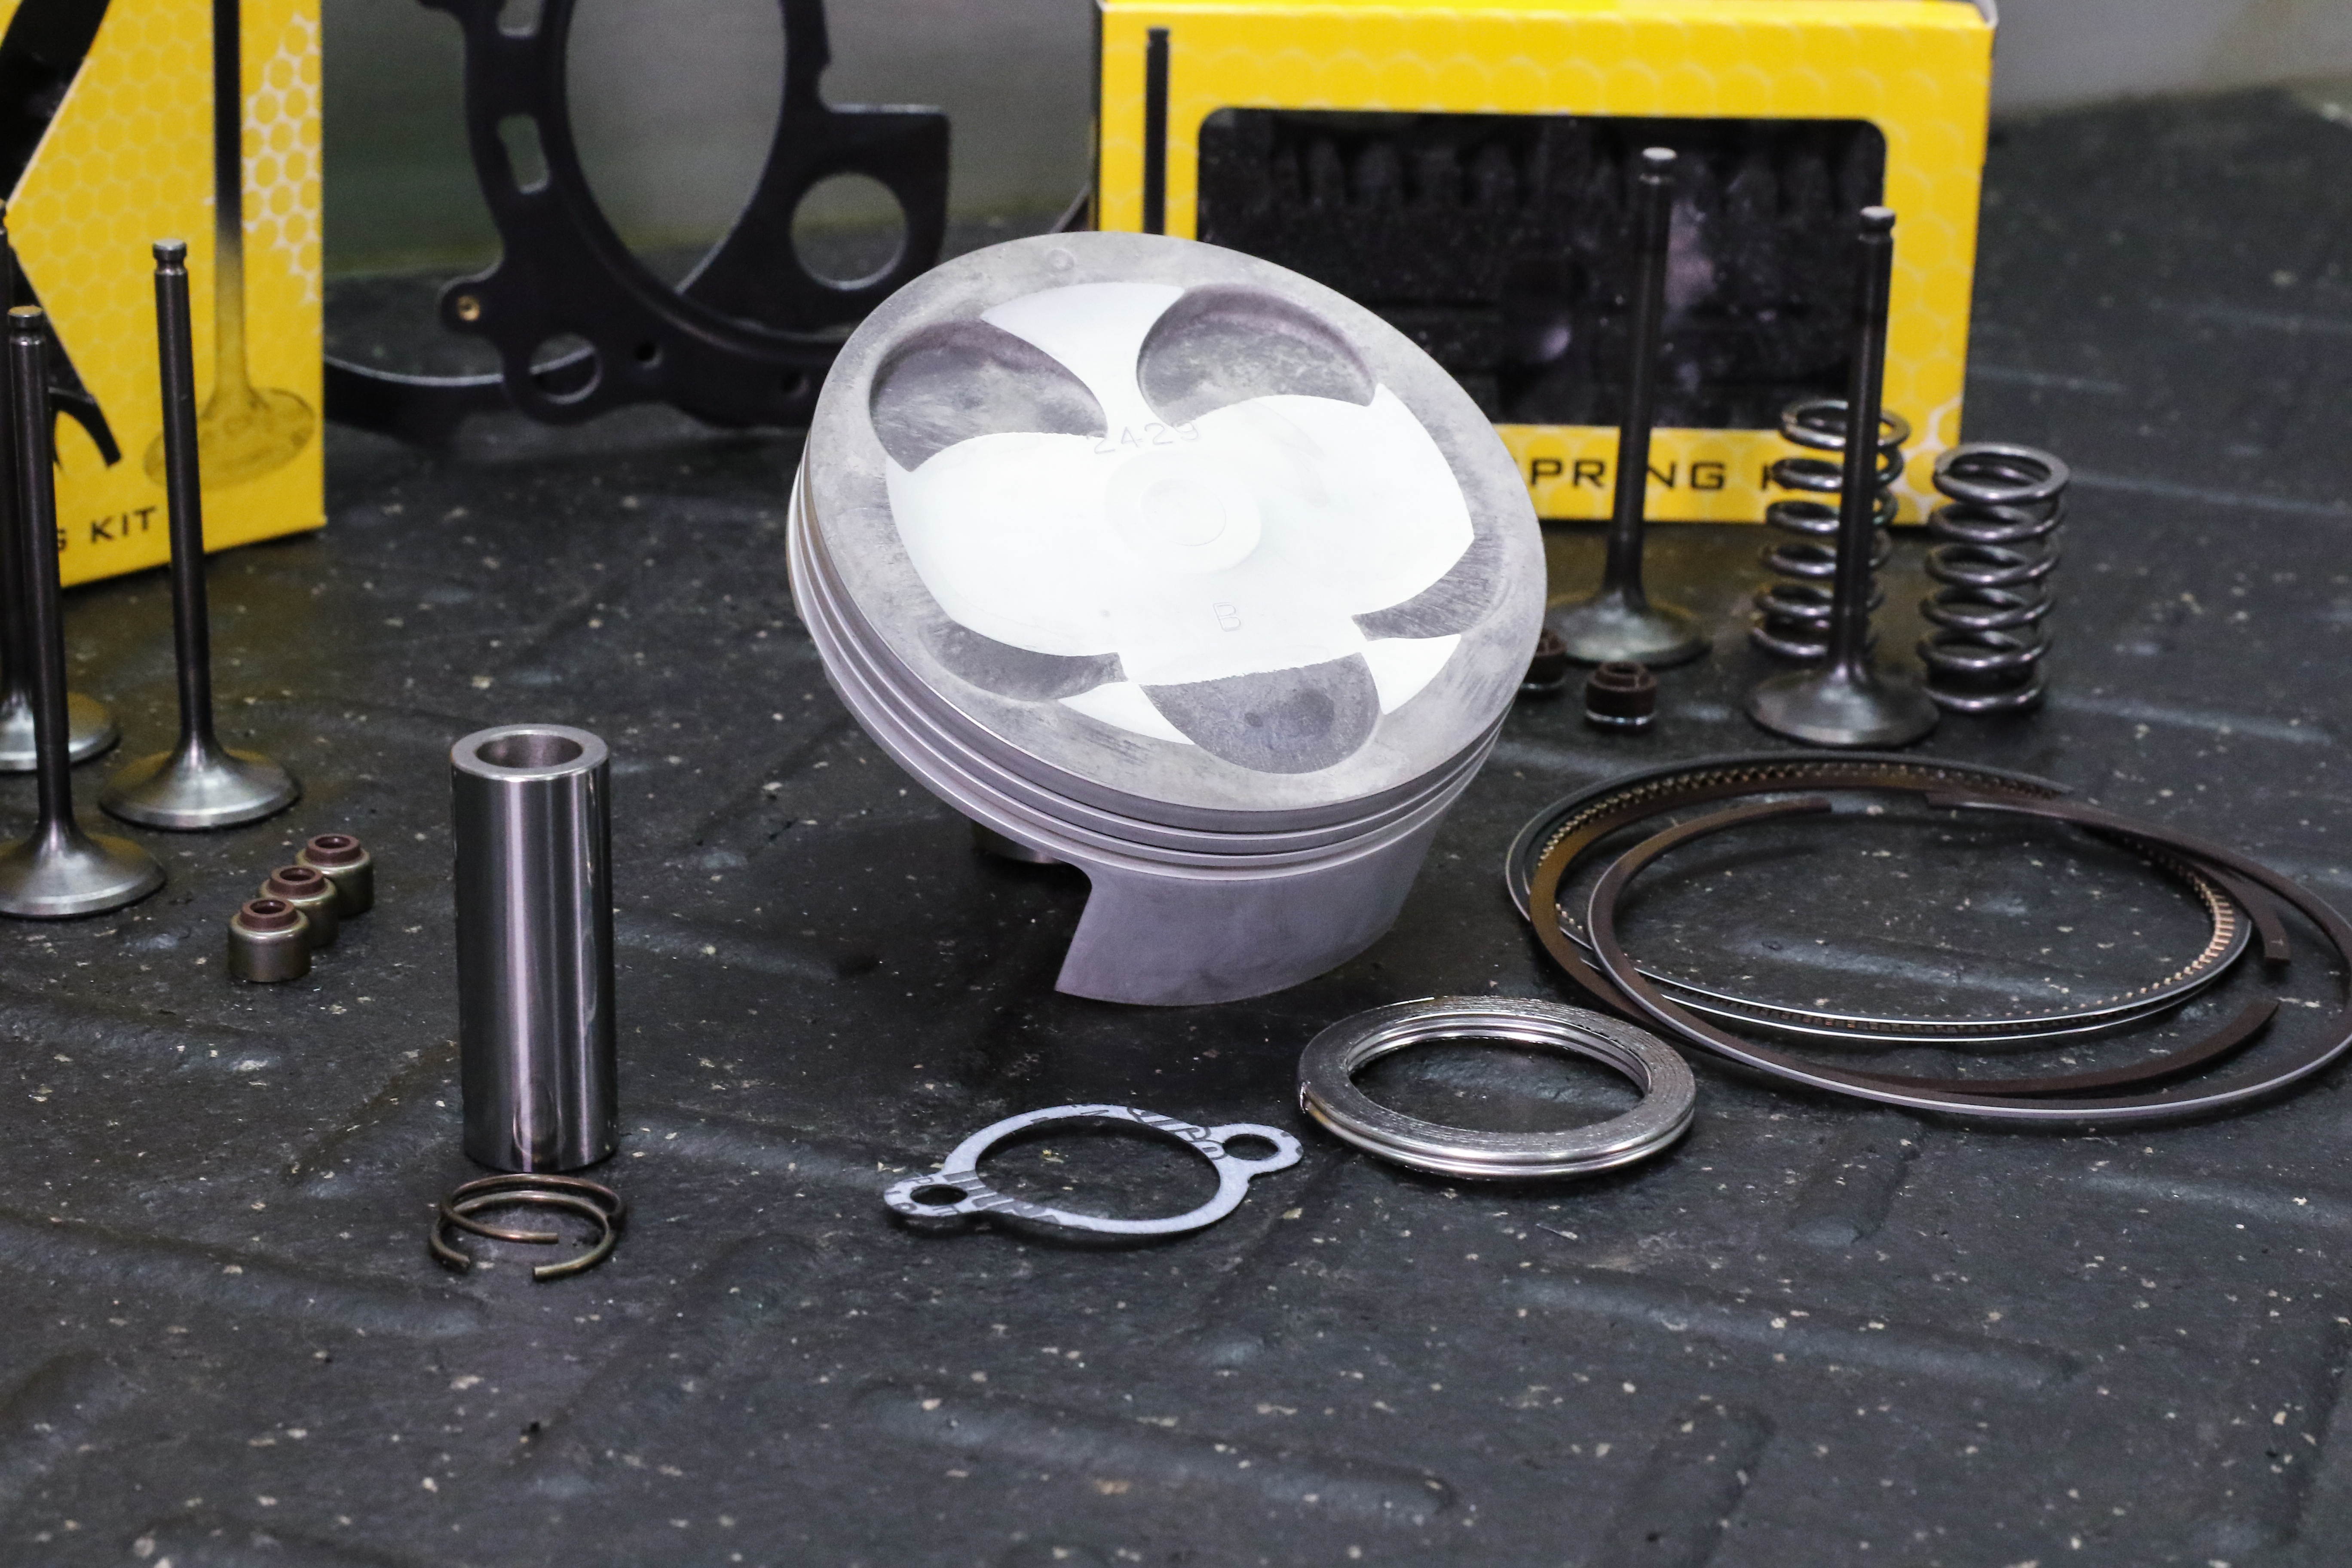
We replaced the worn stock piston with an OEM quality forged ProX piston kit. It includes the rings, wrist pin, circlips, and installation instructions. The pistons are available in A, B, and C sizes, to accomodate for the size of your cylinder as it wears.
See all our guides on 4-stroke top end rebuilds here!
Disassembly
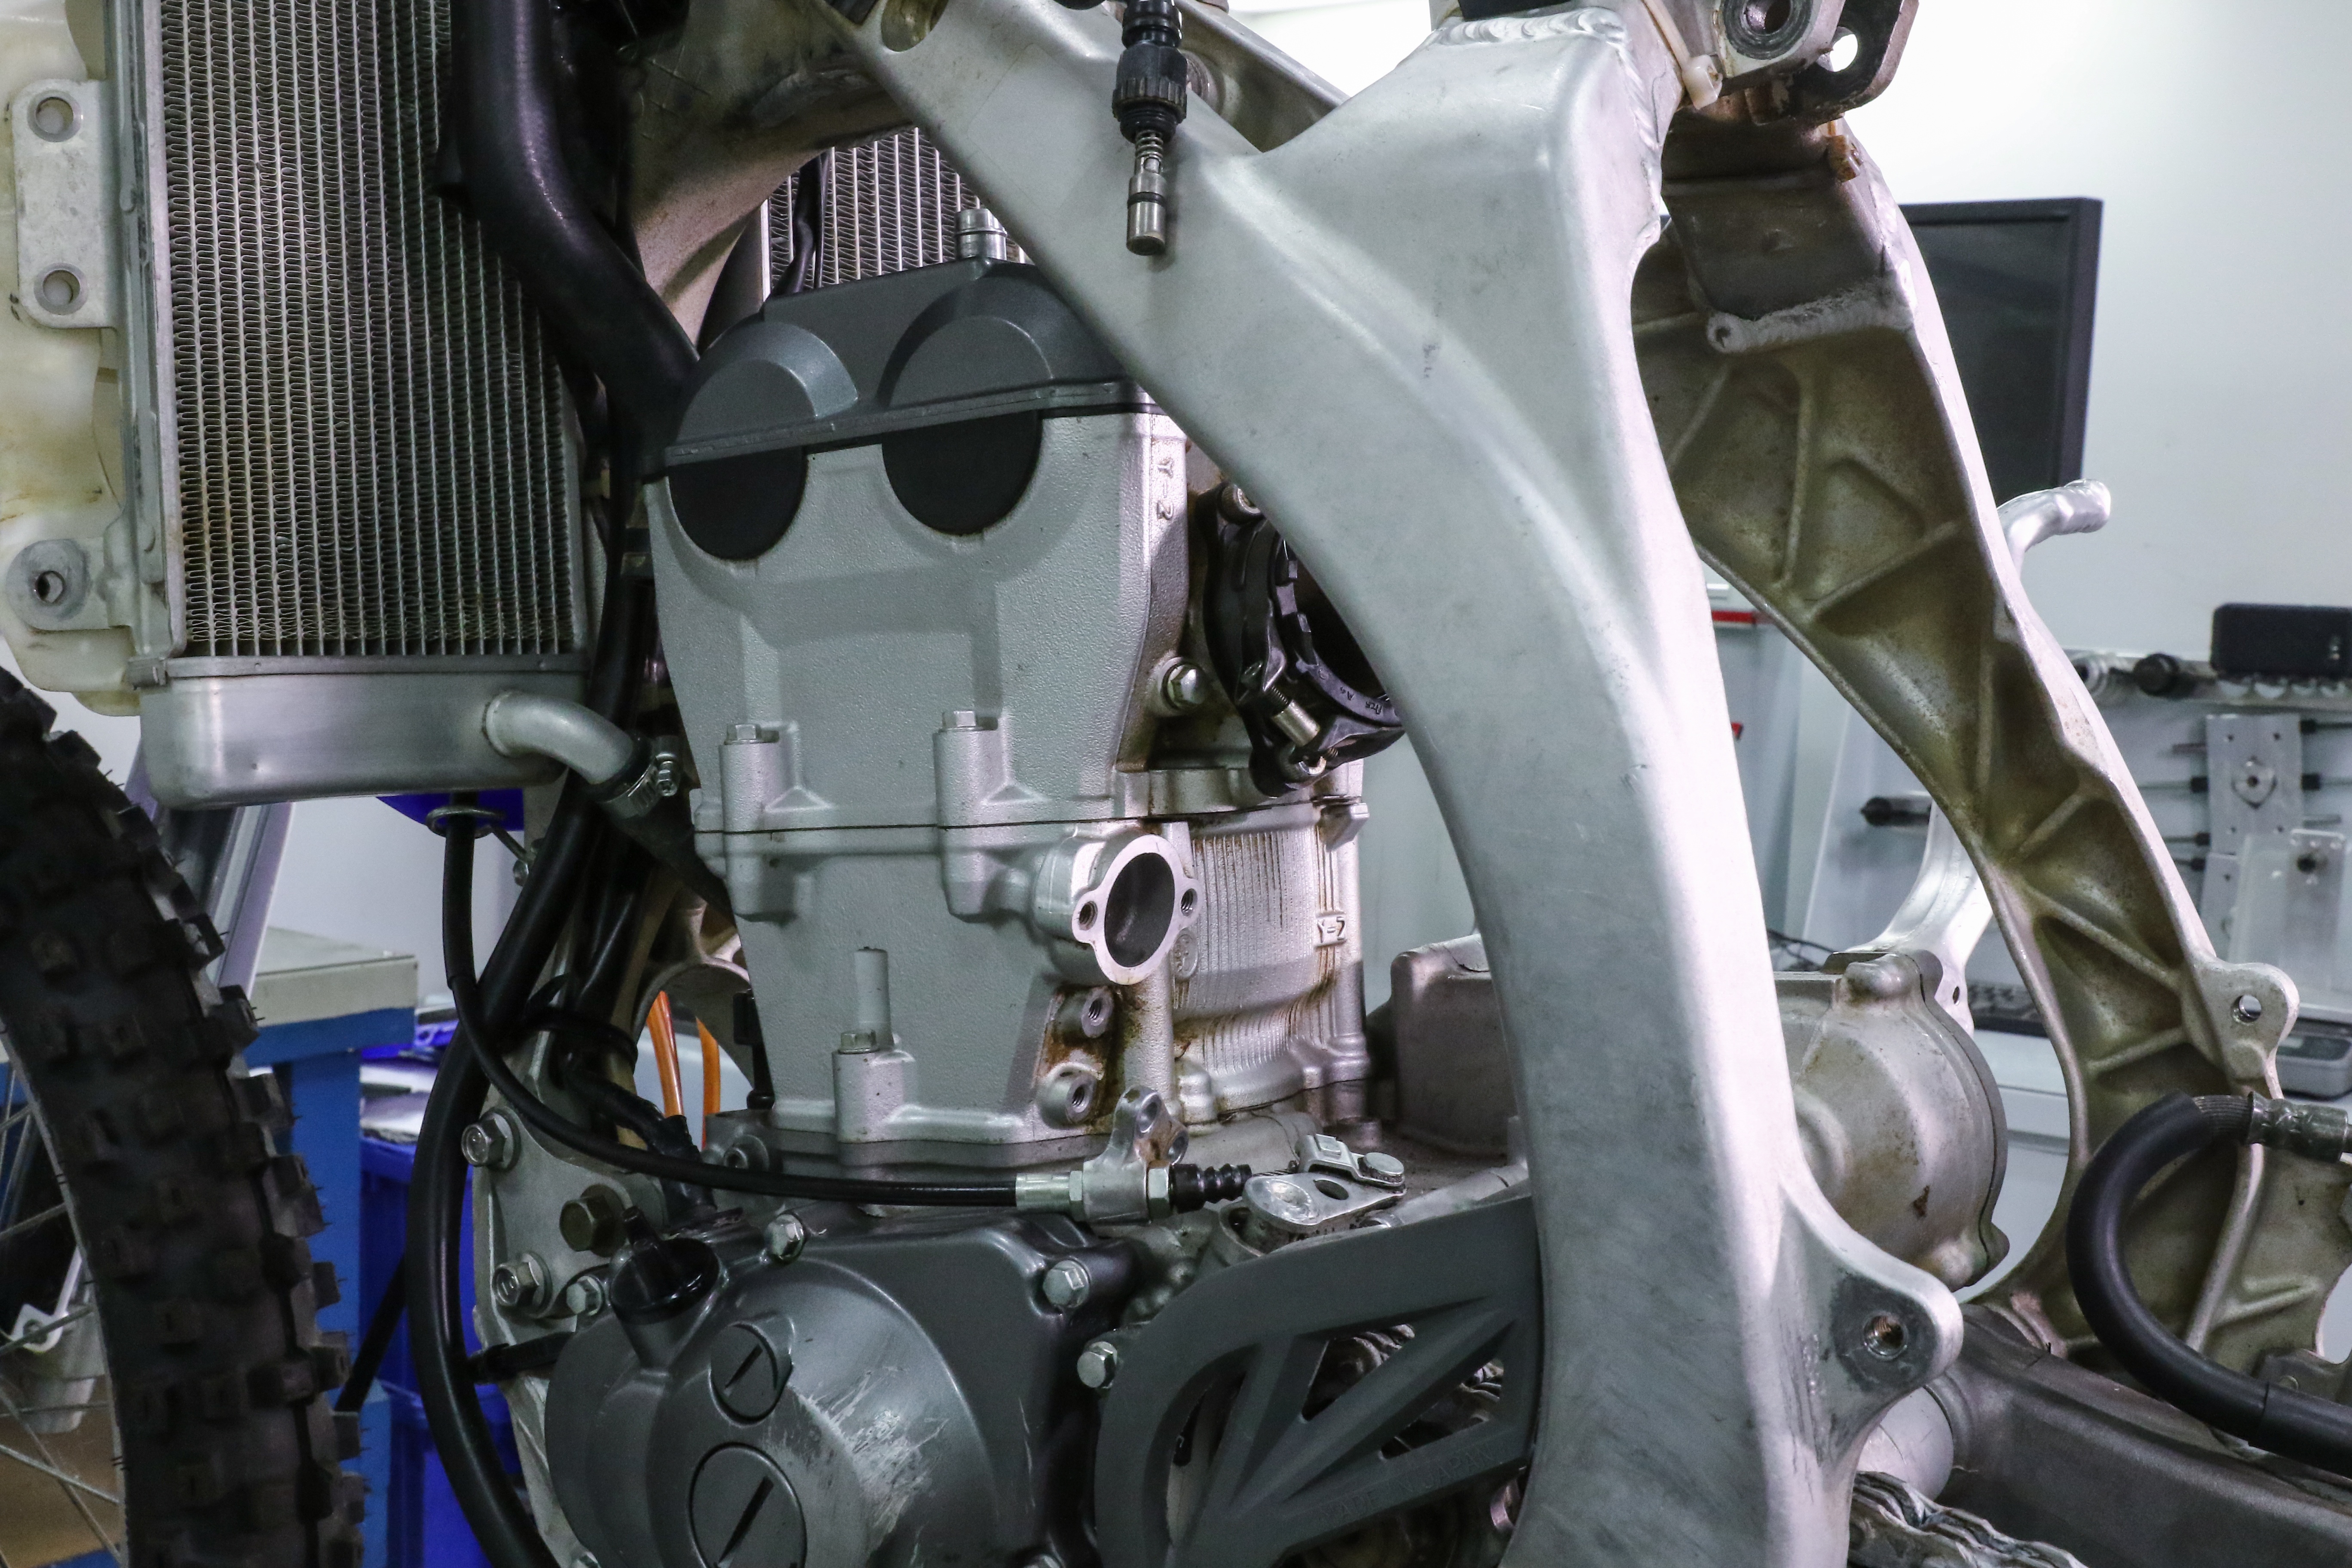
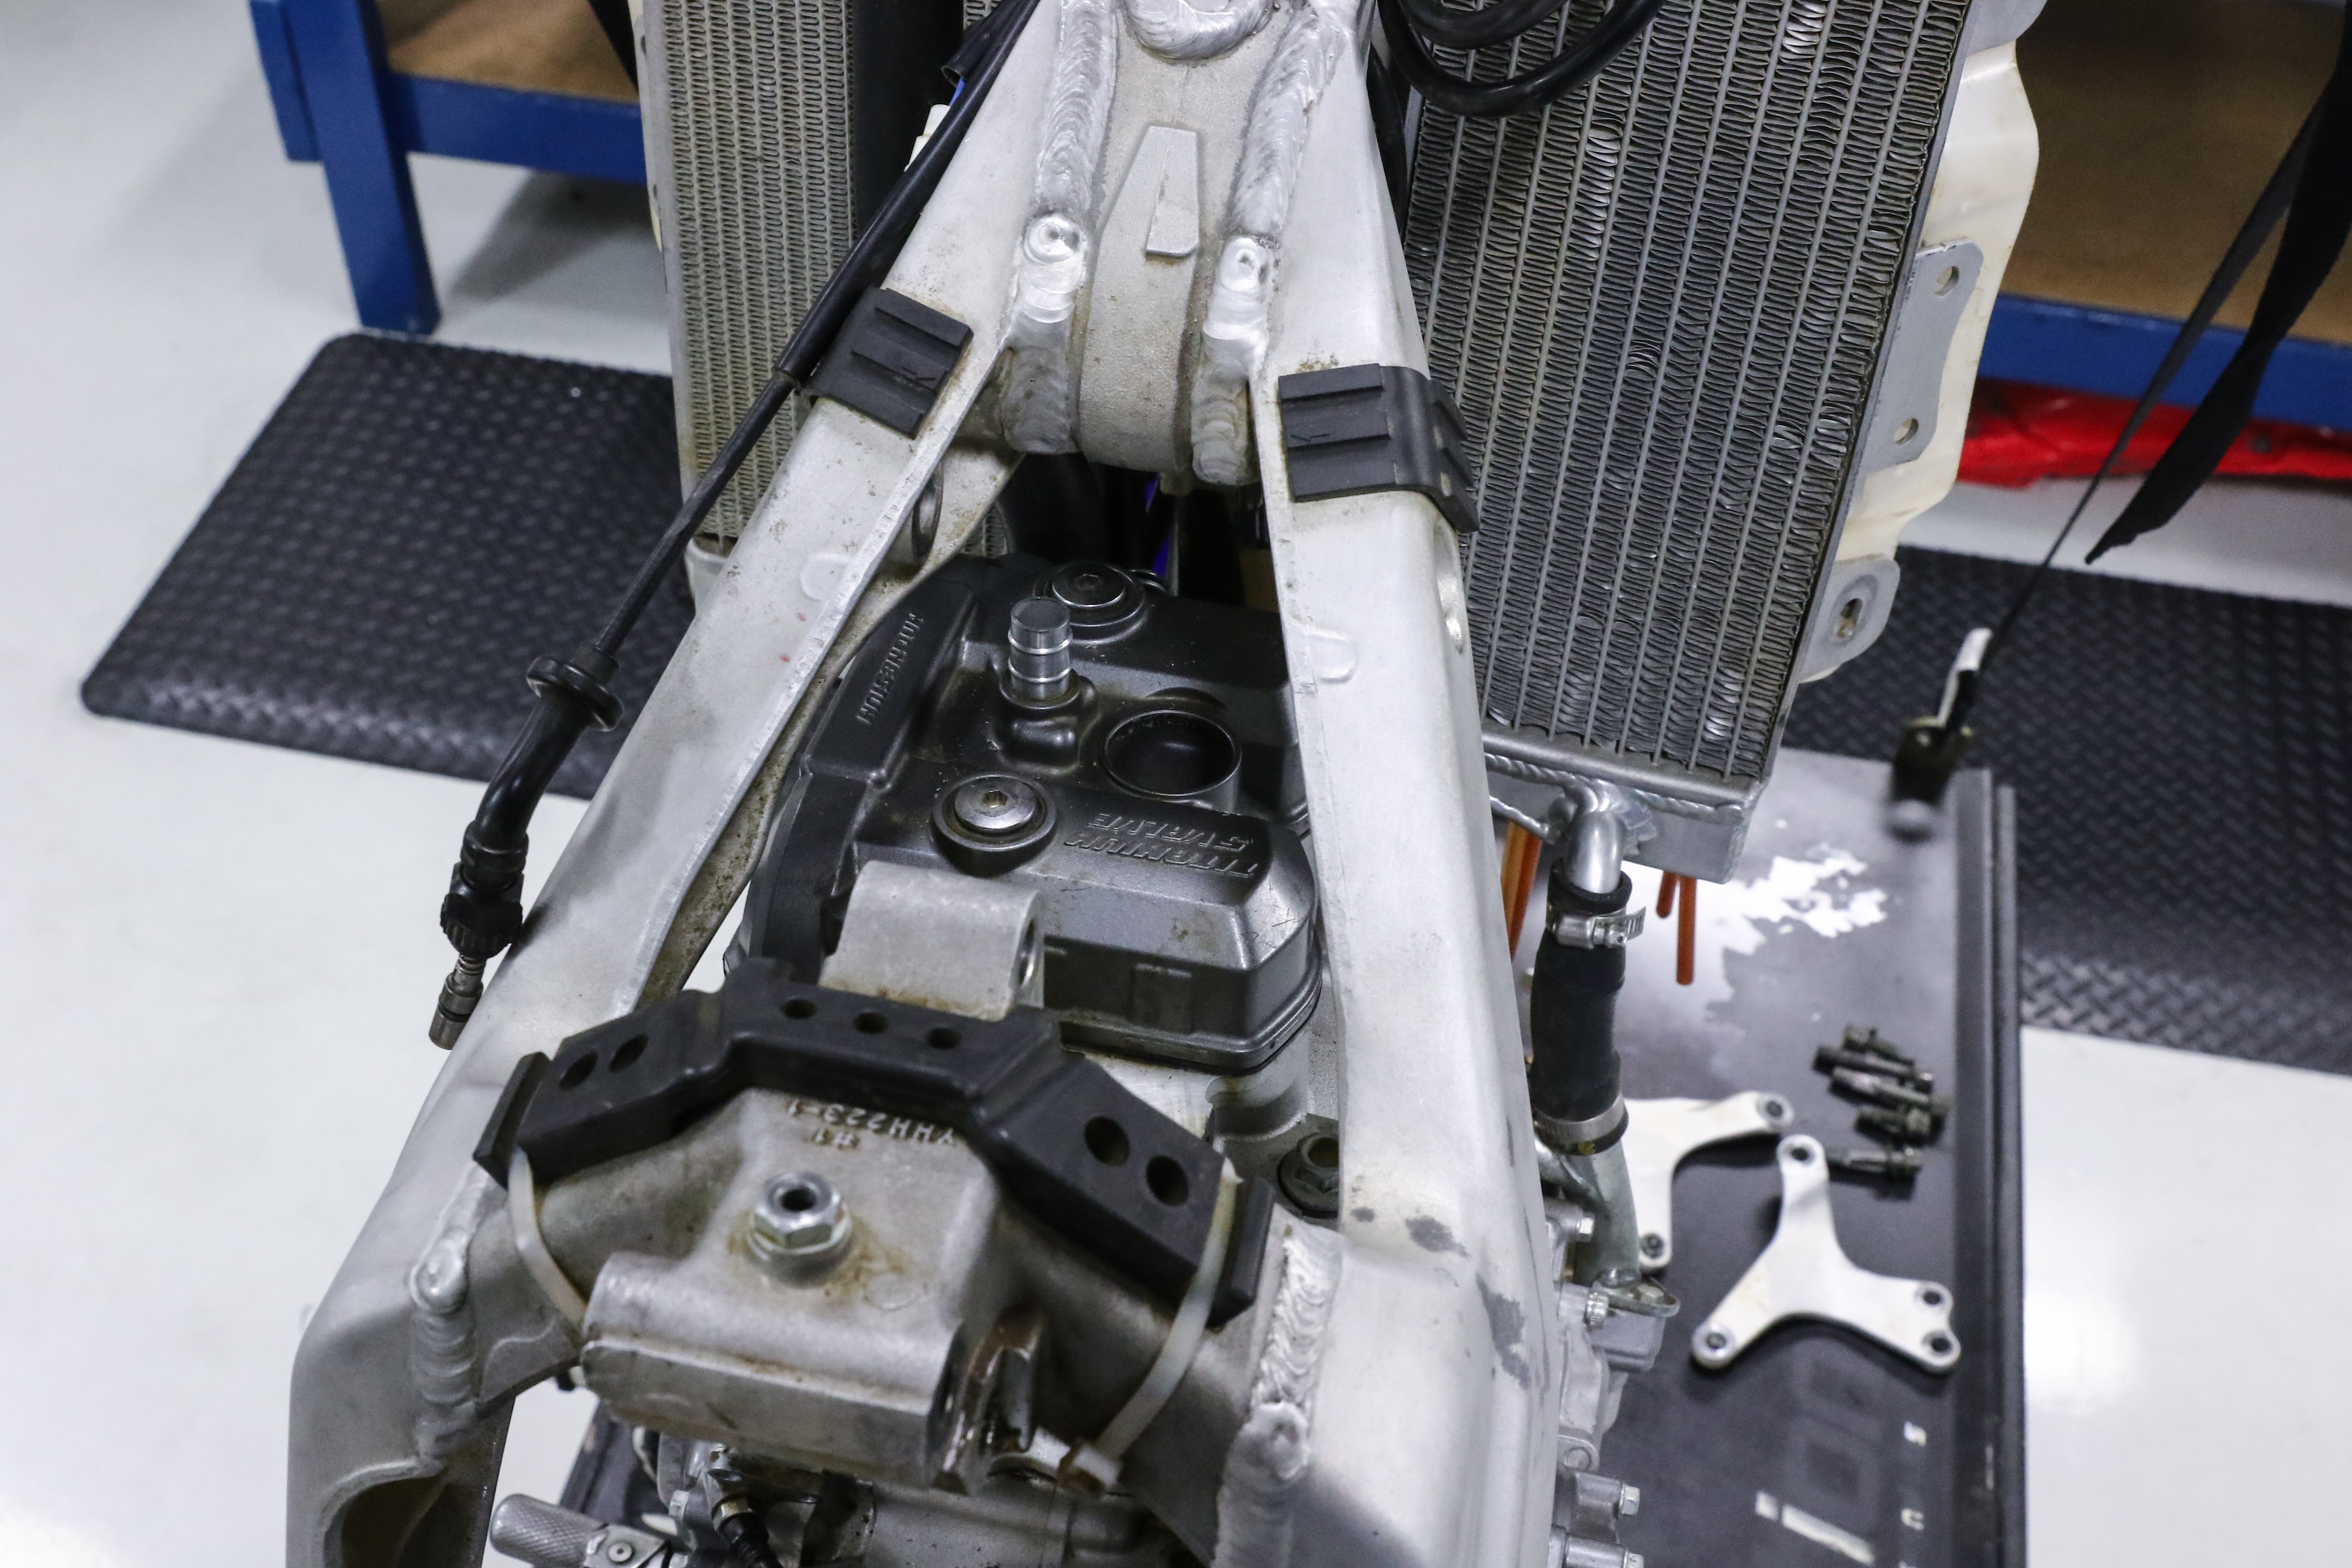
To prepare to disassemble your head and cylinder, you'll need to remove the seat, gas tank, exhaust system, and carburetor (or throttle body). While not always required, removing the sub-frame, shock, and air boot make accessibility to the engine a lot easier in most cases.
Once those major components are removed, you'll need to remove any other components attached to the head or cylinder, such as clutch cable guides, spark plug boots, and electrical connections.
Next, remove the cam cover, loosening the bolts incrementally until they are all loose. With that off, it is best to make sure your camshafts are not fully compressing any of the valve springs before you loosen the cam caps. You can do this by slowly rotating the crankshaft via the kickstarter. With the cam caps removed, loosen and remove the cam chain tensioner next. This will give you the slack to remove the timing chain completely. You can now lift the camshafts completely out, handling carefully.
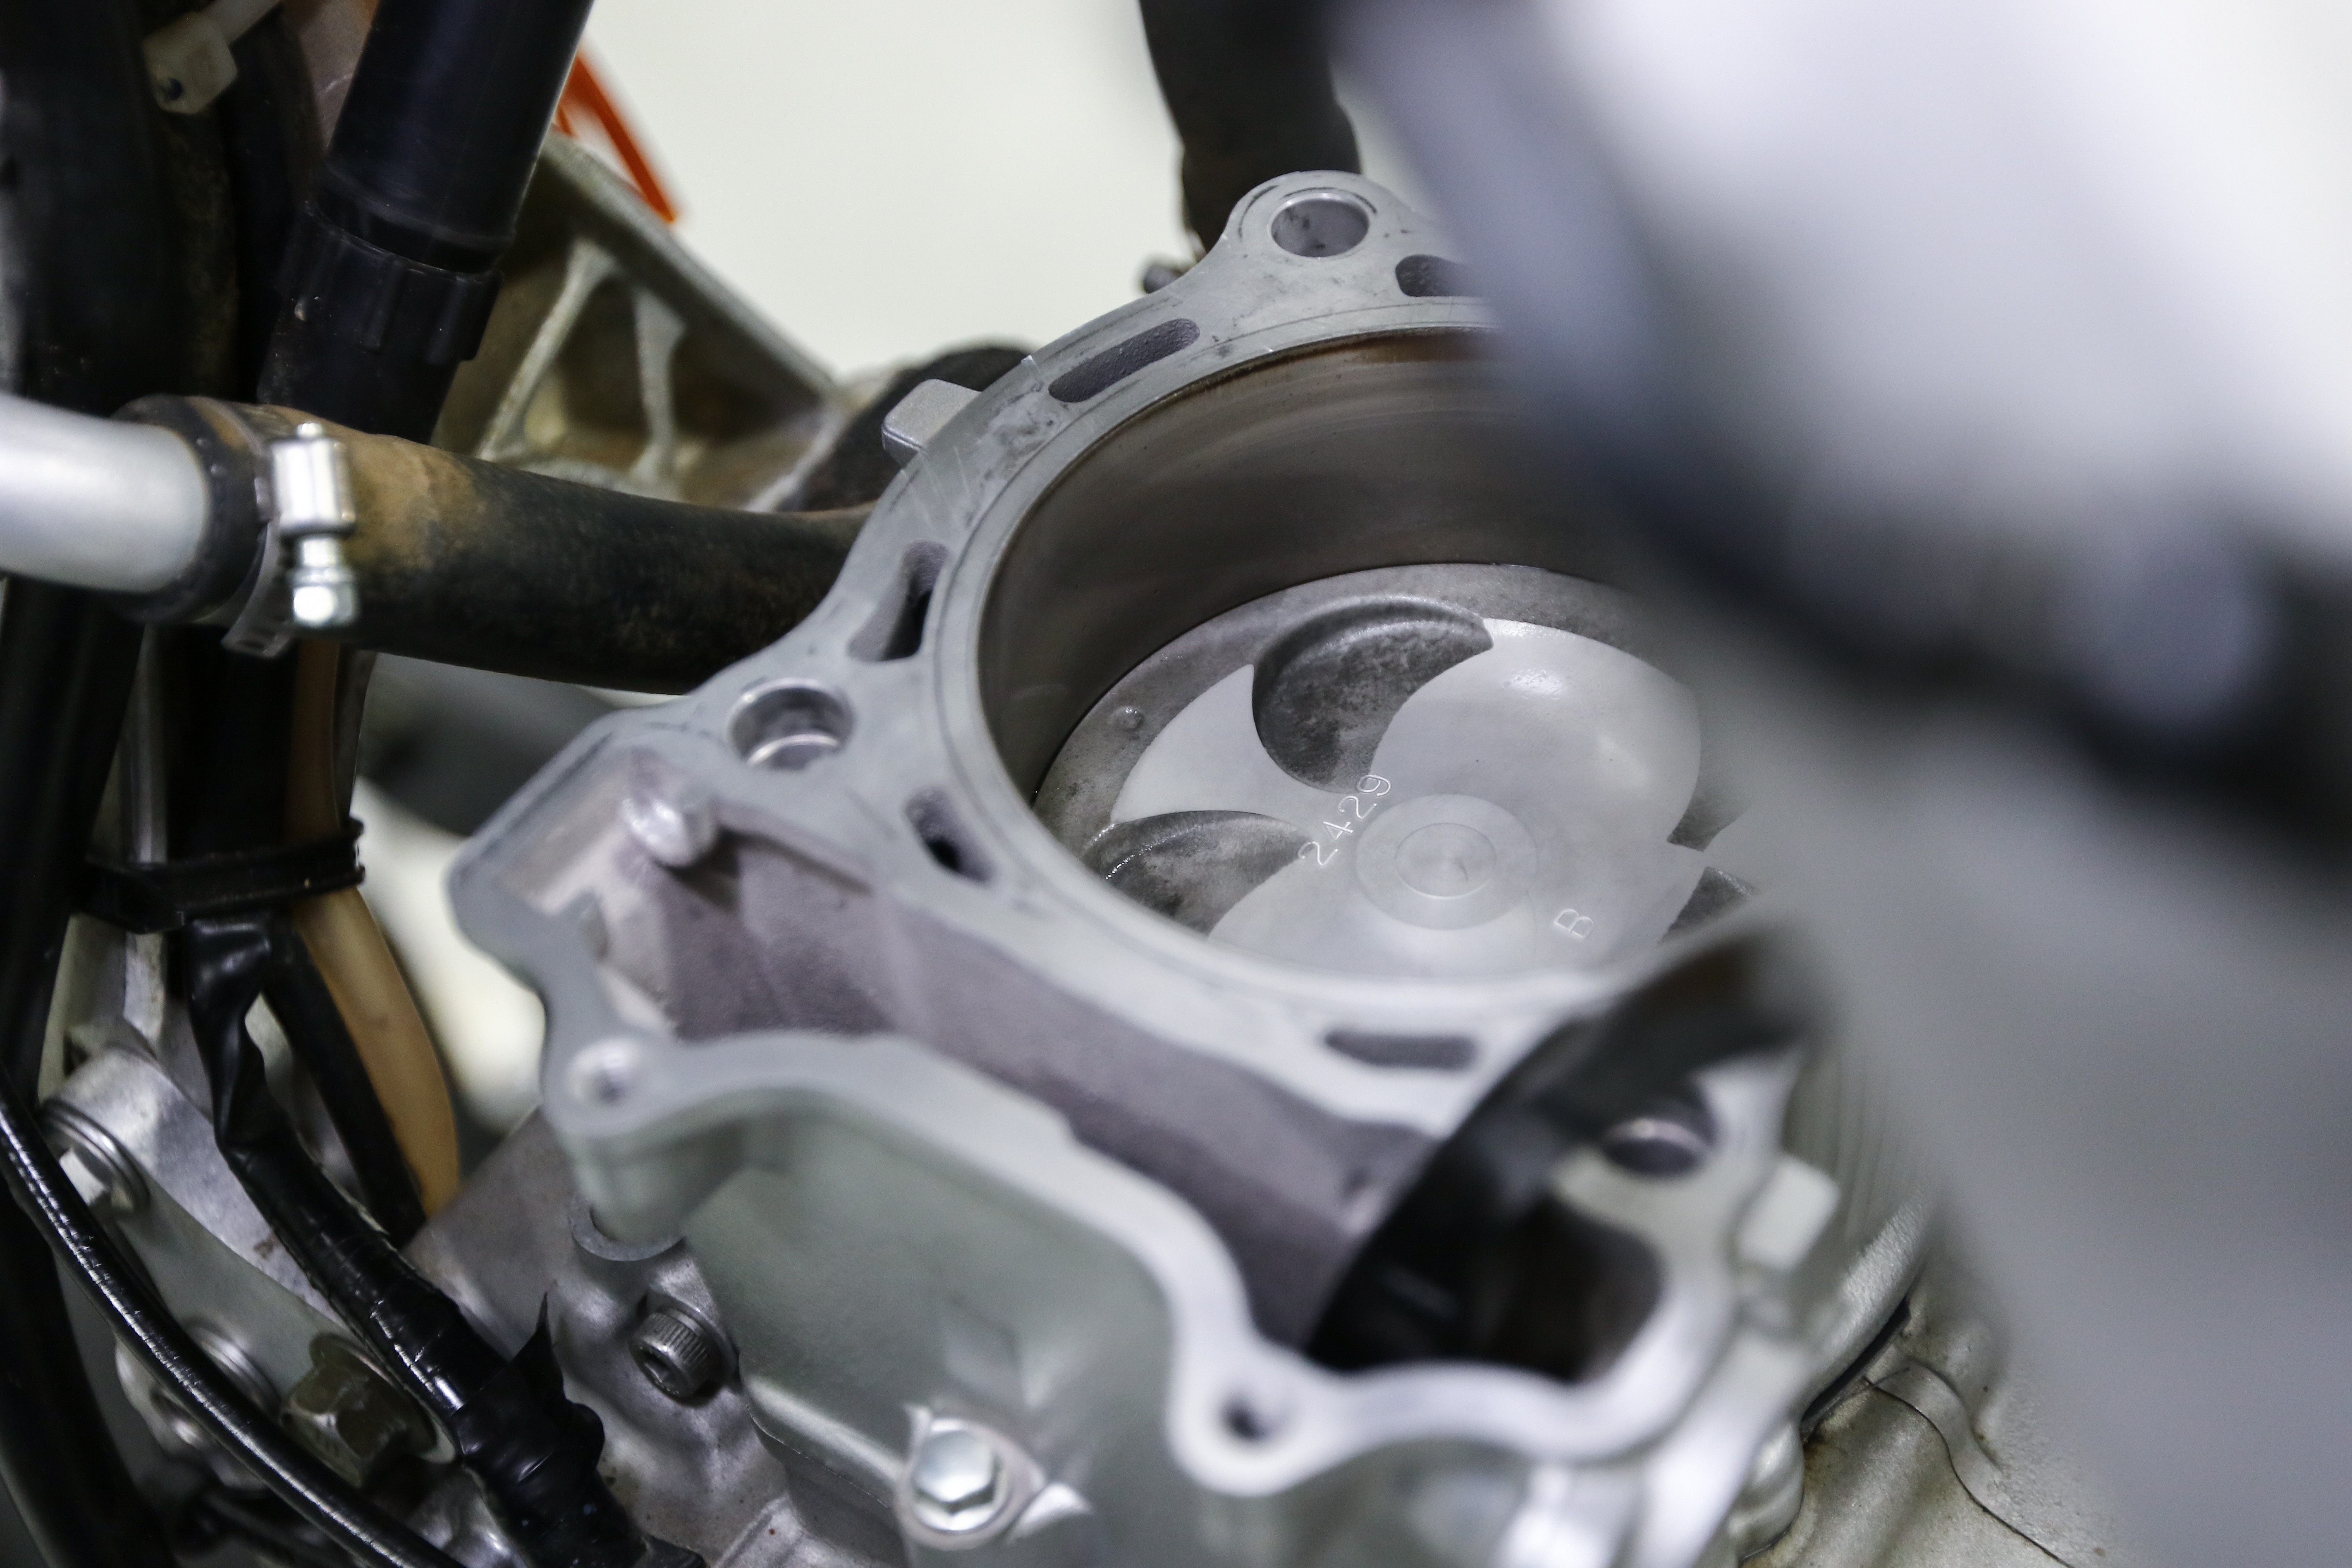
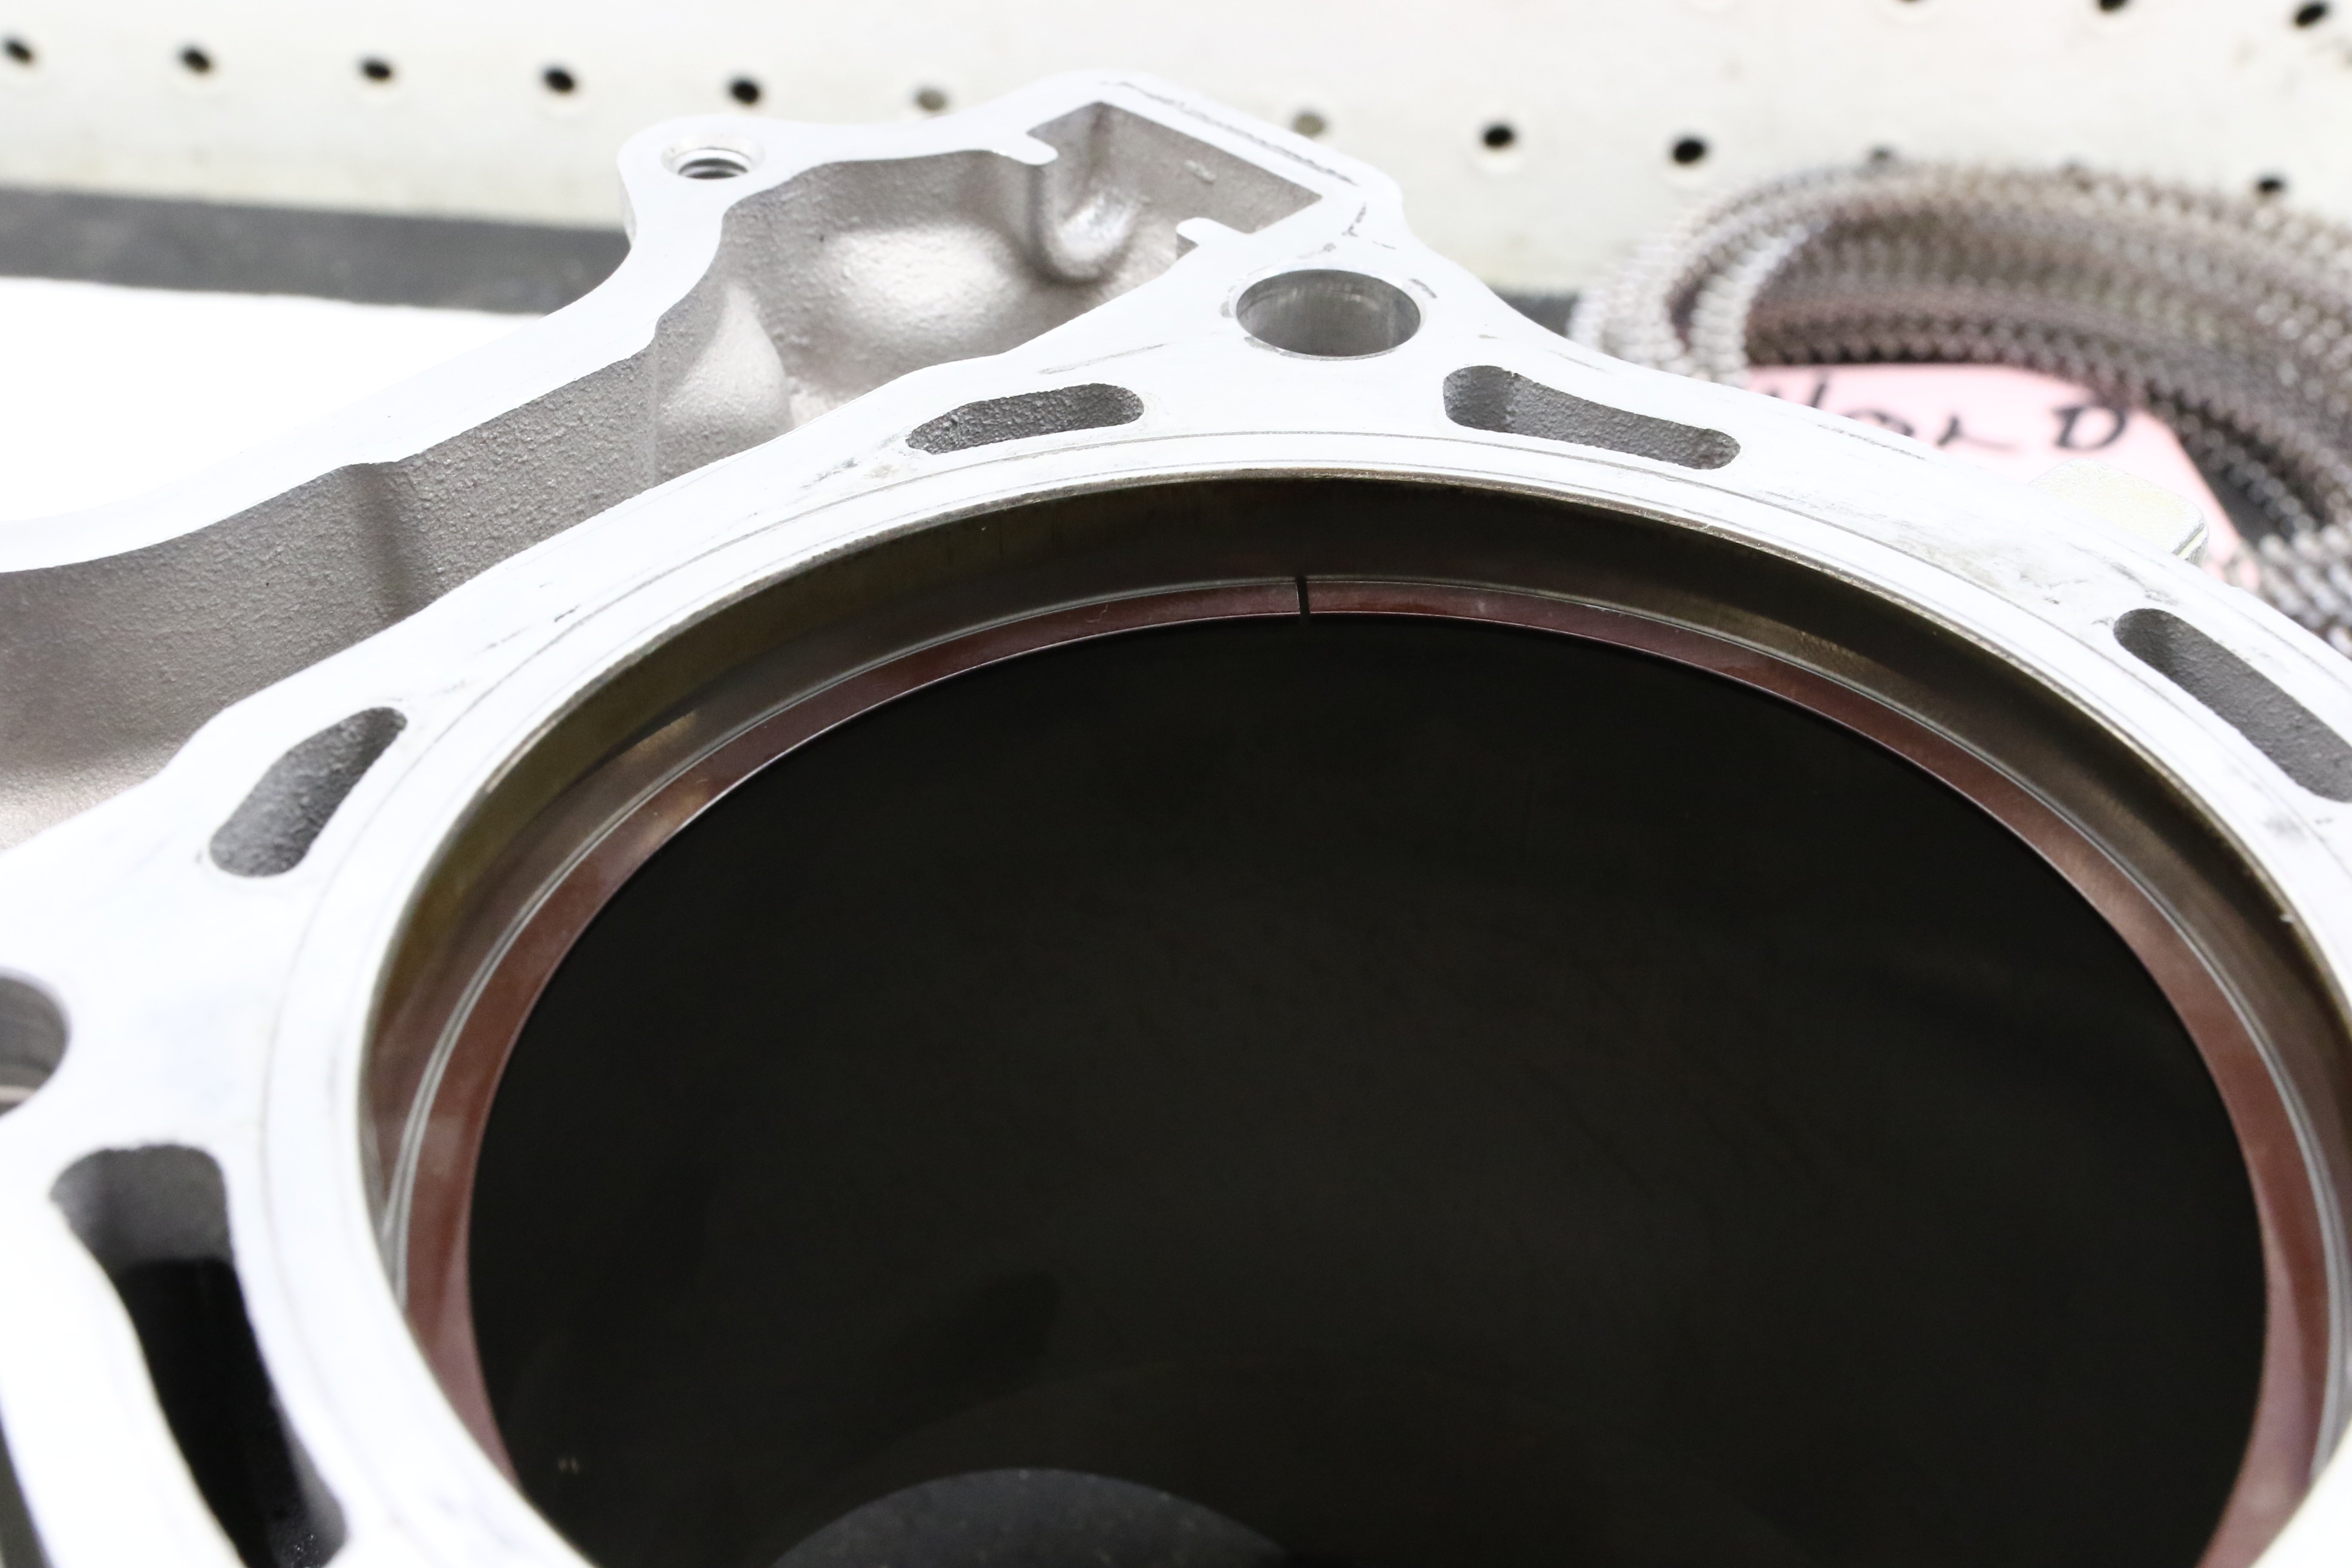
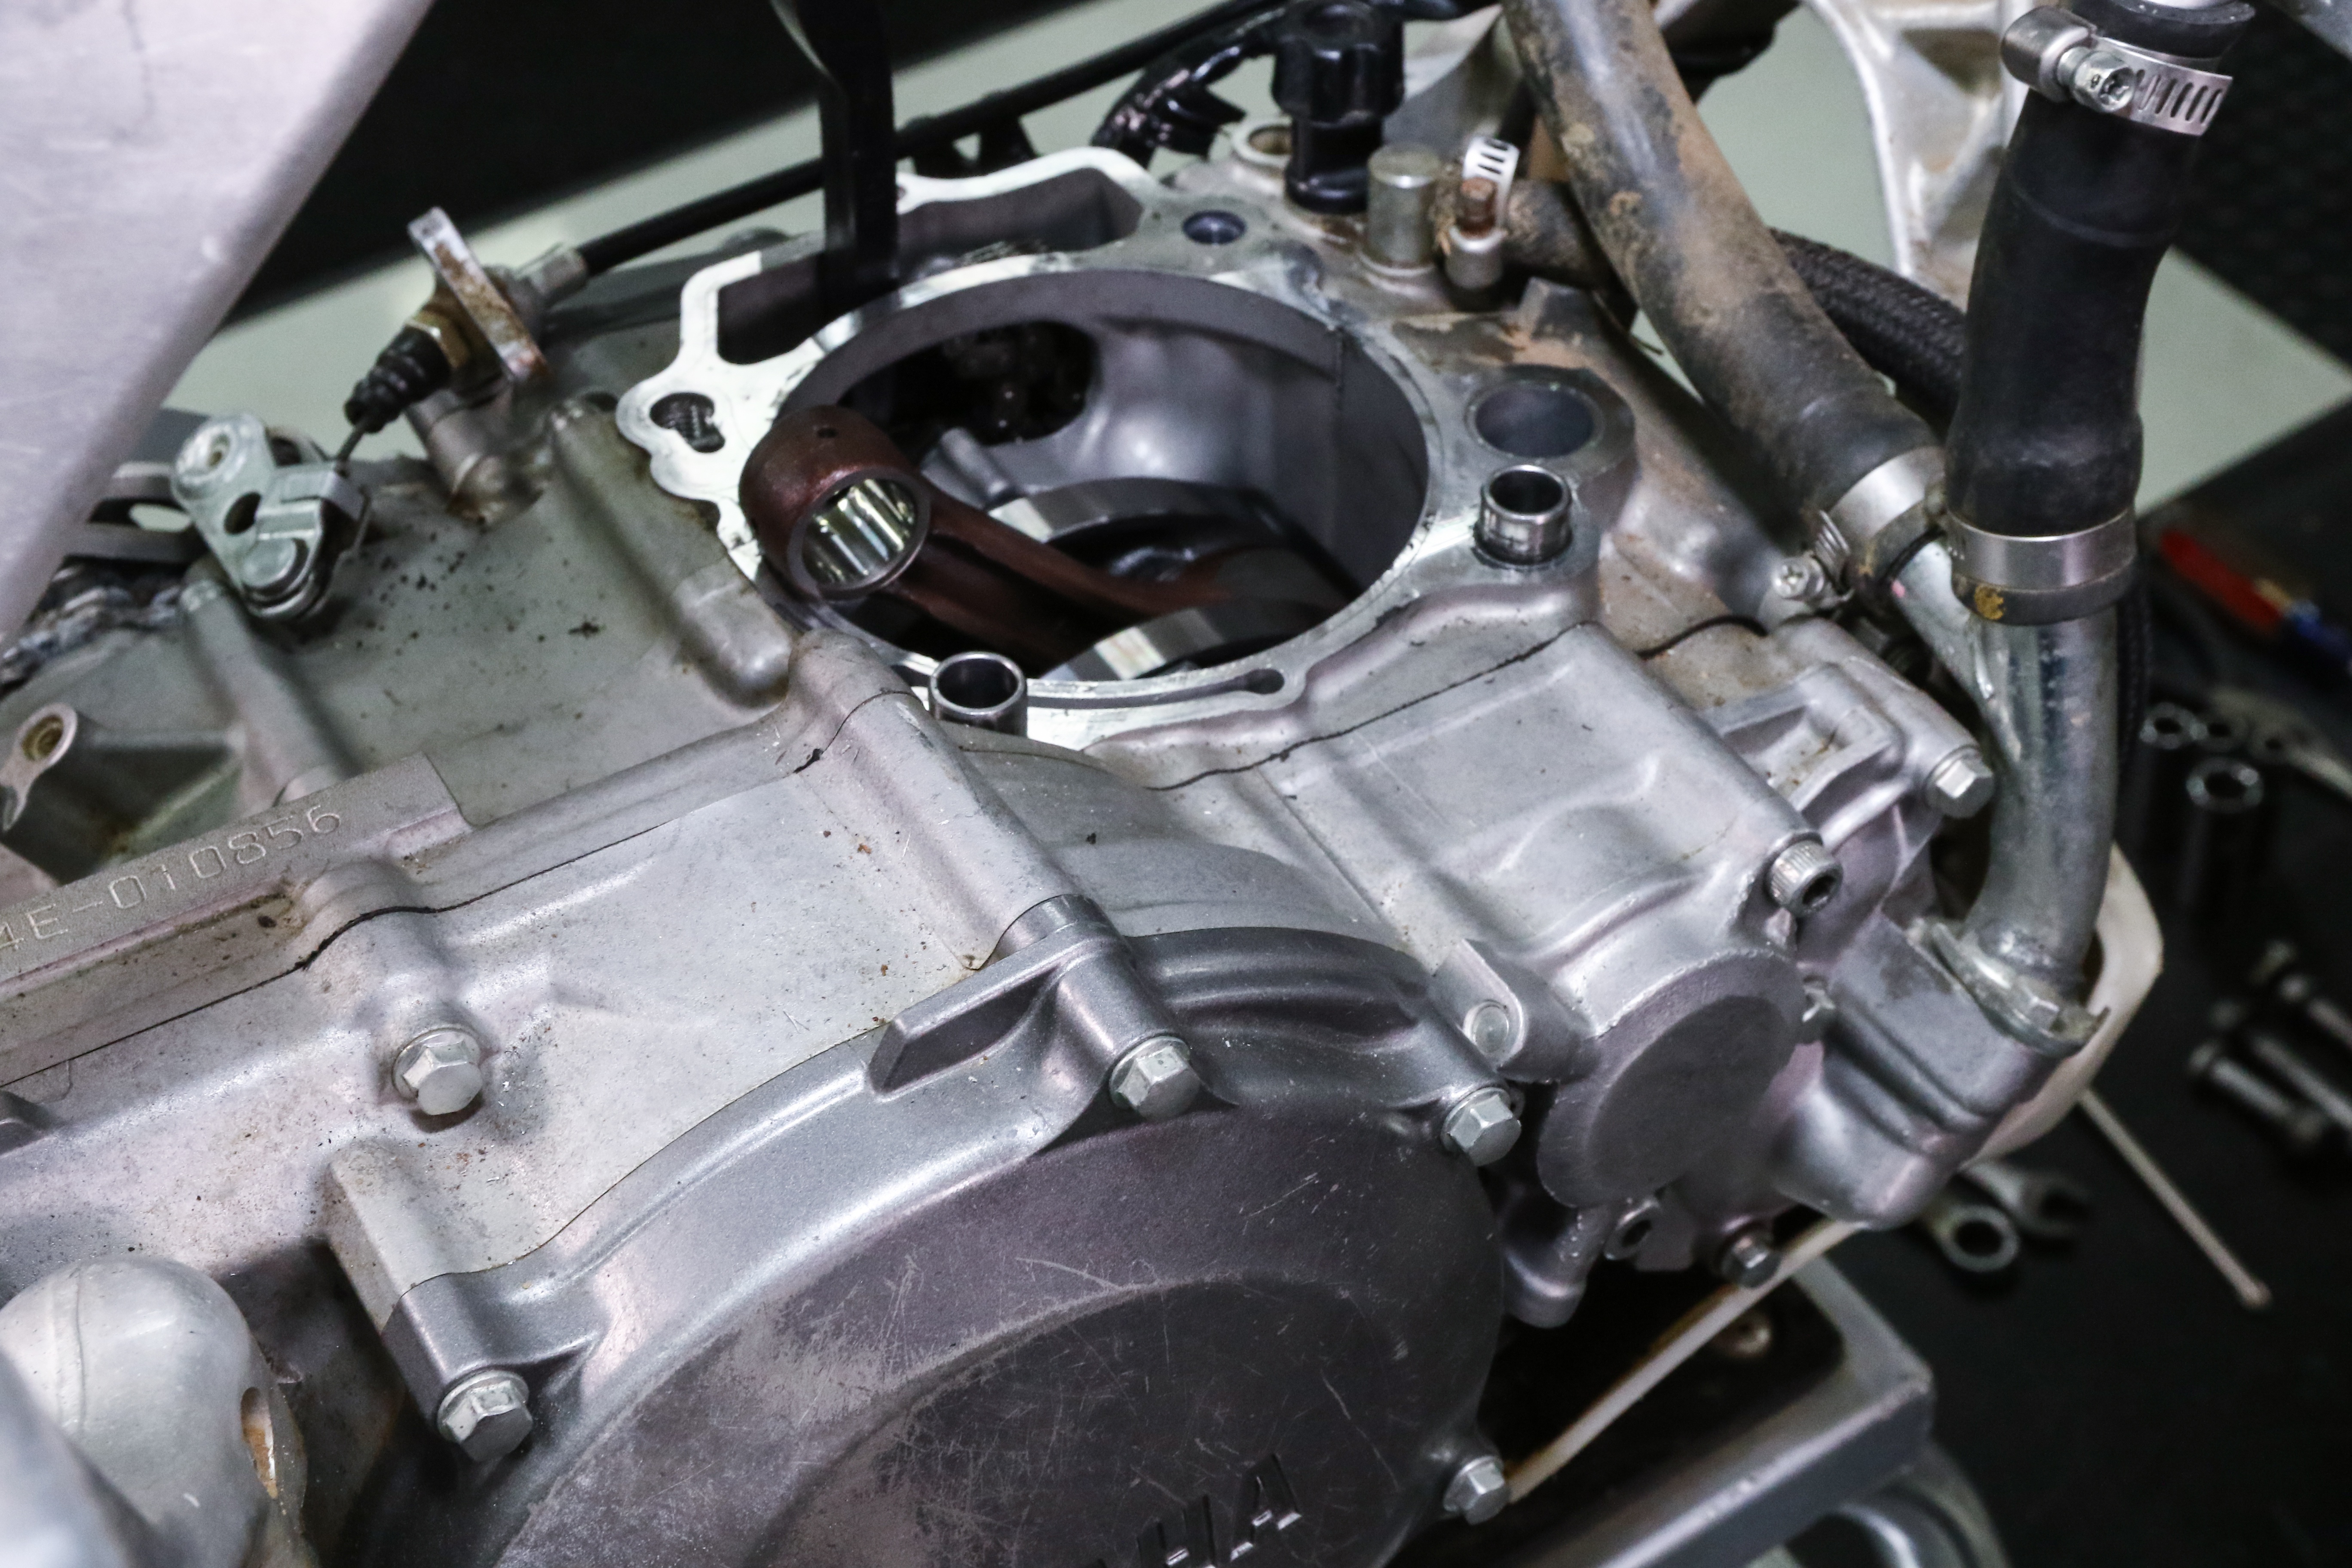
Now you can loosen the head bolts in incrementally in a crossing pattern. Remove the head and place it aside, handling it carefully. Next, do the same for the cylinder bolts, and carefully remove the cylinder. As you remove the cylinder, the piston is going to stay on the connecting rod, so it helps to hold the connecting rod steady as you wiggle the cylinder off the piston. It is always a good idea to fill the opening of the cases with a lint free rag to prevent debris or loose parts from falling in.
Finally, you can remove one wire lock from the stock piston using a pick or small screwdriver. Slide the wrist pin out, and remove the piston from the small end of the connecting rod. Be very careful no to drop anything into the cases during this step, and throughout the entire process.
Cleaning
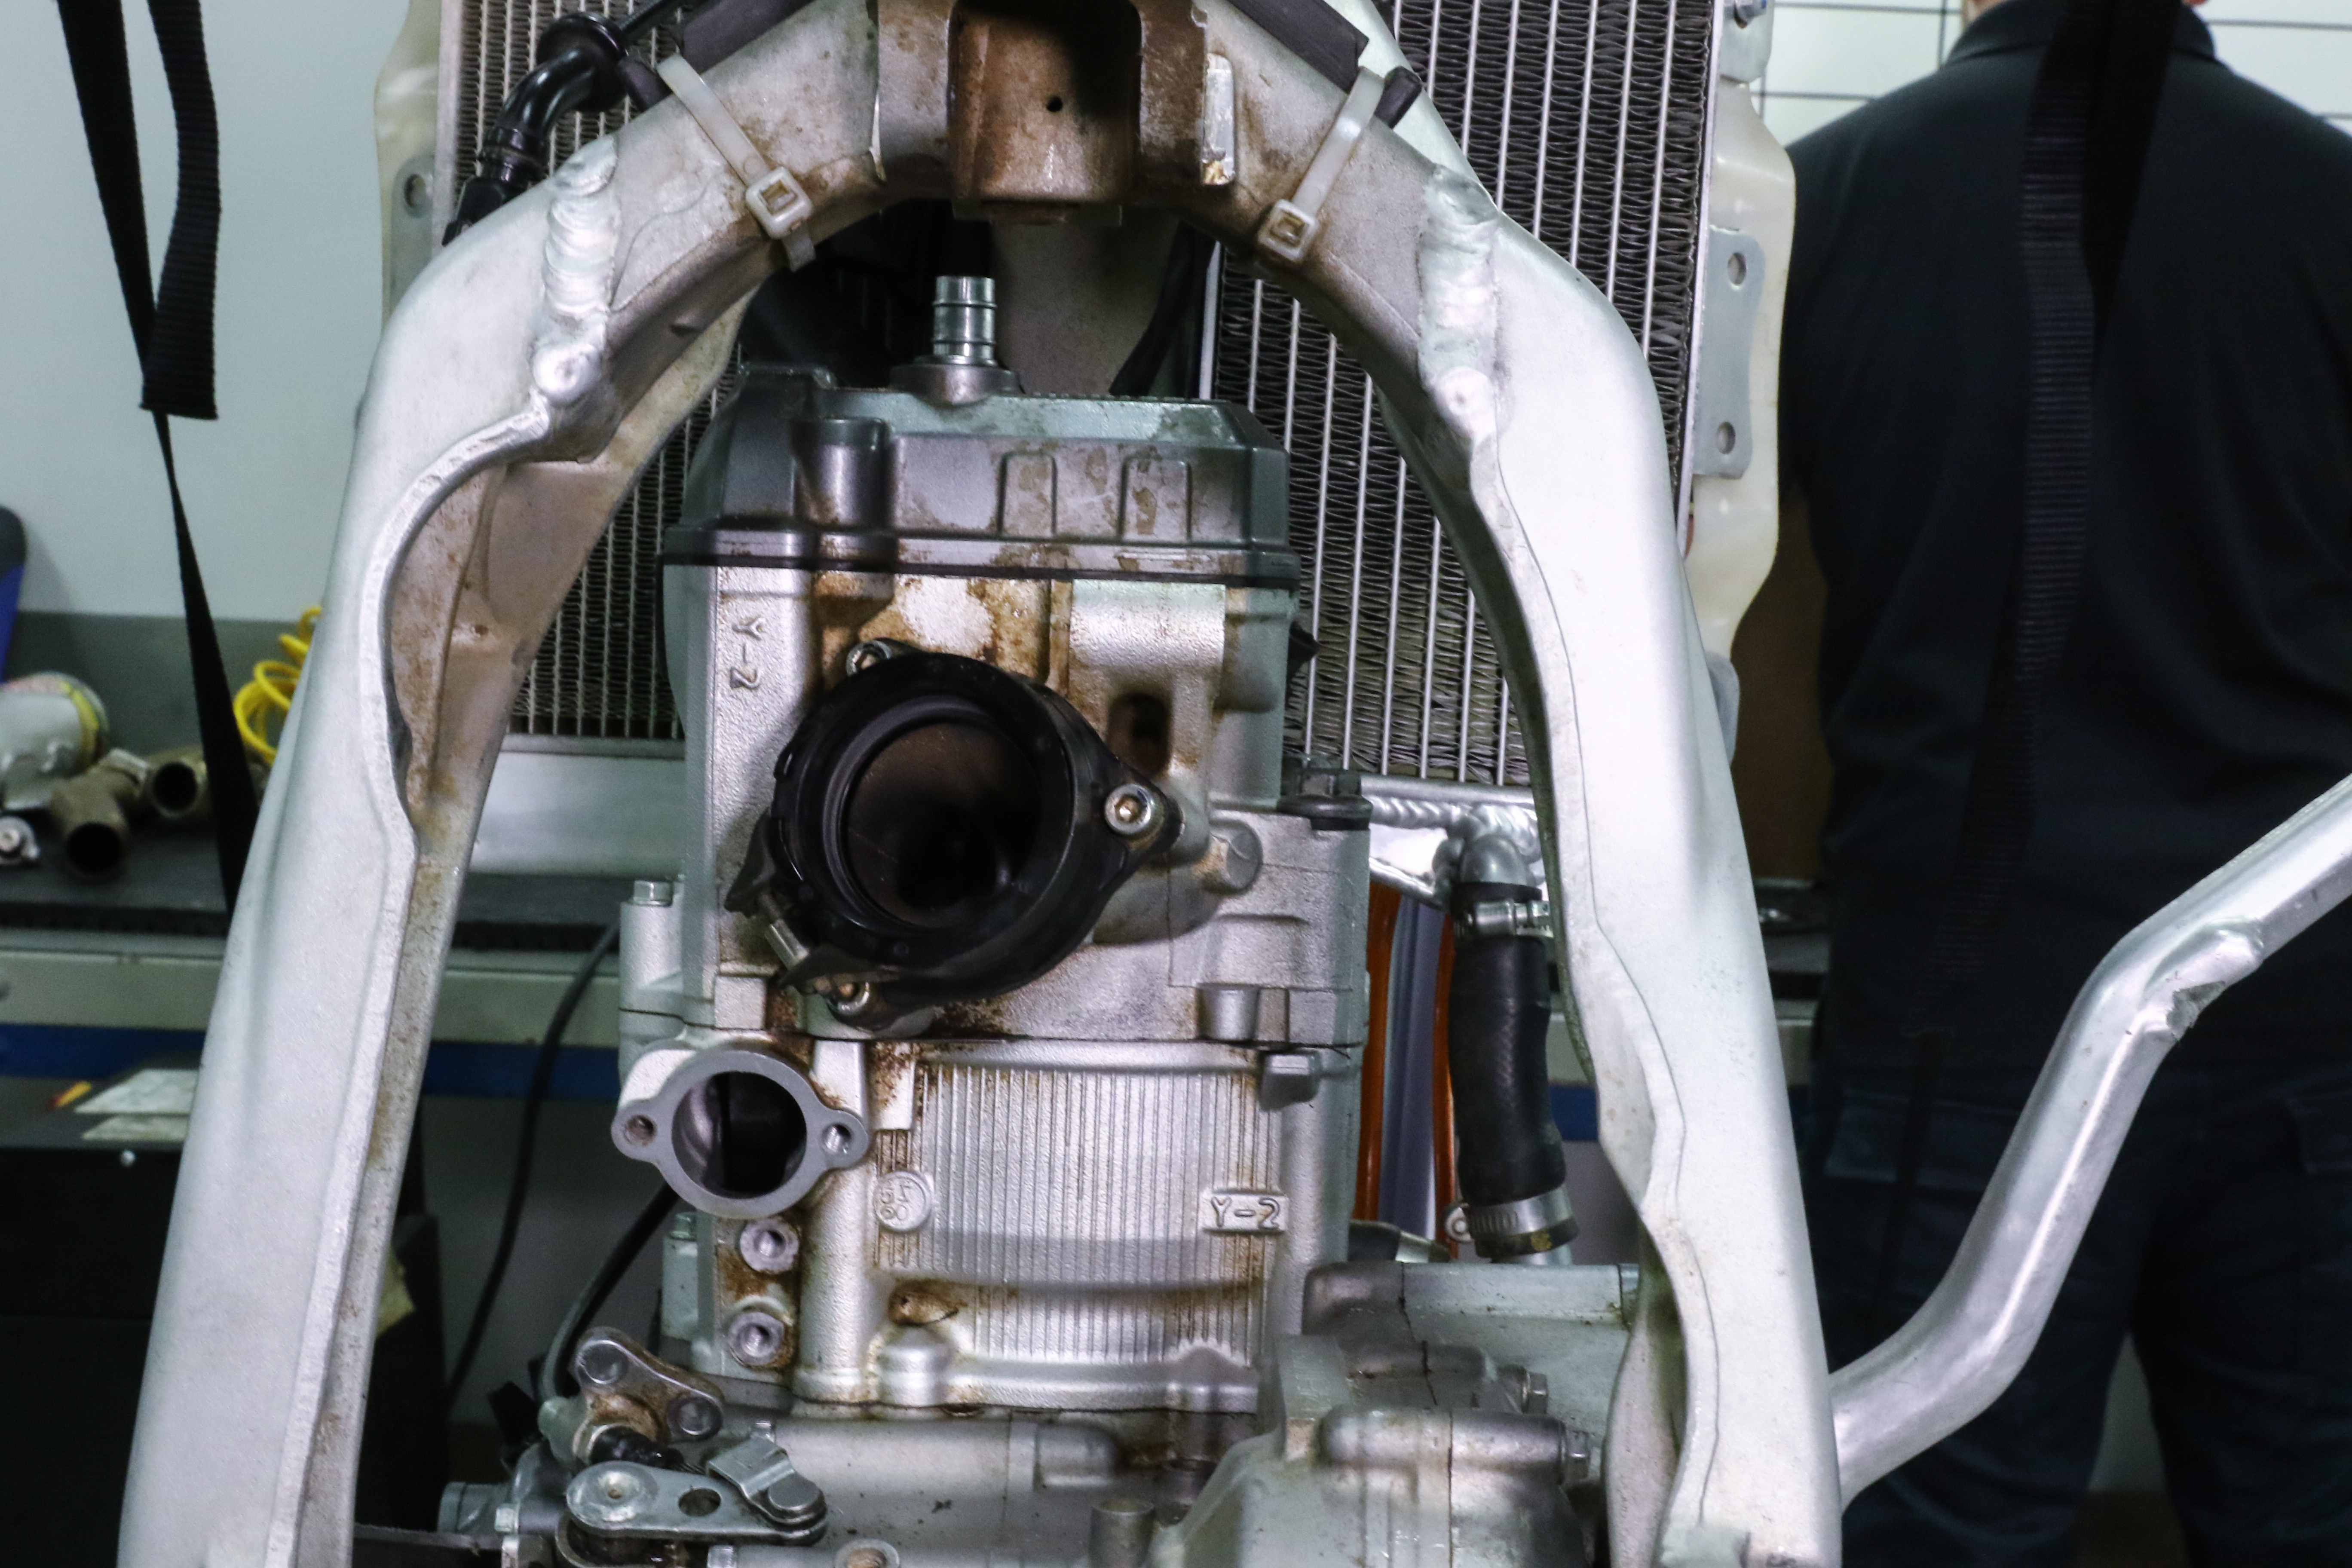
With everyting removed, you'll need to clean any old gasket material and other residue off your sealing surfaces. This includes the base for the cylinder on the cases, top and bottom surfaces of the cylinder itself, and the bottom surface of the head that seals to the cylinder.
For large or difficult pieces of material, it is common to use a razor blade for removal. However, be gentle and careful not to put deep grooves or scratches in the surfaces. Also, don't cut your finger open, or off.
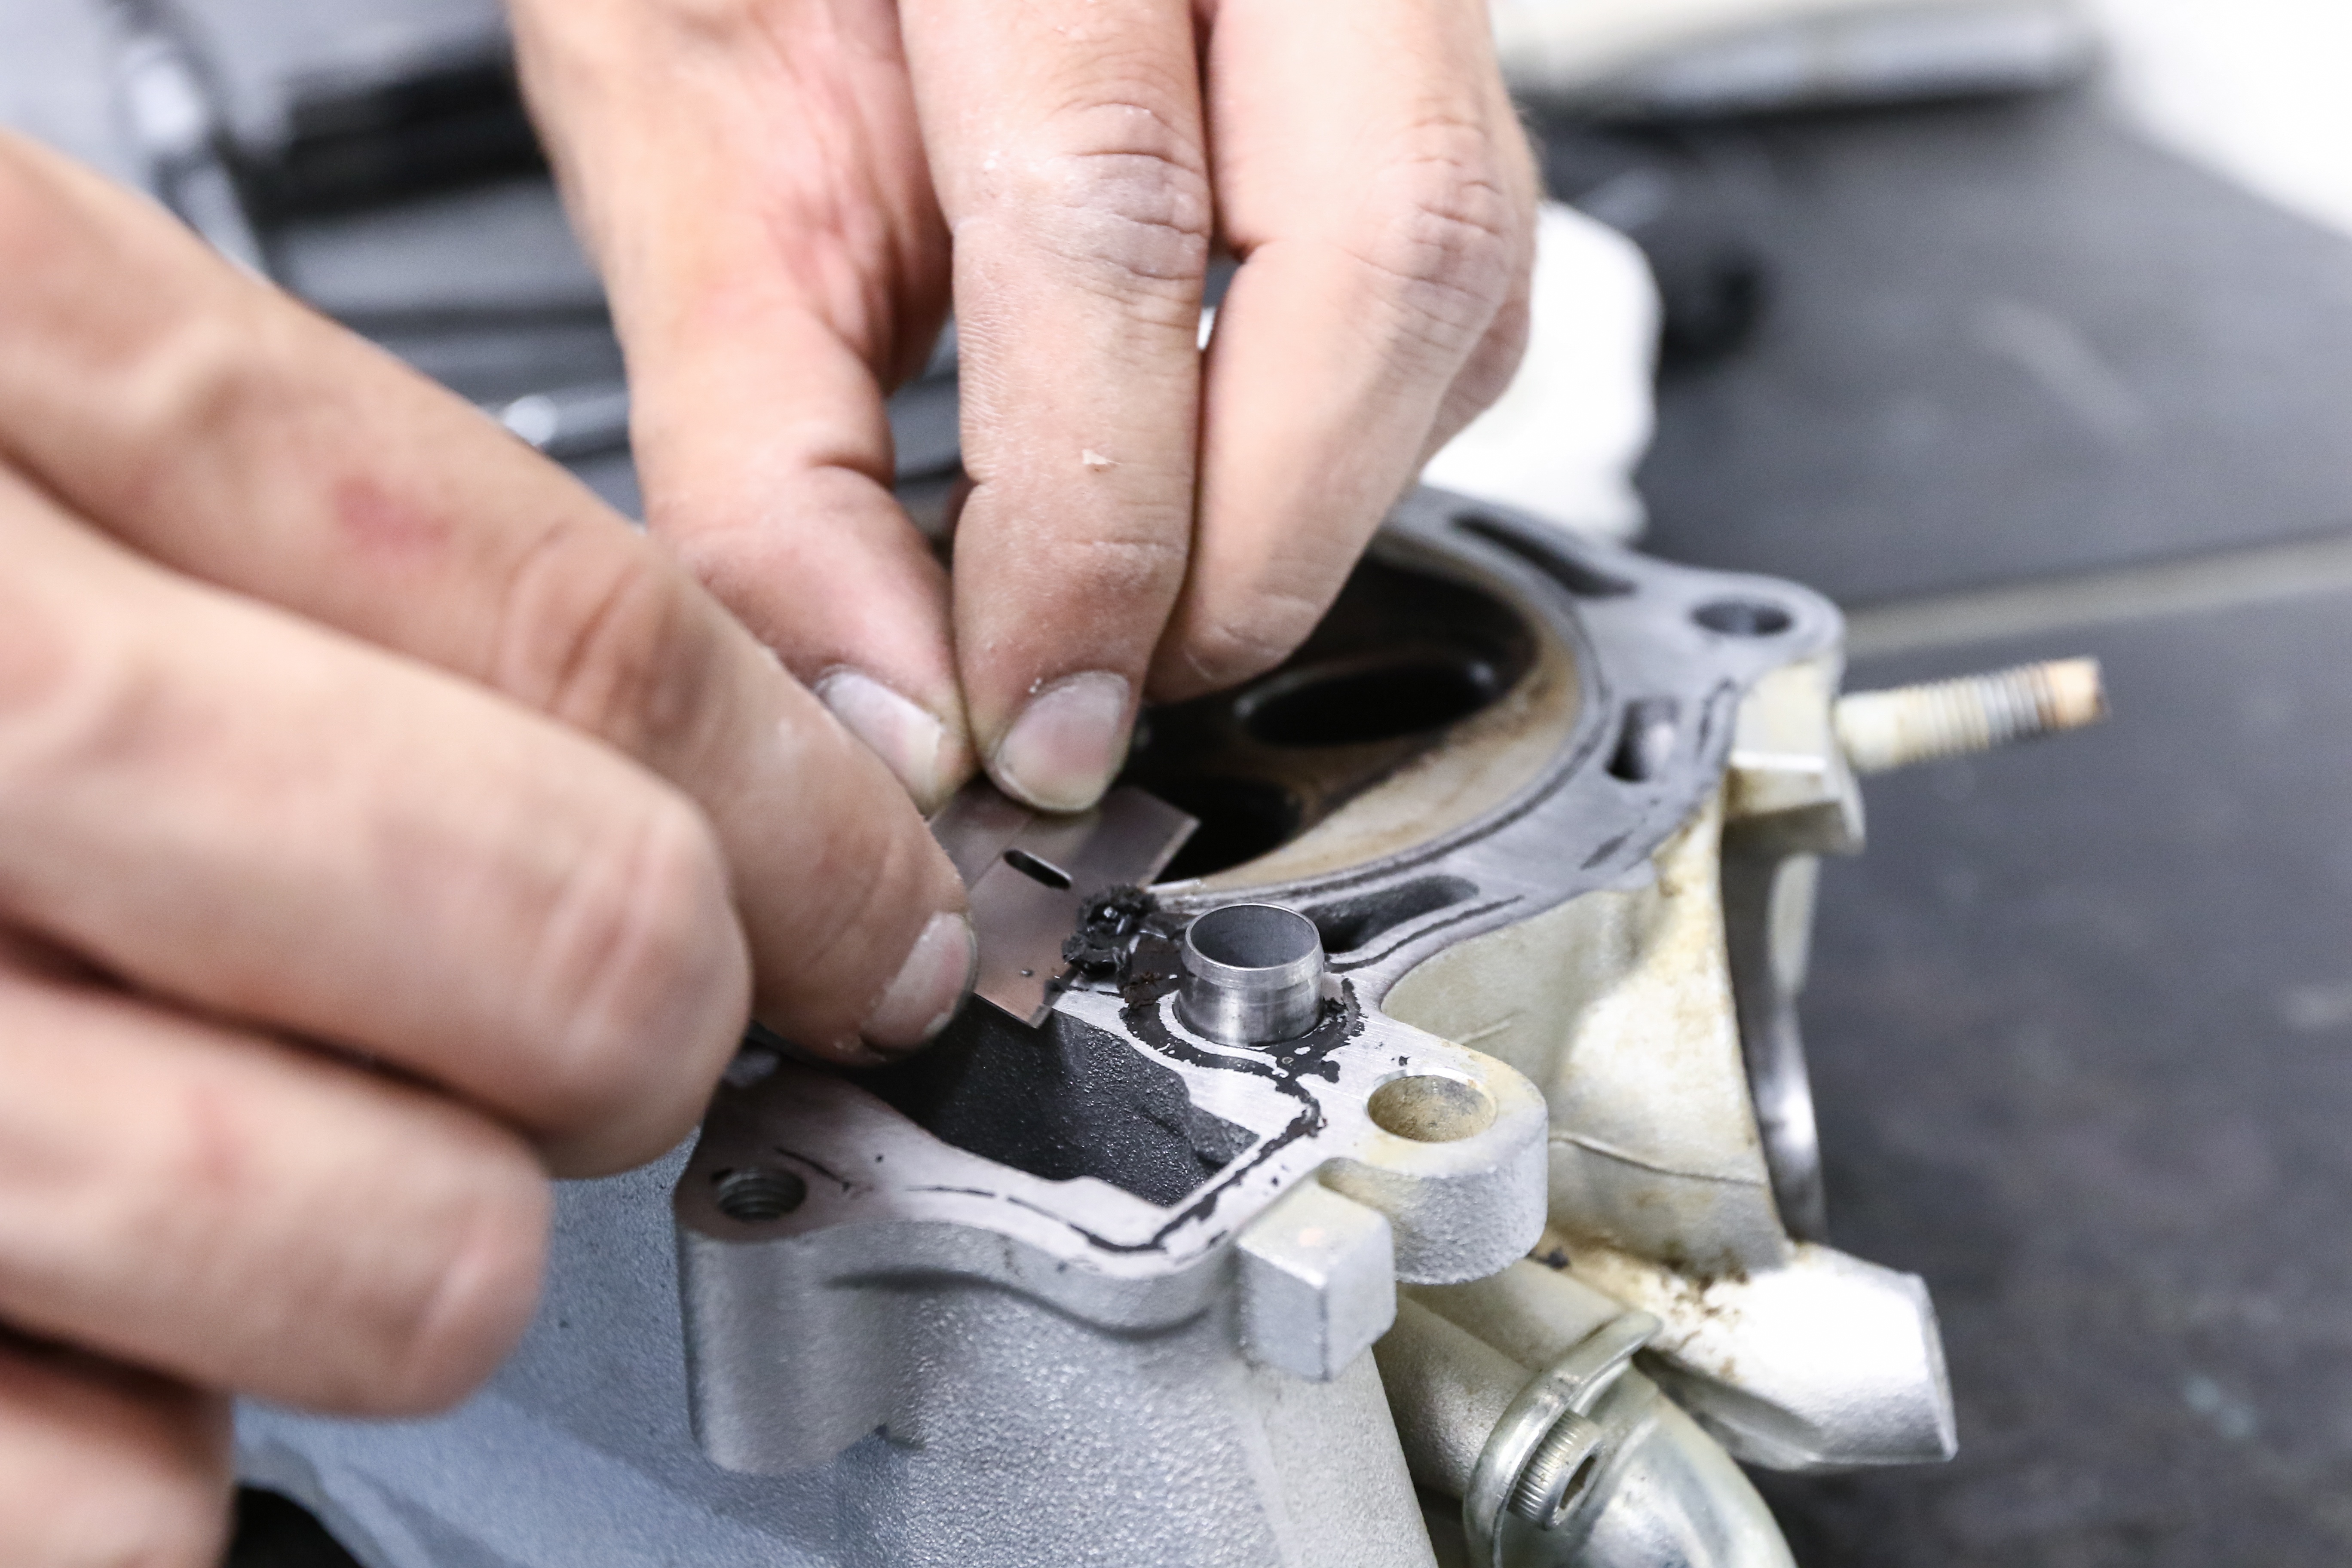
Final cleaning commonly consists of using carb cleaner, or a similar chemical cleaner, and a rag to achieve completely clean and flat surfaces.
Cylinder Prep
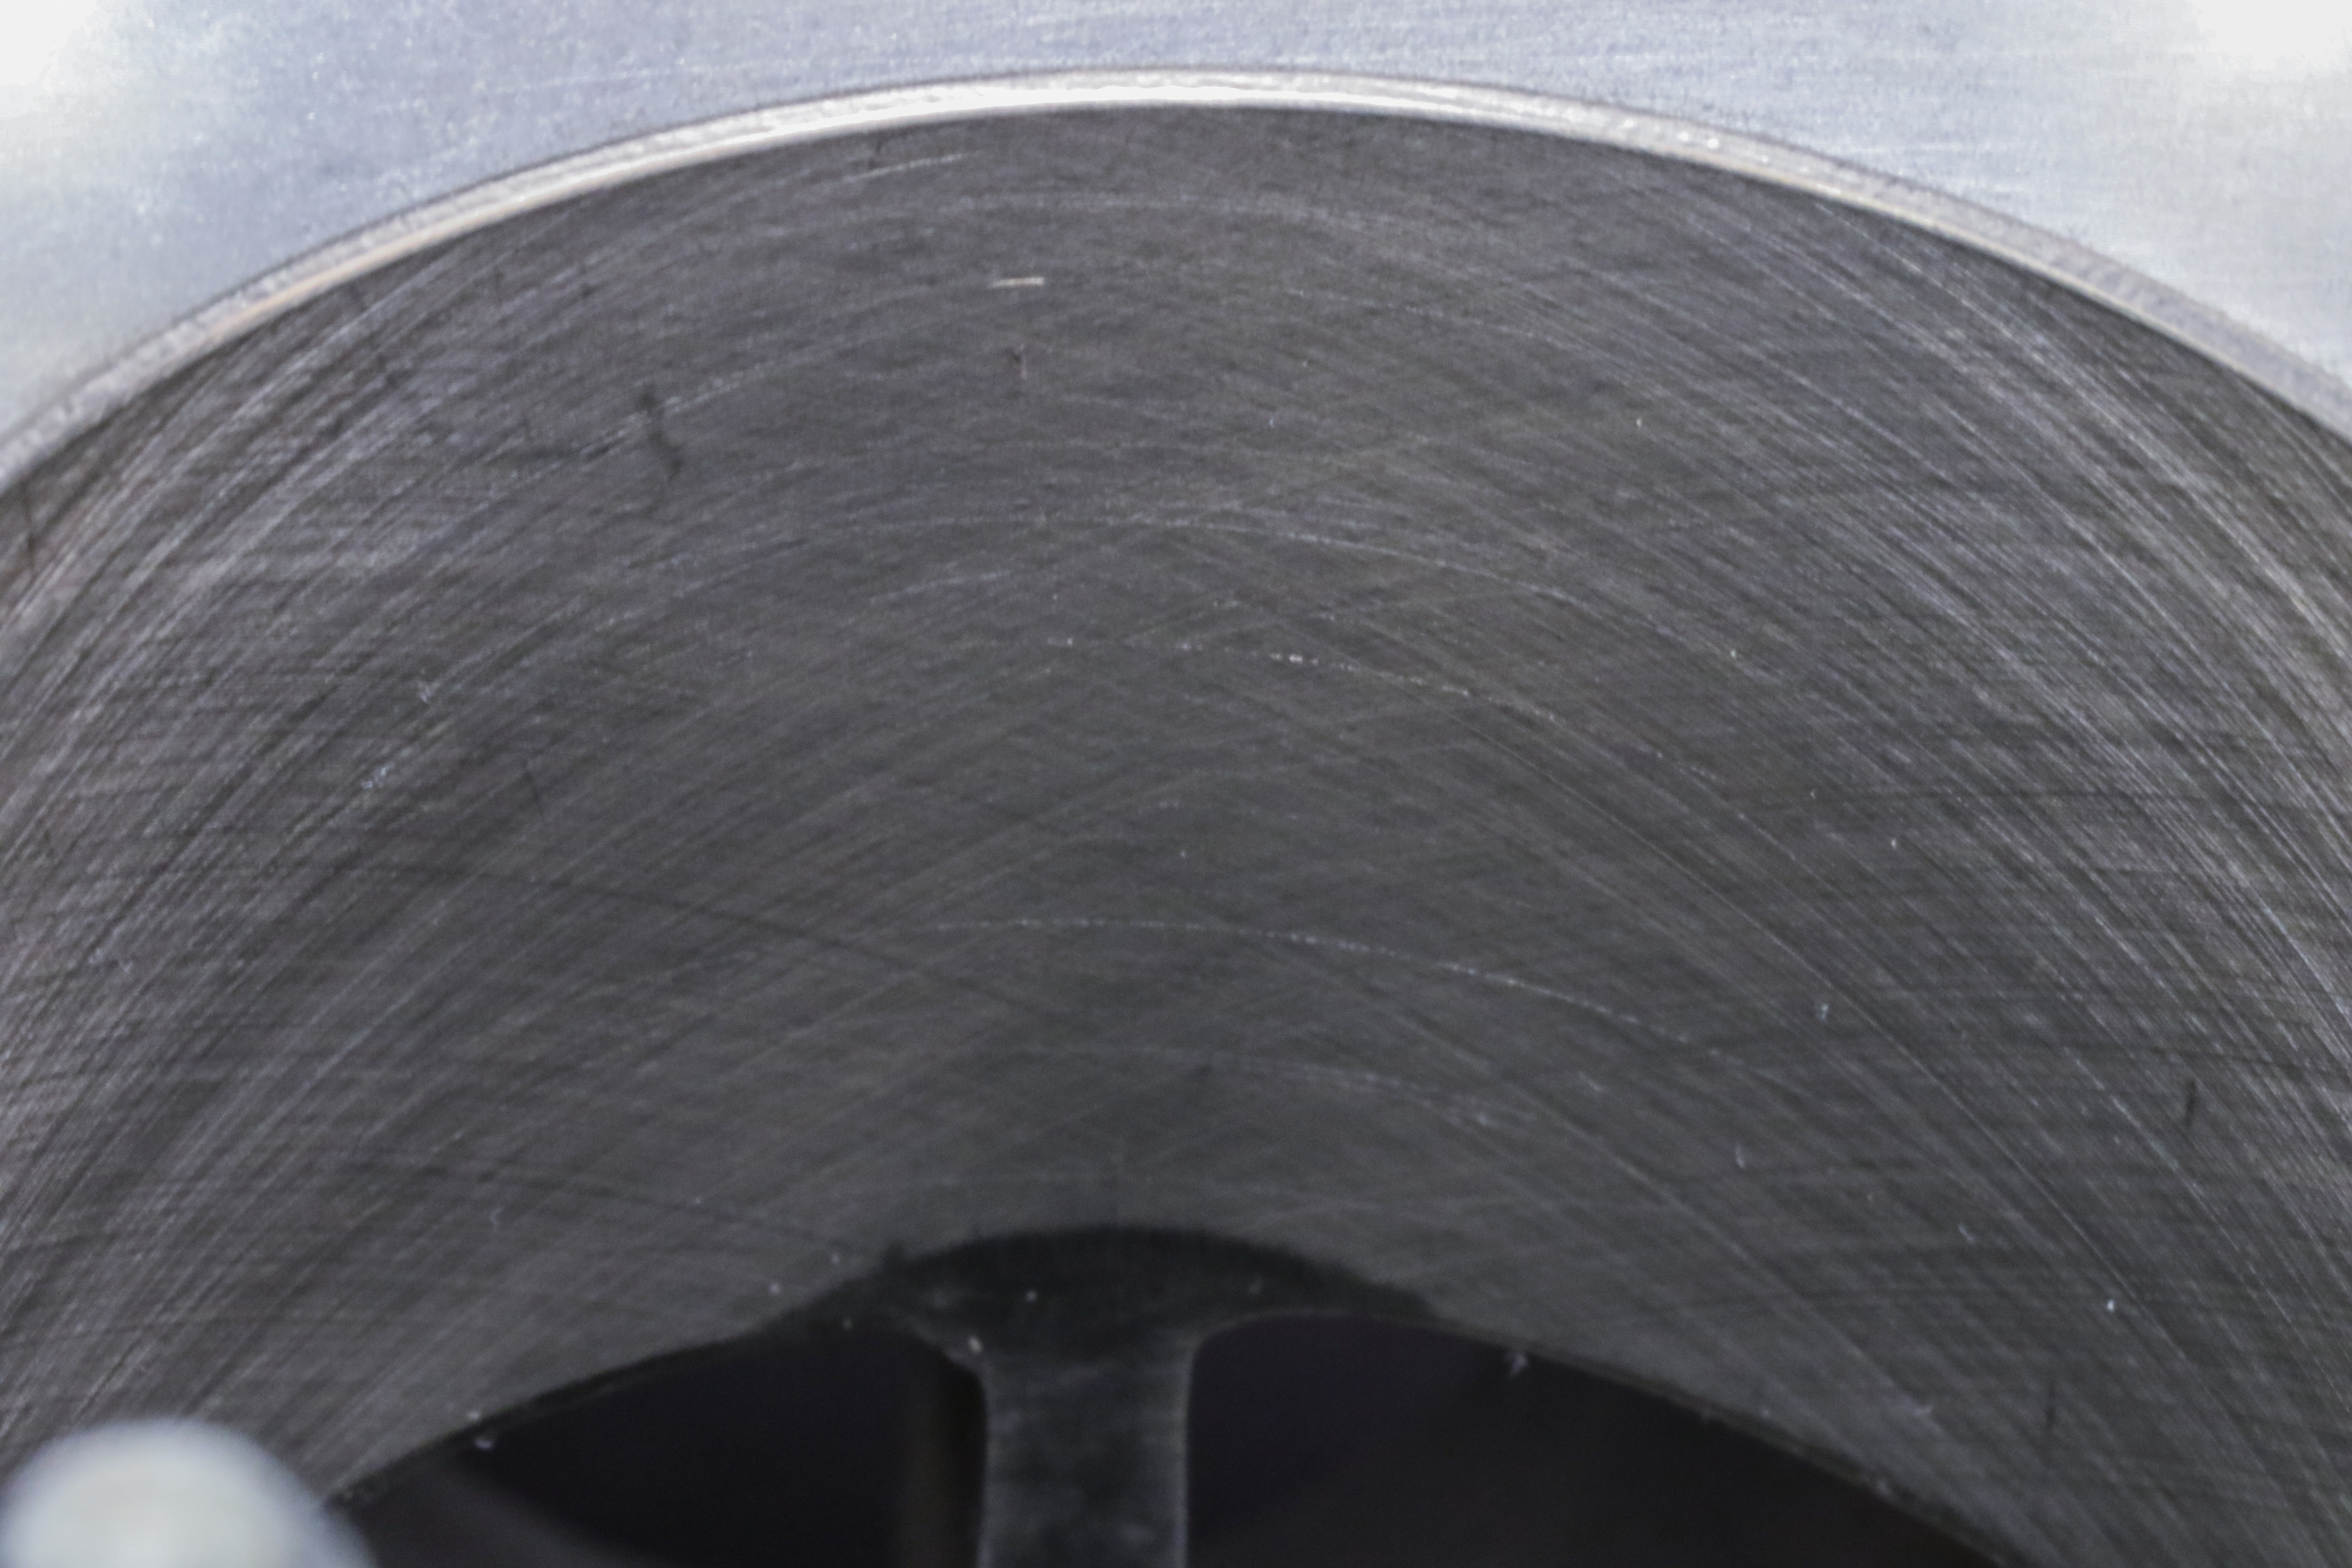
Before you go and put that cylinder back in with your new piston, you'll want to inspect it for signs of wear, and measure it to make sure it's within spec (refer to your owner's manual for proper specifications). If there is minimal glazing on the cylinder, no grooves worn in, and it's within spec, you should be ready to reinstall after a good honing. Always use a diamond tipped honing brush for resurfacing work. If you're unsure about performing any cylinder prep work yourself, talk to your local dealer about cylinder shops, where any prep work required can be performed.
ProX pistons are available in multiple sizes to accomodate for cylinder wear, so be sure your bore measurements correlate with the size of piston you're installing.
Reassembly
When you have your cylinder prepped and ready, now is a good time to double check your piston-to-wall clearance and ring end gap. For piston-to-wall, measure the size of your ProX piston using a micrometer only. Measure the piston on the skirt, 90 degrees from the wrist pin bore, at the point on the skirt that is 1/4 of height of the piston from the bottom. Refer to your manual for acceptable piston-to-wall clearance range. When measuring ring end gap, install the top ring and second ring (seperately, and if applicable) approximately 1/4" into the bore. Use a feeler gauge to be sure ring end gap is within the dimensions specified in your piston kit instructions. ProX rings are pre-gapped, but it is always good practice to double check.
Install the rings in the proper order and location on your pistons. Refer to the instructions that come with ProX piston kits to be sure you are installing the rings in the correct fashion and location. After this, install one wire lock into your piston, being sure it is properly seated.
Click here for our tips on installing wire locks.
Use your finger to put a layer of motor oil on the cylinder wall. Next, put a layer of oil on the outside of your new piston (on the outside of the rings, on the ring belt, and on the skirts). You don't want your new piston and rings breaking in under dry conditions. Use the normal motor oil you use in your 4-stroke.
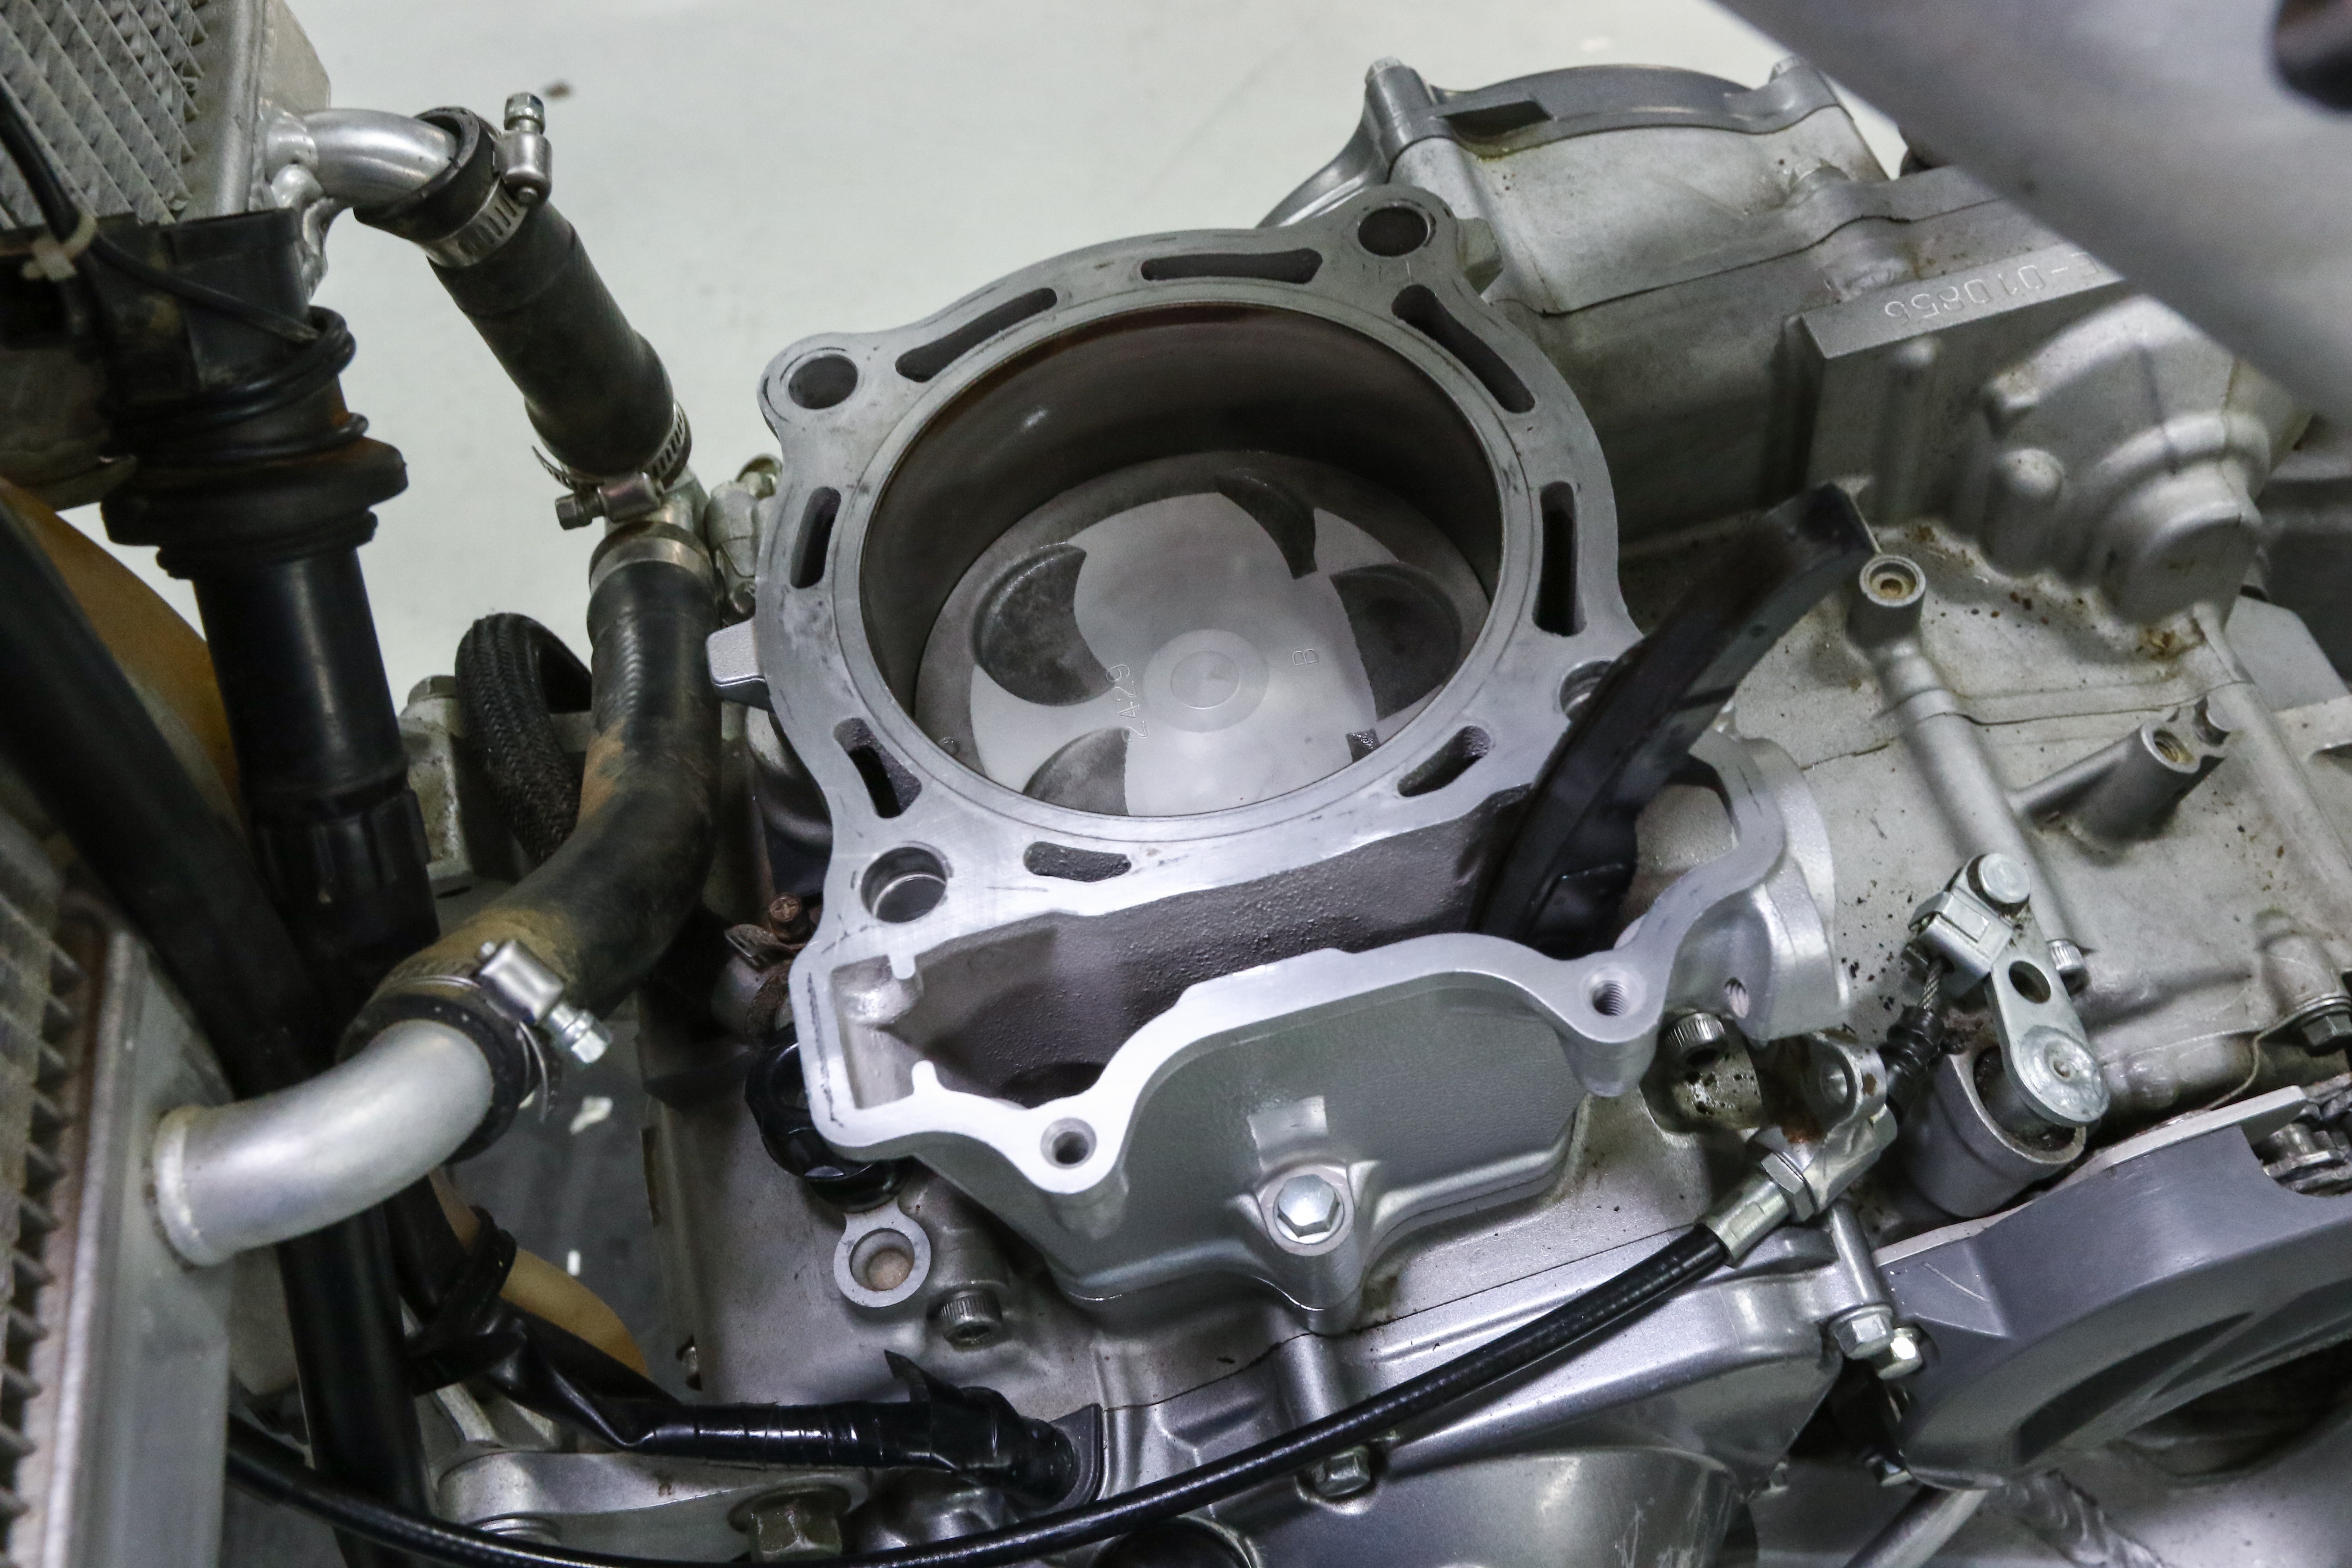
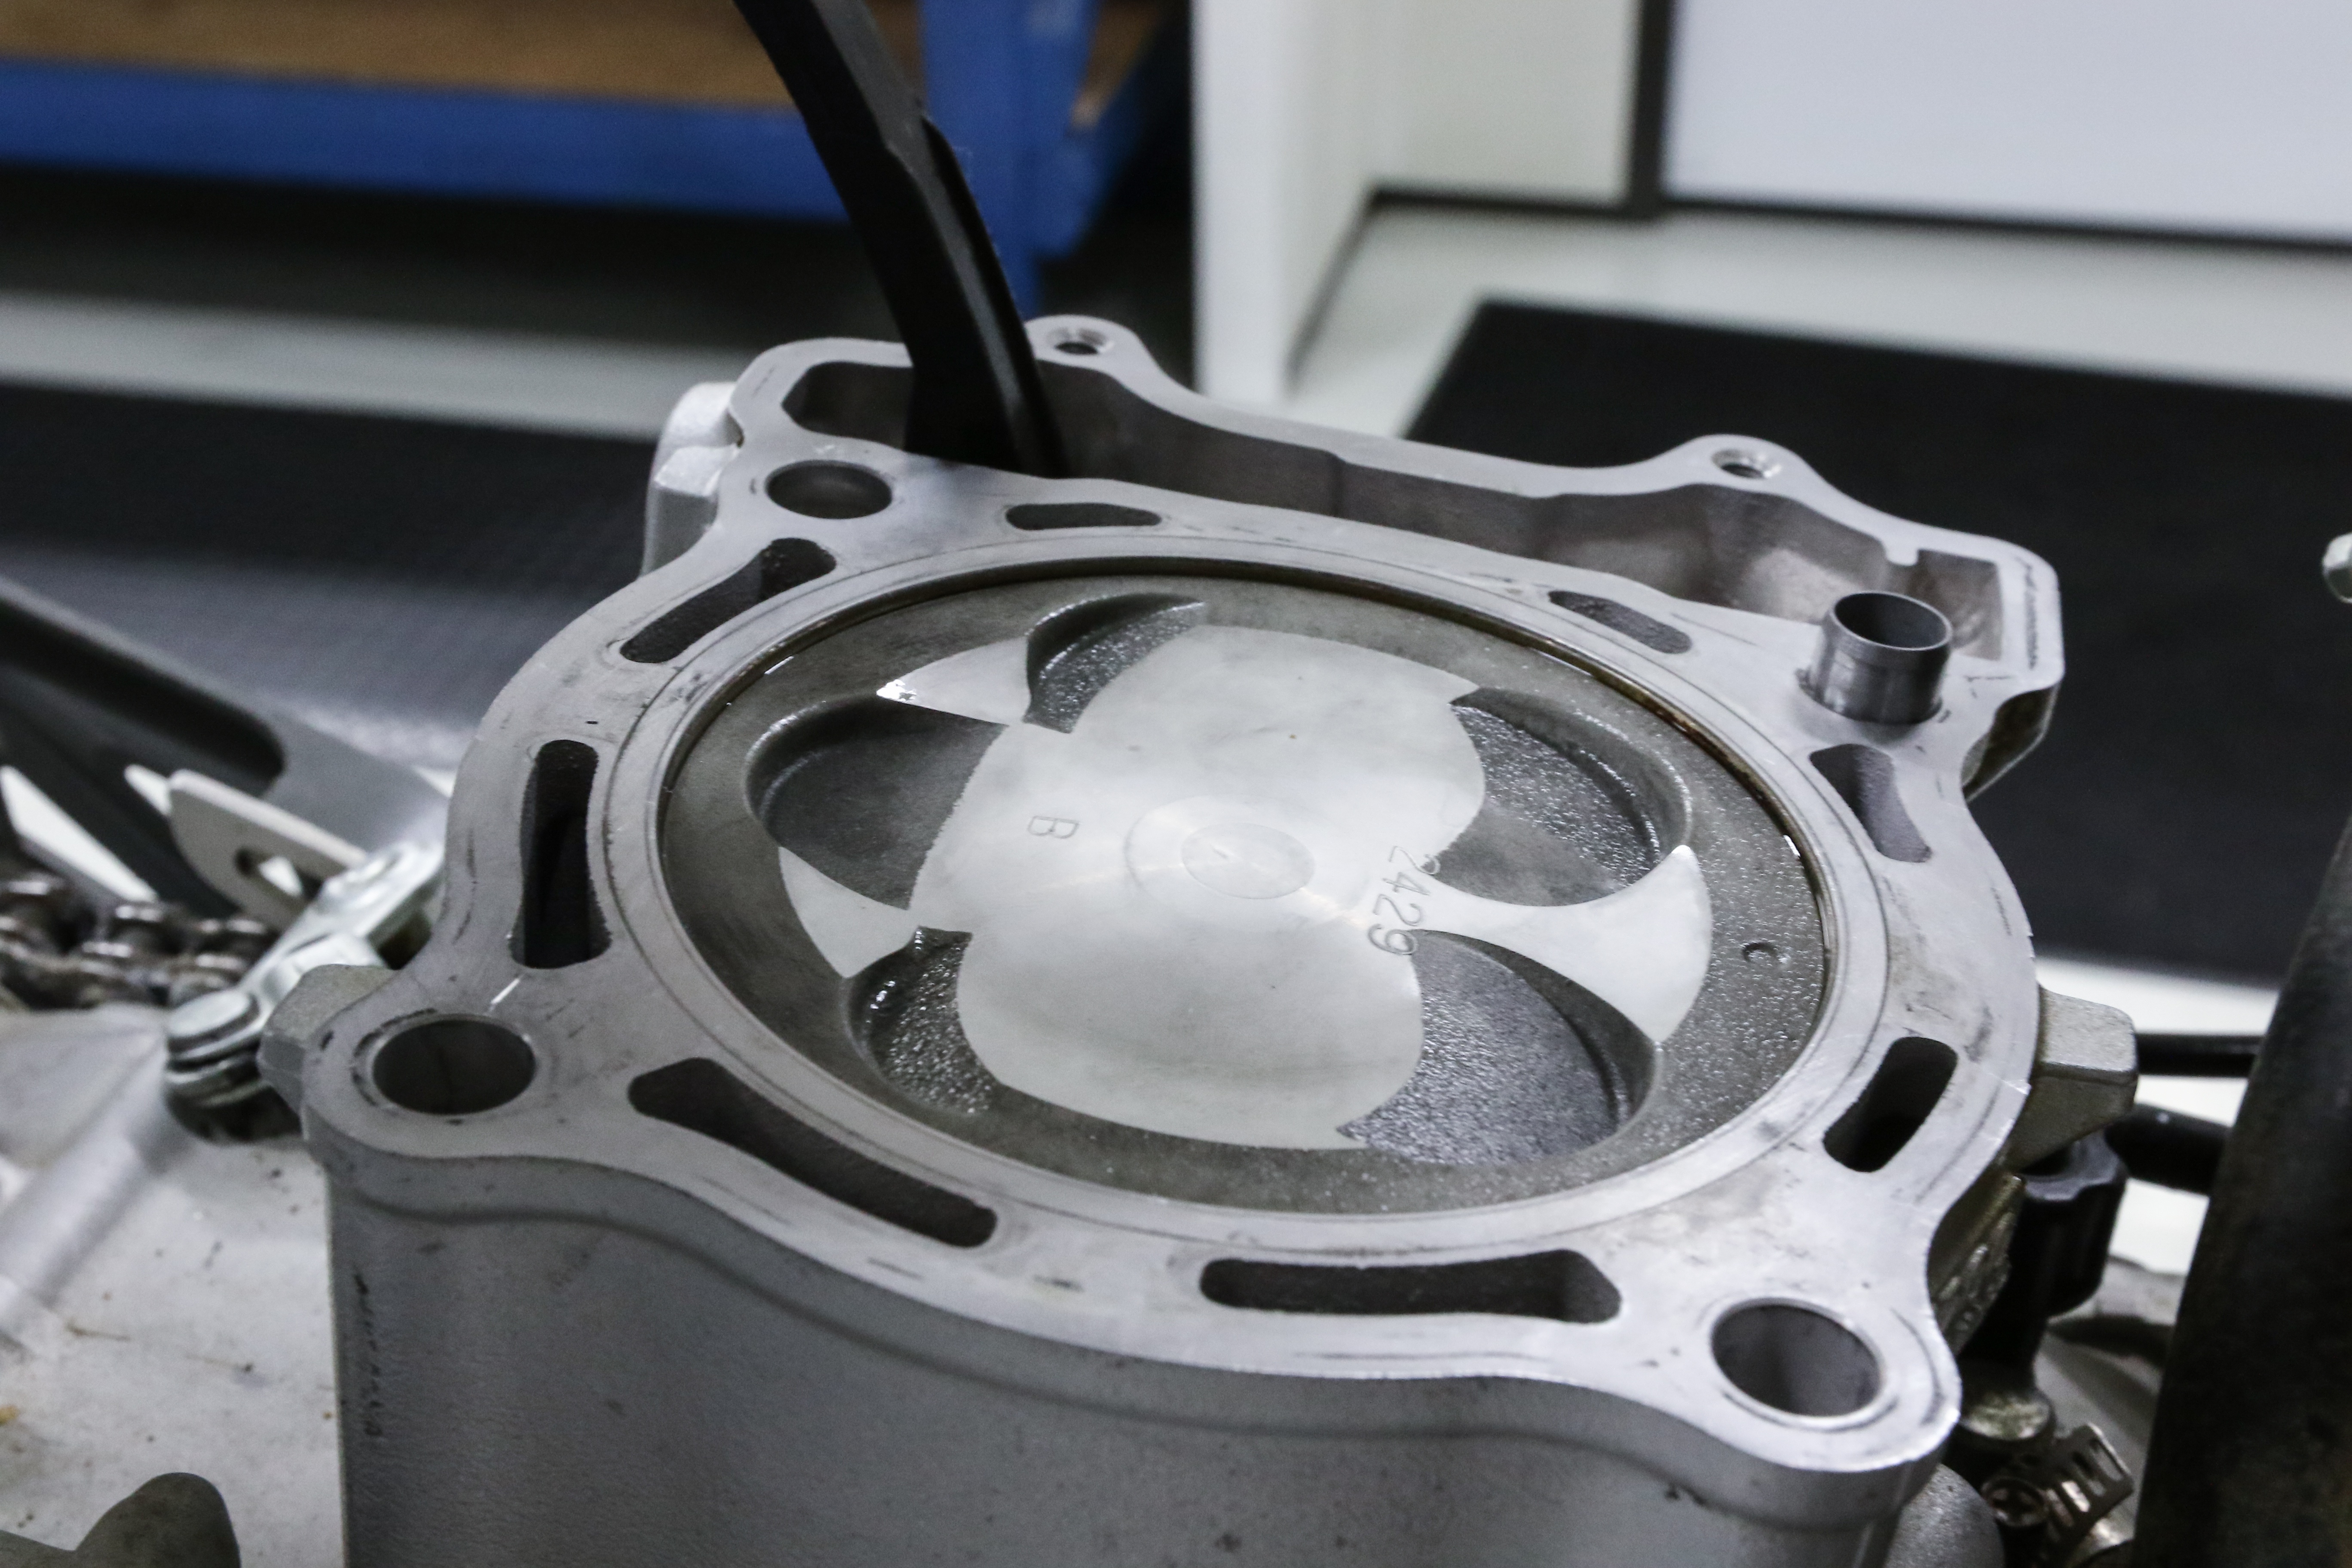
Piston installation can be done via more than one method, but in our case, we installed the piston in the cylinder before attaching it to the connecting rod. Either way, be sure your piston is facing the correct direction, meaning the exhaust valve reliefs line up with the exhaust side of the head. There will be markings on the crown of ProX pistons to indiciate which side is the exhaust side. Also, make sure your rings remain in the proper location as you slide the piston into the cylinder.
Next, lay your new base gasket on the cases, lining it up properly. Install the piston (which should remain in the cylinder) onto the connecting rod by lining up the pin bore with the small end bore, and sliding your new wrist pin (put a layer of oil on this before installing) completely through, until it stops against the one wire lock previosuly installed. With the piston secured to the connecting rod via the wrist pin, install your remaining wire lock, and make sure it is properly seated. You can now slide the cylinder all the way down to meet the cases. Note: Make sure you take any rags out of the cases before reassembling!
You're now at the point in reassembly where you will install your rebuilt head (details in part 2 of this top end rebuild soon to come) with the proper head gasket, and re-install all the items previously removed. Be sure you are following all proper torque specs specified in your manual.
Head back for part 2 of the the top end rebuild, where we'll show you some great tips on assembling a four-stroke head with new valves and valve springs, re-installing camshaft(s) and timing chain, and checking and adjusting valve clearance.
More maintenance and rebuild tips to come!
- Top end rebuild
- Clutch replacement
- Bottom end maintenance
- Brake system rebuild/maintenance
- Cable replacement
- Chain & sprocket replacement
- Bearing replacement
- Fork seal replacement
